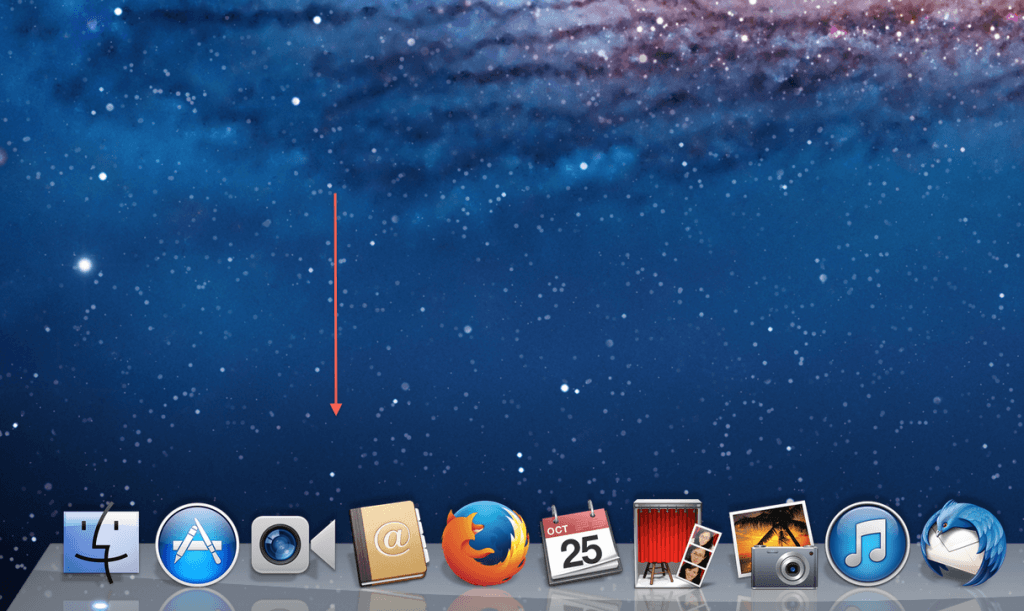
If you want to know how to move the Dock in Mavericks to the active or primary display, it’s very simple. You don’t actually have to move it – you just need it to appear by moving the mouse cursor very deliberately down the screen to make the Dock reveal itself. This is because Mavericks multi-display works as if the “Automatically hide and show the Dock” is selected by default in System Preferences.
Mavericks: How to move the Dock
First click on the desktop of one of your displays to make it active. Then, to summon the Dock in Mavericks, simply move the cursor in a straight line to the bottom of the screen to make it appear. If it doesn’t appear immediately, keep moving move the mouse or trackpad down and it will appear. Try to move the cursor in a straight line because dragging it down at an angle sometimes fails to reveal the Dock in Mavericks.

It will pop-up and stay there until you move the cursor to the other display where you can make the Dock appear using exactly the same method.
Many users will definitely find this a bit awkward and confusing at first. It would have been better if Apple had made Mavericks so that simply clicking on the active display moves the Dock instantly but maybe they will issue an update soon to make Dock handling slightly more intuitive in Mavericks.
How to stop the Dock moving in Mavericks
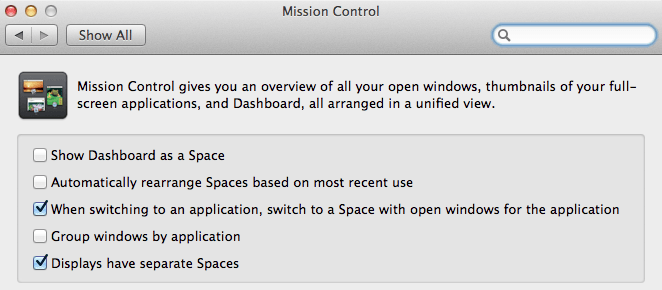
If you really hate the way the Dock switches screens in Mavericks, then you can deactivate it in Mission Control System Preferences.
Simply go to System Preferences, Mission Control and deselect Displays have separate spaces.


