

Strikethrough text is a great way to show edits, emphasize changes, or highlight something that’s no longer relevant.
Whether you’re drafting an email, editing a document, or creating notes, adding a strikethrough can be useful for crossing things off a list or as a formatting effect.
On a Mac, the process varies slightly depending on the application you’re using.
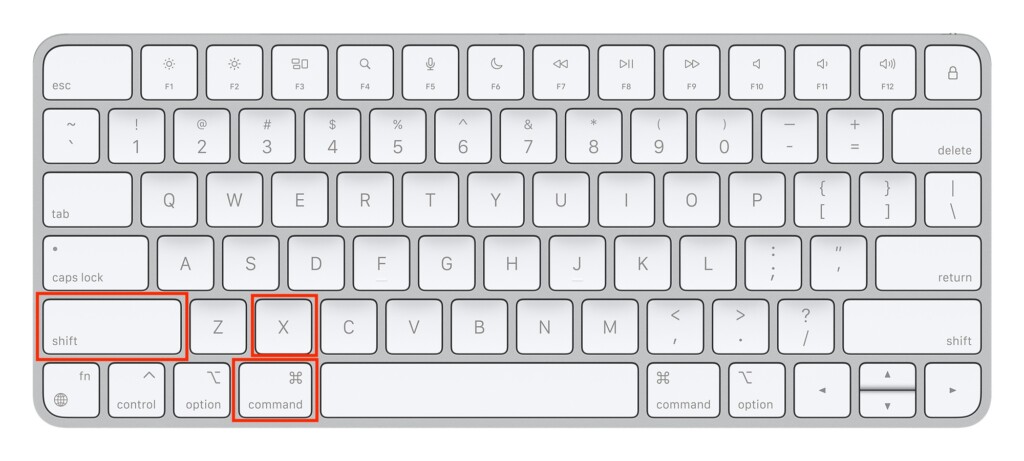
In most cases, a strikethrough can be added and removed with the keyboard shortcut Command + Shift + X.
This works for most major apps like Word, Acrobat and Google Docs but it doesn’t work for all software.
In this guide, we’ll walk you through all the steps to strikethrough text on a Mac across a variation of popular apps.
Contents
Word For Mac
There are two ways to do a strikethrough on a Mac in Word. If you’re in a rush, the quickest way is to highlight the text and then use the following keyboard shortcut:
Command + Shift + X
Alternatively, you can also do the following in Word:
- Select Your Text in Word : Highlight the text you want to strikethrough.
- Use the Ribbon: On the top ribbon, go to the “Home” tab.
- Find the Strikethrough Button: Look for the strikethrough icon (a capital “abc” with a line through it) in the Font group. Click on it, and your selected text will be crossed out.
Apple Pages, Numbers & Keynote
Apple’s word processor Pages, spreadsheet app Numbers and presentation app Keynote all use the same method to strikethrough. Just do the following:
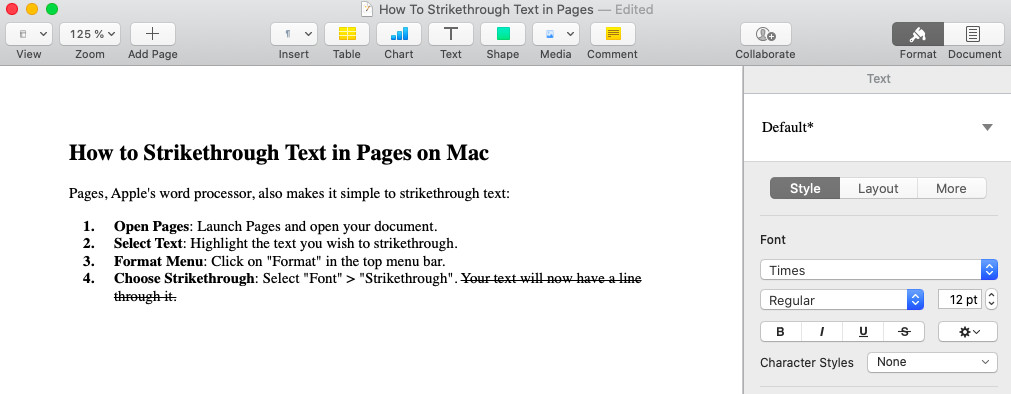
- Select Text: Highlight the text you wish to strikethrough.
- Format Menu: Click on “Format” in the top menu bar.
- Choose Strikethrough: Select “Font” > “Strikethrough”. Your text will now have a line through it.
Apple Notes
Strikethrough can also be applied in the Notes app, perfect for crossing off items on your to-do lists:
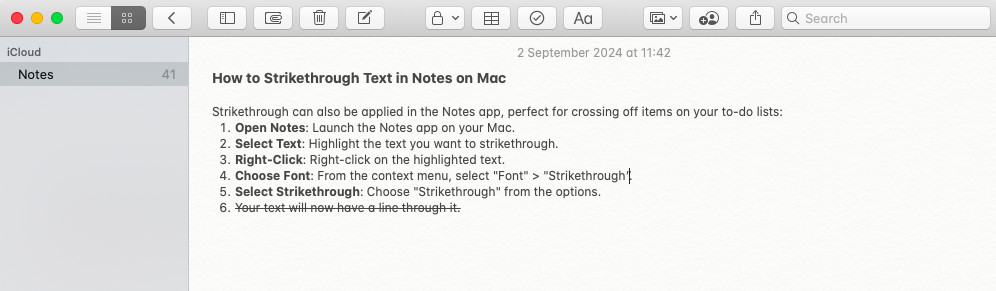
- Open Notes: Launch the Notes app on your Mac.
- Select Text: Highlight the text you want to strikethrough.
- Right-Click: Right-click on the highlighted text.
- Choose Font: From the context menu, select “Font” > “Strikethrough”.
- Select Strikethrough: Choose “Strikethrough” from the options.
Apple Mail
If you’re drafting an email in Apple Mail and need to strikethrough text, here’s how:
- Open Mail: Start by composing a new email or opening a draft.
- Highlight Text: Select the text that you want to strikethrough.
- Format Bar: In the format bar above the email body, click the “Format” button.
- Strikethrough Option: Choose “Strikethrough” from the dropdown menu.
Excel for Mac
The strikethrough keyboard shortcut for Excel is the same on Mac and PC. Just do the following:
- Select the cells you want to strikethrough
- Hold down Ctrl + 5 to strikethough the numbers or text
PowerPoint for Mac
You can add a strikethough in PowerPoint on a Mac by doing the following:
- Select the text you want to highlight
- Press the keys Command + T to reveal the Font dialog box
- Choose the Strikethrough option
Google Docs on a Mac
Google Docs is commonly used for its collaboration features, and you can add a strikethrough by using the same keyboard shortcut as in MS Word:
Command + Shift + X
Alternatively, do the following in Google Docs:
- Select Your Text in Google Docs: Highlight the text you want to strikethrough.
- Use the Format Menu: Click on “Format” in the top menu bar.
- Strikethrough Option: Choose “Text” > “Strikethrough”. Your text will be crossed out.
WordPress
The easiest way to strikethrough text in WordPress on a Mac is to do the following:
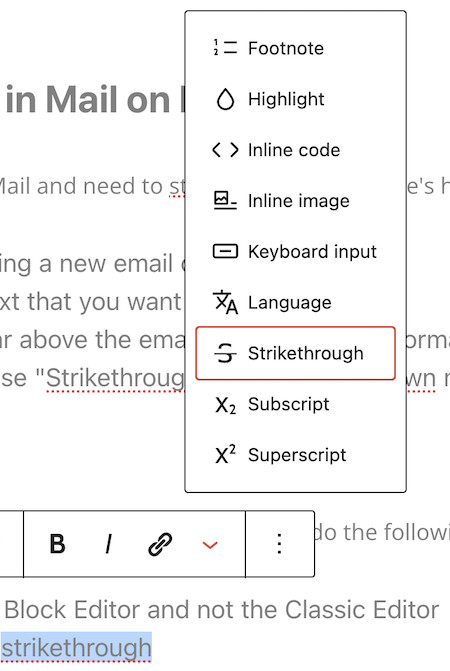
- Make sure you are using the Block Editor and not the Classic Editor
- Select the word you want to strikethrough and using the toolbar click on the small down arrow and select “Strikethrough”.
Why Use Strikethrough?
Strikethrough is not just about crossing things out; it’s a visual cue that something is no longer valid or has been completed.
It’s a handy way to mark edits in a document, make lists, or emphasize revisions without deleting the original text.