

Taking a photo on an iPhone is easy but on a Mac, it isn’t quite so clear. Here we show you how to take a picture on a Mac using the webcam.
These methods work on both Intel and Apple Silicon Macs with the M1/M2 chip including the latest versions of macOS.
You May Also Like:
Contents
You can take photos and selfies on your Mac through your built-in iSight camera using native apps like Photo Booth and FaceTime.
Here is how you can do it via Photo Booth:
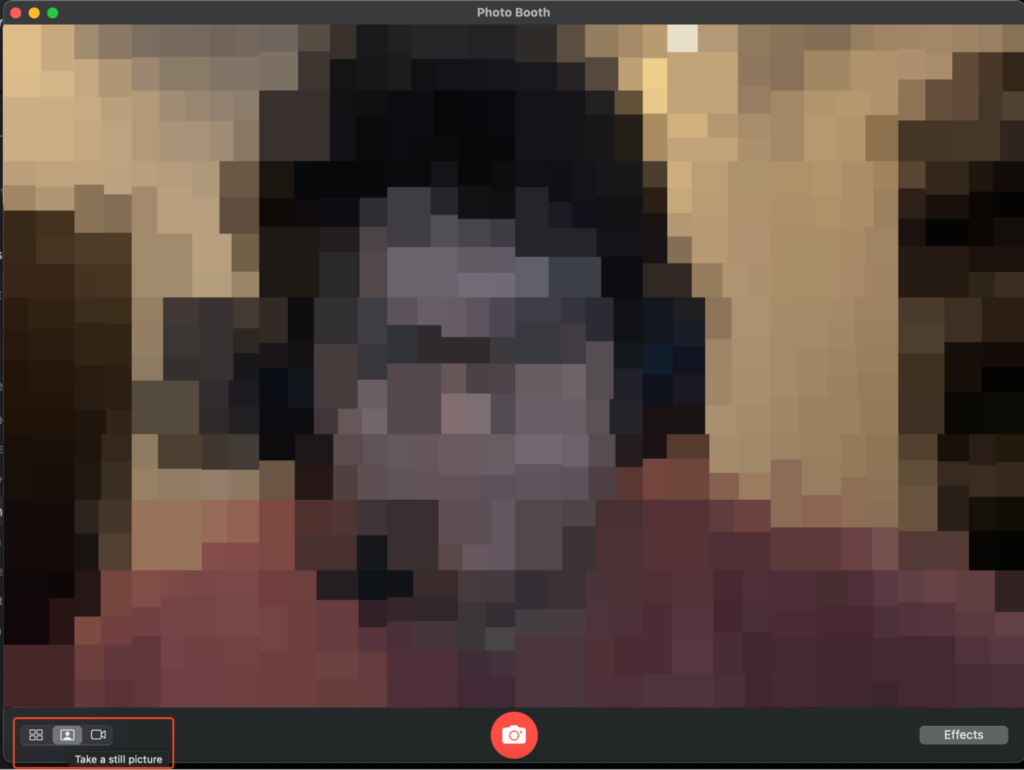
- Launch Photo Booth on your Mac. Once you do it, your Mac’s camera will turn on automatically, and you’ll see a green indicator light near the webcam
- In the bottom left of the window, click the “Take a still picture” button
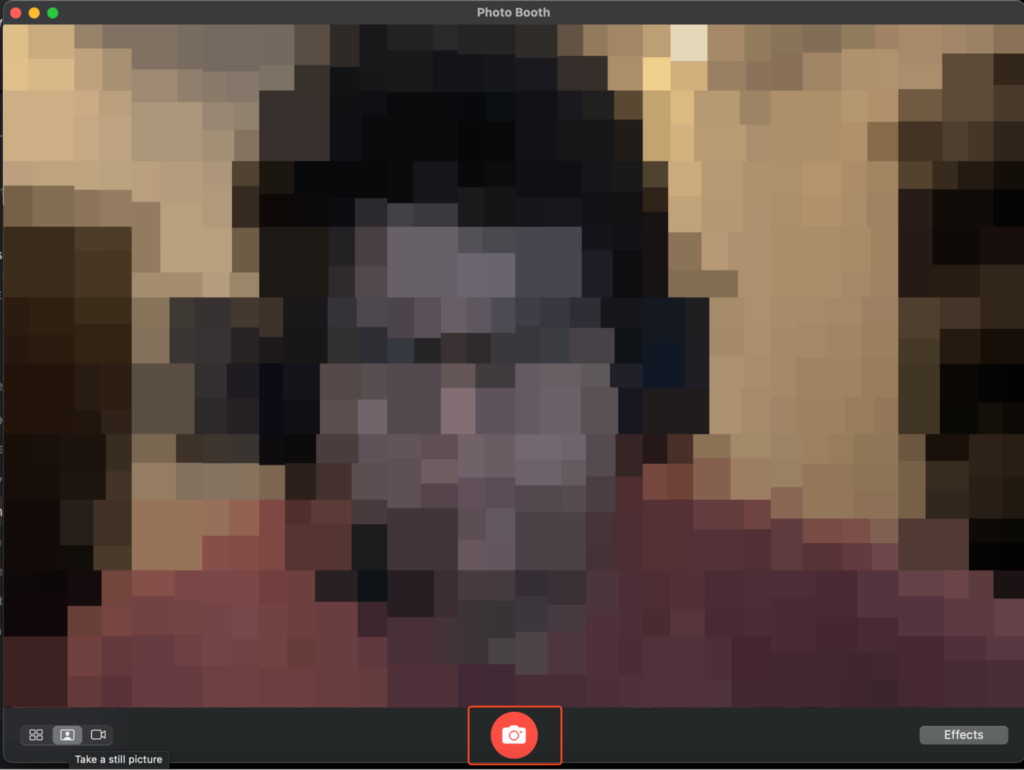
- Finally, click the red button with the camera icon at the bottom of the app window to take a picture.
Once you take the selfie, the picture will be locally saved in the Photo Booth app. If you want to share this picture, all you need to do is to press the share button on the bottom right of the screen.
Doing this will cause a menu to pop up where you can select where you want to share this picture.
How To Take A Photo on a Mac With Facetime
You can also use FaceTime to capture live selfies on your Mac. Here is how to do it:
- Launch the FaceTime app on your Mac
- Position yourself in front of the webcam
- Hit the Shift + Command + 4 keyboard shortcut
- Focus on the window you want to capture on your screen
- Release your hand or finger from the trackpad or mouse to capture the picture
Once the image is captured, it will be saved in the Photos app on your Mac.
How to Turn off the Countdown or Flash When Taking Photos on a Mac
When you take a picture using the Photo Booth app, there is a three-second countdown before the selfie is taken, and your screen flashes white whenever the picture is taken.
Here is how you can disable the countdown and flash on the Photo Booth app:
- To turn off the countdown, click and hold the Option key before hitting the Take Photo button.
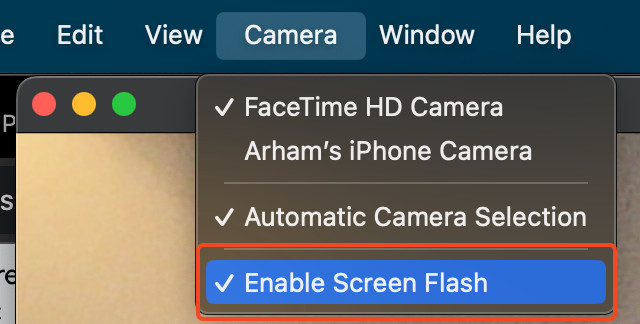
- To turn off the flash, click and hold the Shift key before hitting the Take Photo button or you can navigate to the Camera tab and untick the Enable Screen Flash option.
If you want to disable both the flash and countdown at the same time when taking a selfie, simply hold down both the Option and Shift keys before hitting the Take Photo button.
How to Improve Photo Quality When Taking a Picture (Using iPhone Camera With Continuity Camera)
If you are not satisfied with the quality of the in-built webcam on your Mac, you can also use your iPhone’s camera as your webcam through the Continuity Camera feature.
All you need to do is to mount your iPhone on your Mac, open an app like Zoom or FaceTime and select your iPhone from the camera settings.
Doing this enables your Mac to use your iPhone’s rear camera as a webcam.
Once you’ve set up your iPhone as your webcam, you can try out the following settings to help improve the photo quality when taking a picture:
- Set your iPhone’s camera to portrait mode. This will blur out your background and focus on your face, which is ideal for selfies.
- Try out the Center Stage mode. This feature will automatically reframe your shot if you move around while speaking.
- The Studio Light camera setting simulates a well-lit scene, which will help brighten your face and dim out your background to make your face stand out.
Apart from these tip, make sure to clean any smudges off the lens of your iPhone’s camera to make sure it takes a crisp photo.