

Cuphead for Mac has never been released but here we show you how to easily run and play Cuphead on Mac.
Cuphead was one of the gaming hits of 2017 with its original 1930’s cartoon graphics and classic run and gun action that’s a unique mix of Super Mario and Metal Slug.
Beware however of YouTube videos that claim to show you how to install Cuphead on Mac. Not only do many of them not work properly but some of them involve downloading illegal versions of the game that may even infect your Mac with adware or malware.
This method of installing Cuphead on Mac using Parallels is legal, safe and easy enough for anyone to do. Just follow these instructions to play Cuphead on your Mac.
- Download Parallels. Double click on the file downloaded and Parallels will automatically run the installer. You may have to enter your Mac administrator password in order to allow Parallels to install.
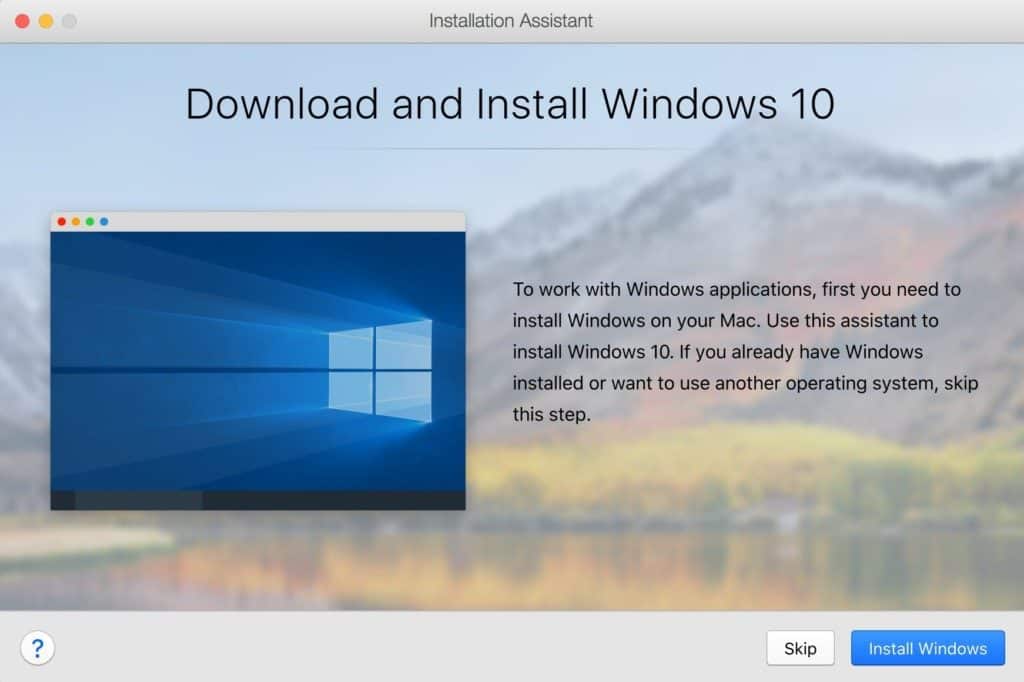
- When the installer completes, you’ll see the Parallels Setup Wizard. This is where you need to install Windows but the great thing is you don’t actually need to own a copy of Windows in order to install it. You should see this screen which will take you automatically through the Windows 10 setup process. Click Install Windows and skip to step 4 in this tutorial.
- Alternatively, if you once installed Parallels before on your Mac, Parallels will detect this and you may see the Parallels Wizard setup screen below instead:
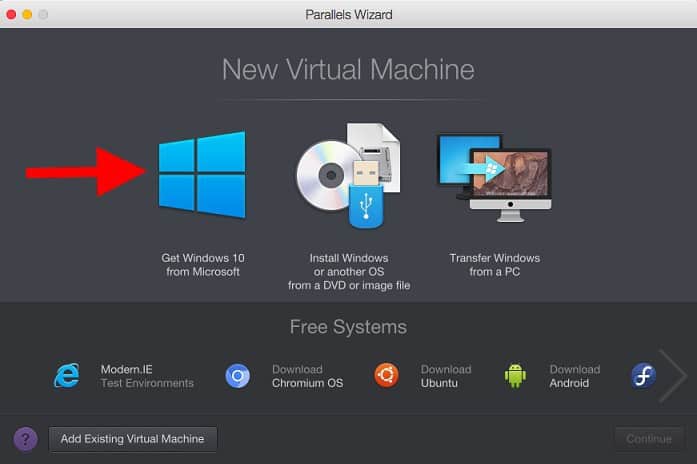
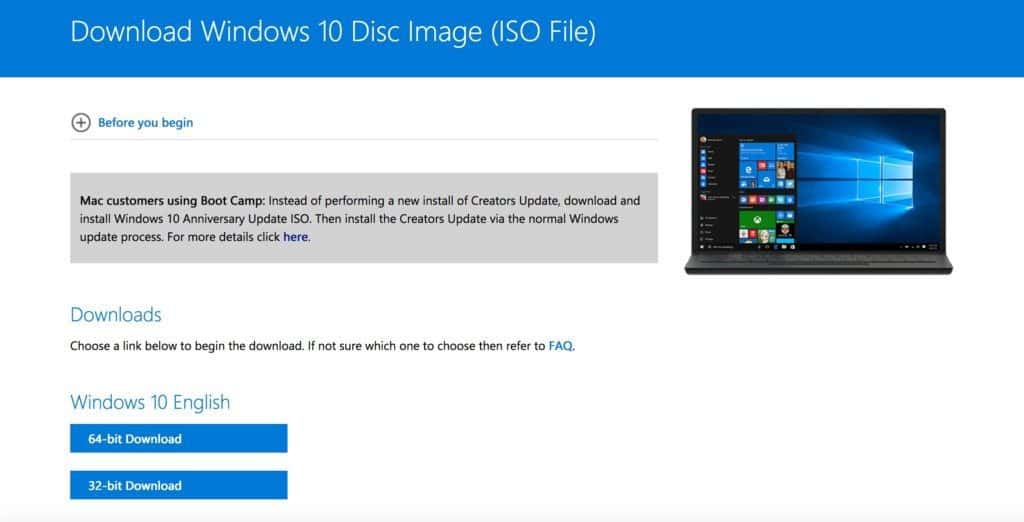
- Click on Get Windows 10 from Microsoft and you’ll see the screen below. Just click on Download Windows 10 – it doesn’t matter that you don’t have a license key because you don’t need one to use Windows 10 anymore.
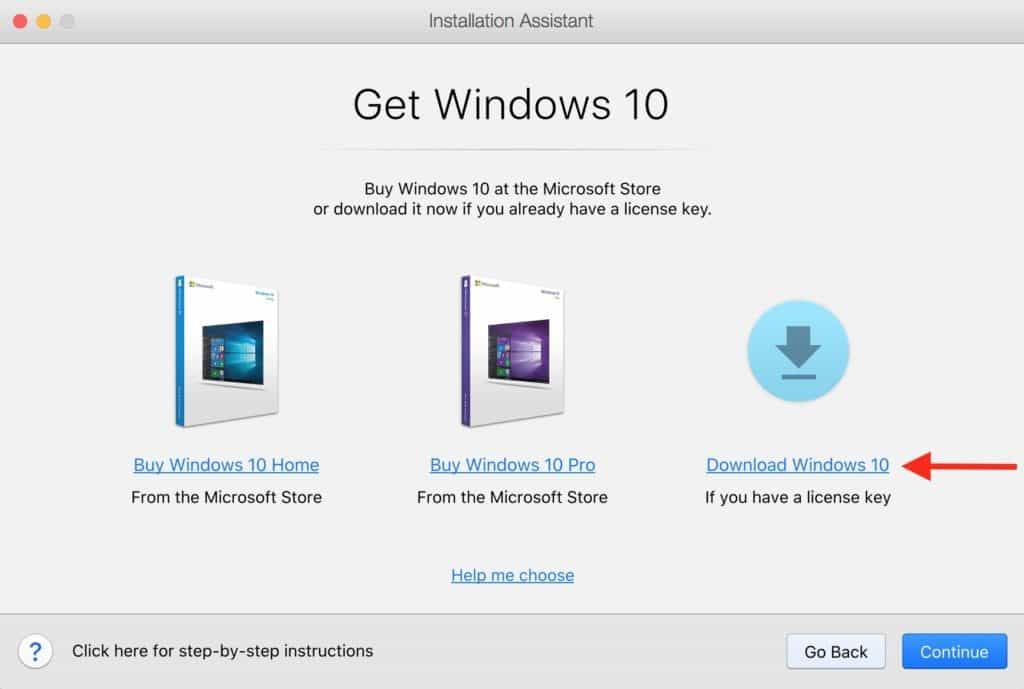
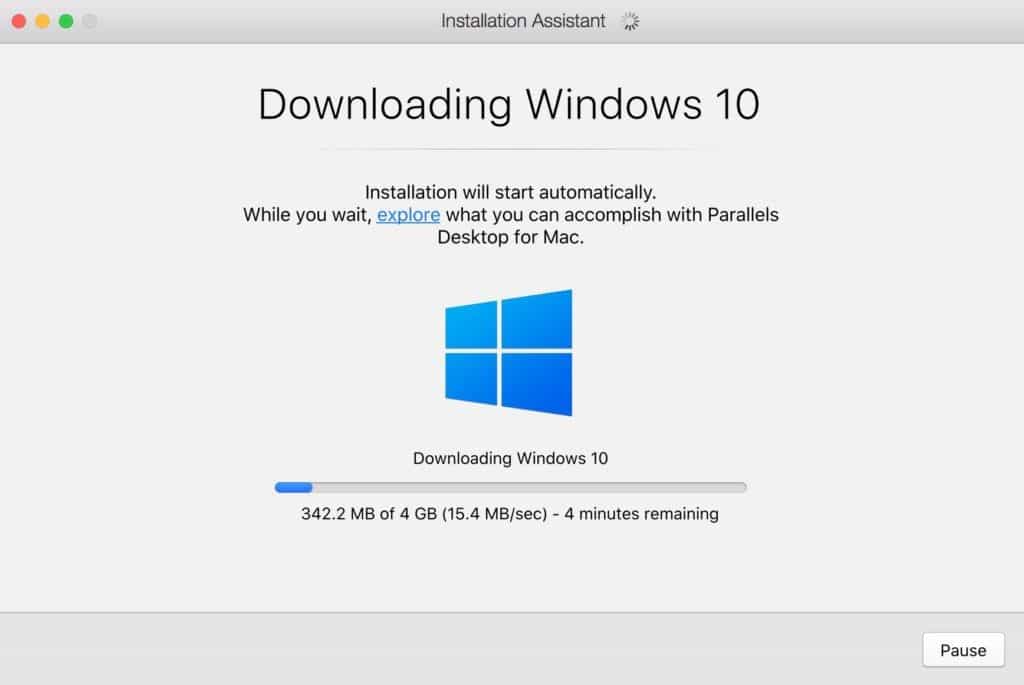
- Parallels will download a free ISO image of Windows 10. The ISO image is a fully functional free version of Windows 10, the only difference is that it is “unactivated”. The only benefit that activation with a license key offers is the ability to customize Windows with wallpapers, themes, lock screens etc and it also removes a small watermark on the lower right hand corner of Windows so you really don’t have to pay for an license key if you don’t want to.
- If you prefer, you can also download the free ISO image of Windows 10 from Microsoft yourself and put it on a Pen Drive with at least 5GB of space and select the second option Install Windows from a DVD or Image File. If you choose this method, make sure you download the 64-bit version of Windows and not the 32-bit version.
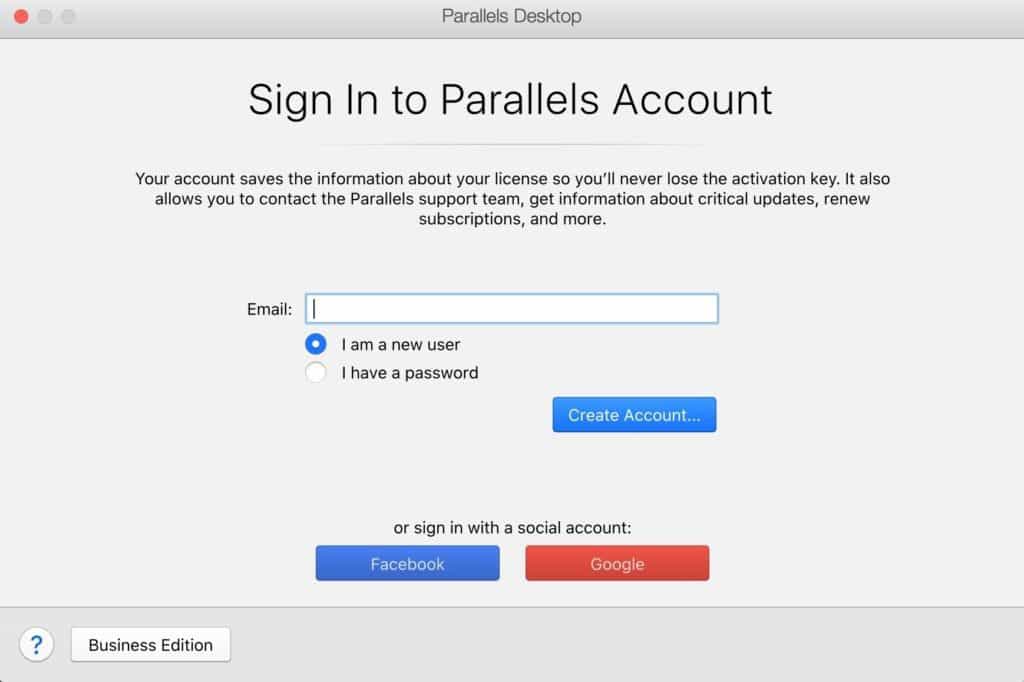
- Before Parallels installs Windows, you’ll be prompted to setup a Parallels account. This is very quick and is done within the installer – you just enter your email, click Create Account and choose a password. Alternatively, you can use your Google or Facebook account to sign-up.
- Once you’ve signed-up, Windows will then install within Parallels just as if you were installing it for the first time on a PC. This can take a while so just follow the on-screen prompts if it asks you to configure things like language, keyboard and region settings. If prompted to activate it just skip it. If you used the auto Windows 10 installer at the beginning of step 3, you may not see these screens as it will automatically detect your language settings.
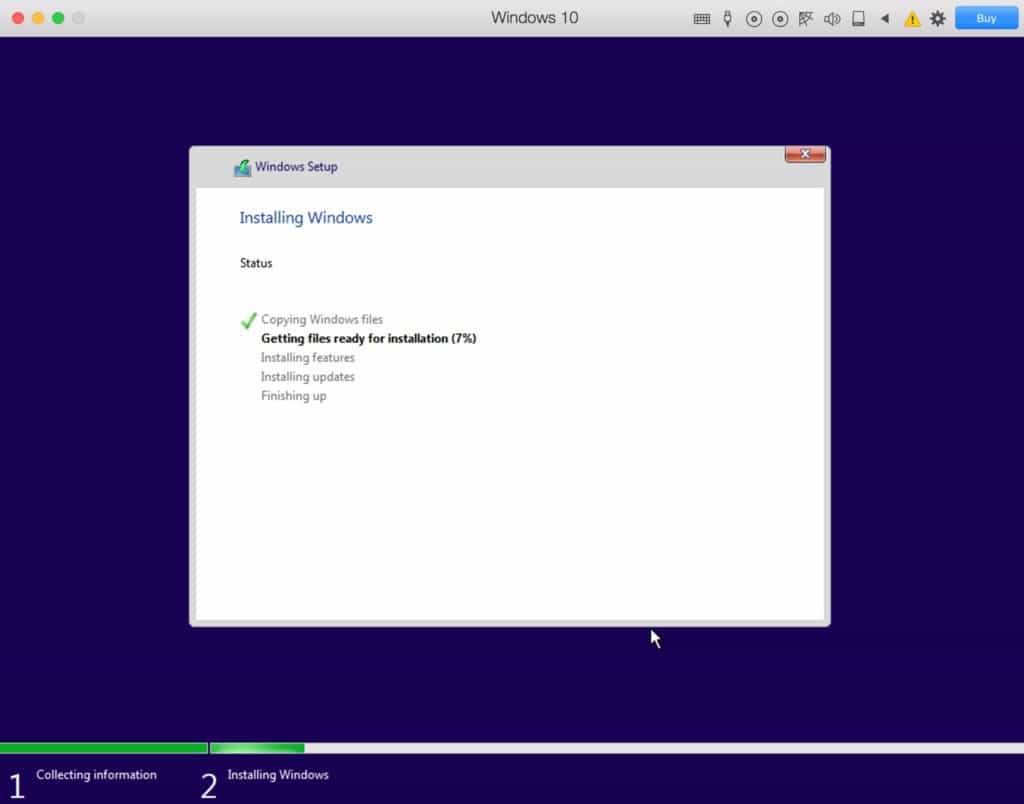
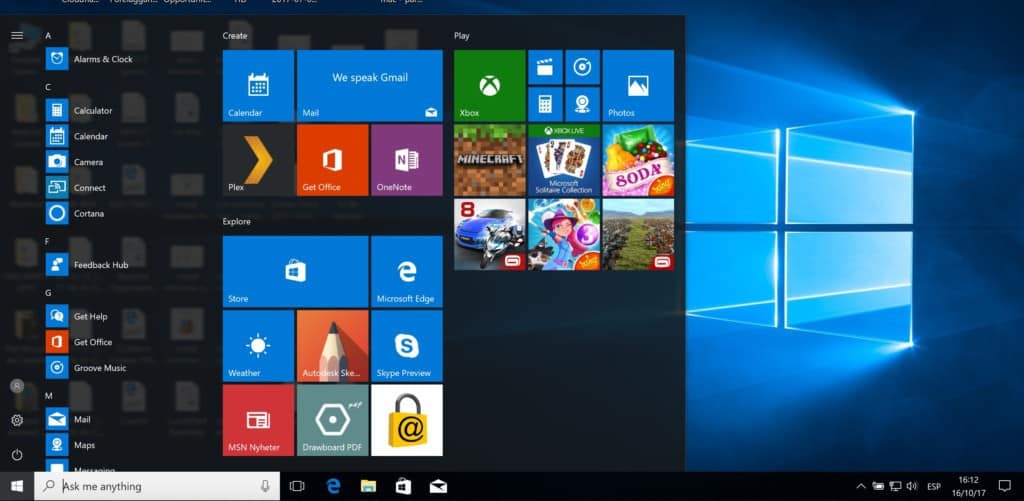
- The process can take up to ten minutes, after which you’ll see a completion message and you’ll see Windows running within Parallels.
- You then need to download and install Steam in Windows. Note that we do not recommend trying to install the GOG version of Cuphead in Parallels on Mac because there are far more problems with the GOG version when trying to run it on a Mac. In particular, the game crashes frequently when fighting the dragon boss but there are no such problems with the Steam version. The installation of the Steam version of Cuphead is also a lot easier than the GOG version which involves more work creating folders and moving files.
- When Steam is installed, sign in with your Steam account (or create one if you don’t have one) and buy Cuphead. You can also buy it from Amazon the only difference is that Amazon will send you a Digital Code which you can use in Steam to get Cuphead. Note that there is no physical disk for Cuphead – it’s only available as a digital download.
- That’s it, you can now play Cuphead on your Mac! We recommend playing Cuphead on Mac in 1336×720 resolution because anything above this may make the game lag a bit. There really isn’t a big difference in graphics quality between the different resolutions so you’re not missing out by running at a slightly lower resolution.

Contents
How To Play Cuphead On Mac With An Xbox or Playstation Controller
You can connect an Xbox controller or Playstation controller to Cuphead on Mac via USB or Bluetooth. Although Sony Playstation controllers don’t work with the PC version of Cuphead, there is a trick you can use to make your Playstation controller trigger the FIFA PC keyboard controls on Mac using a $5 app called Joystick Mapper.
First however you need to connect your controller to Parallels. You may find that it’s easier to use a USB cable as trying to get Parallels to work with your Mac’s Bluetooth can be very hit and miss sometimes. To connect an Xbox or Playstation controller via Bluetooth follow these 3 steps. If you just want to connect via USB cable instead, skip to step 3 now:
- Activate Bluetooth on your Mac by going to the Apple logo in the top left of your screen and select System Preferences, click Bluetooth and switch it On.
- Start Windows in Parallels and select the Parallels
 symbol at the top of the screen in the Menu Bar. Hold down the ALT key and select Configure.
 - Select Hardware and then USB & Bluetooth in the sidebar. Select Bluetooth devices to pair-up your Xbox or PS controller with Parallels and FIFA on Mac via Bluetooth or USB Devices to connect via USB.
Optimize Parallels For Playing Cuphead On Mac
There are also a few tweaks you can do to Parallels to make Cuphead play even better on Mac:
- Select the Parallels symbol at the top of your screen in the Menu Bar.
- Hold down the ALT key and select Configure. Go to Configure > General > Configure For… and select Games Only.
- To make your keyboard and mouse more responsive for gaming, go to Configure > Hardware > Mouse & Keyboard > Auto-Detect for Games.
When Will Cuphead Be Released For Mac?
MDHR Studio has said that there will eventually be a version of Cuphead for Mac but that was back in 2015 and since then, there’s no official word as to whether it will still be released on Mac. Mac users can often be left waiting for years in these cases and if you don’t want to take that risk, you’re better off following the tutorial above to install Cuphead on your Mac.
Playing Cuphead on Mac Using GeForce Now
Shortly after the release of Cuphead, the beta version of GeForce Now for Mac was released by NVIDIA. GeForce Now allows you to play Steam games on Mac such as Cuphead and at the moment the beta version is free to use. It will eventually cost a subscription fee to use when it comes out of beta but if you play a lot of PC games on Mac, we strongly recommend checking out our review of Geforce Now for Mac as it’s even better than running Windows on Mac for gaming.
We hope this tutorial has helped you install Cuphead on Mac but if you have any questions or problems let us know in the comments below.
You May Also Like: