
Many Mac users are still unaware that you can install Windows on a Mac for free from Microsoft perfectly legally, including on Apple Silicon Macs.
In this guide, we look at how to install Windows 10 for free on a Mac but you can also now run Windows 11 on a Mac for free too.
Microsoft doesn’t actually require users to activate Windows 10 with a product key unless you want to customize the look of it.
In fact you can no longer even buy a Windows 10 license from Microsoft anymore.
The only advantage of buying a Windows 10 license previously was that it allowed you to customize the look of Windows such as the desktop wallpaper, lock screen, styling, removal of watermarks etc.
There are two ways we recommend to run Windows 10 on a Mac:
- Using a Virtual Machine (Intel and Apple Silicon Macs)
- Using Boot Camp (Intel Macs only)
Virtual Machine
By far the best way to use Windows on a Mac in 2024 is to use a virtual machine.
Virtual machines work on both Intel and Apple Silicon Macs.
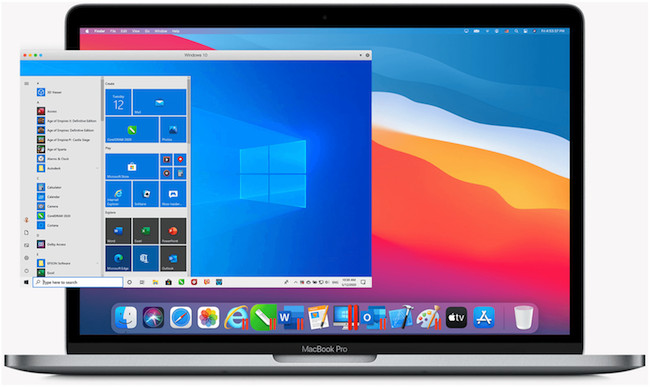
A virtual machine also allows you to run Windows and macOS at the same time so that you can switch between the two at any moment with just one click.
In our research and testing, we found the best VM for Mac is Parallels which makes it extremely easy to install Windows on macOS.
You can download a free trial of Parallels to install Windows 10 for free with it although you will need to subscribe after 14 days if you want to continue using it.
With Parallels, you can switch between Windows games or apps and macOS instantly in just a click.
Parallels is also the best way to install Windows on Apple Silicon Macs and was the first virtual machine to support them.
Note however that like all virtual machines, Parallels can only install Windows 10 for ARM on M-series Macs which is a specially adapted version of Windows for ARM processors.
Windows 10 for ARM is no longer being developed by Microsoft however so you have to download an old Windows Insider Preview version of Windows 10 ARM which we’ll show you how to do in this tutorial.
Parallels does however require a subscription after the 14 day trial has ended.
If you want a completely free virtual machines the best alternative to Parallels is easily VMware Fusion which has an unlimited free version for personal use only.
You can also learn more about VMware Fusion in our full review.
Boot Camp
If you’ve got an Intel chip Mac, the alternative to a using a virtual machine is to install Windows 10 in a separate partition on your hard drive using Apple’s Boot Camp.
Boot Camp is a free tool in macOS that allows you to install Windows on a separate partition on your Mac’s hard drive.
However this means that you can only boot your Mac in either macOS or Windows at one time. You can’t run them simultaneously like you can in a virtual machine.
The other big disadvantage is that Boot Camp also does not work with Apple Silicon Macs.
The advantage of Boot Camp however is that it is completely free in macOS.
For the needs of most Mac users that want to use Windows only programs, using a virtual machine is definitely your best option.
You can see a comparison of virtual machines vs Boot Camp below.
| Boot Camp | Virtual Machines | |
|---|---|---|
| Install Windows 10 & 11 | ||
| Play Windows Games | ||
| Run Windows and macOS without restarting | ||
| Works on M1/M2 Macs | ||
| Run Windows and macOS apps at the same time | ||
| Share files and folders between macOS and Windows | ||
| Transfer all data from PC to your Mac | ||
| Copy and paste images between macOS and Windows | ||
Free Trial |
Instructions To Run Windows 10 on a Mac For Free
Before you start, you should have at least:
- At least 4GB of RAM but we recommend 8GB of RAM if possible
- At least 40GB of hard drive space free just to run Parallels and Windows. However, if you intend to install lots of games and software we recommend at least double this.
If you don’t have enough space, you can also recover storage space on your Mac.
Alternatively, you can get an external drive for your Mac and install Windows on that although it’s generally better to install it on your Mac hard drive if possible.
If you’ve got all this, you’re ready to start installing Windows by doing the following:
- Download Parallels for Mac and run the installer. You can use the free trial to try it first.
- Double click on the Parallels download and when prompted by macOS click “Open” and then click “Accept” on the End User License Agreement.
- Parallels will now download the installer and then prompt you for your Mac admin username and password to continue the setup.
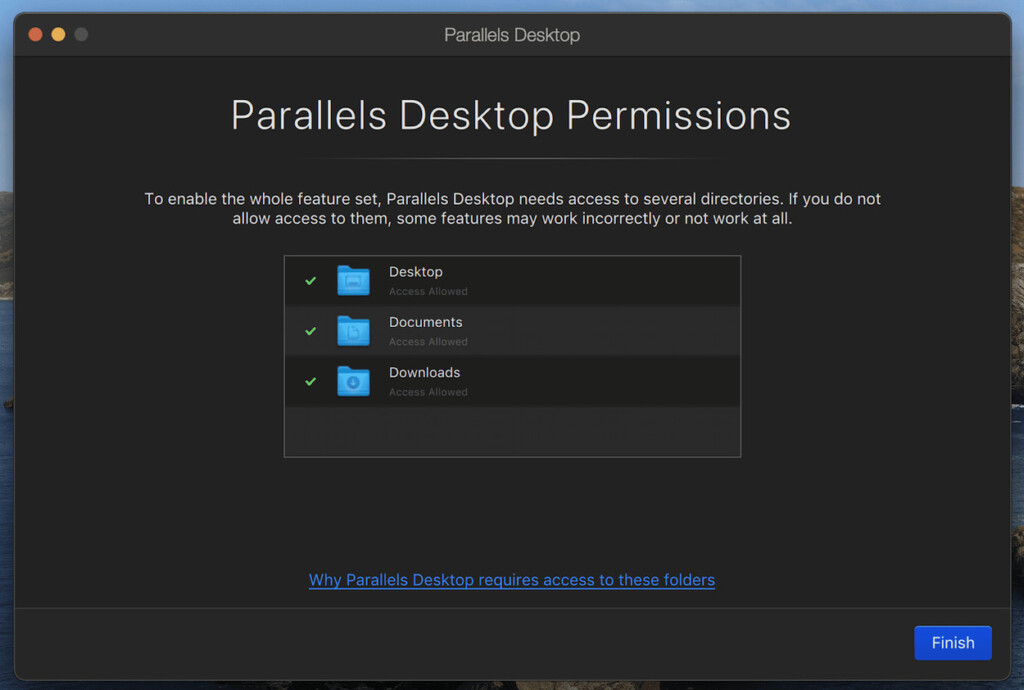
- Parallels will ask permissions to access your Mac Desktop, Downloads and Documents folders. Click on “Finish”.
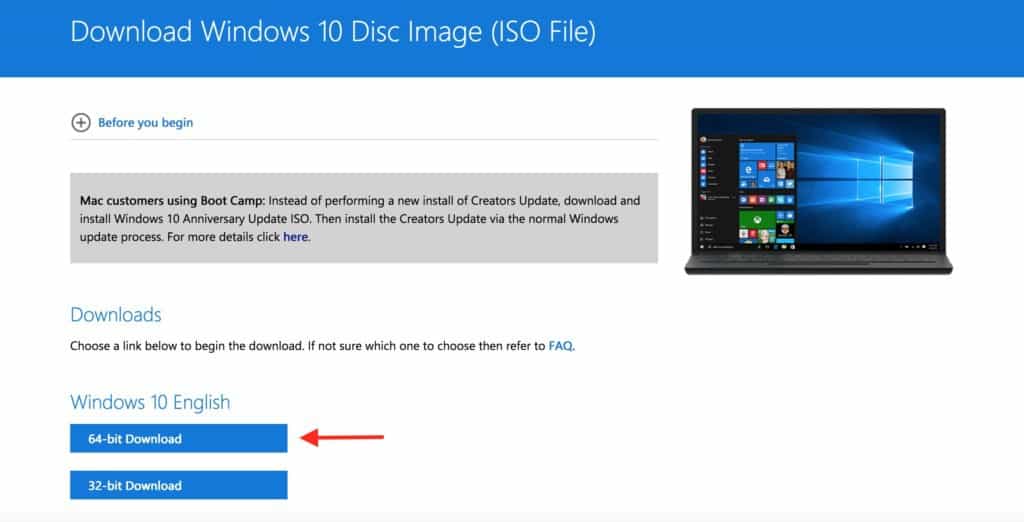
- The latest version of Parallels 19 can’t download Windows 10 automatically anymore as it only supports automatic downloading and installing of Windows 11. However, if you’re using an Intel Mac you can download the free ISO image of Windows 10 from Microsoft yourself and put it on a Pen Drive with at least 5GB of space. Make sure you download the 64-bit version of Windows and not the 32-bit version.
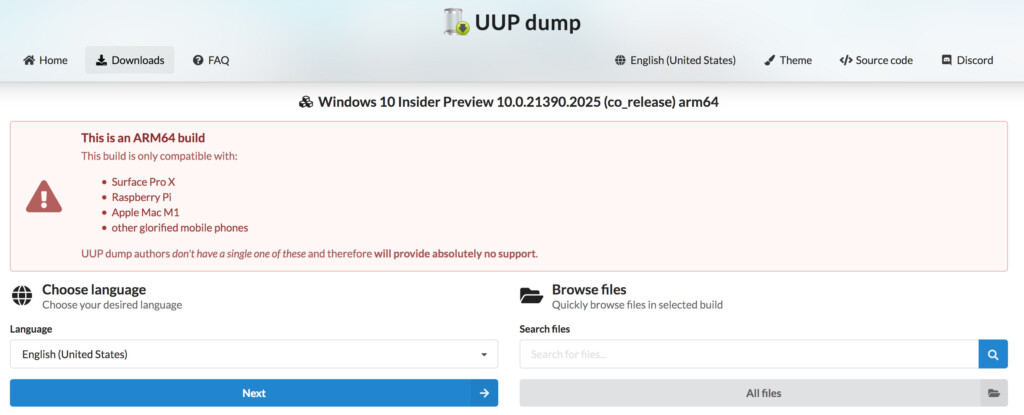
- If you’re using an Apple Silicon Mac then you need to download Windows 10 ARM which is the only version of Windows 10 that works on Apple Silicon Macs. Microsoft no longer provides Windows 10 ARM but you can download Windows 10 ARM here instead.
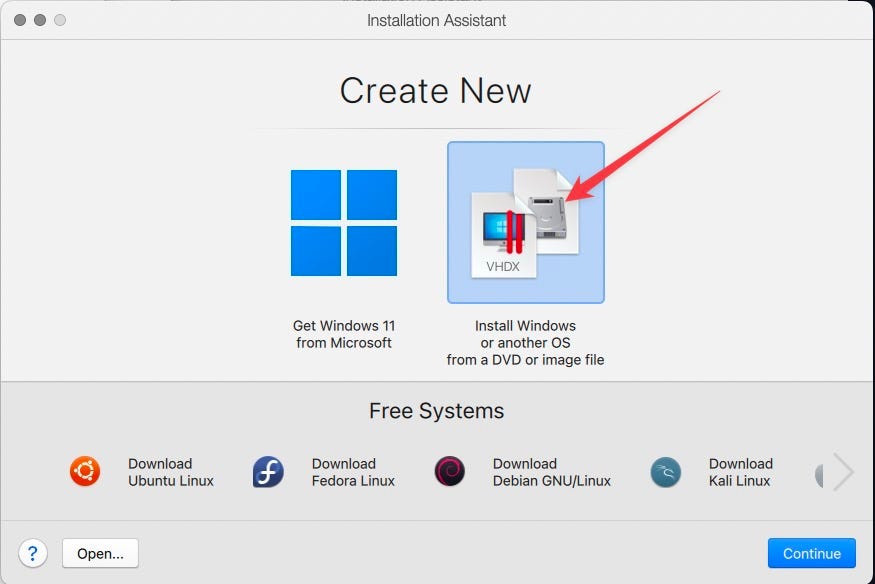
- When you’ve downloaded either the Windows 10 ISO for Intel Macs or the Windows 10 ARM ISO for Apple Silicon Macs, you then need to upload it to Parallels selecting the option Install Windows or another OS from a DVD or Image File.
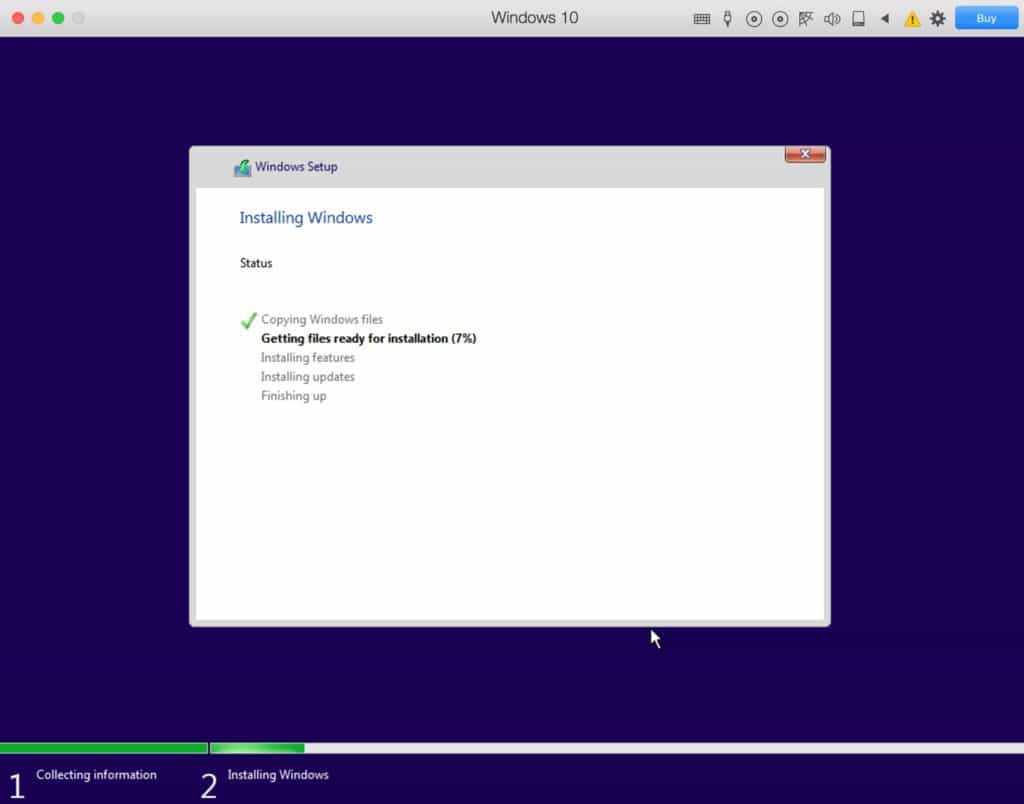
- Parallels will then start the Windows 10 installer on your Mac just as if it were installing Windows on a PC. This can take up to to ten minutes to complete and you’ll see a progress bar across the bottom.
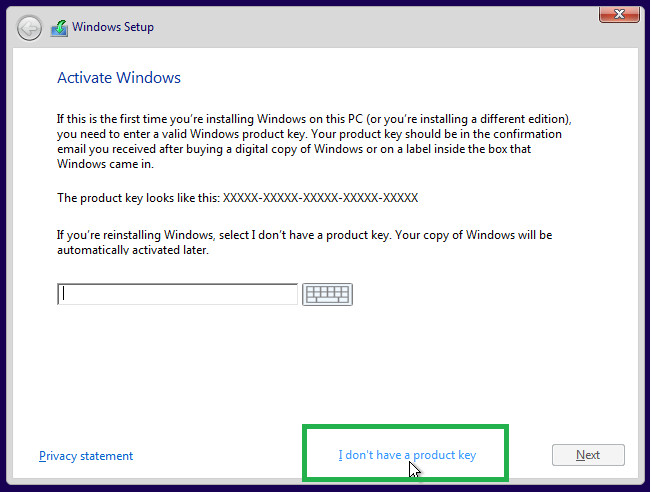
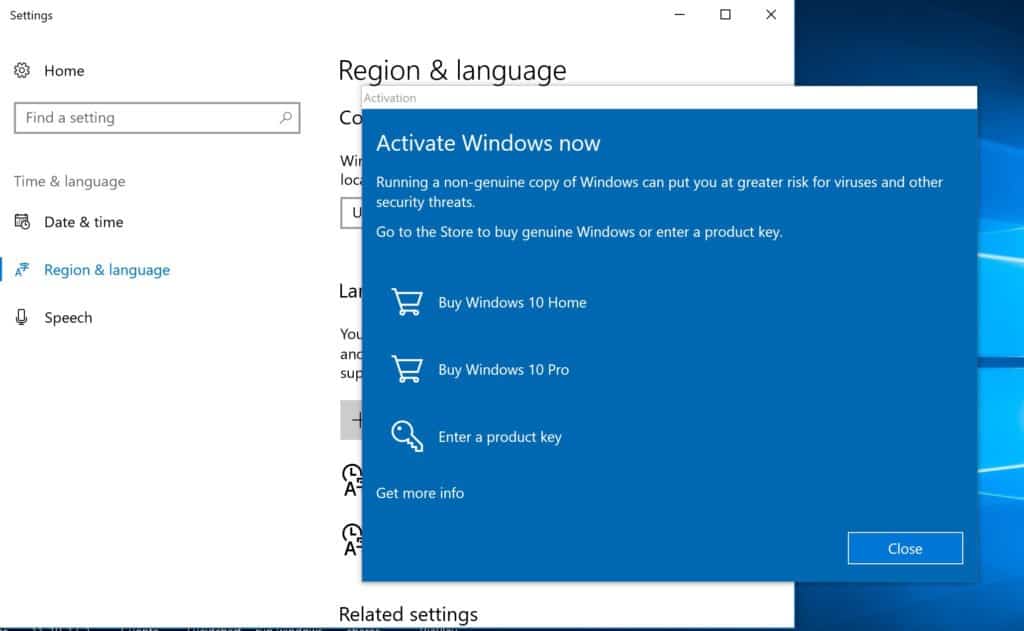
- During the installation you will be asked for the product key to Activate Windows. Since you don’t need a product key to use Windows 10 unless you want to customize the desktop and other minor tweaks, just click on “I don’t have a product key” and the installation will continue.
- After the installer has run, Windows will start the final setup phase. Don’t worry if it seems to hang as it’s still working.
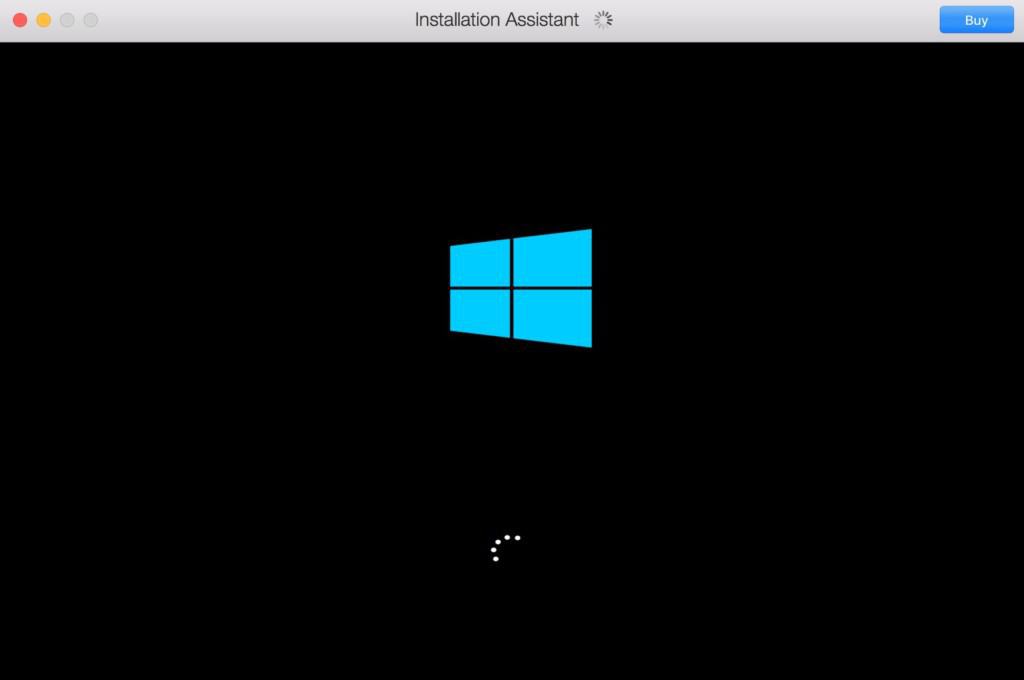
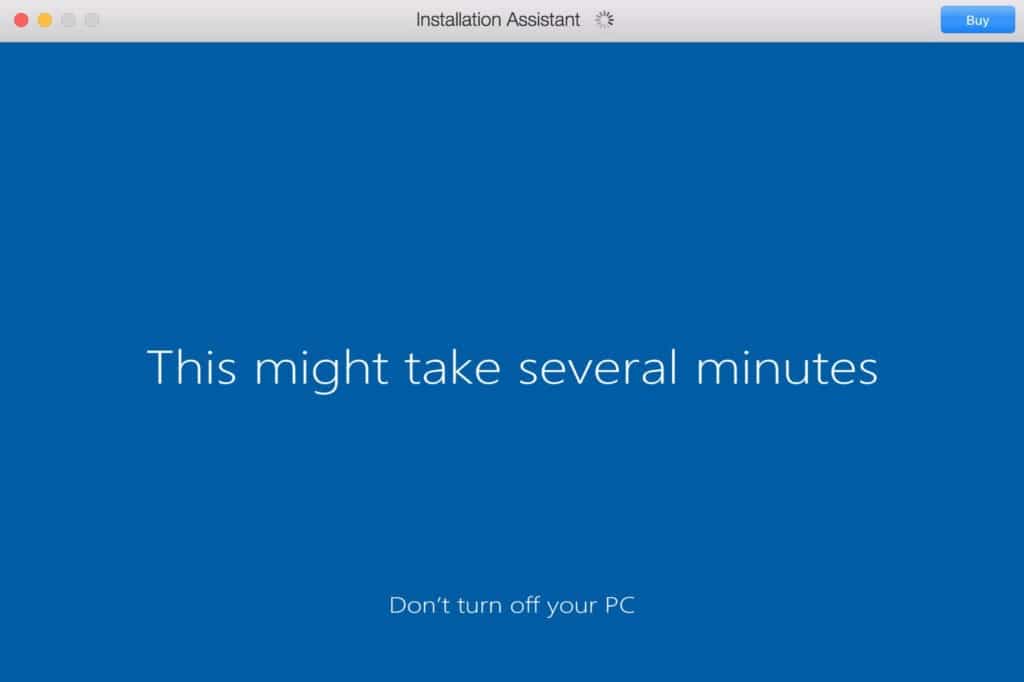
- Windows will then go into the final setup phase and you’ll then be warned it could take several minutes (although it should only be a few minutes at most). Make sure you don’t turn off your Mac or press anything.
- Finally, you’ll see an “Installation Complete” message. To finalize the setup, Parallels will prompt you for your Parallels username or password. You can setup an account if you don’t already have one or sign in with your Apple, Google or Facebook account too.
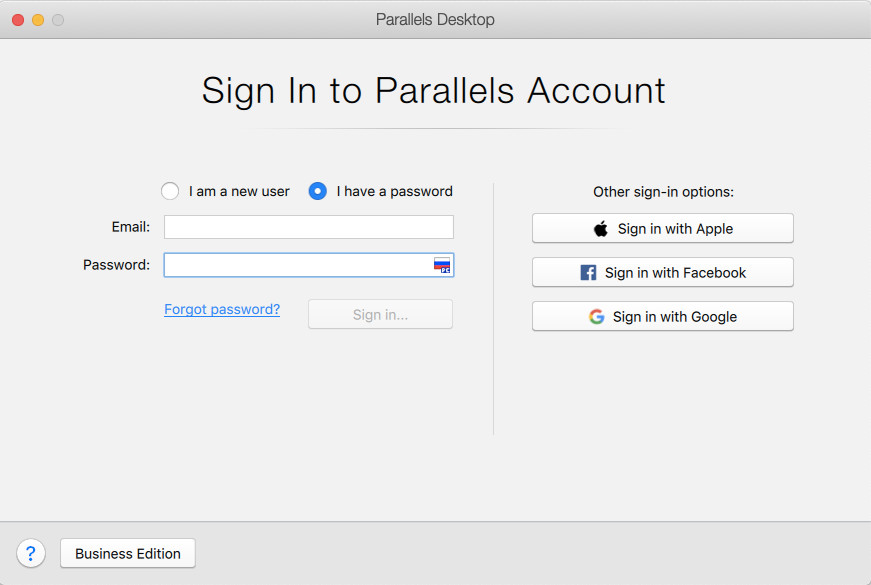
- After you’ve signed-in, Parallels will give you access to a 14 day free trial but if you’ve purchased a Parallels license already, you can enter the license key next.
- Parallels will then display the Windows 10 End User License Agreement which you must click on “Accept” before continuing. Windows 10 will then open in Parallels on your Mac.
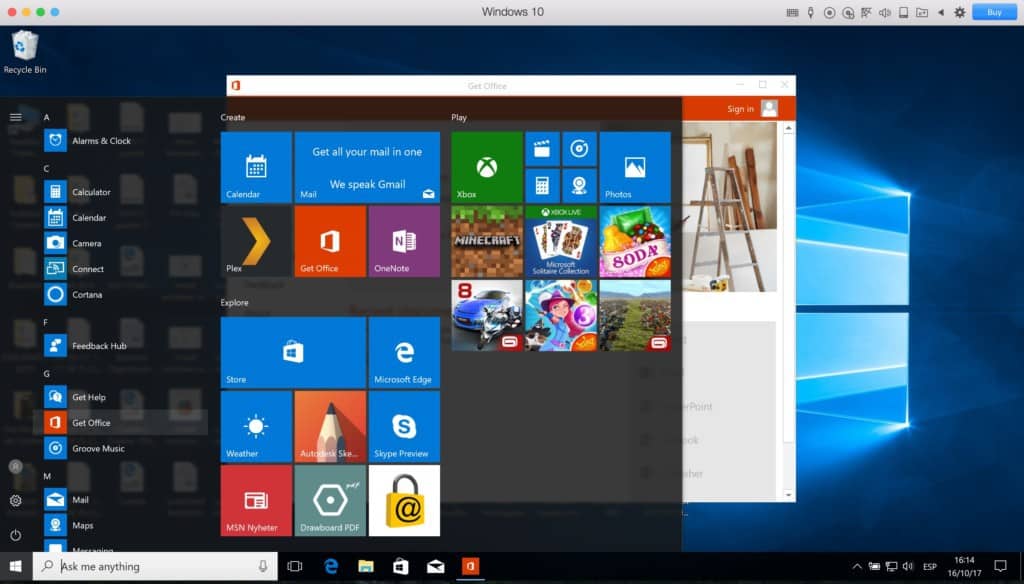
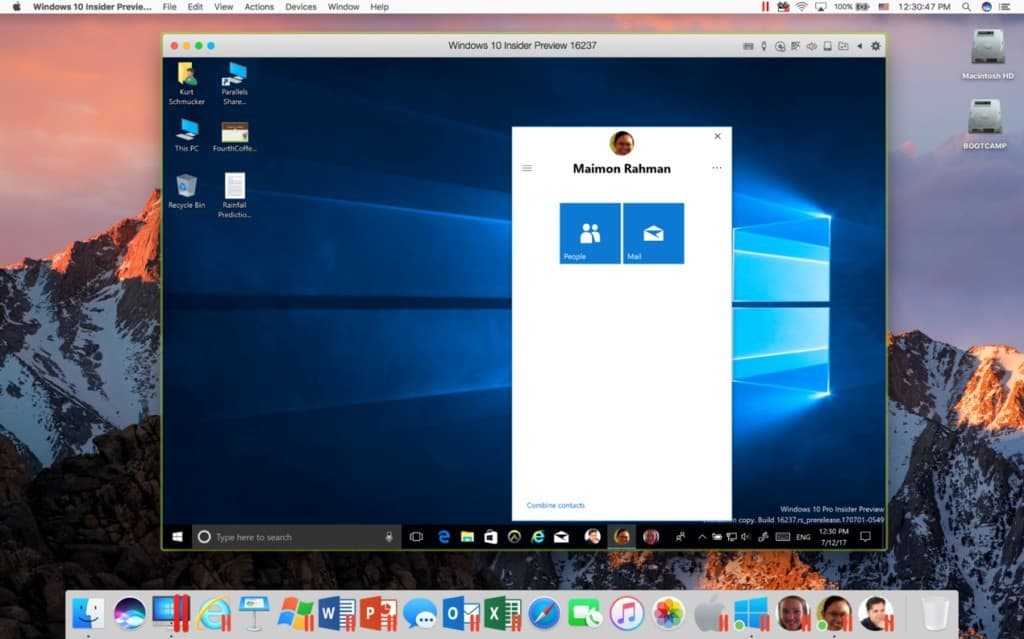
- When you use Windows for the first time, you will hear and see various pop-ups in Windows as Parallels automatically detects hardware on your Mac. This is one of the best things about Parallels as it instantly integrates Windows with your Mac. With other virtual environments, you usually have to manually configure ports, hardware and sharing between your Mac and PC but Parallels automates the entire process so that your Mac and PC work in harmony from the start. You’ll even see all of your Mac desktop documents on your Windows desktop without having to do anything.
- You may also see a Windows Activation screen pop-up but you can simply click Close it unless you’ve bought a full license for Windows and have a product key.
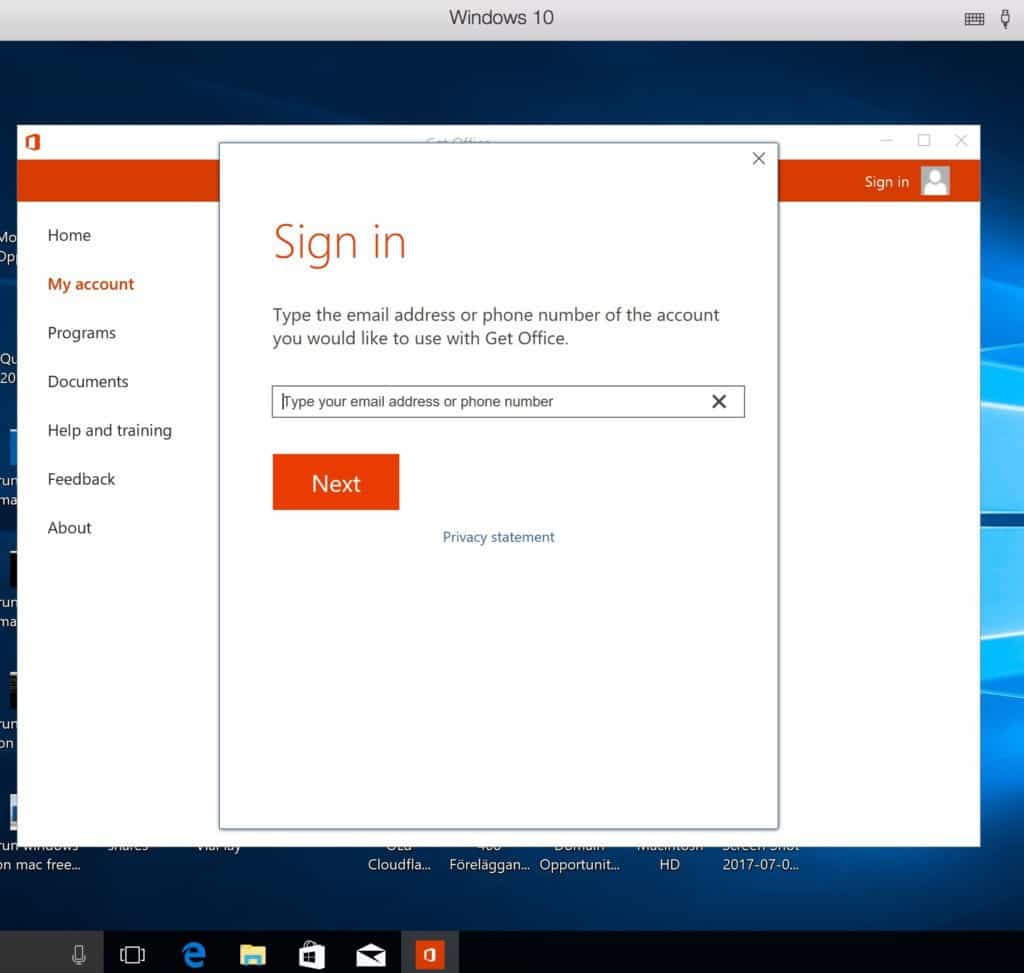
- You can also install Office by going to the Windows 10 Start Menu and selecting Get Office. You may also find our guide on how to get Microsoft Office for free useful too.
And that’s it – you’ve installed Windows 10 on your Mac for free.
The only cost you’ll face is that after 14 days, the free trial of Parallels will expire.
You’ll then have to buy a license for $99.99 which includes free upgrades.
Parallels is updated frequently to keep apace of updates to macOS and Windows so this may work out cheaper in the long run than having to buy a new version every year if new versions of macOS and Windows are released.
You don’t have to upgrade every year but the likelihood is you’ll need to upgrade at least every 2-3 years or so as Macs, macOS and Windows evolve.
Performance Issues Running Windows on a Mac
One thing to be aware of is that you may notice that your Mac’s cooling fans go into overdrive when installing Windows via Parallels and running Windows on your Mac.
This is because running a virtual environment is a very intensive process for your Mac’s resources and Windows will need a lot of RAM and CPU power to run on your Mac.
The minimum system requirements for Parallels are an Intel Core processor with a minimum of 4GB of RAM but it recommends 8GB of RAM.
However, even when running it on a MacBook Pro with a 2.3 GHz Intel Core iZ with 8GB, it’s still pushing it. If you check Activity Monitor, you may notice that Windows 10 sometimes uses all of your CPU resources.
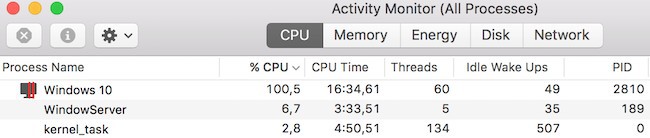
Don’t be alarmed by this – your Mac can handle it but you should reduce the number of applications running on your Mac to a minimum to help Parallels and Windows operate as smoothly as possible.
The best advice is basically to use Parallels on the newest Mac possible with the most RAM possible.
Parallels supports macOS features like Dark Mode and there’s also a handy picture-in-picture mode that allows you to keep your Windows desktop window in view at all times while you work in macOS.
Parallels is also the only virtual machine for Mac that works with Touch Bar MacBook Pros.
You can configure the Touch Bar to launch Windows apps such as Internet Explorer, OneNote, Chrome etc or change volume, brightness and other settings.
The full set of pre-configured actions and configurations built into Parallels by default below:

You can even configure it so that your Windows Task Bar:

is the same as your Touch Bar for easier launching of apps:
![]()
You can pretty much configure the Touch Bar to work however you want although it can get quite complicated to setup specific actions as you need to know a little about XML code but you can find full instructions how to do so here.
Parallels can be used to install any operating system including Linux and older versions of Windows and macOS (note however that you can’t install older versions of macOS or Windows on M1 Macs).
However, we don’t advise installing older versions of Windows unless you really need them, especially as old as Windows XP because it is no longer supported by Microsoft.