
Sharing your screen on a Mac is easier than ever once you know which method to use.
Whether you want to control another Mac remotely, share your screen during a meeting, or mirror an iPhone to your Mac, macOS already includes several built-in tools that do most of the work for free.
In this guide, we’ll show you the easiest ways to share a screen on a Mac in 2026.
Contents
macOS includes a built-in Screen Sharing feature that lets you view and control another Mac.
This is the easiest option if both Macs are on the same Wi-Fi network at home or in the office.
You can find full instructions here how to use it or simply watch the video above to see how its done.
The simplified steps to do it are:
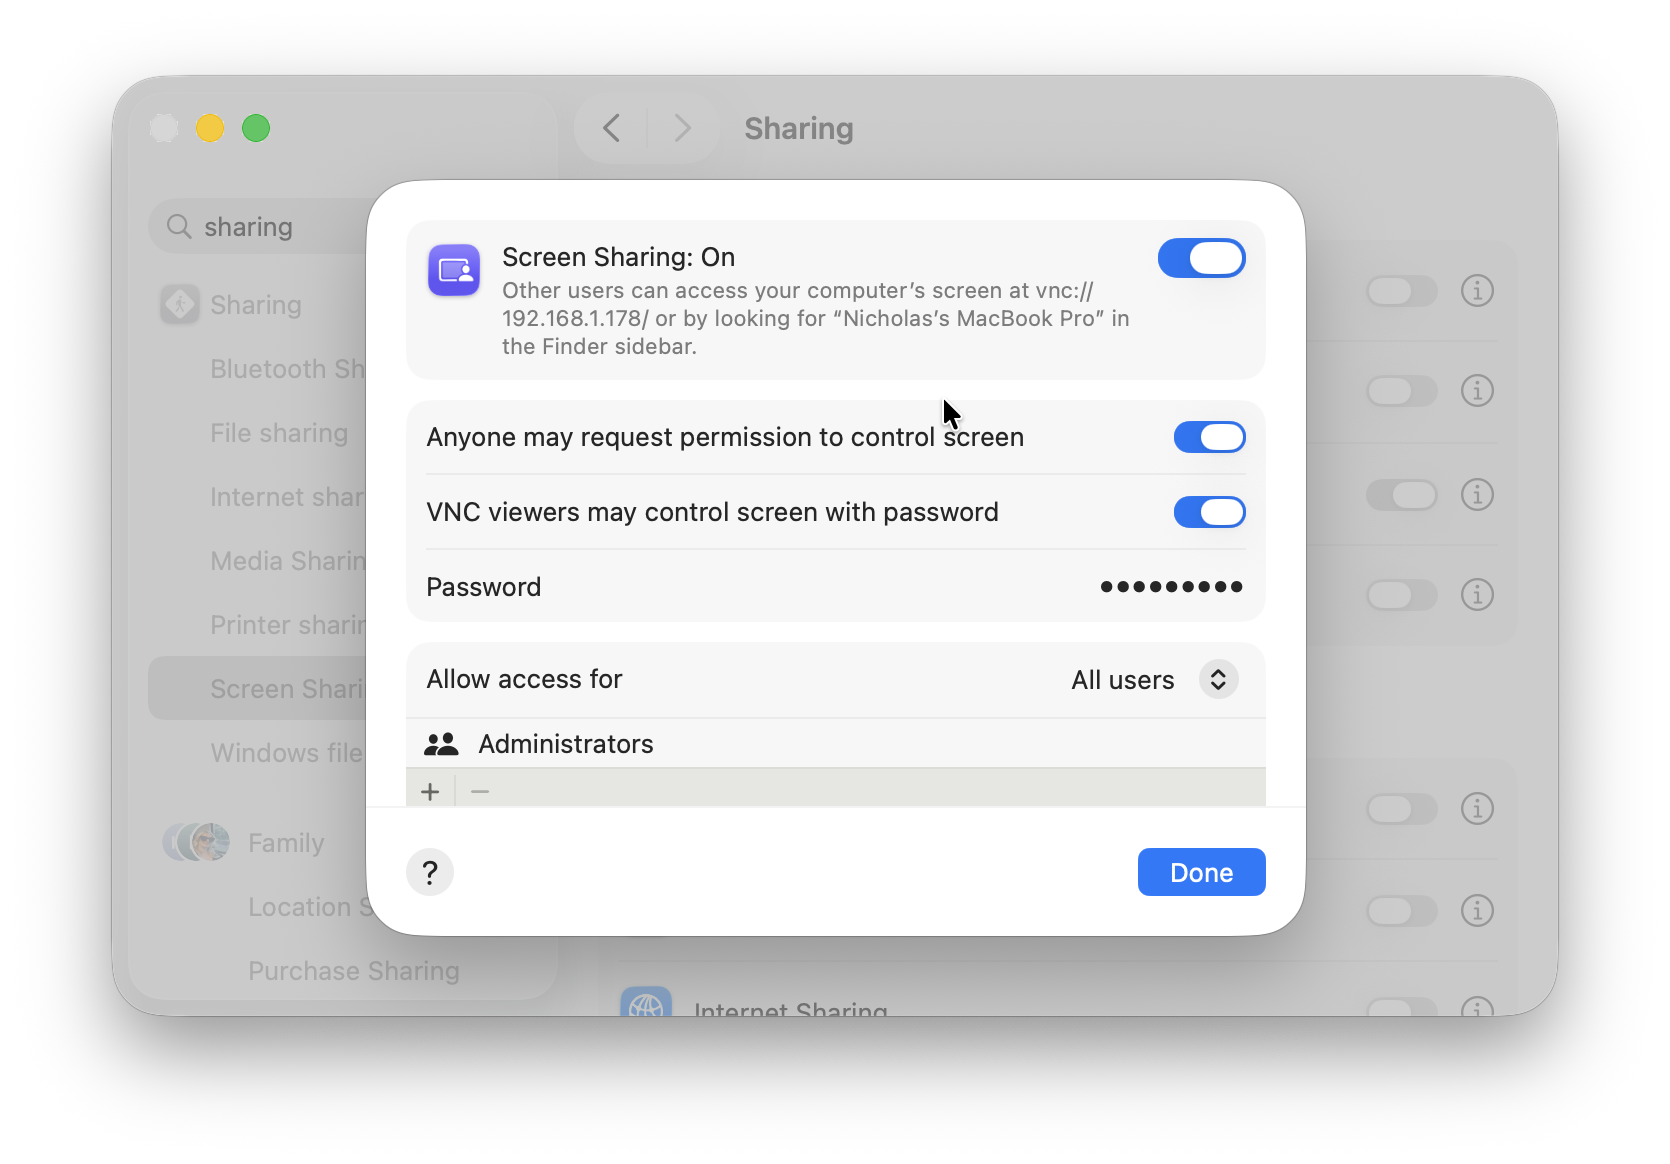
Step 1: Enable Screen Sharing
On the Mac you want to access:
- Open System Settings
- Go to General > Sharing
- Turn on Screen Sharing
- Make sure the settings look like this:
Step 2: Connect From Another Mac
On your the Mac you want to view the screen on:
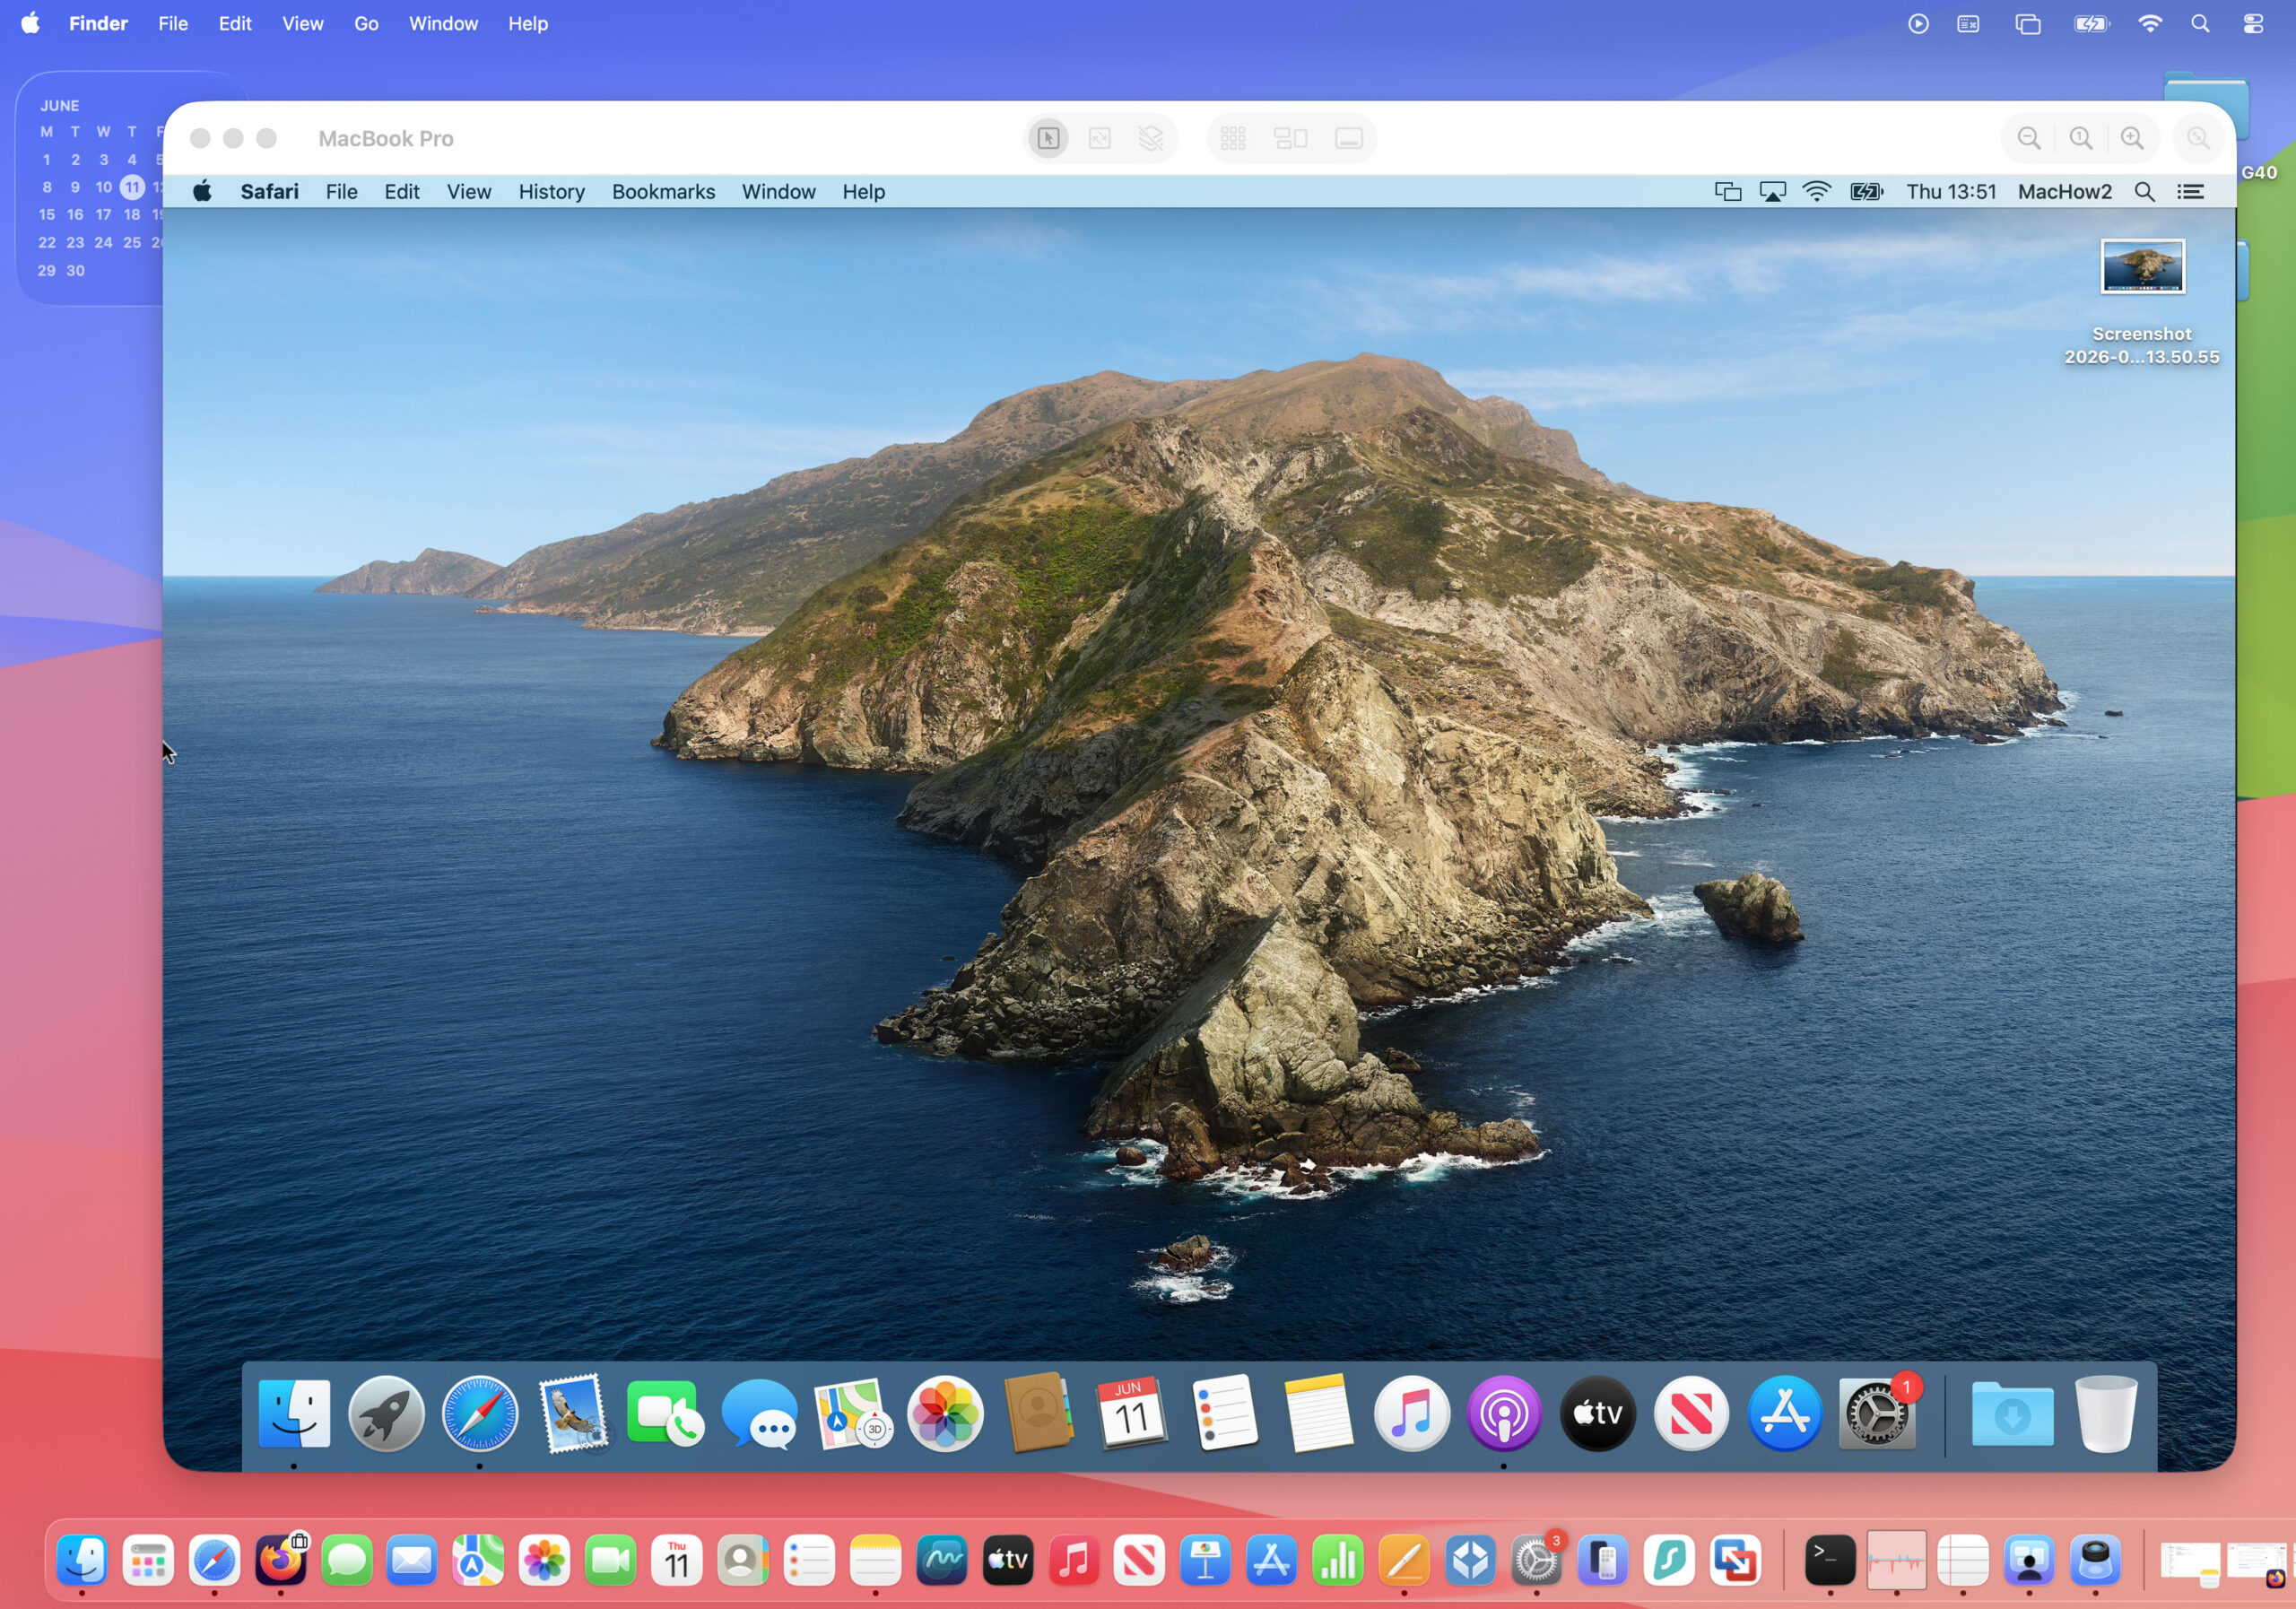
- Search for “Screen Sharing in Spotlight”. Alternatively, you can use the keyboard shortcut Command + Space and type Screen Sharing.
- Select the Mac you want to connect to
- Select “Request Permission”
- The target Mac must then accept the request to share their screen
- Once accepted, you will be able to see the screen of the target Mac on your desktop. You can also access and control the Mac from your Mac.
If you only want to show your screen during a meeting or support call, apps like FaceTime, Zoom, Google Meet, and Slack are much easier than full remote desktop software.
FaceTime Screen Sharing
FaceTime uses Apple’s SharePlay feature to let you share your screen with other Apple users. Not only that, but since macOS Sonoma it also allows you to grant control of your Mac to the person you are sharing with.
FaceTime screen sharing also works between Macs, iPhones, and iPads.
To share your screen in FaceTime:
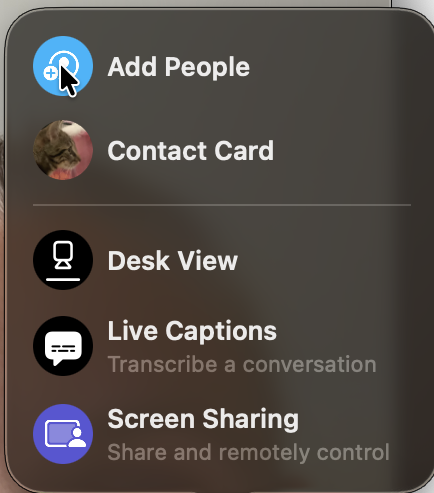
- Start a FaceTime call
- Click the three dots on the bottom of the call and choose “Screen Sharing“
- Then select either:
- Share This Windows
- Share All Application Windows

FaceTime also allows the person you are sharing with to control your Mac. If you go to the Menu Bar and select the FaceTime icon, you will see the “Allow Control” option in the drop-down Menu.
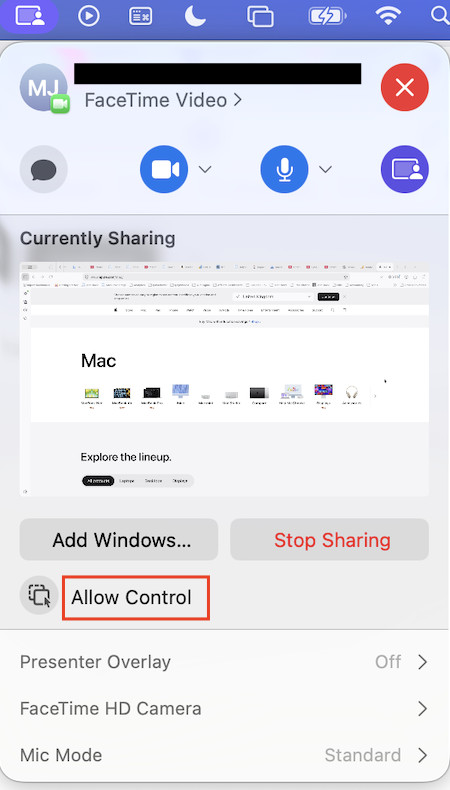
Select this, and the person you are sharing with can also access and control your Mac.
Whenever you want to stop sharing your screen using FaceTime just click on “Stop Sharing”.
3. Access Your Mac From Anywhere
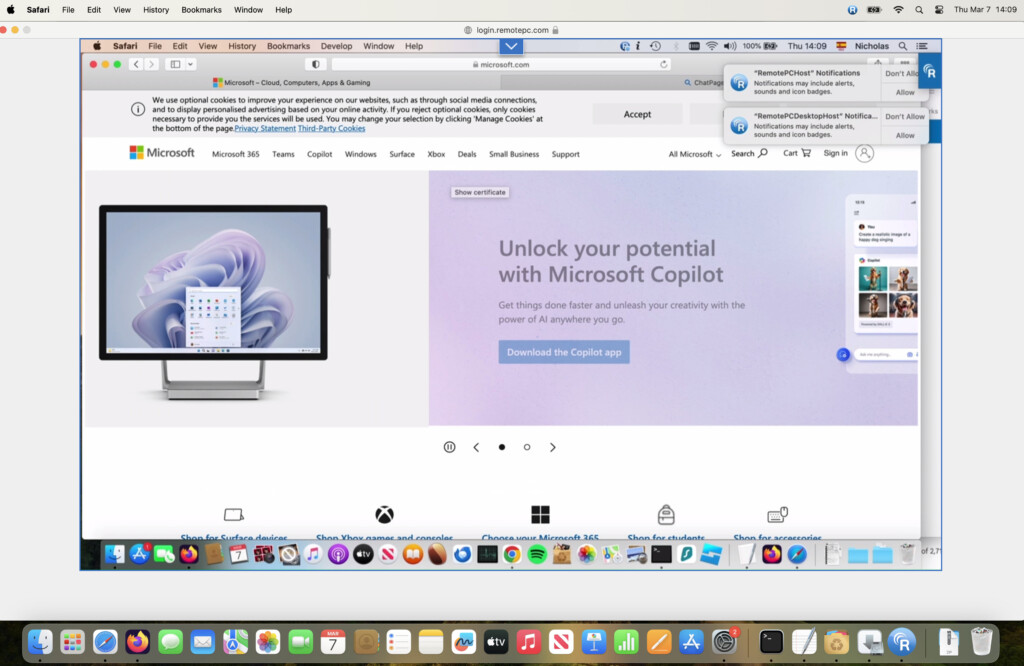
Although it’s technically possible to use Apple’s built-in Screen Sharing over the internet, it usually requires router configuration and port forwarding, which most users don’t need to deal with.
For remote access from anywhere, the easiest option is either using FaceTime (see above) or for a dedicated solution, remote desktop apps such as RemotePC, Chrome Remote Desktop and AnyDesk.
For a guide to the best ones we strongly recommend reading our guide to the best remote desktop software for Mac.
If you want to display your iPhone or iPad screen on your Mac, there are three main options depending on what you need.
QuickTime Player (Wired – Most Reliable)
QuickTime Player remains the most stable method for mirroring or recording your iPhone or iPad screen on a Mac. It’s especially useful for tutorials, demos, or screen recordings because it doesn’t rely on Wi-Fi.
- Make sure your iPhone or iPad is unlocked. Connect your iPhone or iPad to your Mac using a USB cable and click “Trust” when prompted.
- Open QuickTime Player
- In the menu bar, click File > New Movie Recording
- Click the small arrow next to the record button
- Select your iPhone or iPad under Camera/Source
Your device screen will now appear in a window on your Mac. You can also click Record to capture it.
FaceTime / SharePlay (Wireless – Quick Sharing)
You can also share your iPhone screen during a FaceTime call using SharePlay (see above). This is more convenient for live collaboration, but it’s designed for viewing rather than recording or professional workflows.
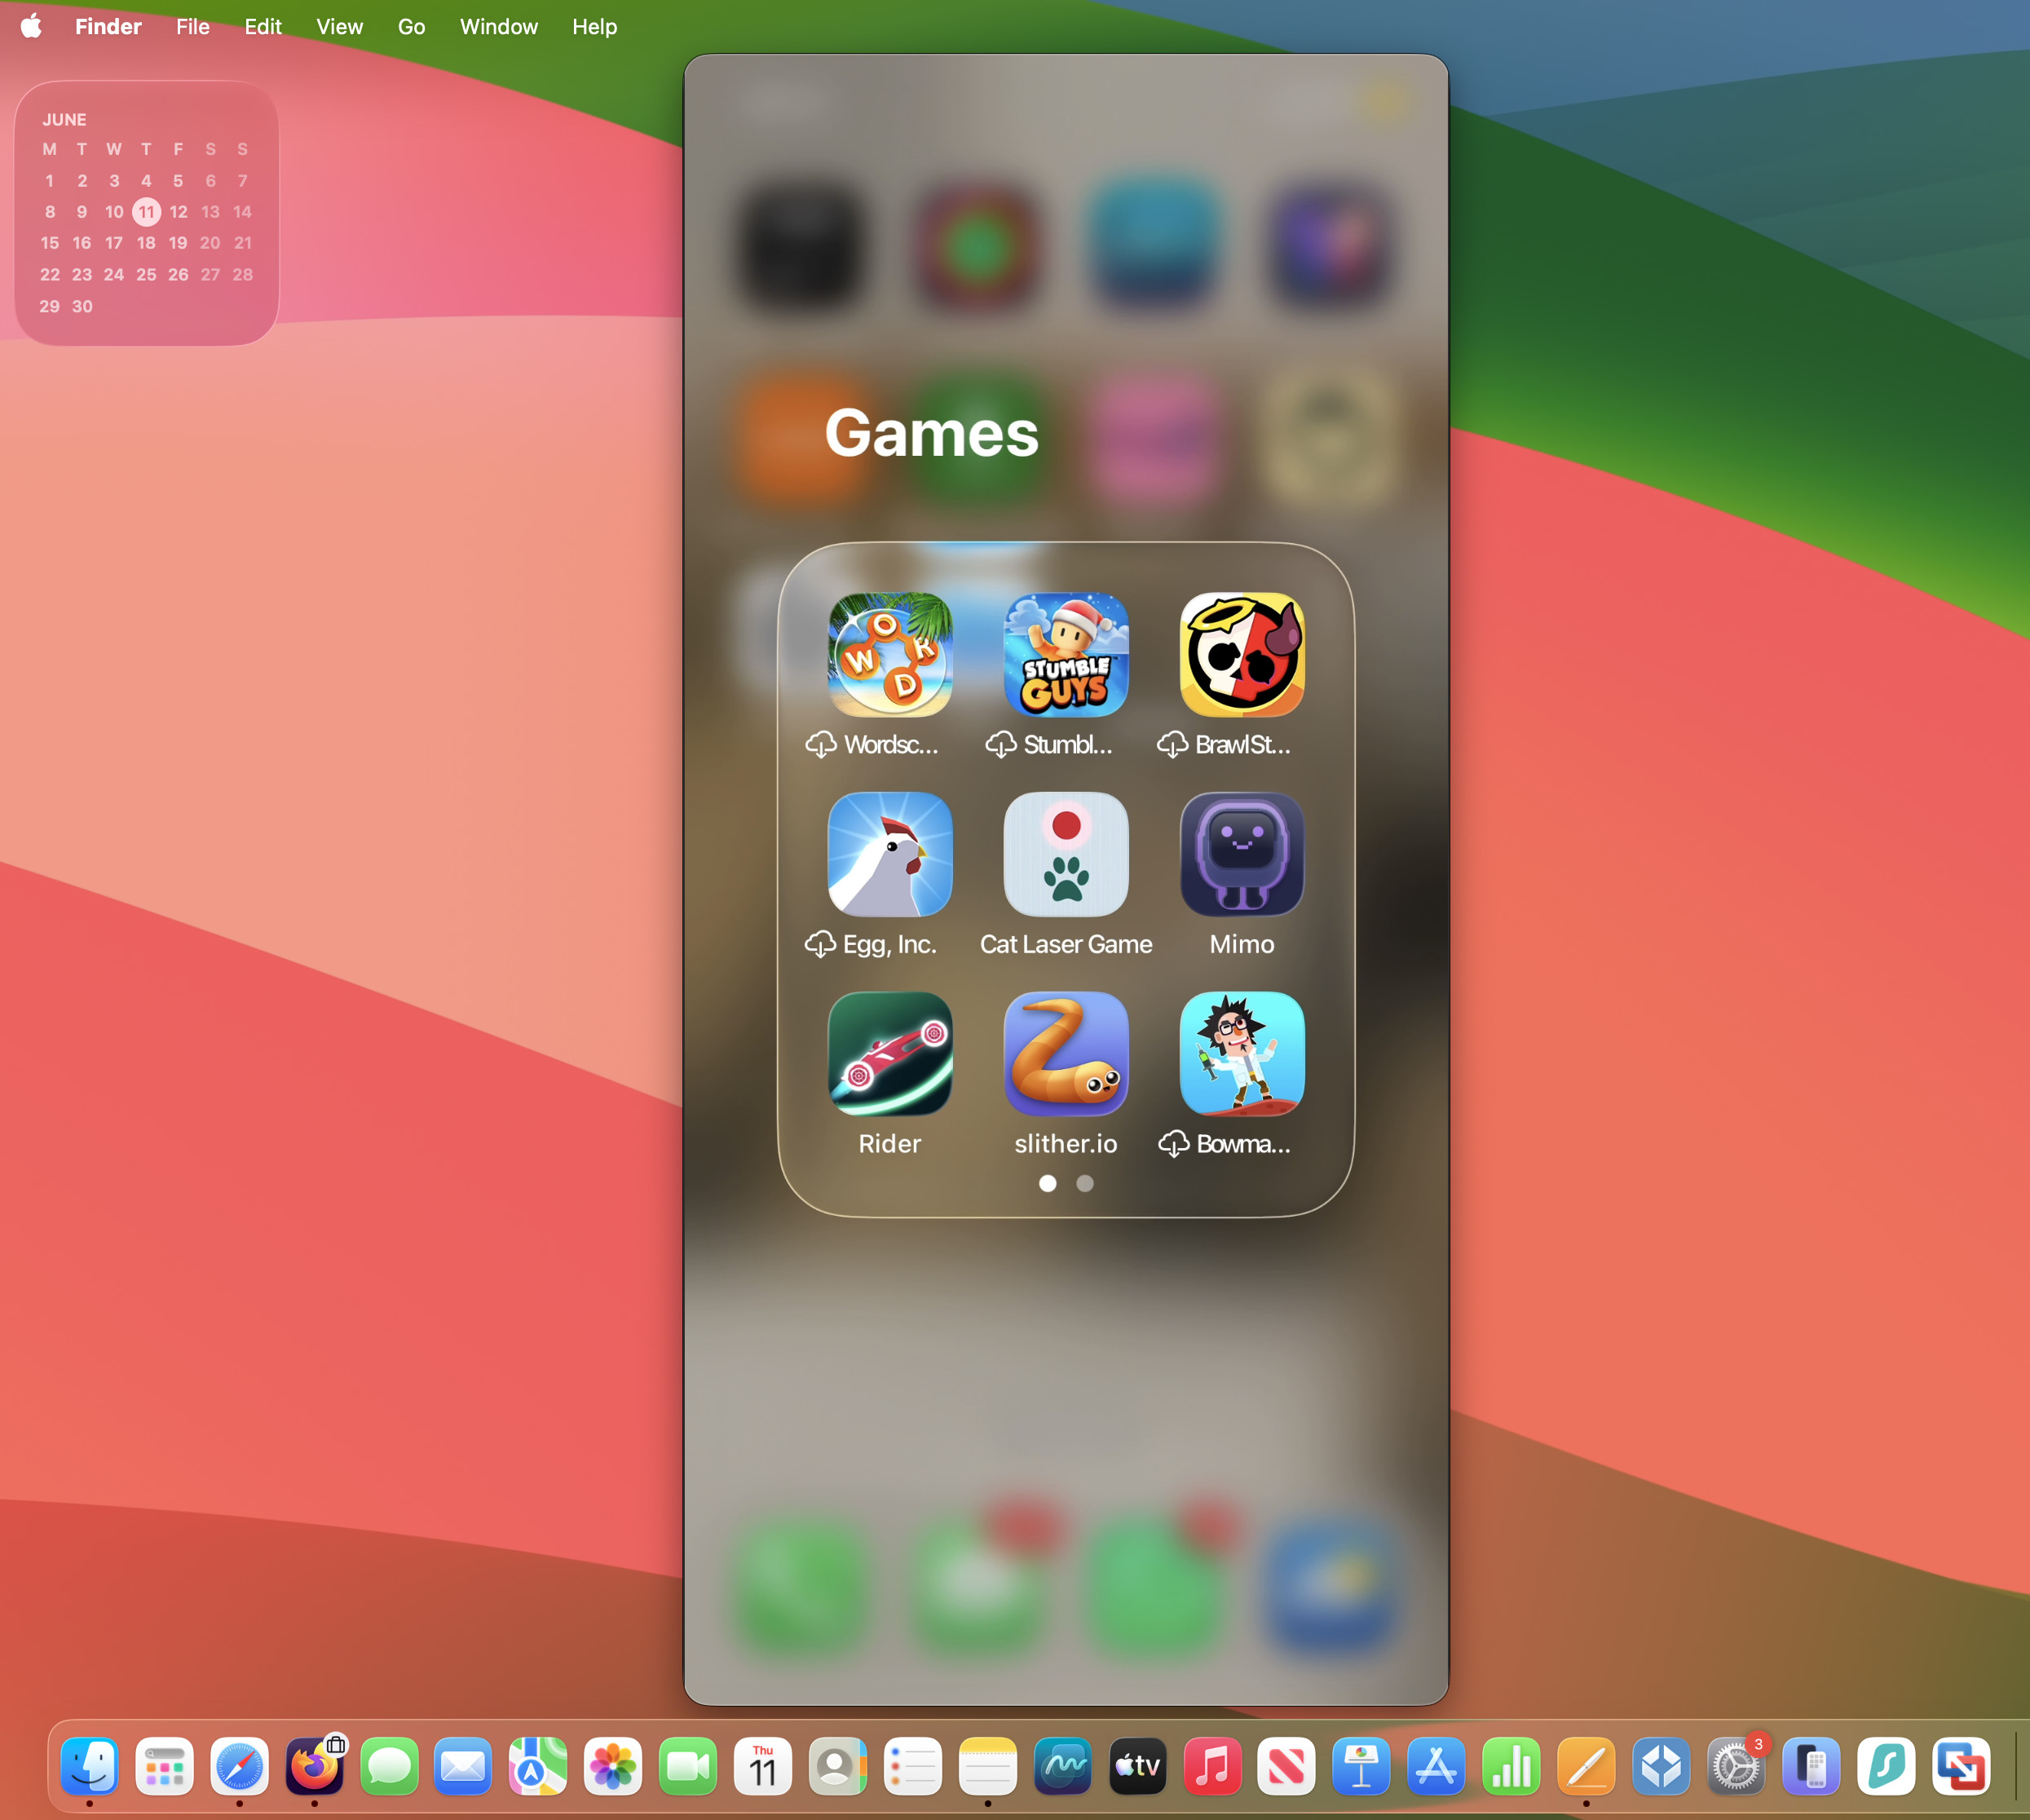
macOS iPhone Mirroring
On newer versions of macOS, Apple also includes iPhone Mirroring, which lets you view and interact with your iPhone directly on your Mac wirelessly without opening QuickTime or FaceTime.
- Make sure your Mac and iPhone are signed into the same Apple ID
- Ensure both devices have Wi-Fi and Bluetooth enabled
- Open the iPhone Mirroring app on your Mac (macOS Sequoia or later)
- Select your iPhone when prompted
- Enter your iPhone passcode or approve the connection if required
Your iPhone screen will appear on your Mac and you can interact with it using your keyboard and trackpad.
For wireless mirroring, apps like Reflector, AirServer, and LetsView also work well.
Tips For Better Screen Sharing
Hide Notifications
Turn on Focus Mode or Do Not Disturb before sharing your screen.
Clean Up Your Desktop
Close private documents and remove unnecessary clutter before meetings or presentations.
Use Ethernet If Possible
A wired connection gives smoother performance and lower lag than Wi-Fi.
Keep Your Mac Awake
Disable sleep mode during long remote sessions.
Is Mac Screen Sharing Secure?
Yes, as long as you only allow access to trusted users.
For better security:
- Disable Screen Sharing when not using it
- Use strong passwords
- Avoid allowing access for “Anyone”
- Only grant Screen Recording permissions to trusted apps
FAQ
Do I need extra software to share my Mac screen?
No. macOS includes built-in screen sharing tools for Mac-to-Mac access and FaceTime sharing.
Can I control another Mac remotely?
Yes. macOS Screen Sharing, Chrome Remote Desktop, AnyDesk, and TeamViewer all support remote control.
Can I share my Mac screen with Windows users?
Yes meeting apps like Zoom or remote desktop software like Chrome Remote Desktop, AnyDesk, or TeamViewer.
Can I remotely control an iPhone from a Mac?
No. Apple only allows screen viewing and mirroring, not full remote control of iPhones or iPads.
Can I record my screen while sharing it?
Yes. Press:
Shift + Command + 5
to use macOS screen recording tools.