Due to technical changes made by Apple in macOS Big Sur onwards, Mac users have been unable to use split tunneling in most of the best Mac compatible VPN apps.
Split tunneling allows you to control specifically which apps use your VPN connection and now thanks to the excellent open source Private Internet Access (PIA) VPN, Mac users can once again enjoy split tunneling on a Mac including in macOS Sonoma.
At the moment, only PIA and Surfshark for Mac support split tunneling on Macs.
Here we take a look at how its useful when using a VPN and how it works.
What Is Split Tunneling?
Normally when your VPN is connected, it routes all of your apps and connections through it. This can often cause problems with certain apps or hardware connected to your Mac.
Split tunneling however gives you more control over when and how your VPN is used.
For example, VPNs often make it difficult to print wirelessly as your VPN makes your Mac “invisible” to the printer.
Split tunneling allows you to still print when using a VPN by excluding your printer from your wireless VPN connection.
Split tunneling can also be used to allow certain games to use your VPN but not other apps or websites such as banking websites. This avoids the need to keep turning your VPN off and on again when you want to use it with specific apps.
Unfortunately, because of changes to the architecture of macOS Big Sur onwards (Apple removed the Network Kernel Extension API required for split tunneling), most VPNs only support split tunneling on a Mac in macOS Catalina or earlier.
However, Private Internet Access (PIA) was the first VPN to reintroduce this feature to its Mac VPN client (although it has now been joined by Surfshark too) giving Mac users more freedom to choose which apps use the VPN connecting and which do not.
How To Setup Split Tunneling on a Mac with PIA
To setup split tunneling on a Mac with PIA follow these instructions:
- Download PIA for Mac. You can use it free for the first 30 days while you try it out.
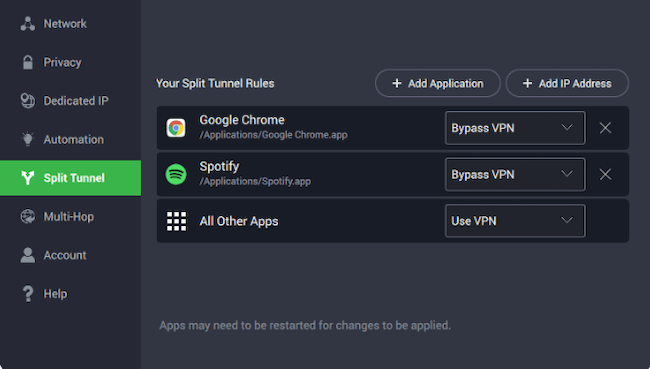
- Go to the Settings Menu and select Split Tunnel on the left hand side.

You can now select which apps you want to bypass PIA VPN and which to include. In the above example, Google Chrome and Spotify are excluded from using the VPN connection but all other apps are allowed.
If you click on “Add IP Address”, you can also ensure that specific IP addresses are excluded from using the VPN connection. This is useful if you’re connecting to a site or service that often blocks VPN connections.
The good news is that although PIA is a commercial app, it is based on open source code so other VPN providers should be able to copy and implement split tunneling in their own Mac apps using the same principle.
This means that hopefully VPNs such as NordVPN and Surfshark will re-add split tunneling to their own Mac apps soon.
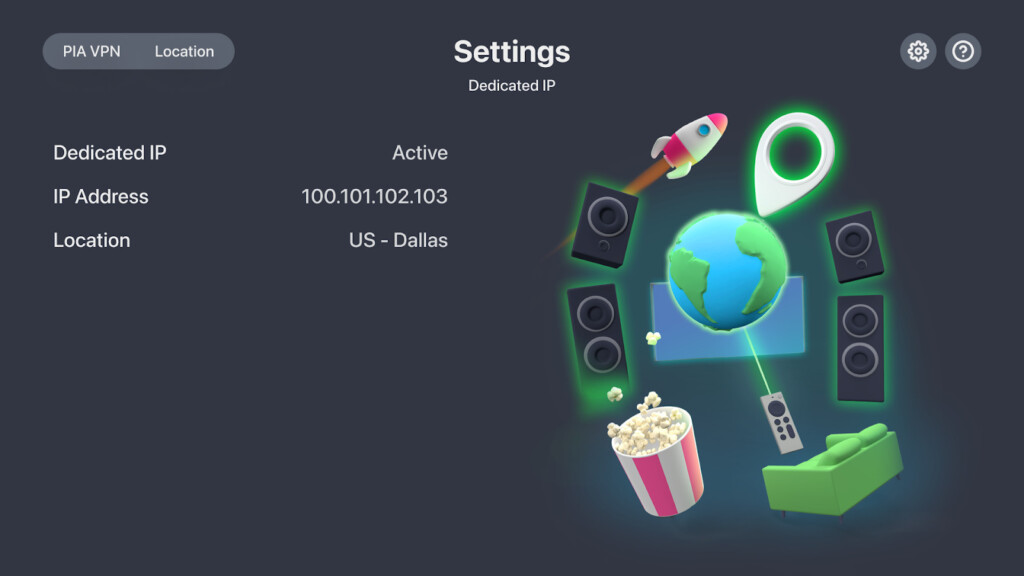
PIA Apple TV App
At the same time as PIA has added split tunneling to the Mac app for the first time since 2021, it also released an Apple TV app.
This allows you to unblock content on Netflix, BBC iPlayer, Amazon Prime and other apps on your Apple TV.
Not only this but PIA also offers a dedicated IP in the Apple TV app which makes it more reliable at unblocking streaming services (this costs an extra $2 per month to add this onto a PIA subscription however).
You can currently get up to 87% off subscriptions of PIA and try it free for 30 days.
You can also read our full Private Internet Access for Mac review for more.