
If you’re having trouble printing on a Mac wirelessly over a VPN on your Mac, here we show you how to print wirelessly from a Mac using a VPN.
VPNs are great for protecting your privacy and security online but they can also hide your identity from your printer which is a problem if you want to print wirelessly from your Mac.
The reason for this is that a VPN reroutes all of your traffic through a remote network so as far as your Mac is concerned, you are not at home on your local network and effectively invisible to AirPrint.
Your wireless printer however doesn’t know this and will remain connected to your local network which remains inaccessible to your Mac while using a VPN.
Contents
Can You Print Over a VPN?
The good news is that you can still print over a VPN although you will need to make a few changes depending on the VPN you are using.
You May Also Like:
Here then are the best ways to print over a VPN.
1. Split Tunneling
The best VPNs support split tunneling on a Mac which allows you to decide which apps or devices use your VPN connection and which don’t.
This means you can block your printer from using your VPN connection but use your VPN to surf the internet and everything else.
However, unfortunately there are currently no VPNs that support split tunneling on the latest versions of macOS and Apple Silicon Macs.
The reason for this is that Apple has made changes to macOS which make it harder for VPN services to do split tunneling on a Mac.
This is partly for security reasons too.
At the moment, you can only setup split tunneling using a VPN service on Intel Macs using macOS Catalina and earlier or if you setup a VPN manually to access a corporate office or home office network.
Note however that even if you’ve setup a VPN manually to a corporate or company VPN network, it may have disabled split tunneling for security reasons.
To activate split tunneling on Intel Macs running macOS Catalina or earlier depends on which VPN you are using but here’s how to activate it on our top rated VPN, NordVPN For Mac.
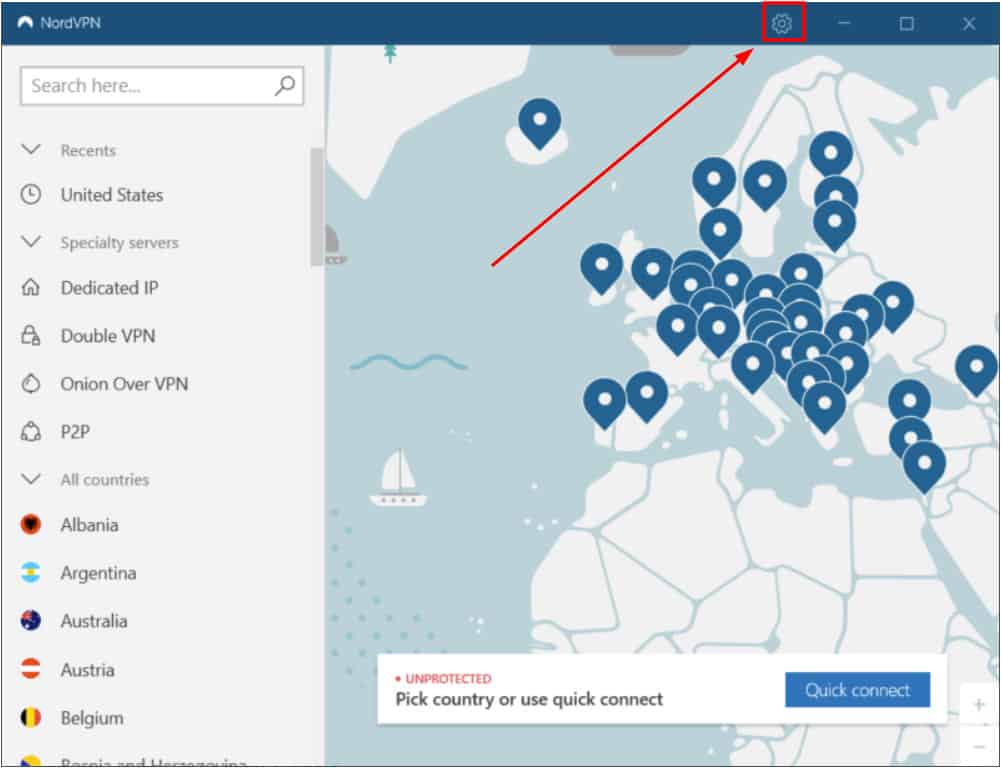
- In NordVPN, click on the cog to open the Settings menu.
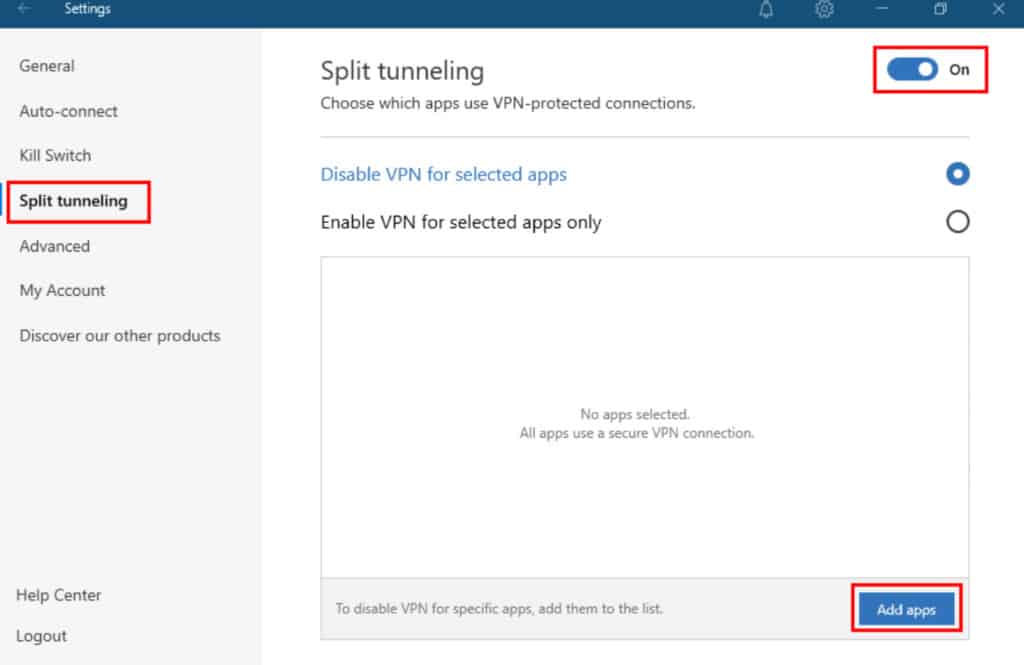
- Select Split Tunneling on the left and toggle the switch on to activate it. Then click on Add Apps at the bottom.
2. Enable LAN Access
If your VPN supports it, you can enable your Mac to communicate with other devices via a LAN Ethernet connection.
While Windows PCs can do this, the problem for Mac users is that many VPN services don’t allow this on macOS.
The other problem is that nowadays Macs do not have an Ethernet port anymore although you can buy an Ethernet adapter for your Thunderbolt or USB port.
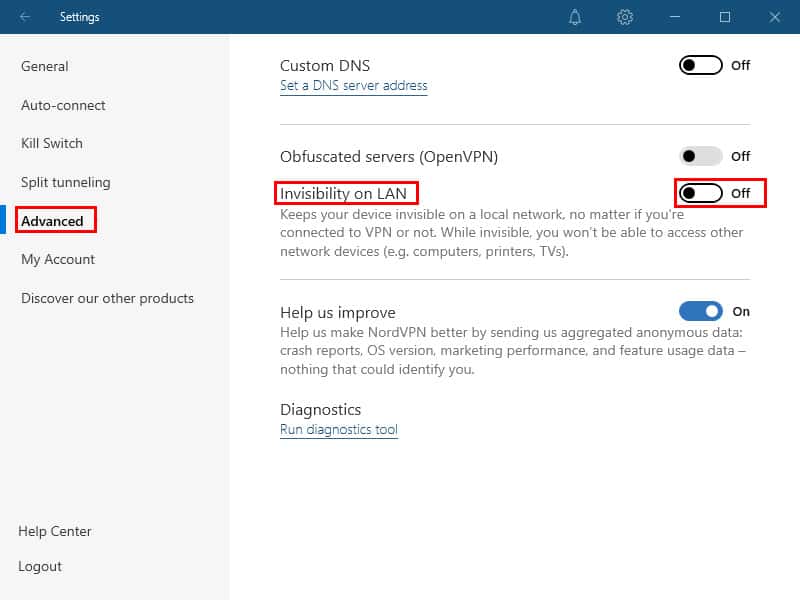
Unless LAN access is enabled when using a VPN, it means that your Mac is invisible on the network. This means printers and other devices can’t communicate with it.
In the Windows version of NordVPN for example, you can switch this off but unfortunately it’s not available in the Mac version.
3. Connect a Printer via an IP Address
Even if you’re using a VPN on your Mac, you can connect a printer to your Mac using the IP address of the printer.
The IP address of your printer should be available on your printer’s touchscreen if it has one. If not, you can get the IP address of your printer by following these instructions:
- Disconnect your VPN.
- Go to the Apple logo in the top left of your Mac and select System Preferences.
- Click on Printers & Scanners.
- Click Open Print Queue and select Print Test Page from the Printer Menu.
- In the test page that prints out if you look through it you will see the IP address of the printer printed somewhere usually in the format “IP=” followed by the IP number.
- Go back to the Printers & Scanners section and then click on the “+” button to add a printer.
- In the IP tab type the IP address of the printer.
- Click Add to finalize the connection
You should now be able to print wirelessly from your Mac using your printer’s IP address even if you’re using a VPN.
4. Use A VPN Router
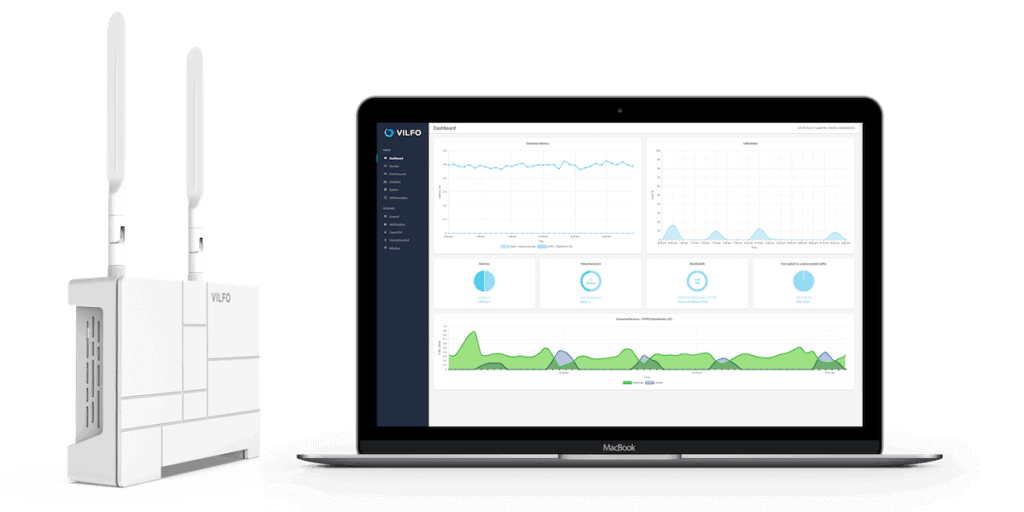
A VPN router is a specialized router that’s configured especially for using with VPNs. Using a VPN with a VPN router offers added security and enables you configure it so that you can print even when using a VPN.
Nowadays most ISP routers won’t allow you to configure them for VPN usage so you need a specialist VPN router which connects via cable to your main router.
There are many VPN routers on the market but we recommend the best is the Vilfo VPN router for Mac users.
5. Use a Cloud Printing Service
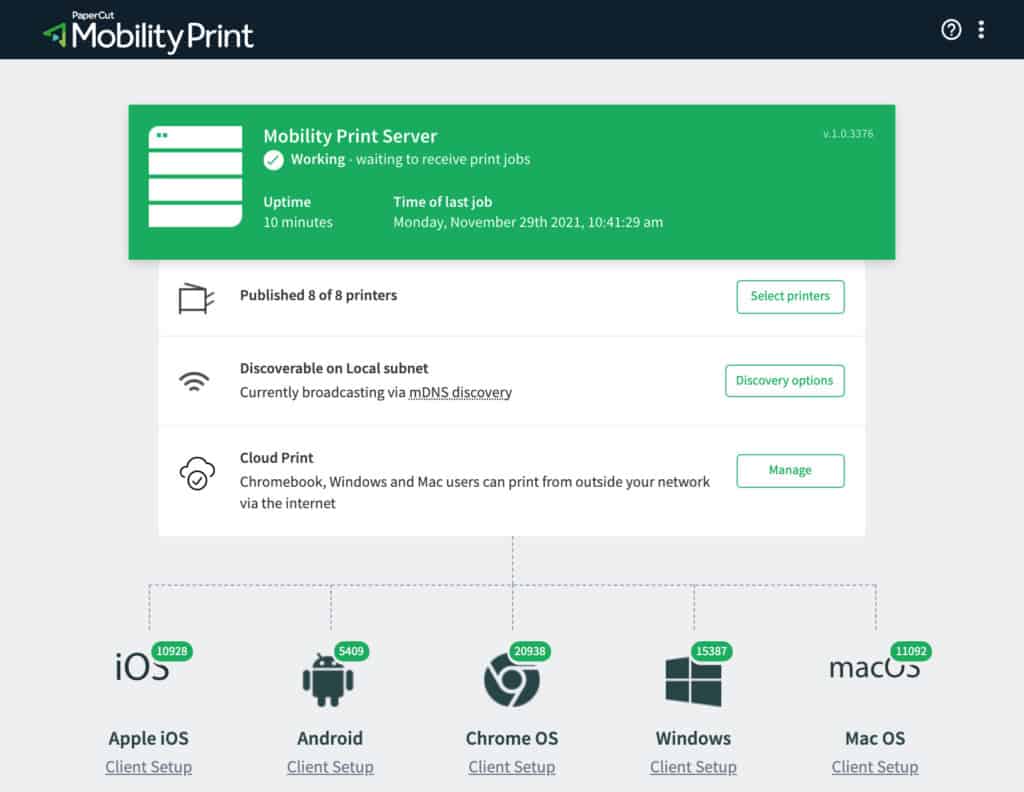
A Cloud printing service allows you to print remotely to a specific printer located anywhere in the world.
You’ll need your own server, a desktop computer that’s permanently left switched on or a virtual machine with it’s own IP address to set this up though so it’s not for beginners.
However, if you work in a company you can always try asking your system admin to setup a cloud printing service for you.
Google used to offer this via its Google Cloud Print service but discontinued it at the end of 2020. However, you can still use Cloud print services like PaperCut Mobility to print via the Cloud.
Note that printing via a Cloud printing service or a network sometimes causes a waiting for authentication error if not setup correctly.
6. Use a Cable
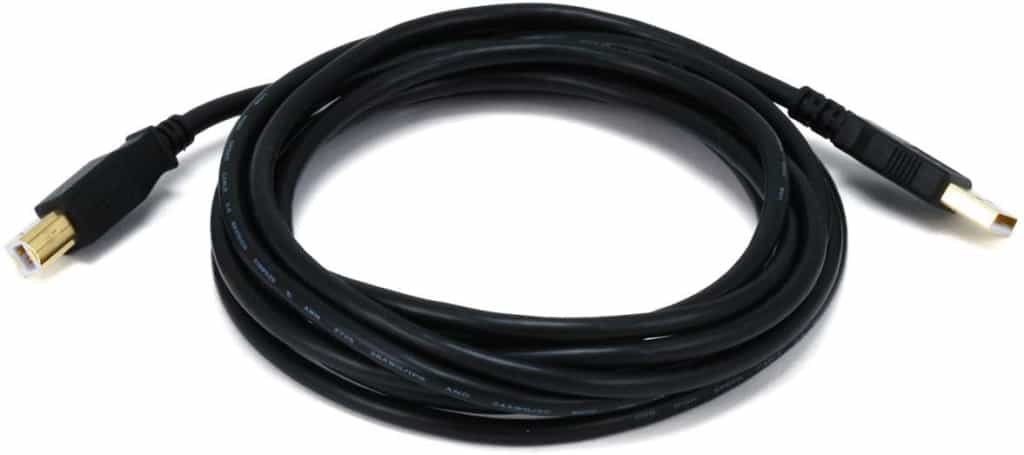
As a last resort, if none of the above reasons allow you to print wirelessly using a VPN on your Mac, then your only option is to connect the printer to your Mac using a cable.
Even if you use a VPN on your Mac, a cable provides a direct hard wired connection to your Mac and will not be affected by your VPN.
You can connect a printer to your Mac either by a USB cable or by using a USB-Thunderbolt adapter and connecting it your Thunderbolt ports.
If your printer is a long way away from your Mac, you can also purchase a USB extension cord to extend the connection.