If you’re experiencing a problem where Viber won’t open on your Mac in El Capitan, then in most cases you can fix it manually. Viber for Mac should work on OS X 10.7 Lion or above but some users have experienced problems with updates to OS X including OS X 10.10 Yosemite, OS X 10.11 El Capitan and OS X 10.12 Sierra where Viber won’t open on Mac and the Dock icon sometimes has an “X” on it. Here we look at a few ways to fix it plus we explain how to fix Viber activation code errors. Note that these fixes do not work for Sierra – Viber has not even been updated to be compatible with Sierra and until it is, there’s no much you can do.
Table of Contents
Viber Won’t Open On Mac Error Fix
If Viber won’t open on Mac, the first and easiest solution is always to make sure you are running the latest version of Viber for Mac. Viber often update the product quickly when problems like this are reported by large numbers of users and so it’s worth downloading the latest Viber for Mac and installing it to see if that fixes the problem before doing anything else. If it doesn’t, then there are a few things you can try.
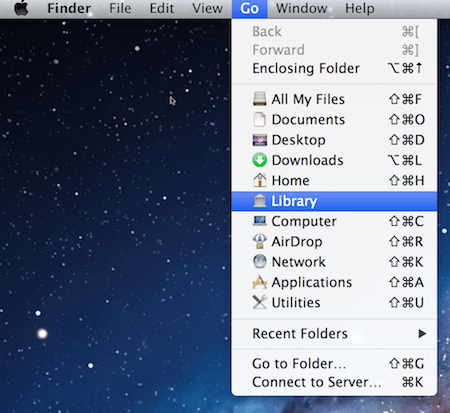
- Uninstall Viber by moving the application to the Trash. We recommend using AppCleaner to uninstall Viber on Mac because it’s important to remove all files. You can however do it manually by going to /Library/Application Support/ViberPC and delete the ViberPC folder. To reveal the Library folder on your Mac, make sure Finder is selected, click Go and hold down the ALT key and you’ll see the Library folder appear in the drop down menu. If you have problems doing this, use AppCleaner to remove all files associated with Viber before reinstalling. Note that this will temporarily delete your conversations and chats until you reinstall Viber and it starts to sync again.
When you’ve deleted the ViberPC folder, simply reinstall Viber by downloading the latest version of Viber. You must then uninstall and reinstall Viber on your iPhone.
This works for most people but not for others. If you still have problems with Viber not working on your Mac, try the following.
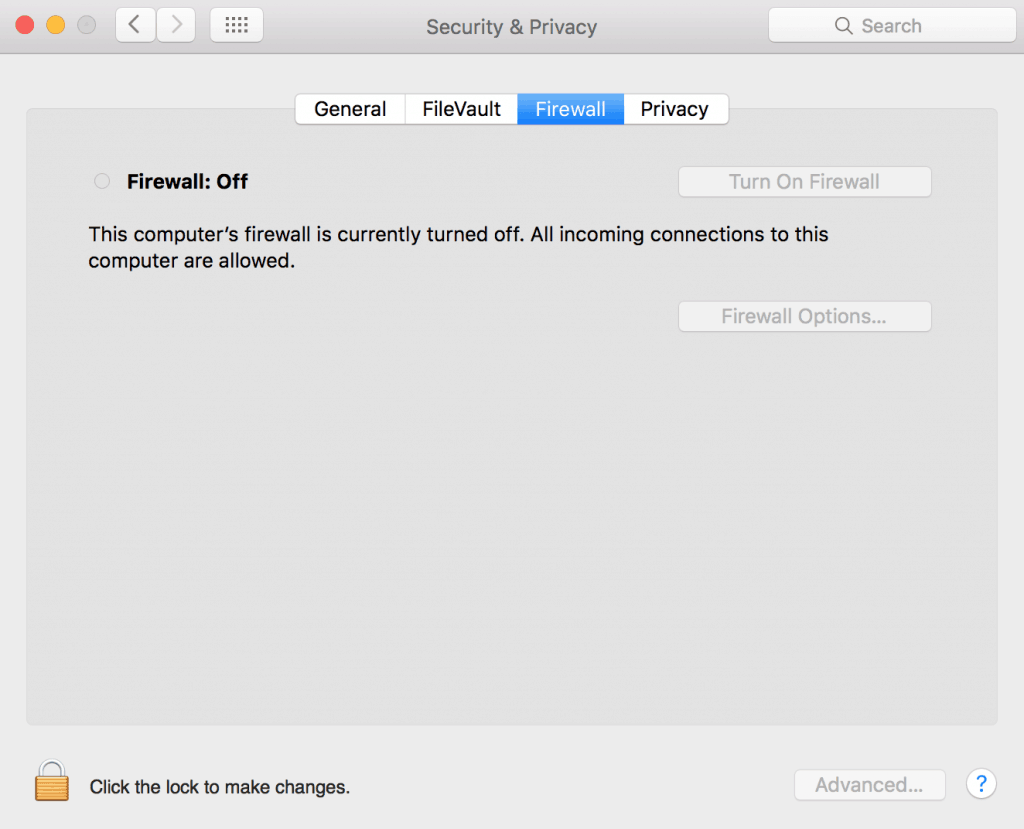
Deactivate your Mac Firewall if it’s switched on. To do this click on the Apple logo in the top left of your desktop and select System Preferences, Security & Privacy and then select the Firewall tab and make sure it is switched off. Reopen Viber and it should work. You can then reactivate Viber.
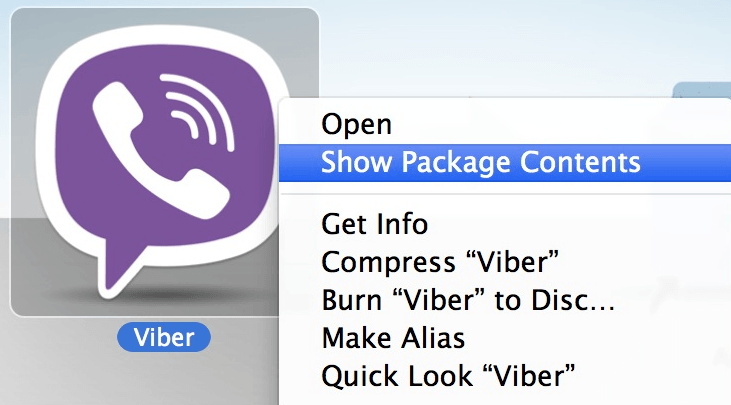
If this doesn’t work, the last solution is to try making a simple edit to the Info.plist file. Go to your Applications folder in Finder, hold down the Ctrl key, click on the Viber icon and select Show Package Contents:
Browse to the Info.plist file, open it and make sure that the two string values are exactly as below i.e. 5 and 5.0.1:
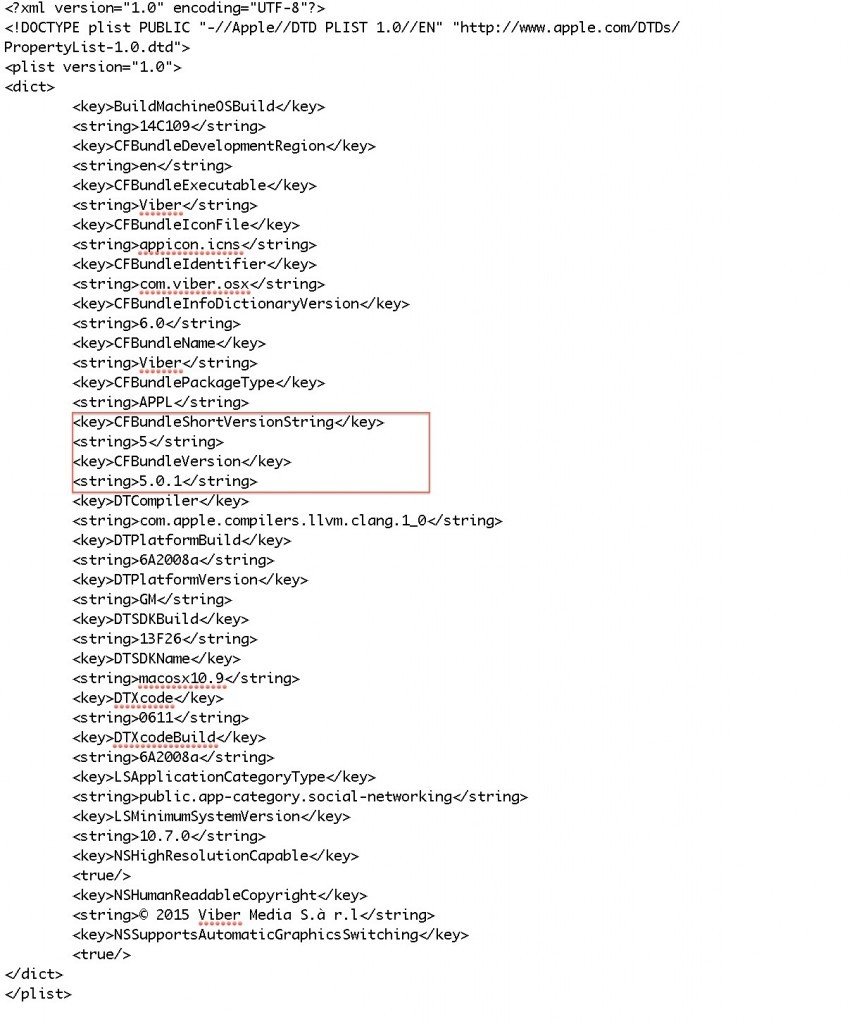
Save the file and relaunch Viber and you should find it works again.
Viber For Mac Activation Code Error
Some users have found that they can’t activate Viber for Mac. The reason for this is that you probably have an older version of Viber installed on your mobile. You must make sure that you have the latest version of Viber on your mobile phone in order to receive the activation code for the Viber. Update Viber for Android or Viber for iOS and you should be able to activate Viber again. Note that you do not have to add the international country code or “+” symbol. Simply select the country where you live so that the correct flag shows next to the number.
Other Viber Not Working On Mac Problems
Other problems users have related to Viber for Mac are usually due to outdated operating systems. There is no such thing as Viber for Mac 10.6 Snow Leopard, or Viber for Leopard OS X 10.5 or or 10.5.8. If you try to open it on OS X 10.6 Snow Leopard or lower, it simply won’t open. As is stated on the Viber website, Viber for Mac only works on Lion OS X 10.7 or above:
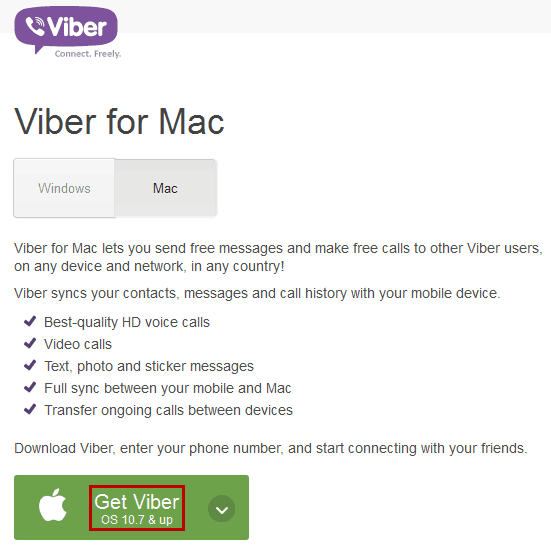
So the solution in most other cases is simply to to make sure you are running OS X 10.7 Lion, OS X 10.8 Mountain Lion, OS X 10.9 Mavericks, OS X 10.10 Yosemite or OS X 10.11 El Capitan.
If you have any other problems with Viber on your Mac, let us know in the comments below and we’ll try to help.


