In our opinion, Time Machine is one of the most useful features of macOS and in this guide, we show you how to backup and restore your Mac with Apple Time Machine.
As the name suggests, Time Machine is a free tool in macOS that allows you to instantly roll back your Mac and all its files, documents and photos to a previous state at any time.
Unlike Boot Camp which Apple removed from Apple Silicon Macs, Time Machine is thankfully still available in M-series Macs too.
This not only is the perfect way to backup your Mac but also allows you to roll-back to older or earlier versions of documents, folders, files and photos if your Mac crashes, the hard drive fails, you accidentally delete something or something goes wrong when you uninstall an app or update macOS.
The great thing about Time Machine is that it runs silently in the background and all it requires is an external hard drive connected to your Mac to backup your Mac automatically in the background.
Time Machine can also backup to a Network Attached Storage (NAS) which supports SMB, another Mac on a network or an AirPort Time Capsule connected with an AirPort Extreme Base station.
However, all of these other Time Machine backup methods are more complex which is why using an external drive is usually the easiest (and cheapest) solution.
What Is Time Machine?
Time Machine is a free tool in macOS which makes backups of files and folders on your Mac including apps, music, photos and documents.
All you need is an external hard drive connected to your Mac to save the backups on.
Time Machine can be configured to backup every hour, daily or weekly.
Apart from backups, Time Machine also takes a daily snapshot of your computer every 24 hours and once a week so you can roll back to a previous state at any time.
Snapshots don’t require an external hard drive as they are saved on your Mac’s internal hard drive but we recommend you use an external hard drive for snapshots too as if your hard drive fails, you’ll lose them.
Note that local snapshots can only be saved on Macs hard drives that use the Apple File System (APFS) format which is pretty much every new Mac out there nowadays unless you’ve reformatted it.
Even better though, Time Machine can store multiple copies of everything you are working on so you can roll back to a document that you edited hours ago and restore it if you wish.
Time Machine is incredibly fast because it doesn’t do an entire backup every time it whirs into action.
It only backups up any changes you have made since the last backup so after the first ever backup you make, it runs very quickly.
It performs all backups in the background so that you can still use your Mac while Time Machine is running.
Time Machine is also intelligent in the way that it stores all these backups and snapshots. If you start to run out of space on your external storage devices, it will delete the oldest backups to make space for new ones.
Does Time Machine Backup Everything?
Time Machine does not backup everything on your Mac. Time Machine does not backup system files or apps that were installed during the installation of macOS.
This means Time Machine will not backup items in the trash, system logs or temporary files like cache data.
Time Machine is also unable to backup databases incrementally.
Time Machine cannot backup minor changes to databases like it can with other files and usually makes an entire copy of the entire database every time it performs a backup which soon eats up disk space.
If you need to backup a database regularly therefore, we strongly recommend using cloud database software like Knack that backup things for you.
Which External Hard Drives Work With Time Machine?
To use Time Machine on a Mac you’ll need an external hard drive and almost all external drives will work with Time Machine.
There are basically three types of external hard drive on the market that you can use with Time Machine:
- External Mechanical HDD drives which are the slowest but cheapest external storage devices
- External Solid State Drives (SSDs) which are faster but cost a bit more
- External Thunderbolt External Drives which are the fastest but the most expensive external hard drives
If you’ve got a Mac from around 2017 onwards, we strongly recommend going for either an SSD or Thunderbolt drive as you can connect them via your Mac’s Thunderbolt port for the best transfer speeds.
Note however that you’ll only get super fast Thunderbolt transfer speeds with a dedicated Thunderbolt drive such as the incredibly fast SanDisk Professional Pro.
This means your Time Machine backups will be done in seconds rather than minutes.
Most Thunderbolt external storage drives have a maximum read speed of 2800 MB/s and read speed of 2400 MB/s which equates to transferring a 15GB 4K video to the drive in 8.7 seconds.
Some SSD external hard drives support Thunderbolt but those that don’t connect via USB-C cables which also plug into Thunderbolt ports but do not deliver the same fast speeds.
Most external hard drives are ready to use with Macs out of the box but if they aren’t, you can easily format an external drive to Apple’s APFS format using Disk Utility in macOS.
How To Setup & Use Time Machine On Mac
When you’ve connected an external hard drive to your Mac, here’s how to setup Time Machine on your Mac.
- When you connect the external hard drive via Thunderbolt or USB cable, macOS will automatically ask you if you want to use it as an external backup device if it is already formatted in APFS format. Click the option Use as Backup Disk and the Time Machine Preferences will open.
- If you are not prompted when you connect the drive then it’s not formatted in APFS and you’ll need to use Disk Utility in macOS to format it. To do this, simply search for Disk Utility in Finder and select Erase with Format set as APFS and Scheme set as GUID Partition Map. Click on Erase to start the formatting.

Note that Time Machine still supports older formats such as Mac OS Extended format (Journalled), Mac OS Extended (Case-sensitive, Journalled) and Xsan formatted disks.
However all Mac internal drives are now in APFS format and it’s the most secure and stable format to backup and restore your Mac.
Time Machine does not work with exFAT formatted disks which allow you to use the drive with both macOS and Windows.
You can also partition the drive so that some of it is used for Time Machine and the rest is used for something else such as a boot drive or for simply dragging and dropping files manually.
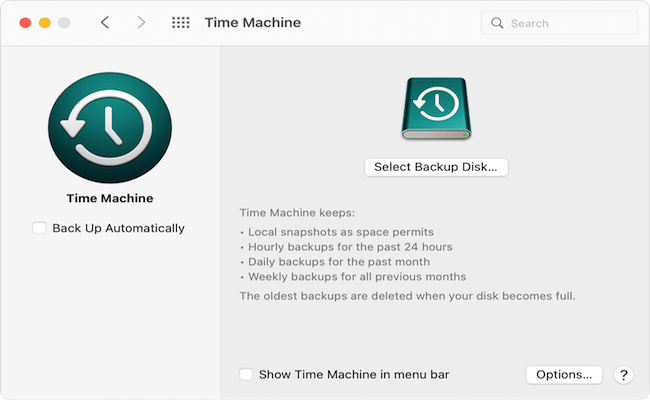
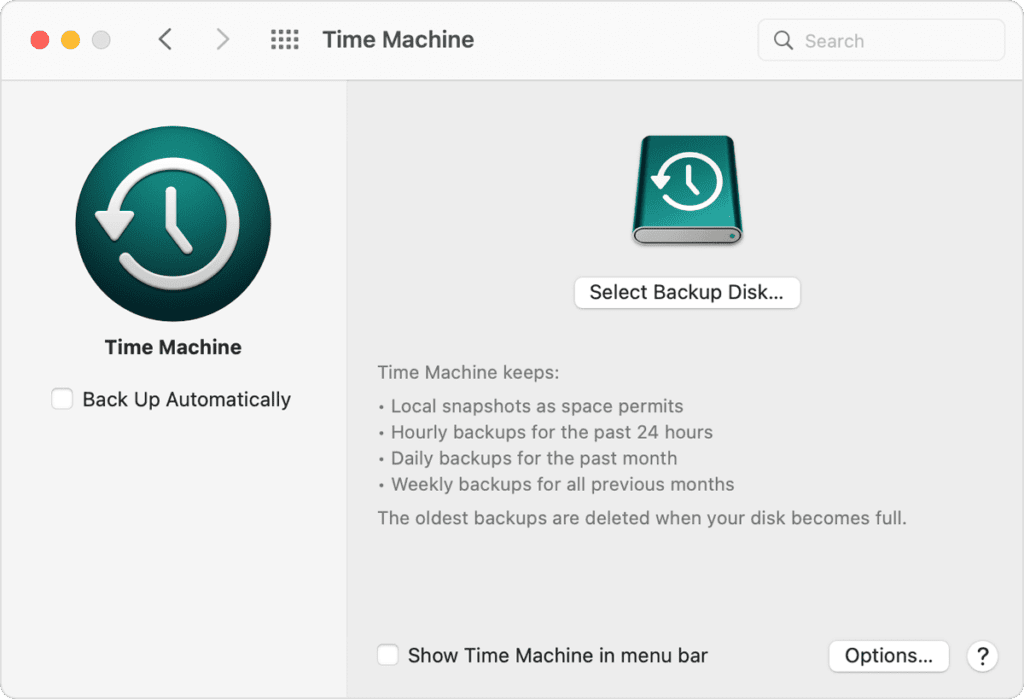
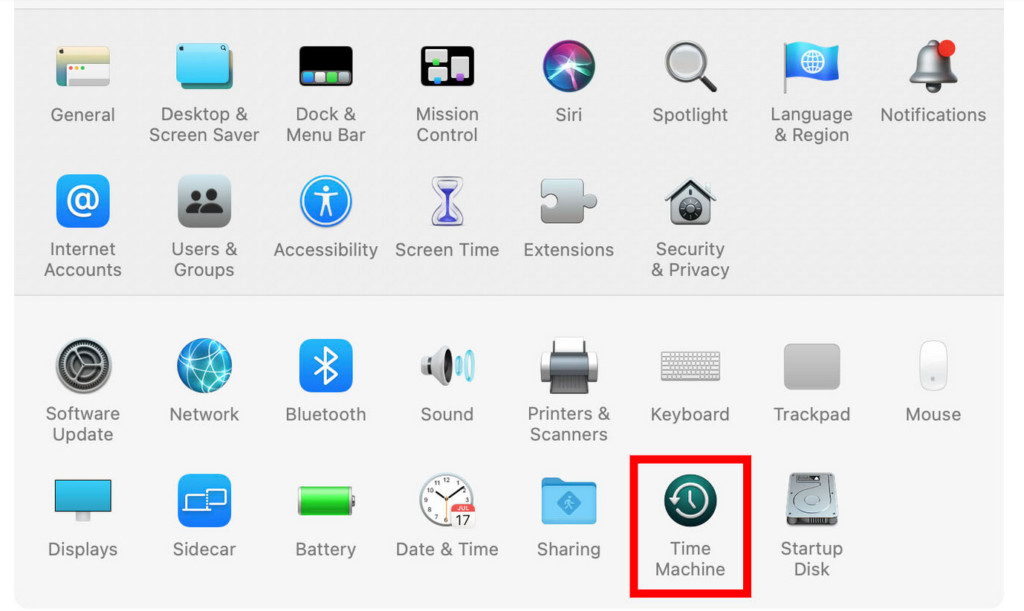
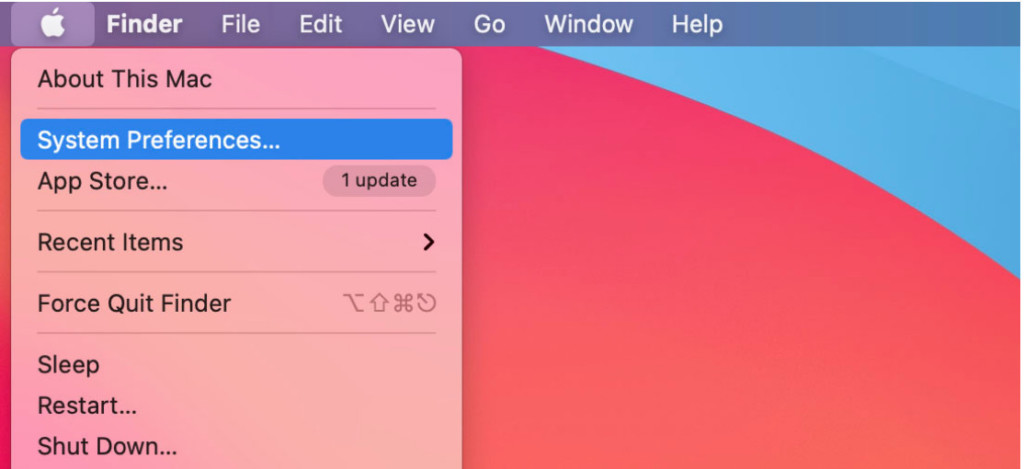
If after the drive is formatted in APFS you still don’t receive a prompt to use it as a backup disk, simply search for Time Machine in Finder or go to the Apple Logo in the top left of your screen and select System Preferences > Time Machine.
- Click on Select Backup Disk… and choose the external drive you connected to your Mac
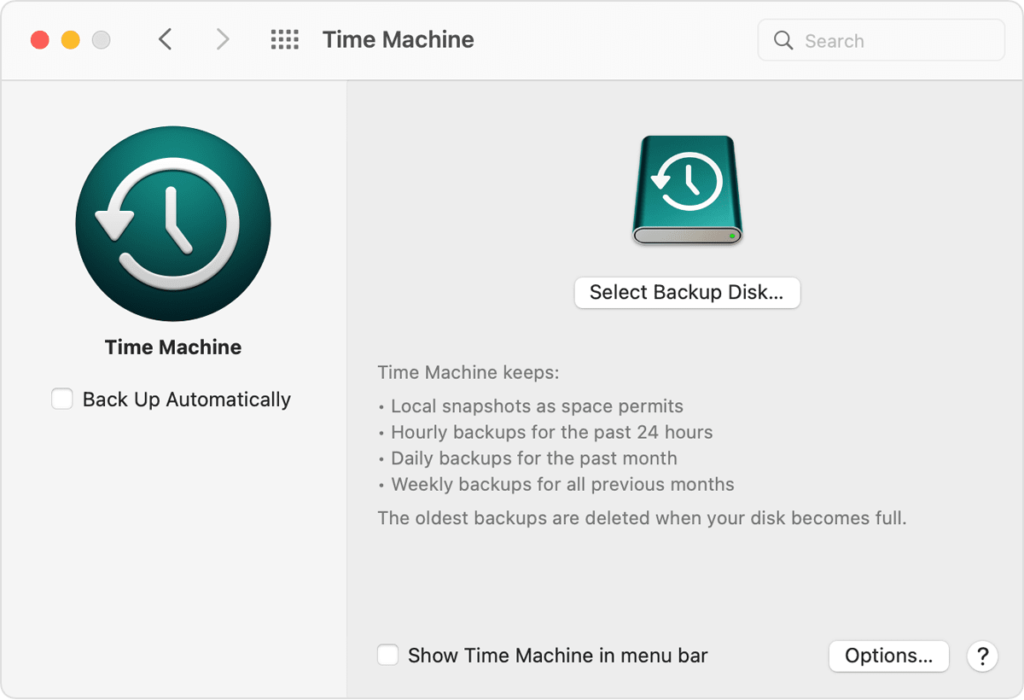
Make sure that Back Up Automatically is checked and as soon as you have selected the external backup disk to use, Time Machine will then instantly make backups of your Mac automatically.
You will see the message “Time Machine preparing backup” while Time Machine assesses whether you have enough external hard drive space to backup your Mac. As long as your external drive has more space than your Mac hard drive, this should not be a problem.
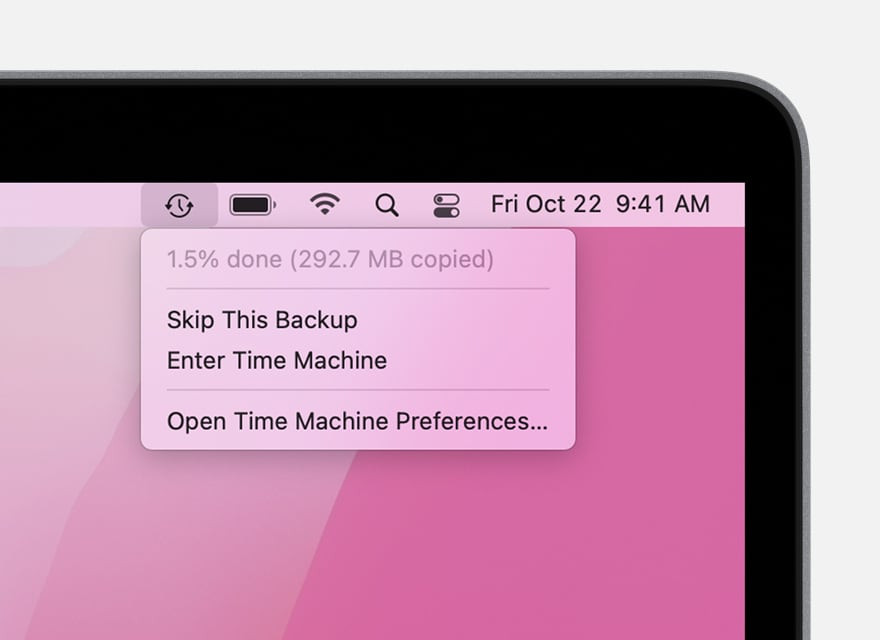
If you want to trigger a backup manually at any point, simply go to the Time Machine logo in the Menu Bar and select Backup Now.

Time Machine will show you the status of the backup.
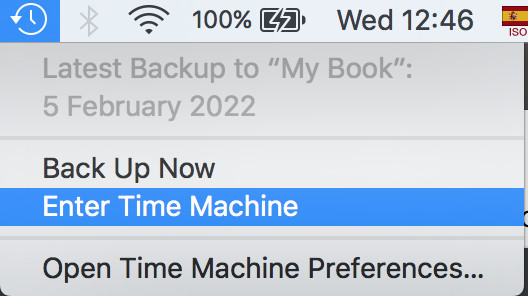
When the backup is complete, it also shows you when the Latest Backup was made.

Time Machine will automatically backup all files, folders, photos, apps and pretty much anything else on your Mac.
However, if there’s anything you don’t want it to backup, you can exclude it in the Time Machine Options and use the (+) and (-) buttons to add and remove any files, folders, apps or photos you don’t want backed-up.
Using these buttons, you can also add extra external hard drives to backup to. You can then hold down the Option key and click on the Time Machine symbol at any time to select which of your backup drives you want to access.
If you want to add a password to your backups, you can also choose Encrypt Backups in the Options.
How Long Do Time Machine Backups Take?
The first backup you make using Time Machine could take a few hours depending on the size of your hard drive and how many files, folders, photos and apps you’ve got.
However, successive backups afterwards will be very quick because Time Machine will only make modifications to the backups for those files, folders, photos and apps that have changed.
Also bear in mind that the faster your external hard drive, the faster Time Machine backups will be. This is due to the read-write speed on the drive which is the drives ability to copy and transfer data.
The fastest Time Machine backups will be with an external Thunderbolt Drive which can read/write at 2800MB/s and 2400MB/s respectively.
In comparison, the fastest USB-C SSD external drives connected to a Mac will only read/write at less than half these speeds.
If you’re getting impatient or need to stop a Time Machine backup that’s in progress, simply go to the Menu Bar, click on the Time Machine symbol and click on the “X” next to the progress bar.
You can also skip or pause a backup by clicking on Skip This Backup.
How To Restore A Time Machine Backup
Restoring your Mac to a previous state is incredibly easy with Time Machine which is why it’s the best backup solution for Mac users by far.
To Restore a Time Machine Backup on your Mac, follow these instructions.
- Select System Preferences from the Apple logo in the top left of your screen and select Time Machine.
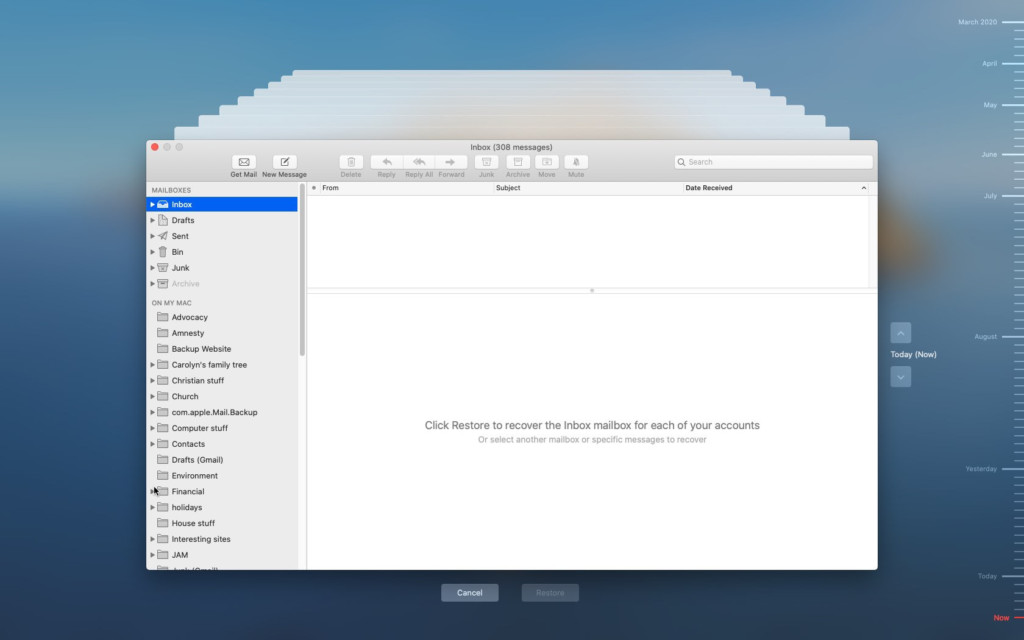
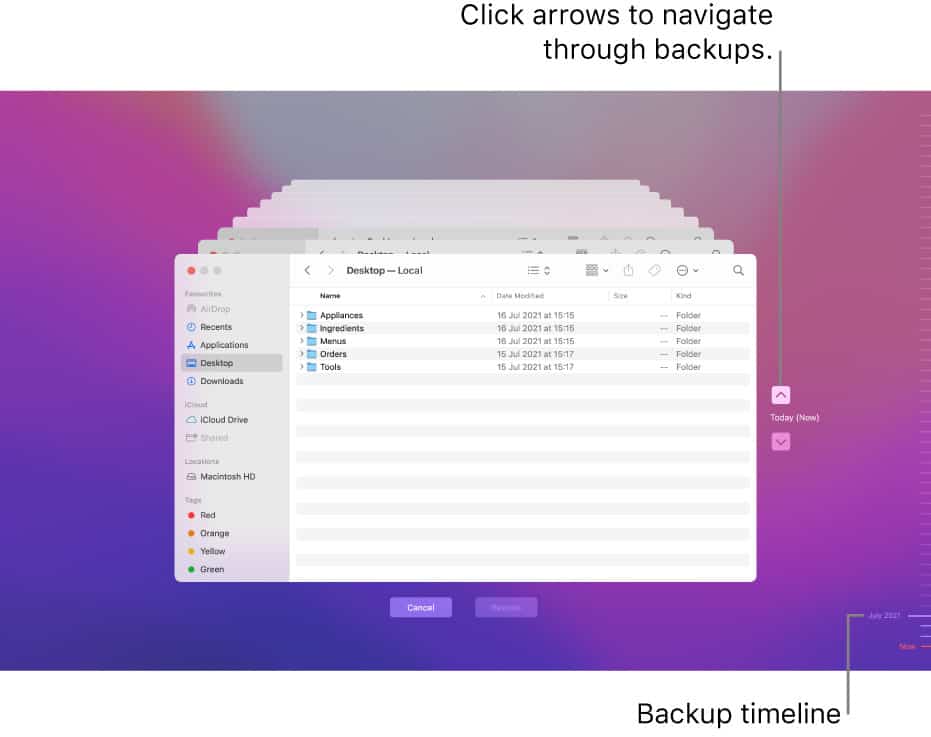
- Click on the Time Machine logo in the Menu Bar and select Enter Time Machine from the drop down options.
- You can then scroll through your backups using the Timeline along the right hand side ans then click Restore at the bottom when you’re ready.