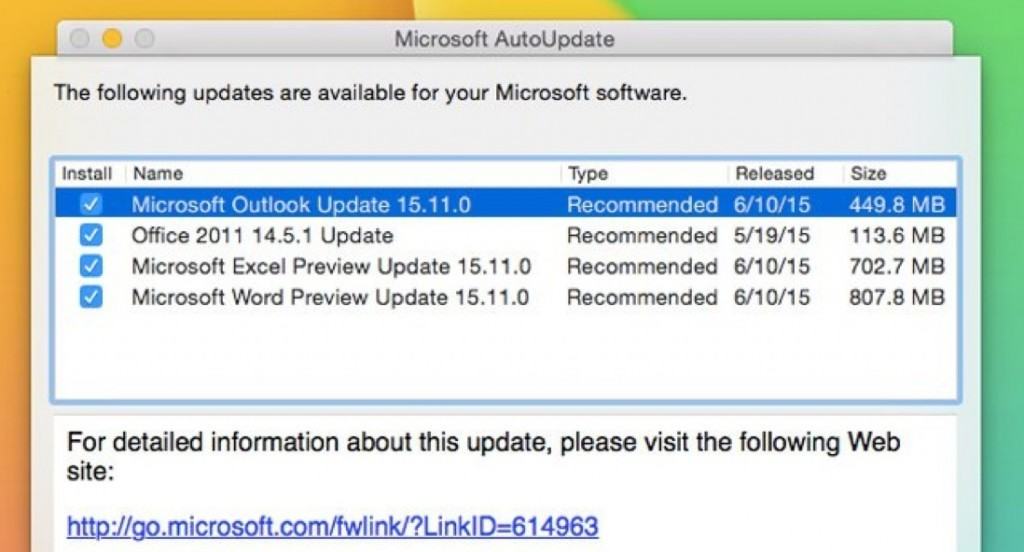
There’s nothing worse than updating Microsoft Office and finding that it breaks or causes Office for Mac to keep crashing but it’s actually easy to roll back an Office update on Mac.
You need to make sure that you were already using a backup solution prior to the update, preferably Apple’s Time Machine (which is included by default in OS X) or another backup programs such as Carbon Copy Cloner or SuperDuper!
Here’s how to roll back an Office 2016 or Office 2011 update on Mac using Time Machine.
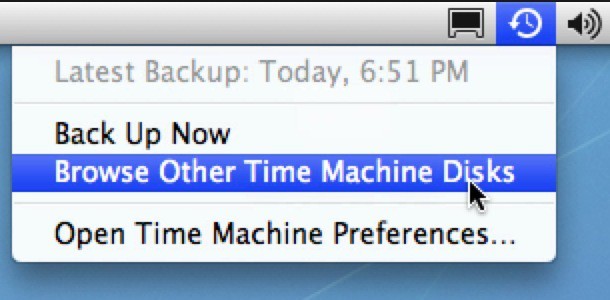
- Select the Time Machine icon in the Menu Bar and select Browse Other Time Machine Disks.

- Then select the closest date prior to when you applied the update and Office was working fine. You must then go to your Microsoft Office folder and click on the gear cog at the top of the folder window and select Restore “Microsoft Office 2011” to… from the drop down menu.
- When prompted, select Applications

- Click Replace when prompted

The next time you start Microsoft Office, make sure that you don’t update until you’re sure that the update is safe to install!
If you have any problems or questions on how to revert back to a previous Office update on Mac, let us know in the comments below. You might also be interested in reading our guide how to fully uninstall Office 2016 for Mac.


