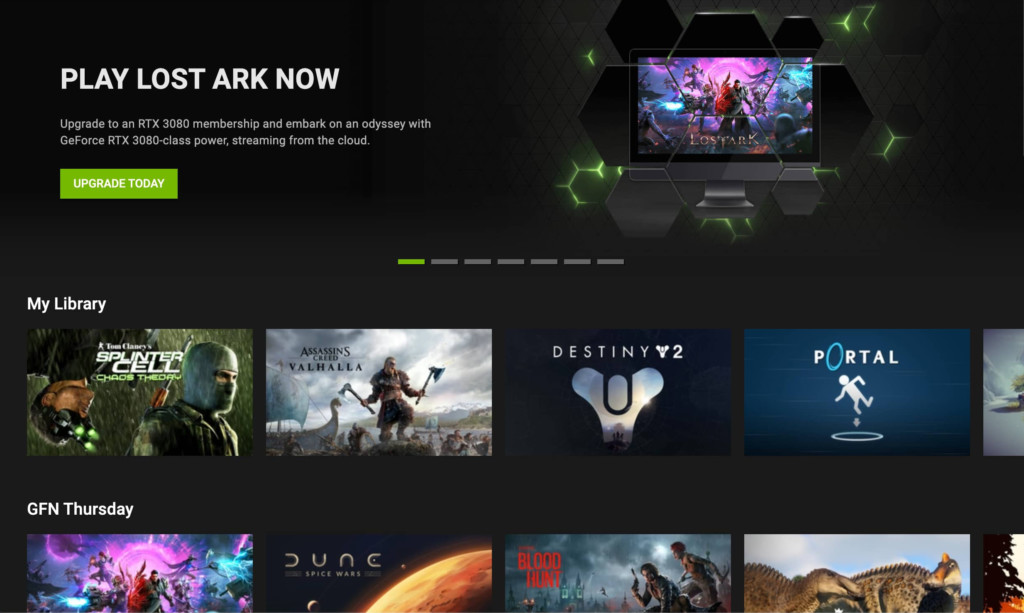
You can now easily play Lost Ark on Macs including M1 and M2 Macs thanks to NVIDIA GeForce Now which has now added native support for Apple Silicon chips.
Lost Ark is published by Amazon but unfortunately, Amazon doesn’t offer a Mac compatible version of Lost Ark so this is the first time Lost Ark is officially available to Mac users.
Previously, GeForce Now only worked on M-series Macs via Rosetta but is now optimized to take full advantage of them which means you can play Lost Ark on both Intel and Apple Silicon Macs.
According to NVIDIA, GeForce Now consumes less power on M-series Macs and launches games and apps faster than using Rosetta.
This should mean less lag when playing Lost Ark on a Mac since the game doesn’t have to be translated by Rosetta to work on Apple Silicon chips anymore.
The latest version of GeForce Now also has a revamped overlay that displays server-side rendering framerates.
Previously there was no easy way to play Lost Ark on Macs even by installing Windows on a Mac because of the Easy Anti-Cheat software that won’t run in virtual machines.
This means you can’t play Lost Ark by installing the Parallels virtual machine on your Mac and play the Windows version of Lost Ark.
You May Also Like:
Follow these instructions to play Lost Ark on any Mac:
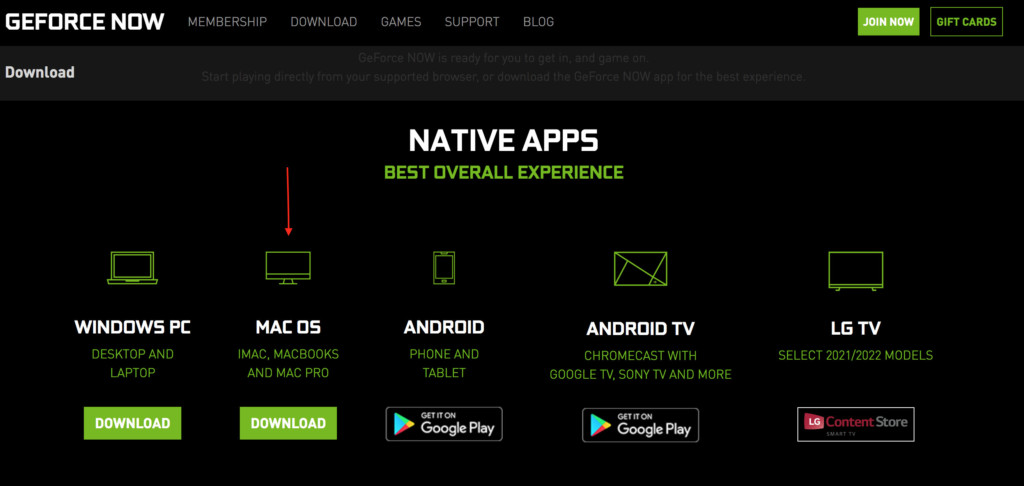
- Download the latest version of GeForce Now For Mac. You need version 2.0.40 or higher in order to run GeForce Now natively on M1 Macs.

- Subscribe to GeForce Now. You can use it for free for one hour of gaming but you’ll need a Priority Membership ($9.99/month) or an RTX 3080 Membership for faster servers and graphic processing ($19.99/month) to play Lost Ark.
- Search For “Lost Ark” in GeForce Now and download it to your GeForce Now account.

For more on GeForce Now, check out our full GeForce Now For Mac review.


