
If you want to transfer your photos from an iPhone to your Mac, here we show you how to easily do it.
Whether it is for creating backups, editing images, or simply freeing up storage space on an iPhone, transferring photos from your iPhone to your MacBook can be extremely helpful.
Here we show you all the different methods of transferring photos between your iPhone or iPad and your Mac including for the latest Apple Silicon Macs.
These methods also work on the latest versions of macOS including Sonoma and Ventura.
You May Also Like:
Contents
How To Transfer Photos From iPhone to a Mac Wirelessly
Even if you don’t have any cables to help you transfer photos from your iPhone to your Mac, you can still transfer all sorts of data wirelessly.
Here’s how to connect your iPhone to your Mac without using any wires:
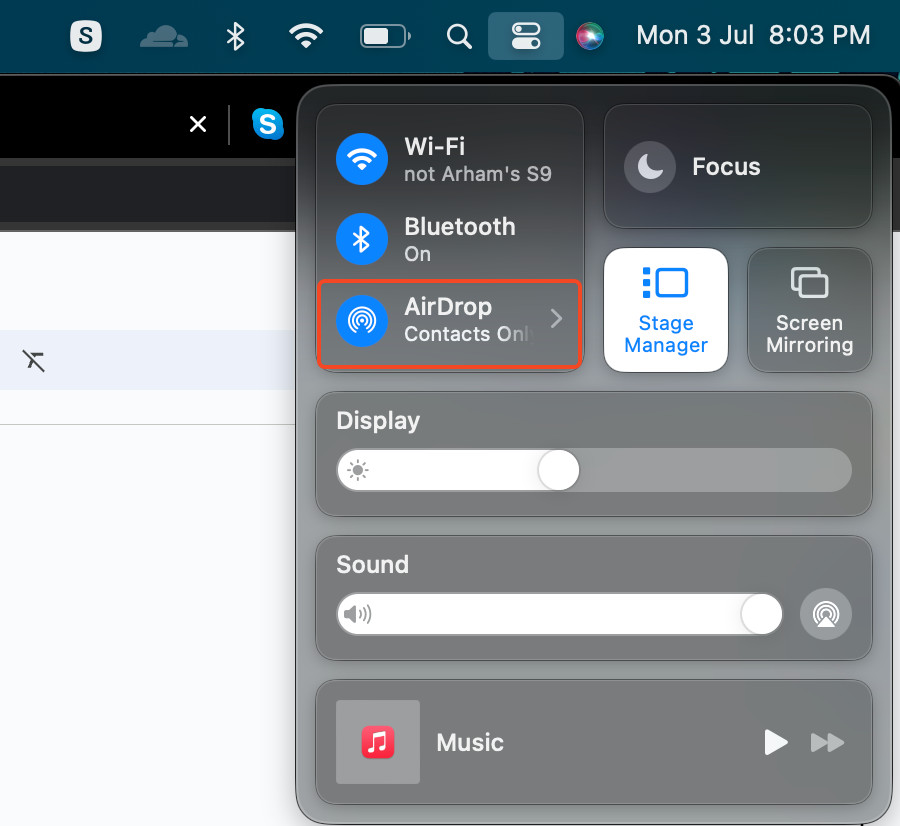
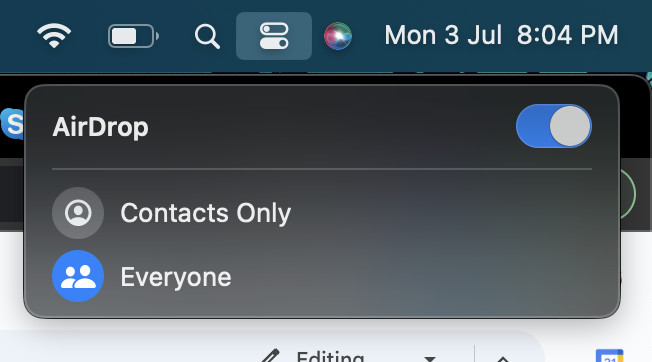
- First, ensure that AirDrop is turned on on your Mac by tapping the Control Centre icon in the top menu, clicking on AirDrop and selecting Everyone if it is not already turned on.
- Open up the Photos app on your iPhone.
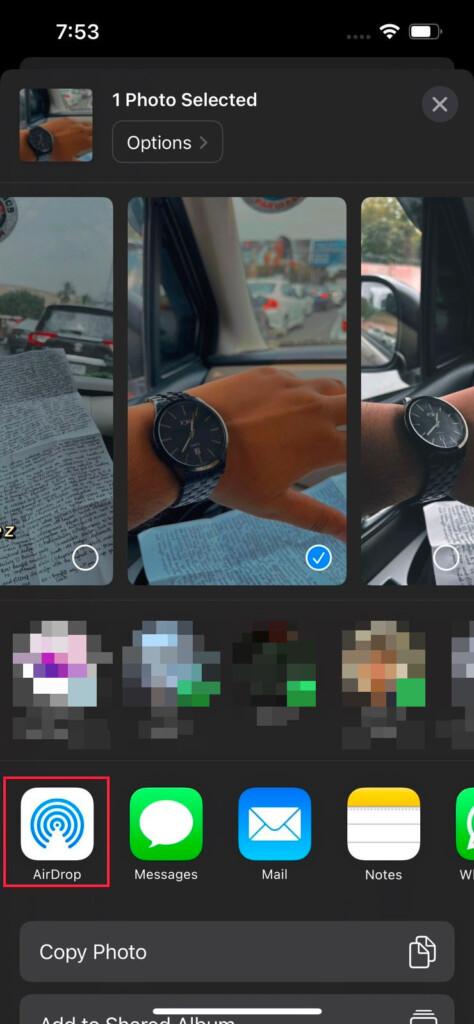
- Next, select the Photos you want to transfer to your MacBook and tap on the Share button in the bottom left corner of your iPhone.
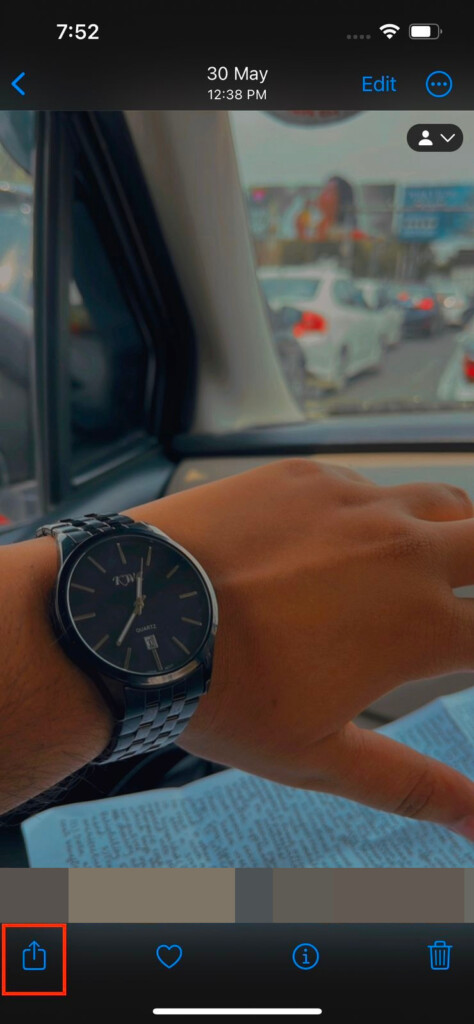
- Select AirDrop from the options shown to share.
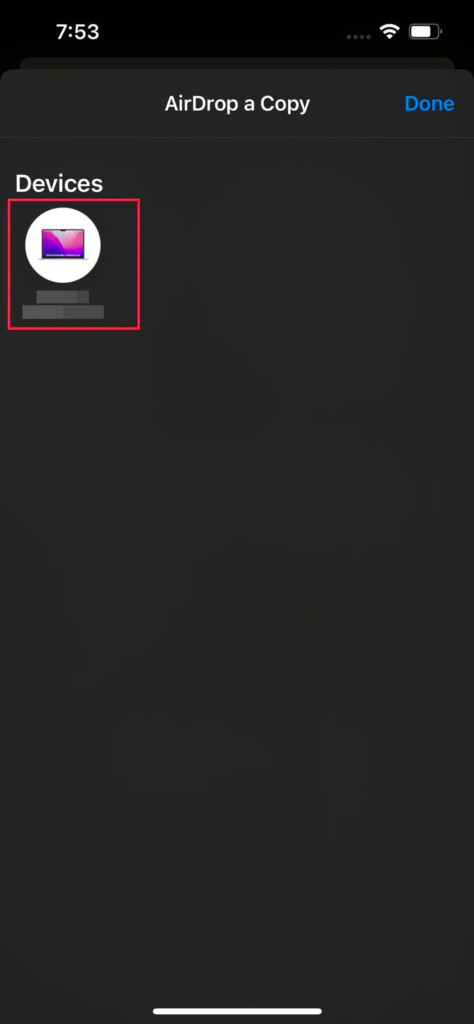
- Search and click on the name of your Mac or MacBook that should be showing if you have turned on AirDrop on your Mac.
- Once you have sent the photos you wanted to send, you will receive a notification on your Mac to accept or decline the transfer.
- Click on Accept and then Save to Downloads to save the photos on your Mac.
Note: Be careful not to select too many photos to send from your iPhone, as this makes the sending process much more prone to failure. If you are looking to back up a large number of photos on your Mac, we recommend using a wired connection to do so.
How To Transfer Photos With a Cable
The quickest and most efficient way to transfer photos is by using a cable.
Just follow these simple steps to transfer photos from your iPhone to your Mac with a wired connection.
- If you’re connecting your iPhone and MacBook for the first time using a cable, you will receive a notification on your iPhone with the heading Trust This Computer? If you’ve previously connected your iPhone and Mac together, then you can simply skip to Step 3.
- Tap on Trust and then enter your iPhone password to continue.
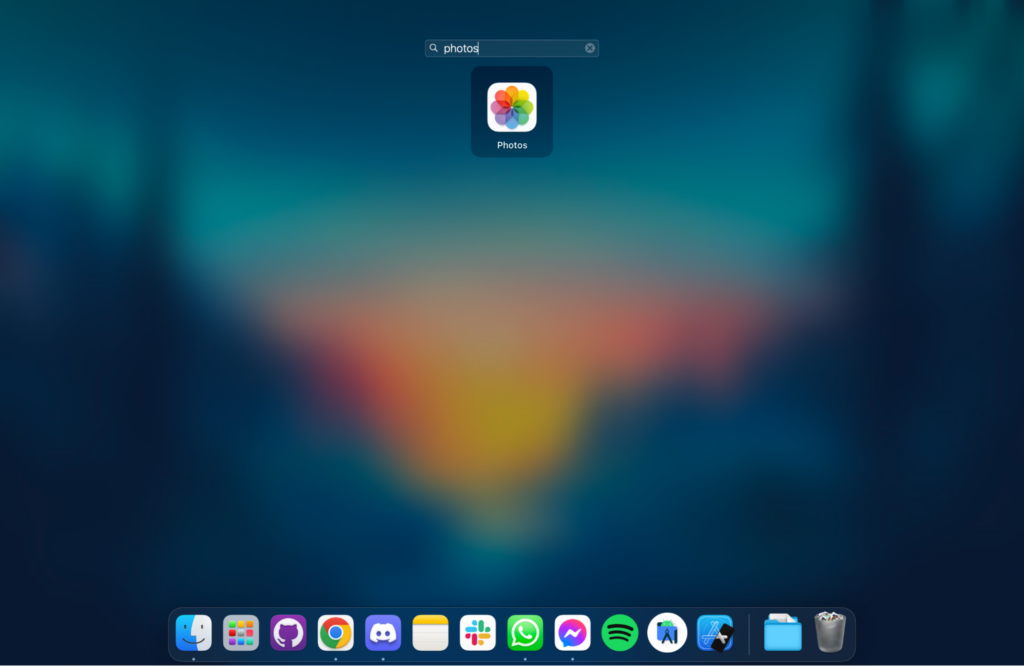
- Now open the Photos app on your Mac.
- Under Devices, select your iPhone from the list.

- Choose the album you want to save your transferred images in by tapping on the drop-down list next to the Album option.

- If you want to transfer a couple of photos from your iPhone, just click on them to select them and then tap on Import Selected to import.

- Alternatively, if you want to import all new photos from your iPhone to your Mac, tap on Import New Video/Photo.

How To Transfer Photos With an External Drive
If you want to transfer your photos from your iPhone to an external hard drive connected to your Mac, just follow these simple steps:
- Connect your iPhone to your MacBook using a USB cable.
- When the ‘Trust This Computer?’ notification shows up, hit Trust and enter your iPhone’s password.
- Open up the Photos app on your Mac and search for iPhone’s name under the Devices subheading on the left.

- Once you tap on your iPhone’s name, your Mac will get ready to import photos from it.
- Tap on the drop-down list beside the Import to option and select the external hard drive you have connected to your Mac. Note that your external drive or thumb drive will need to be formatted to work with a macOS first before your Mac will recognize it.
- Import your photos with the Import All New Items if you want to import all items or by the Import Selected if you want to import a selected few photos.
How To Transfer Photos via Bluetooth
Unfortunately, if you want to transfer your photos from your iPhone to your Mac by just using Bluetooth, you will not be able to do so.
This is because Apple has discontinued this feature in the latest versions of iOS in order to encourage users to use AirDrop more.
Starting from iOS 7, AirDrop has replaced Bluetooth for sharing files between iPhone and Mac.
So currently, there is no way to transfer Photos from your iPhone to a Mac by only using Bluetooth.
How To Transfer Photos as a JPEG
Any JPEG photos you transfer from your iPhone to a Mac either wirelessly or with a cable will remain in JPEG format.
If however the photo you are transferring is not in JPEG format, you will have to convert it to JPEG format.
You can do this either by using the “Export” feature in macOS Preview or by using any online file convertor.
How To Transfer Photos From iPhone to a Mac and Delete Them From iPhone
Unfortunately, Apple has removed the option of deleting items after importing in the latest versions of macOS and iOS.
So if you want to remove any photos imported from your iPhone to a Mac, you will have to delete them manually from your iPhone.