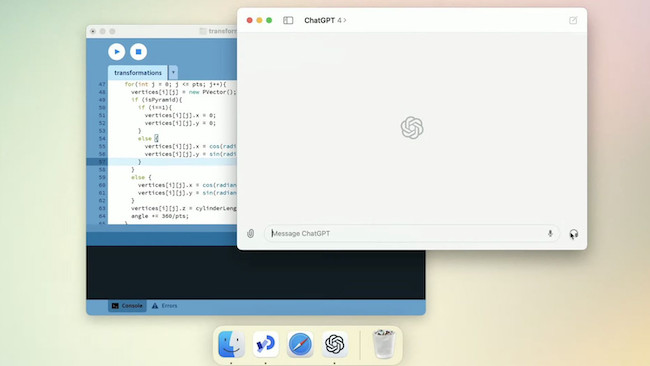
ChatGPT has set the internet on fire with its incredible Artificial Intelligence and here we show you some different ways to use ChatGPT on a Mac.
ChatGPT is a deep learning AI chatbot that can generate text on just about anything incredibly accurately.
The possibilities are endless with ChatGPT and there’s no doubt that it’s a next level technology that goes beyond anything that Siri, Alexa or other “virtual assistants” are capable of.
In May 2024, OpenAI finally announced the ChatGPT for Mac and although initially it was only available to Plus subscribers, it’s now available to everyone.
Unfortunately, it only works on Apple Silicon Apps though.
However there are lots of free third party apps that allow you to integrate it more closely with macOS including on both Intel and Apple Silicon Macs.
Table of Contents
Is ChatGPT Free To Use?
At the moment, the ChatGPT is free to use on all platforms but the developer OpenAI has introduced ChatGPT Plus for $20 per month.
ChatGPT Plus offers faster response times, AI art generation, better access during peak times and first access to new features.
Does ChatGPT Work On Mac?
ChatGPT works on any platform including Macs as it’s entirely web based but there are also ways to integrate it into macOS.
The easiest way is to use the official ChatGPT for Mac app from OpenAI.
Here then are the best ways to use ChatGPT on a Mac.
1. ChatGPT For Mac
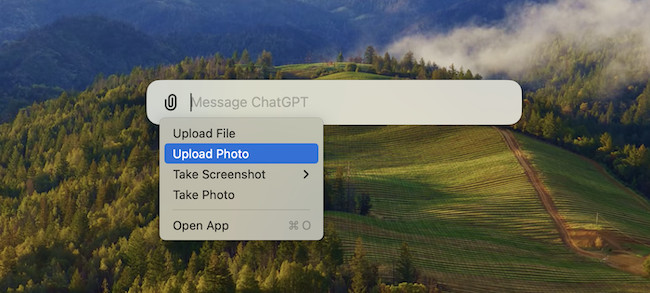
In May 2024, OpenAI released the official ChatGPT for Mac app which is easily the most powerful and integrated version of ChatGPT available for Mac.
Whereas other third party tools simply give you easier access to ChatGPT on a Mac rather than having to use it in a browser, the official OpenAI app allows you to upload files into it and much more.
By using a simple keyboard shortcut, “Option + Space”, you can instantly ask ChatGPT a question and with the new voice support feature, you can have a conversation with ChatGPT directly on your Mac.
You can ask ChatGPT what’s on your screen and discuss elements of it based on feedback from the AI assistant.
Other things possible are asking ChatGPT to create charts based on data in spreadsheets, chat about photos and analyze files you upload.
Initially, ChatGPT for Mac was only available to Plus subscribers but has now been rolled-out to all users for free.
Note that the official ChatGPT app is only available for Apple Silicon Macs running macOS Sonoma. It does not work on Intel Macs.
Read our full ChatGPT for Mac review for more.
You can also download ChatGPT for Mac and try it for yourself.
2. macGPT
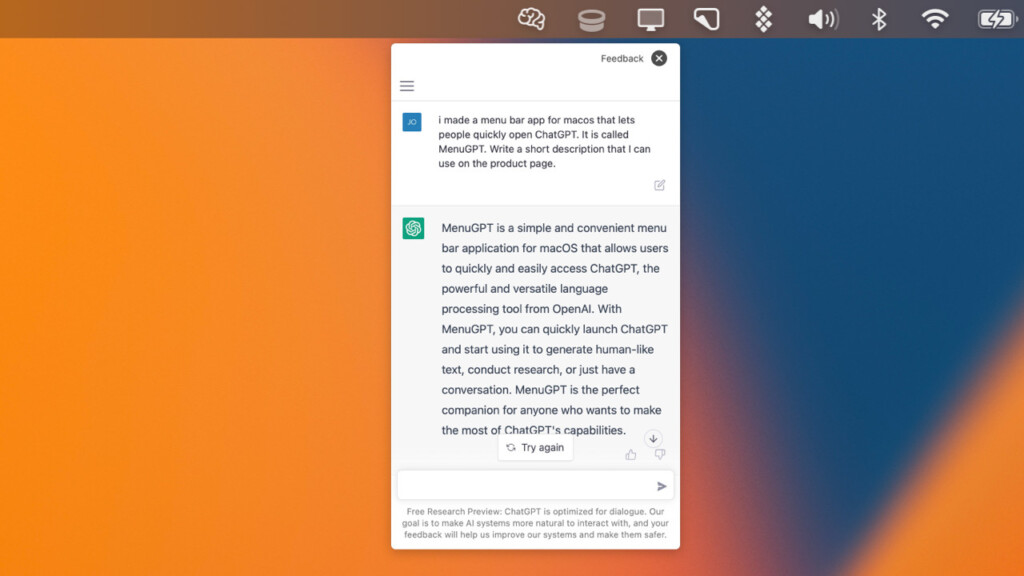
You can access ChatGPT from your Mac’s Menu Bar thanks to a free third party app called macGPT.
macGPT allows you to start new conversations on your Mac desktop and also resume ones that you have already started. You can also access macGPT from the Main Menu via the brain icon even when apps are in full screen mode.
To use ChatGPT with macGPT follow these instructions.
- Sign-up for an OpenAI ChatGPT account. You’ll need to enter your name, email address and telephone number to verify your account.
- Download menuGPT and drag it to your Applications folder.
- Double click on it and login with your OpenAI credentials.
You can then use ChatGPT via macGPT from your Mac’s Menu bar. You can also change the settings so that macGPT is always on top floating over other windows.
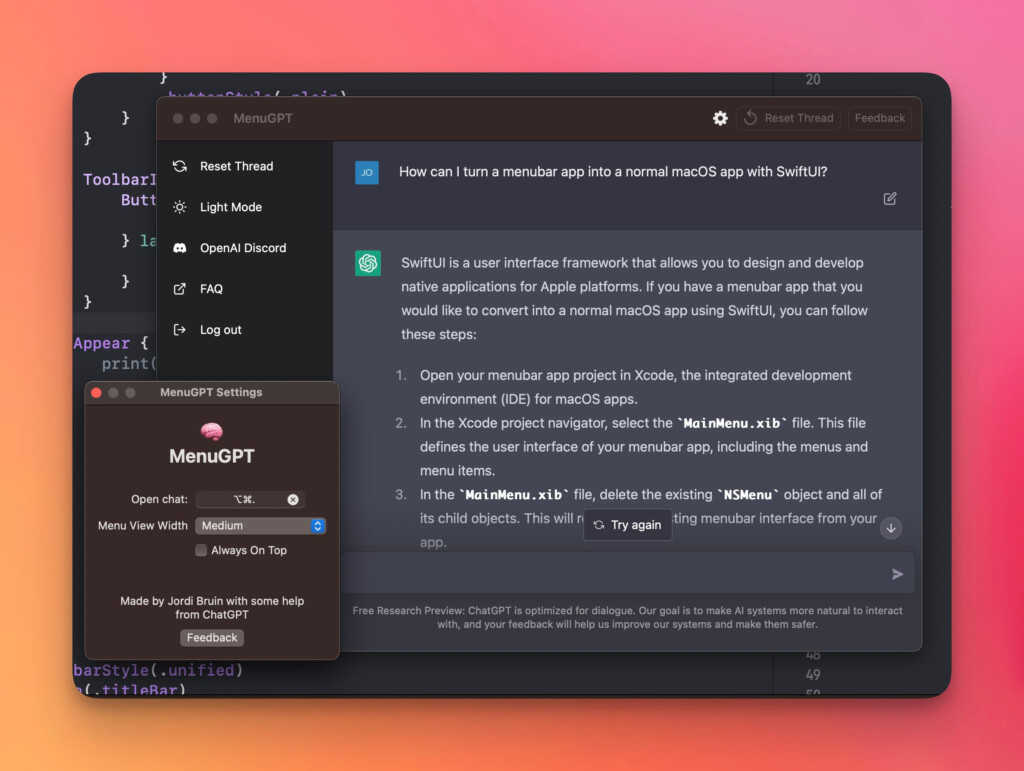
You can download macGPT for free although the developer encourages a small donation.
If you find that macGPT is not working when you enter a request, then it’s probably because ChatGPT is at capacity.
Note that this is not a problem with macGPT but is due to high demand on ChatGPT.
3. Create a ChatGPT Dock Shortcut in Safari
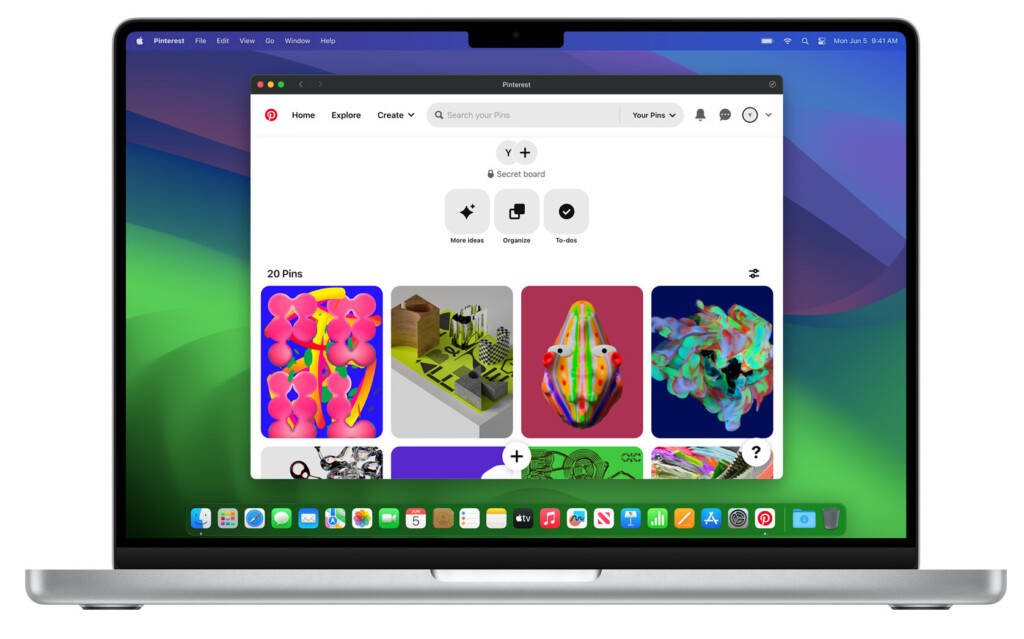
If you’ve already updated your Mac to macOS Sonoma, then you can easily create a desktop Dock shortcut to access ChatGPT on your Mac anytime.
This has been possible on iOS devices like iPhones and iPads for some time but is also now possible in the latest version of Safari in macOS Sonoma.
In fact, you can do this for any website you use in Safari.
To create a ChatGPT app shortcut in the Dock using Safari in macOS Sonoma, follow these instructions.
- Visit ChatGPT in Safari. You don’t have to log into your account or anything to create the Dock app for it.
- Go to File in the top right of Safari.
- Click on the Add To Dock option.
- Click on Add.
You’ve then instantly created a ChatGPT app for Mac that sits in your Dock like any other application.
The latest version of Safari also has a “web app” view mode which is like a simplified version of the browser which may be better for using ChatGPT when you click on the app in the Dock.
4. ChatGPT For Desktop
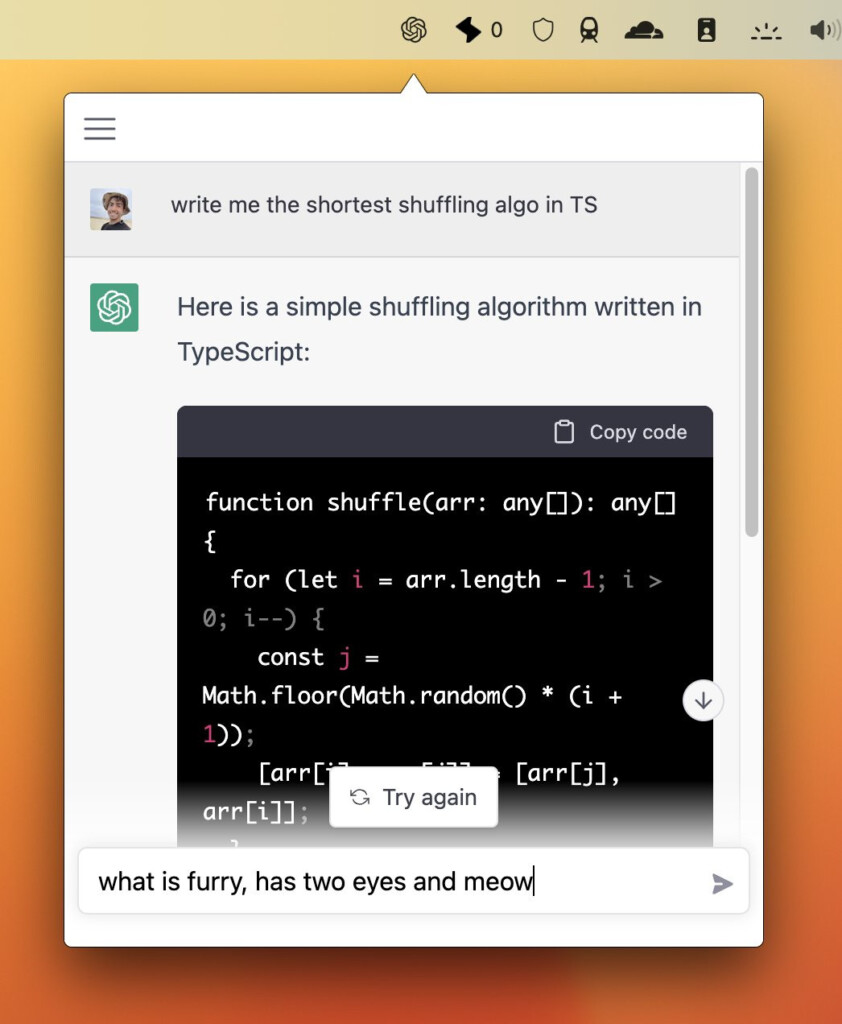
ChatGPT For Desktop is similar to macGPT and allows you to access ChatGPT from your Mac’s Menu Bar.
Once installed, you can either click on the ChatGPT For Desktop logo in the Menu Bar or use CMD + Shift + G to quickly open it from anywhere.
Note that there are two different downloads for ChatGPT For Desktop: one for Intel Macs and one for Apple Silicon ARM M1, M2 and M3 Macs.
You can download ChatGPT For Desktop here and watch how to install it below.
5. ChatGPT Web
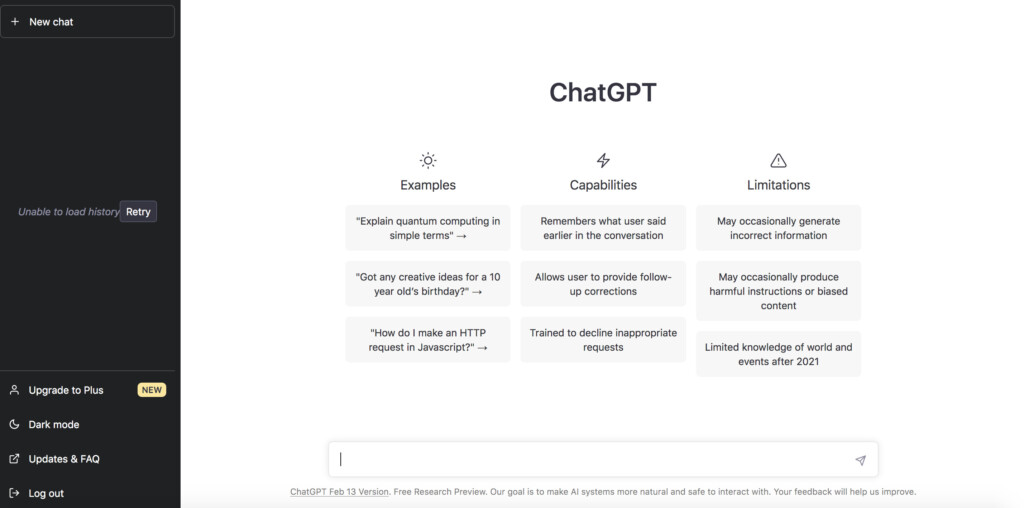
Outside of the official ChatGPT for Mac app, the quickest and easiest way to use ChatGPT on a Mac is simply to use the ChatGPT website in any browser such as Safari, Firefox or Chrome.
Once you’ve signed-up, you can ask ChatGPT anything and wait for a response.
If you sign-up with a Google or Microsoft account you only need to provide your email address to verify your account.
If you just sign-up with an email address, you’ll also need to provide your mobile number to verify your account.
You can then bookmark ChatGPT in your browser for easy access anytime you need it.
You can sign-up for ChatGPT here.
6. HelloAI

HelloAI is an AI Chatbot Assistant that allows you to use ChatGPT on your Mac desktop.
HelloAI requires you to have a ChatGPT account and helps you get answers to quick questions instantly via ChatGPT on your Mac desktop.
HelloAI sits in the top right corner of your screen and also includes a useful Prompt Library that saves your favorite and frequently used prompts.
There’s also a Prompt Store which provides hundreds of prompts for various topics ranging from business and education to travel and entertainment.
This could be useful for Marketing Professionals looking for brainstorming inspiration, Business Executives needing to communicate clearly with a team and generate meeting agendas and students that need to simplify research.
However, HelloAI also requires a $2.99 weekly or $9.99 monthly plan on top of your ChatGPT subscription if you have one.
You download HelloAI from the Mac App store.
7. Configure a Shortcut
You can also integrate ChatGPT in other apps such as Gmail, Microsoft Office and more by creating a Shortcut although this is the most complicated way of setting-up ChatGPT on a Mac.
Creating a shortcut on your Mac basically allows you to access ChatGPT from any application although it won’t work in all cases.
To setup a shortcut to use ChatGPT you need to:
- Sign-up for an OpenAI account.
- Get an OpenAI API key which allows ChatGPT to communicate with Siri.
- Click on “Create Secret New Key” and keep the API key safe somewhere.
8. Integrate ChatGPT With Python
If you’re a programmer using Python, you can also integrate ChatGPT with Python on a Mac.
Python can access ChatGPT via the OpenAI API client similar to the other methods of integrating ChatGPT that we’ve already looked at.
Of course, it’s only useful for programmers although you may find that other coding platforms can also access the OpenAI API client on a Mac too.
9. ChatTab
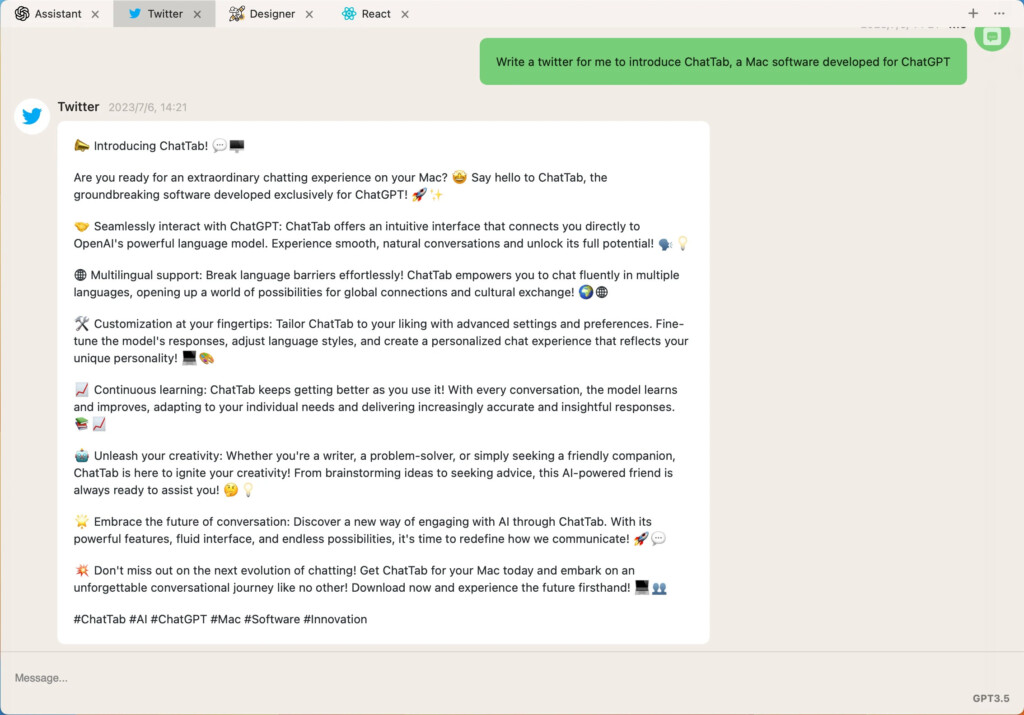
If you want a convenient way to use ChatGPT on your Mac then try ChatTab.
ChatTab downloads onto your Mac desktop and works in a tab layout format a bit like using a browser. You’ll of course need an OpenAI account and OpenAI key to link ChatTab to ChatGPT.
You can display a floating windows above any app and it’s ideal for Markdown with headings, codes, ordered lists etc.
ChatTab also does not store any of your private information, chats or log your activity either.
You can even use ChatTab for free but you will be limited to one single tab.
You can download ChatTab for Mac free and try it for yourself.


