
If you’ve upgraded to the latest version of macOS and suddenly found that an essential application, game or program isn’t working anymore, here we show you some easy ways to roll-back to an earlier version of macOS.
For most users, upgrading to a new version of macOS goes smoothly and new versions offer new features and security enhancements worth upgrading for.
However, the most common reasons users want to roll-back an upgrade to macOS are:
- An application is not working properly or is not compatible with the new version of macOS
- A external device such as hard drive, printer or other peripheral has stopped working with the new version of macOS
- The new version of macOS has removed a feature that you liked, used or required frequently
- The Mac seems to be running slower than before or is stable and keeps crashing frequently
- You simply don’t like the look, feel and functionality of the new version of macOS
Whatever the reason, here we show you three easy ways to downgrade version of macOS. This works for all versions of macOS from OS X Lion onwards.
All of these methods will leave your files, folders and applications intact on your Mac so you won’t lose any data unless you specifically choose to erase the hard drive using the bootable installer method.
1. Restore a Time Machine Backup
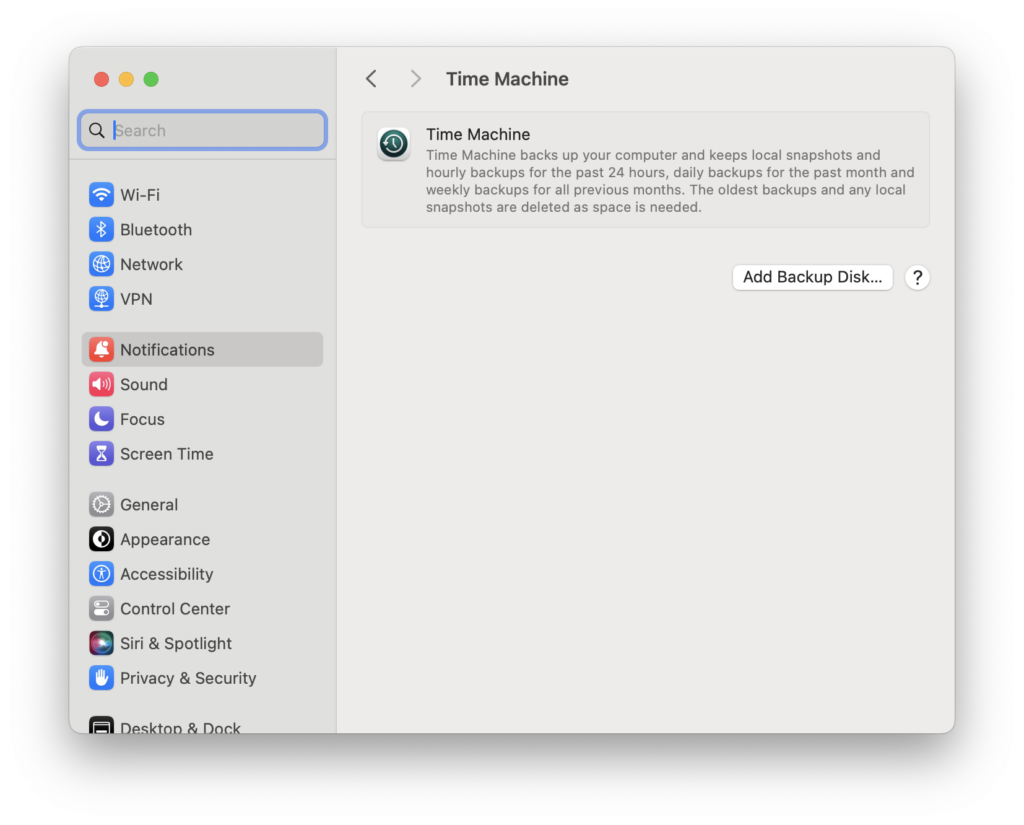
Time Machine is a free utility in macOS which makes it incredibly easy to backup and restore your Mac at any point.
As the name suggests, Time Machine allows you to “go back in time” to a previous state of your Mac when all was well.
Of course, to use Time Machine, it’s important than you made a backup of macOS before you upgraded.
That’s why we strongly recommend backing-up macOS first with Time Machine before you upgrade macOS.
If you’ve never used Time Machine or didn’t do a backup with it before upgrading, skip to the next option on this list.
If you did make a backup of macOS with Time Machine before upgrading to macOS, follow these instructions to roll-back.
- Make sure your Mac is completely shutdown.
- Connect the external hard drive with the Time Machine backup on it to your Mac
- Restart your Mac in Recovery Mode by doing the following depending on the make of your Mac:
Intel Mac: Hold down Command + R and then press the power button until you see the startup options screen.
Apple Silicon Mac: Just hold down the power button until you see the startup options screen.
- In the macOS Utilities tool, select “Restore from Time Machine” and click Continue.
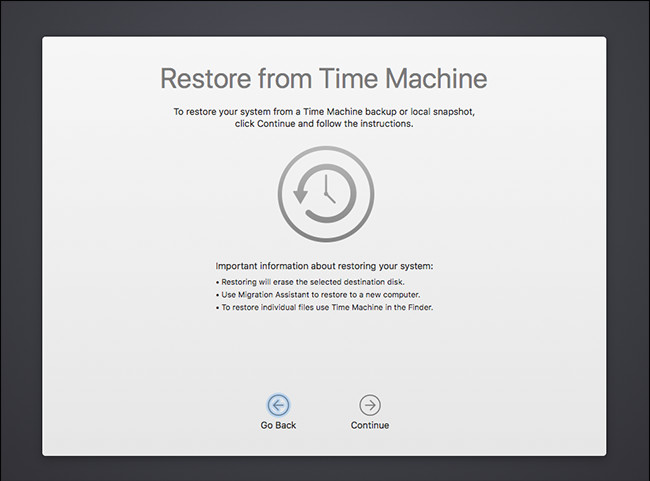
- Choose Time Machine as your Source to restore from.
- Choose the date of the backup you want to restore from which should be the last date that you had the previous version of macOS installed on your Mac.
- Click Restore
The magic of Time Machine is that your Mac will instantly be transported back to when you had the previous version of macOS installed.
2. Reinstall macOS with Recovery Mode (Intel Macs only)
A nice feature with older Intel Macs is that you can roll back to the original version of macOS that your Mac shipped with, even without a backup of it.
You can do this using macOS Recovery Mode by doing the following:
- Make sure you Mac is shut-down
- Hold down Shift + Option + Command + R and then press the power button. When you see the Apple logo, let go of the keys.
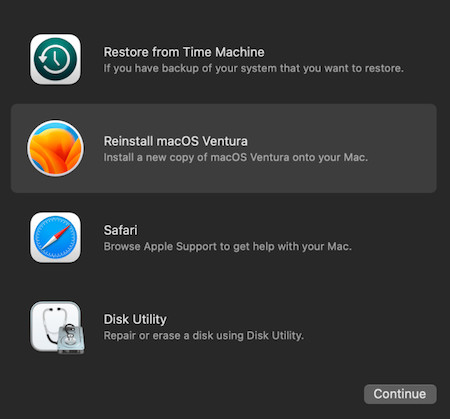
- Choose the option to reinstall macOS, in this case “Reinstall macOS Ventura”.

Your Mac will then take some time to reinstall a clean version of that version of macOS.
3. Create a Bootable Installer of macOS
You can also roll back macOS by downloading an older version from Apple and then creating a bootable disk of it.
You will need a Pendrive or an external hard drive with at least 15GB of free space on it formatted to work with a Mac in Mac OS Extended format.
- Download the older version of macOS you want to downgrade to from Apple.
- Do not run the installer but move it to your Applications folder on your Mac.
- Connect your USB stick or external drive and label it “MyVolume” if it’s not already called that.
- Open Terminal on your Mac by going to Applications > Utilities or click on it in your Dock if its already there.
- Type the following command at the command prompt:
sudo /Applications/Install\ macOS\ Ventura.app/Contents/Resources/createinstallmedia –volume /Volumes/MyVolume
- Press Enter. You may have to enter your Administration password and press Enter again.
- Type “Y” to confirm that you want to erase the volume
- The Ventura boot disk will then be created and Terminal will display the progress of it until it is complete.
- Go to the Apple logo in the top left of your screen and select System Settings > General > Startup Disk.
- Select the Ventura Boot Installer that you created.
- Shut down your Mac.
- Restart your Mac in Recovery Mode by doing the following depending on which make of Mac you have:
Intel Mac: Hold down Command + R and then press the power button until you see the startup options screen.
Apple Silicon Mac: Just hold down the power button until you see the startup options screen.
- If you just want to reinstall Ventura, go back to the Recovery Mode screen, select the option to reinstall the version of macOS (in this ecxample “Reinstall macOS Ventura”) and use the bootable disk you created on the drive connected to your Mac.
- However, if you want to wipe the entire contents of your Mac’s hard drive before reinstalling Ventura you can do so by select Disk Utility.
- Select your Mac’s startup disk and click on the “Erase” button along the top. Note that this will
- Close Disk Utility.
- Choose the option to reinstall the version of macOS (in this case Reinstall macOS Ventura) from the Recovery Mode menu.