
If you need to create a bootable USB drive on your Mac but aren’t sure where to start, here we show you how to easily create one for free with Etcher.
Creating a bootable USB drive can be useful in a variety of different situations such as to install Windows on a newly built PC, install Windows for free on a Mac or downgrade macOS to an older version.
Popular Boot installer creation tools such as Rufus don’t exist for Mac but Etcher does the job just as well.
Etcher is a free open source, user-friendly tool that allows you to write disk images to USB drives or SD cards in minutes.
Does Etcher work for Creating Windows Boot Drives?
Etcher does work for creating Windows boot drives although we had problems with it when trying to install Windows on a new build PC. The boot drive was created but the PC would not boot from it.
In the end, we resorted to running Rufus on a Mac using a virtual machine which did work and we recommend if Etcher doesn’t work for you.
You May Also Like:
Simply follow these instructions to create a bootable USB drive using Etcher on your Mac:
- Download and Install Etcher for Mac.
- Download the ISO image of the operating system you want to install. In the case of Windows 11, it would be the Windows 11 ISO from Microsoft.
- Connect the USB drive to your Mac. If it is not recognized by your Mac, you’ll need to format it first.
- Make sure it has enough storage capacity to store the ISO image. A Windows 11 ISO is about 5GB so you’ll need at least that much space on your USB drive to install Windows 11.
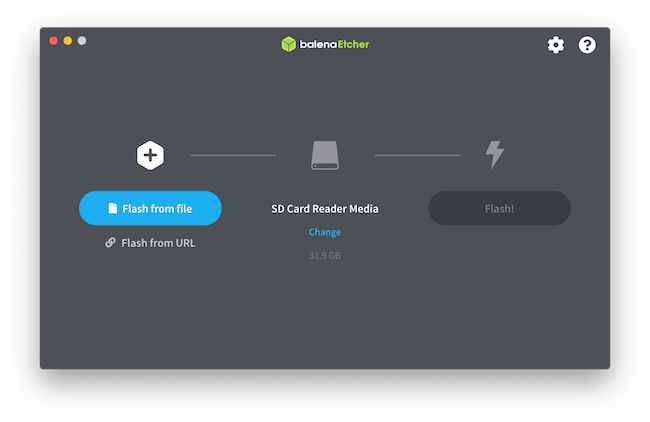
- Launch Etcher on your Mac which will be in your Applications folder.
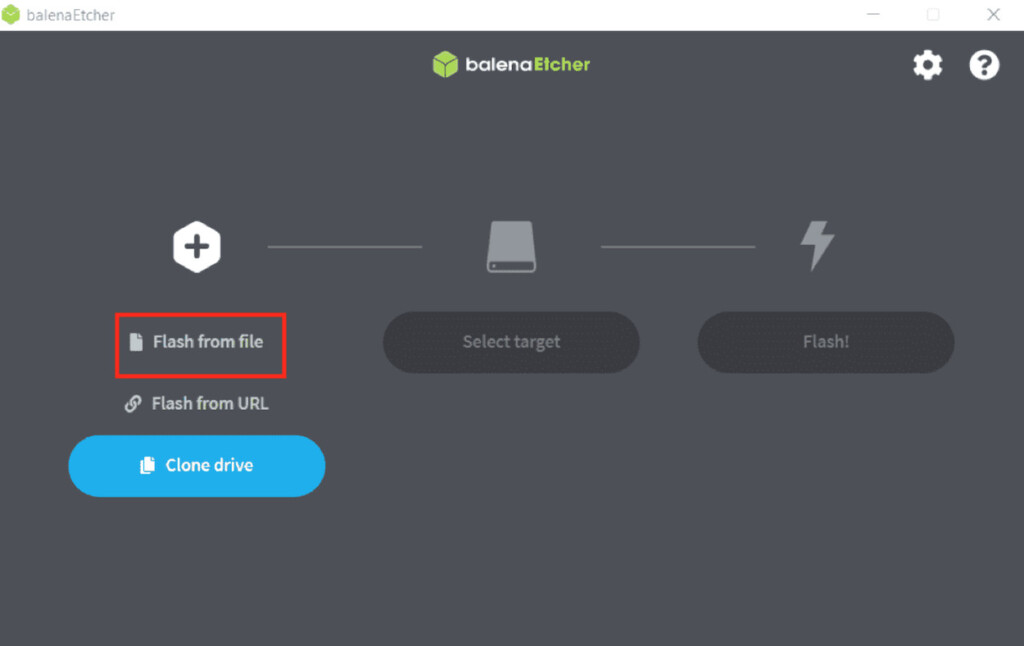
- Browse to the ISO Image by clicking on the “Flash from file” button and select the location where you saved the downloaded ISO image (such as in your Mac’s “Downloads” folder).
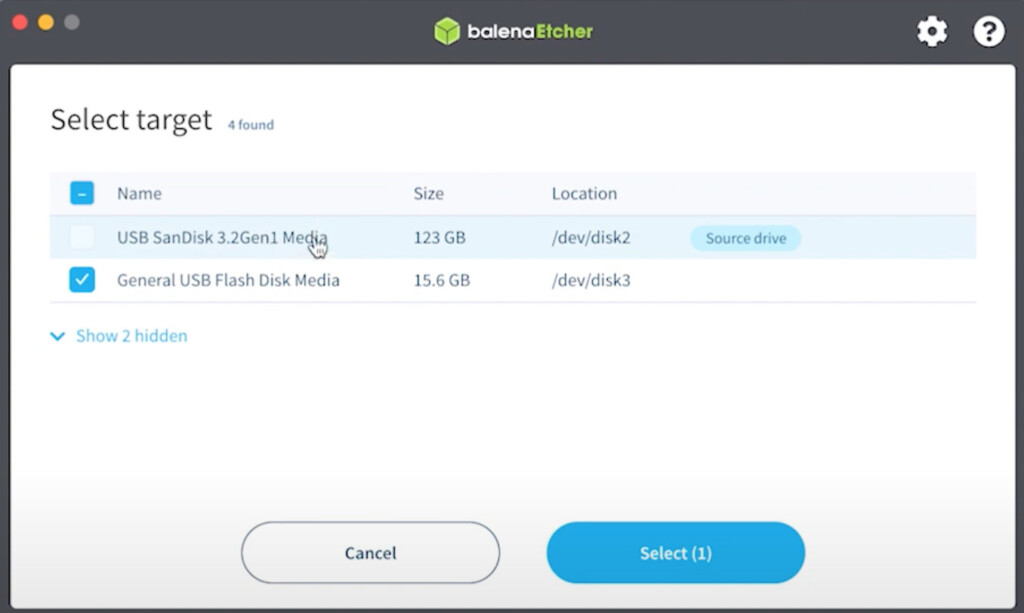
- Select the Windows 11 ISO file. Then click on the “Flash to” button and choose the target USB drive.
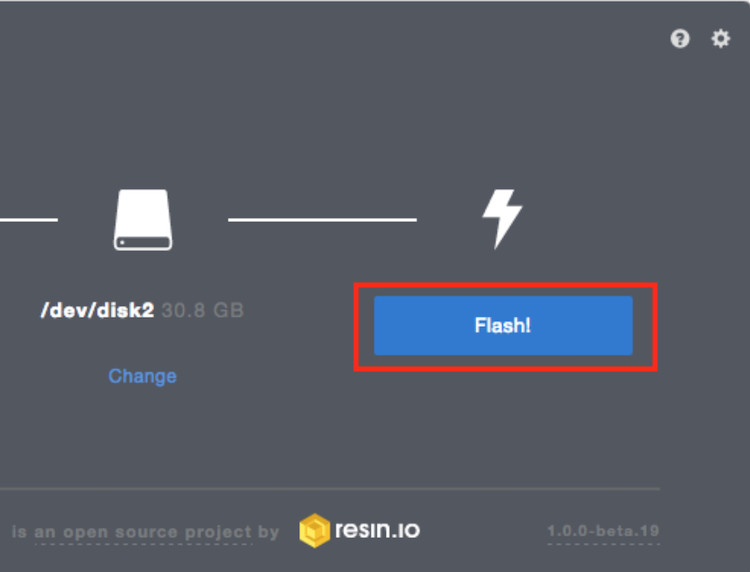
- Click on the “Flash!” button to begin the flashing process.
- Etcher may prompt you to enter your administrator password at this point at which you should do so and click “OK”.
- Etcher will then start writing the ISO image to the USB drive. This process may take some time, depending on the size of the ISO file and the speed of your USB drive so don’t be alarmed if the progress is stuck on 0% for some time.
- Once the process is complete, Etcher will display a “Flash Complete!” message. Make sure that there are no errors reported.

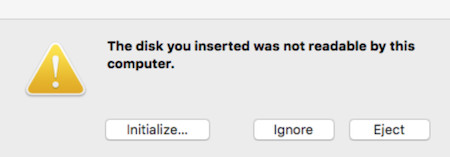
- You may see a message in macOS saying “The disk inserted was unreadable by macOS” but this is nothing to worry about and you can ignore it.
You have now successfully created a bootable USB drive using Etcher on your Mac.
You can now continue installing Windows for free on your Mac by restarting it and selecting the USB drive as your Boot Disk.
It’s a good idea to keep the USB drive in a safe place somewhere as it can be used again to reinstall Windows on your Mac if you have any problems with the installation or install Windows on another Mac.