If you’re trying to install Windows on your Mac, you’ll need to download a Windows 10 ISO image or Windows 11 VHDX file.
A Windows ISO image or VHDX file is a downloaded version of the operating system that you can use to install it on other machines including Macs.
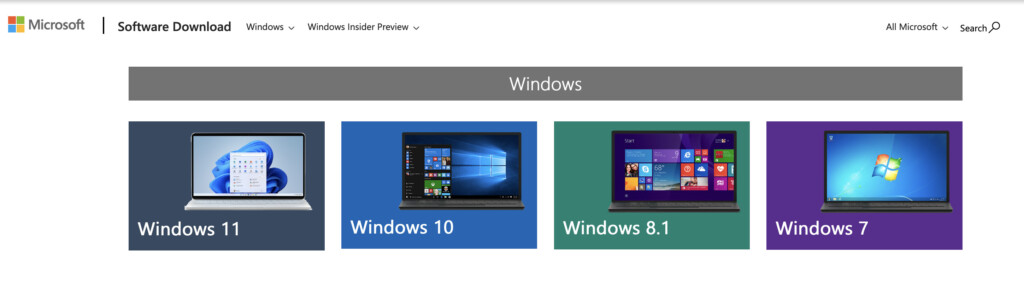
Microsoft has finally standardized the process for this making it very easy to download an ISO for Windows 7, Windows 8.1, Windows 10 or a VHDX file for Windows 11 from the Microsoft Software Download site.
For Windows 10 and Windows 11, you don’t even need to have a license key to use it although if you do have one, entering it will allow you to customize Windows and remove a watermark at the bottom of the screen.
If you need to download a Windows ISO for Windows 7 or Windows 8.1, you’ll need a license key though.
What You’ll Need To Install Windows 11 on a Mac
At the moment, the best way to run Windows 11 on a Mac is via Parallels. This is because Windows 11 requires a TPM chip which does not exist in either Intel or Apple Silicon Macs with the M1, M2 or M3 chip.
Parallels is the only way to run Windows on a Mac that is officially endorsed by Microsoft.
However, Parallels can emulate a virtual TPM chip which allows you to install Windows 11 on both Apple Silicon and Intel Macs.
The process for downloading Windows 11 on a Mac is slightly different however depending on whether you have an Intel Mac or an Apple Silicon Mac.
Here’s what you’ll need to make sure you have before you can install Windows 11 on your Mac:
- An Intel or M-chip Mac running macOS Big Sur or later.
- A copy of Parallels which is the only virtual environment that can emulate the TPM chip required to install Windows 11 on a Mac.
- You’ll need 64GB or more free storage space on your Mac startup disk. This is the bare minimum you’ll need but we strongly recommend at least 128GB of free storage space as automatic Windows updates will quickly eat up that space
The only alternative to this is to use Boot Camp to install Windows 11 on a Mac but this only works for Intel Macs.
Boot Camp does not work with the latest Apple Silicon Macs.
It also involves downloading a slightly modified version of the Windows 11 ISO which isn’t available from the Microsoft website.
How To Download Windows 11 For Free on an Intel Mac
Here’s how to download Windows 11 for free on an Intel Mac.
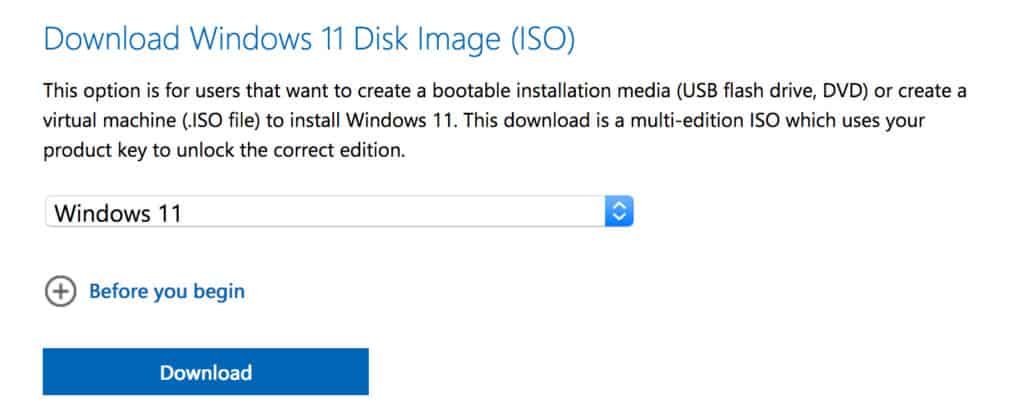
- Go to the Windows 11 ISO Disc Image download site where you can download a 64-bit version of Windows 11.
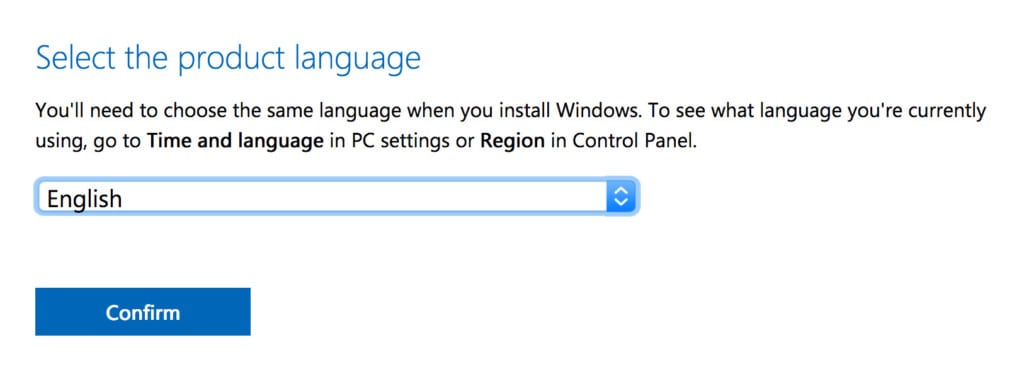
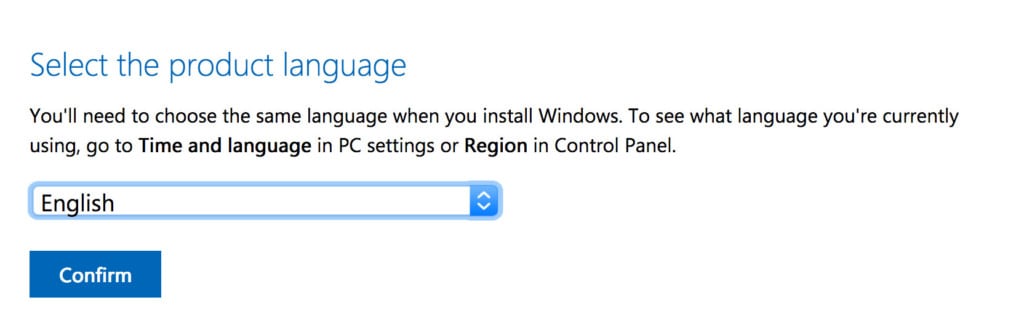
- Select the language you want Windows 11 to be in:
- You’ll then be given a 64 bit download link for Windows 11.

When you’ve done this, follow these instructions to install Windows 11 on your Mac.
How To Download Windows 11 For Free On Apple Silicon Macs
You can download Windows 11 ARM here from Microsoft. Windows ARM is the only version of Windows that works on Apple Silicon Macs.
This then allows you to download the VHDX image of the Insider Preview Windows 11 For ARM instead from Microsoft.
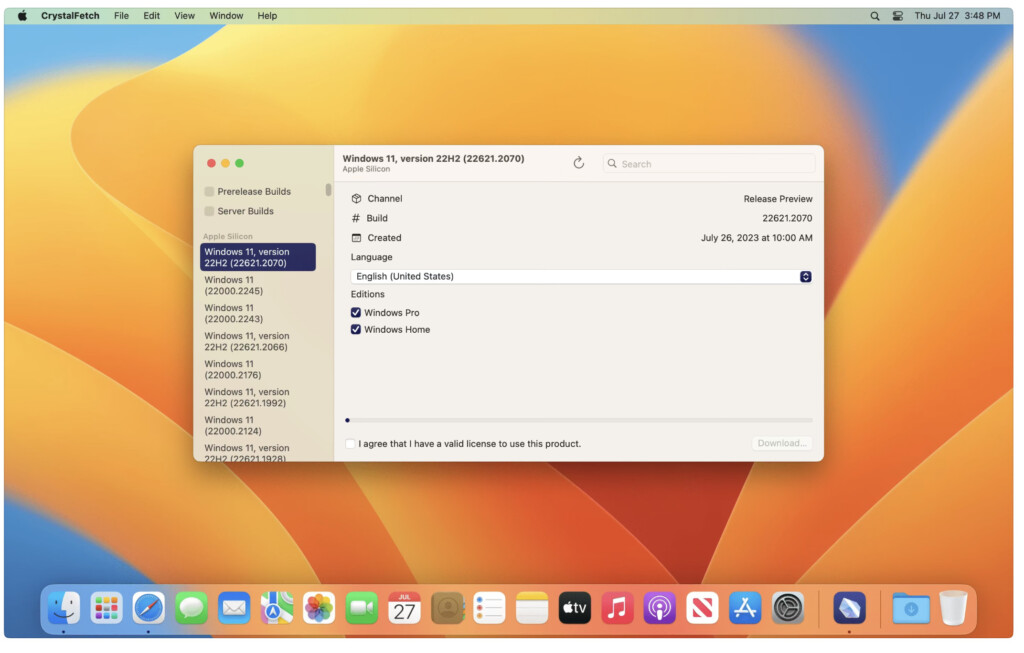
Alternatively, you can use the Crystal Fetch app on the Mac App Store which avoids the need to sign-up for the Microsoft Insider program.
Note that it’s not yet possible to run the standard x86 version of Windows 11 on Apple Silicon Macs like you can on Intel Macs although it’s likely that Parallels will add support for this eventually.
Windows ARM is very similar the standard version of Windows but is compatible with less software as it only works with ARM (Advanced RISC Machine) chips.
This means that unfortunately many of your Windows applications may not work using Windows 11 on M-series Macs unless they are ARM compatible.
What You’ll Need To Install Windows 10 on a Mac
Here’s what you’ll need to make sure you have before you can install Windows 10 on your Mac:
- You’ll need 64GB or more free storage space on your Mac startup disk. This is the bare minimum you’ll need but we strongly recommend at least 128GB of free storage space as automatic Windows updates will quickly eat up that space.
- iMac Pros or Mac Pros with 128GB of memory (RAM) or more will require at least as much free hard drive storage space as your Mac has memory.
- A USB flash drive or external hard drive with at least 5GB space. You’ll need this to put the ISO image on so that your Mac can install Windows. However, if you have any of the following models of Mac running macOS El Capitan 10.11 or later, you don’t need an external device at all because your Mac can use the internal drive to temporarily store what you need to install Windows.
- MacBook Pro (2015 and later)
- MacBook Air (2015 and later)
- MacBook (2015 and later)
- iMac (2015 and later)
- iMac Pro
- Mac Pro (Late 2013)
How To Download Windows 10 For Free on a Mac
Unlike Windows 11, the process for downloading Windows 10 on a Mac is the same and you can run the standard x86 version of Windows 10 on an Apple Silicon Mac.
Here’s how to download Windows 10 for free on your Mac.
- Go to the Windows 10 ISO Disc Image download site where you can download a 64-bit version of Windows 10 Home or Windows 10 Pro. Be careful to select the full version of Windows not an update.

- Select the language that you want Windows 10 to be in.
- Select the 62 bit version of Windows 10 to download.

- You can then download Windows 10 onto your hard drive.
If you’ve got an Intel Mac, then just follow these instructions to install Windows 10 on a Mac for free with Boot Camp.
However, since Boot Camp only works on Intel Macs, you’ll need to follow these instructions to install Windows 10 on Apple Silicon Macs.
How To Download A Windows 7 or 8.1 ISO On a Mac
You will need to have already purchased a copy of Windows 7 or 8.1 before you can do this and have the Windows Product Key ready.
If you purchased Windows online, you should receive the Product Key immediately via email so you don’t have to wait to for it to physically arrive in the post before you can do this.
To download a Windows 7 or 8.1 ISO you’ll need to follow these instructions on the Microsoft website.
You can then either use the ISO to install Windows on your Mac using Boot Camp.

Other Ways To Download a Windows ISO
If you can’t download a Windows ISO from Microsoft, then you can also use Crystal Fetch on the Mac App Store.
Crystal Fetch automatically downloads a Windows 11 ISO for you although it does not work for Windows 10.
You can choose from different versions of Windows 11 including Windows Pro and Windows Home Edition.