
Boot Camp is a free utility in macOS that allows you to install Windows for free on your Mac. Here we show you how to install Windows 10 on Mac for free on a Mac using Boot Camp so that you can switch between macOS and Windows whenever you want.
Although we don’t think Boot Camp is the best way to run Windows on Mac (we gave that honor to Parallels which allows you to run macOS and Windows simultaneously) Boot Camp comes a close second and best of all, it’s FREE to use.
Boot Camp is also the only way to play some games on Mac such as Valorant on Mac and Hogwarts Legacy on Mac because they have anti-cheat software or titles like Diablo 4 that require DirectX 12 which will not work in Windows on virtual machines such as Parallels.
You May Also Like:
- Best Ways To Play Windows Games On Mac
- How To Install Windows 11 On Mac For Free With Boot Camp
- How To Run iOS Apps On Mac
- How To Install Windows Without Boot Camp
Does Boot Camp Work on M1, M2 & M3 Macs?
It’s important to be aware that although you can use Boot Camp to install Windows for free on a Mac including with macOS Monterey, Boot Camp is not available in the latest Apple Silicon Macs.
Boot Camp only works with Intel chips and does not support the latest M1/M2/M3 chips in the latest generation of Macs.
The only way to run Windows on an Apple Silicon Mac is to use the Parallels virtualization software which can install Windows on the M-Series Macs.
Parallels is the only way to run Windows on a Mac that is officially endorsed by Microsoft.
You can find full instructions how to run Windows on Apple Silicon Macs here.
Which Macs Can Run Windows?
If you’re an Intel Mac user (basically any Mac made before mid 2021) then you can use Boot Camp to install Microsoft Windows in Big Sur and earlier versions of macOS.
Specifically, the following models of Mac allow you to install Windows using Boot Camp:
- MacBook Pro (2015 and later)
- MacBook Air (2015 and later)
- MacBook (2015 and later)
- iMac (2015 and later)
- iMac Pro (all models)
- Mac Pro (Late 2013)
Why You Can Run Windows on Mac For Free
The great thing is Microsoft now allows you to download and install Windows 10 for free on a Mac because you don’t actually have to activate it with a product key unless you want to customize it.
Activation of Windows 10 only offers only minor benefits such as the ability to rearrange the look of Windows and remove a small watermark in the bottom right corner of the screen.
Are There Any Risks Installing Windows on a Mac?
There is absolutely nothing to be scared of or worried about when installing Windows on a Mac using Boot Camp.
Boot Camp simply installs Windows on a separate partition on your hard drive so it won’t affect macOS in any way. There are absolutely no risks installing Windows on your Mac.
Running Windows on a Mac in Boot Camp effectively isolates the rest of your Mac from any potential problems with viruses, malware or adware.
If the Windows installation were to get a virus or corrupted in some way, it wouldn’t damage macOS. You can simply delete the installation and reinstall it.
The Boot Camp installation assistant makes the entire process extremely easy and even beginners can install Windows on a Mac with it.
However, it’s always a good idea to backup your Mac to an external hard drive before doing something like installing Windows on it.
You can also use an external hard drive to run Windows on your Mac using Boot Camp if you don’t have enough disk space on your Mac’s internal drive.
Windows 10 on a Mac Installation Checklist
Here are full step-by-step instructions how to install Windows 10 for free on a Mac using Boot Camp.
Before you start though, you’ll need to have the following:
- An ISO image of Windows 10 from Microsoft. You can download it for free and it doesn’t need fully activating unless you want to customize Windows. Make sure you select the 64-bit version.

- An external storage device with at least 16GB of space. This is to save the ISO image on and can either be a Pen Drive or any external hard drive to create the Windows Install Disk. It’s also used to save the Windows Support Software drivers from Apple which allows your Mac hardware (keyboard, monitor, trackpad etc) to work with Windows. However, if you have any of the following models of Mac running macOS El Capitan 10.11 or later, you don’t need an external device at all because your Mac can use the internal drive to temporarily store what you need to install Windows.
- MacBook Pro (2015 and later)
- MacBook Air (2015 and later)
- MacBook (2015 and later)
- iMac (2015 and later)
- iMac Pro (all models)
- Mac Pro (Late 2013)
- At least 64GB or more of free disk space on your Mac. We highly recommend 128GB as Windows updates will quickly gobble up most of it. If you intend on installing several games or applications, you will need plenty of hard drive space devoted to Windows. It’s better to go for more rather than less and if at a later stage you decide you don’t want to have half of your Mac’s hard drive devoted to Windows, you can erase the Windows partition at a later date and regain the hard drive space for macOS.
- A full battery if you have no power source available but we highly recommend having your Mac plugged-in for this process.
- A backup of your Mac hard drive. Or at least, make sure your most important files and folder are backed up or saved somewhere else. Although nothing should go wrong when installing Windows, it’s always better to be safe than sorry. The best thing to use is an external hard drive for backups so don’t miss our guide to the best external hard drives for Mac.
- A cup of tea or coffee. This entire process should take around 40 minutes to one hour.
How To Install Windows 10 on a Mac For Free
If you’ve got all of these things then you’re ready to go. Follow these instructions to install MS Windows 10 on a Mac for free.
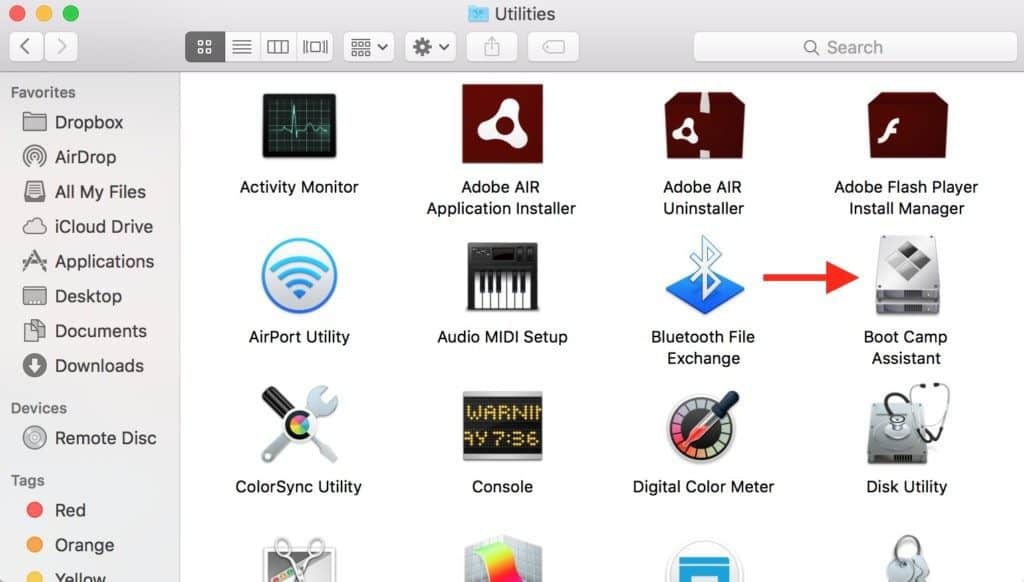
- Go to Applications – Utilities and open Boot Camp Assistant on your Mac.
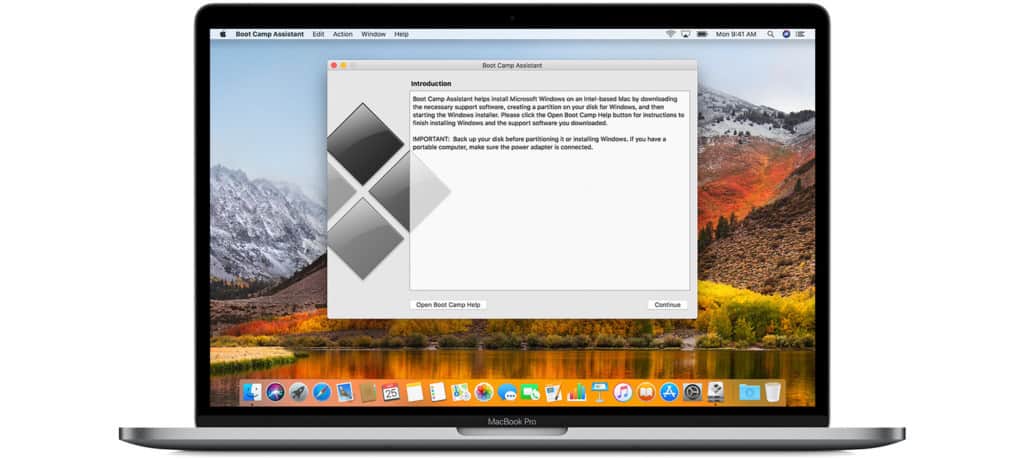
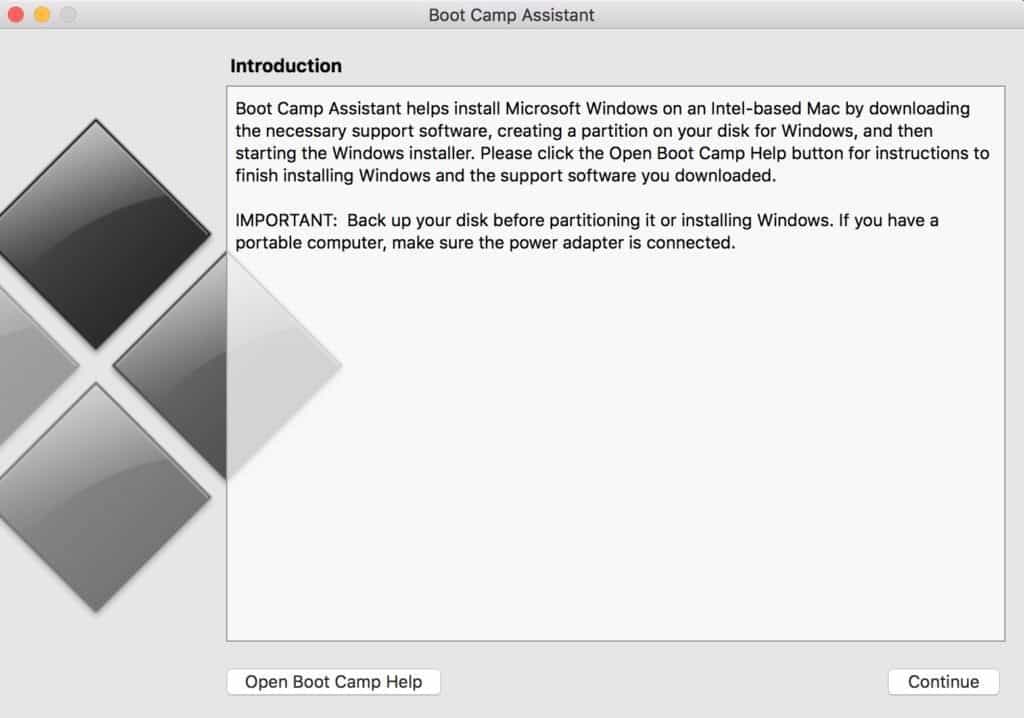
- Boot Camp will warn you that it will create a partition on your hard drive and that you should make a backup of your Mac before proceeding. If you’ve done this, click Continue.
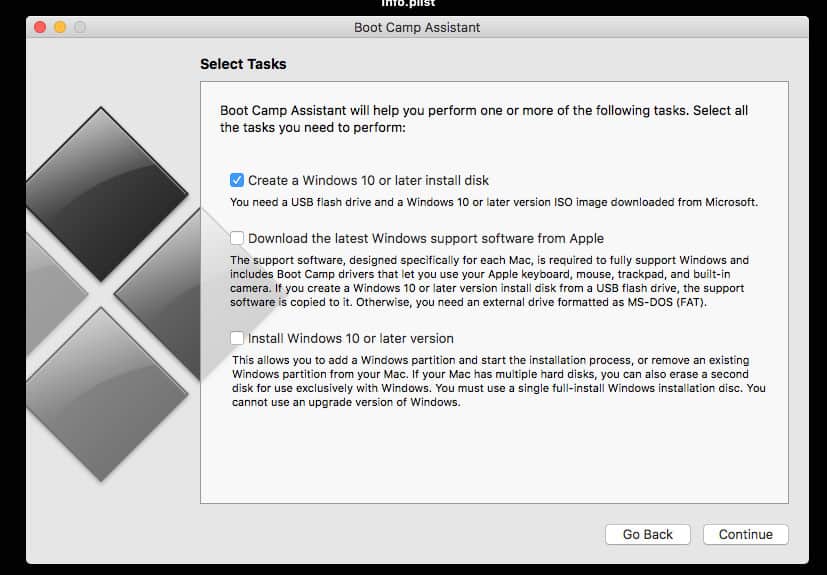
- In the dialogue that follows, make sure that all options are selected i.e Create a Windows 10 or later install disk, Download the latest Windows support software from Apple and Install Windows 10 or later version. If you don’t want to install Windows right now or just want a Windows install USB drive that you can use on another Mac, leave the last option unchecked.
- Click Continue then Choose.. and browse to the Windows 10 ISO image that you downloaded earlier. If you’re using an external drive or Flash Pen Drive, make sure the ISO image is on there and choose that location. If you’re not using an external device, just browse to where it is saved on your Mac. You can choose how much hard drive space you want to dedicate to Windows but if you are intending on installing lots of games or Windows programs, the bigger the better.
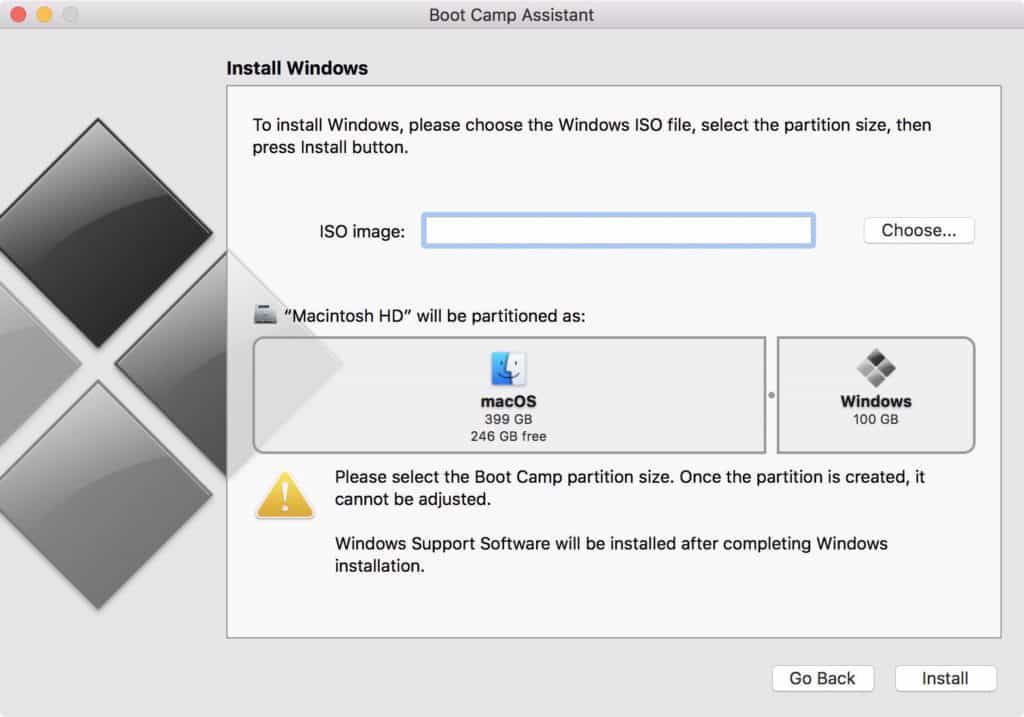
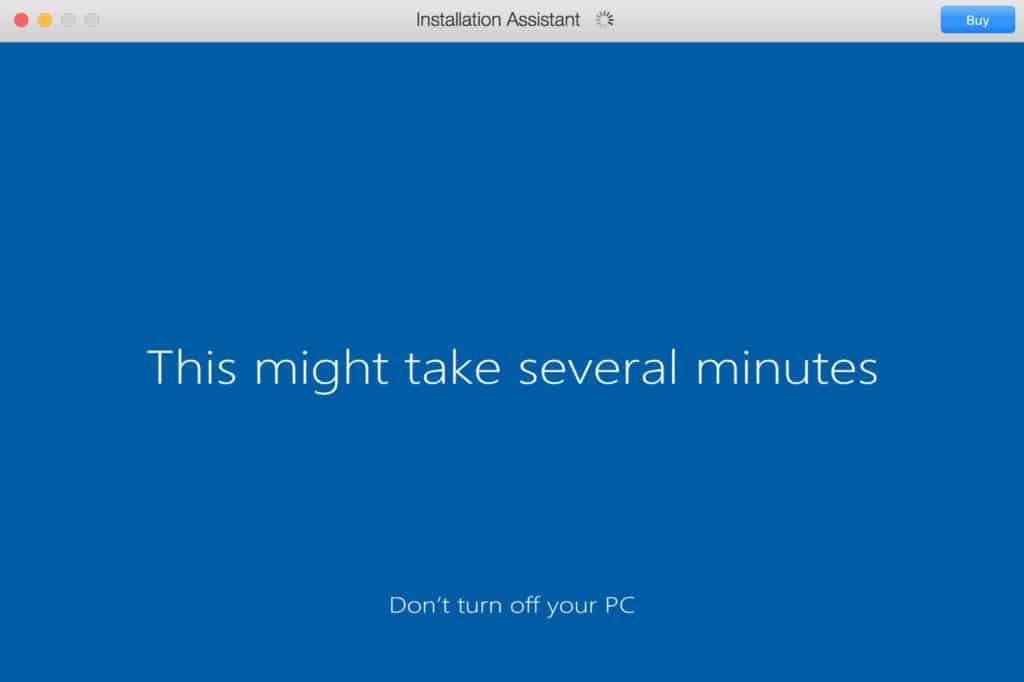
- Click Install and the Windows boot disk installation process will start including downloading of the Windows support software from Apple that Boot Camp requires in order to install Windows. This can take some time to complete and it may appear to be frozen or stuck but it’s just decompressing the files.
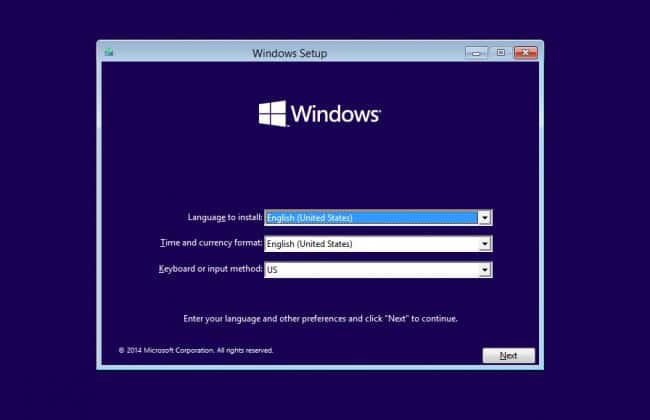
- When this is complete, your Mac will restart and Windows will setup up on your Mac just as if you were installing it on a PC for the first time. Configure your language settings, time and currency and keyboard language.
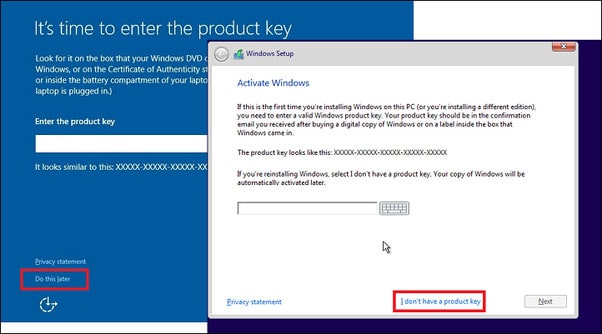
- When prompted for a Windows 10 Product Key, just click “I don’t have a product key” at the bottom of the screen. Remember that Microsoft now allow you to use Windows 10 without activating it so you don’t need a Product Key.
- You can select either Windows 10 Home or Pro but Home is the cheaper of the two and sufficient for the needs of most users although you can see how they compare side-by-side here.
- Accept the License prompts and Windows will start the final stages of installation.
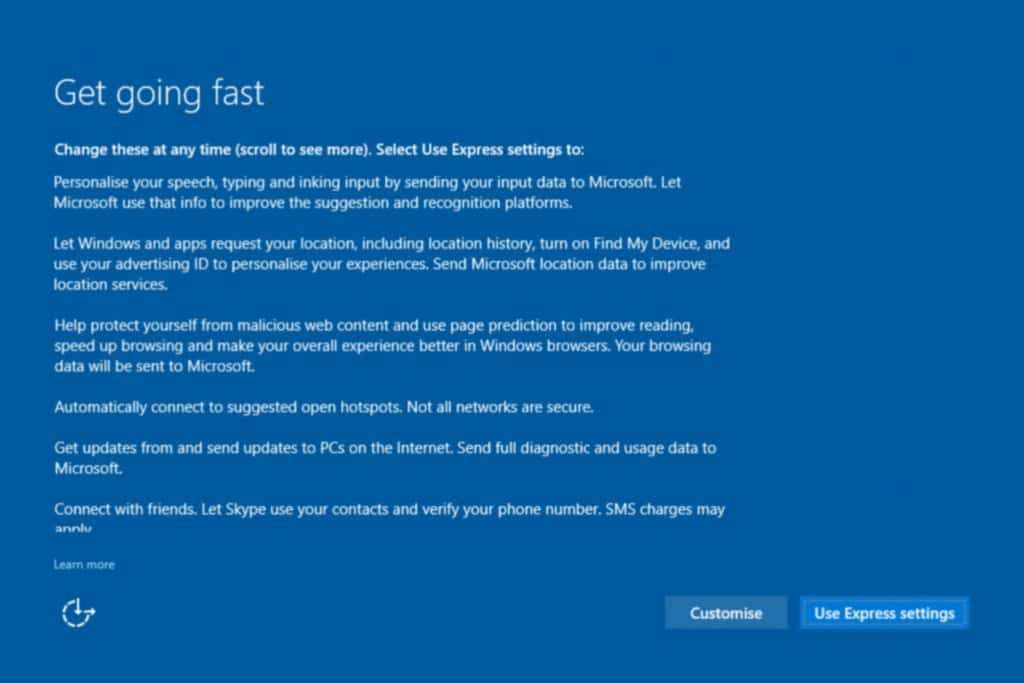
After a few minutes your Mac will reboot again and you’ll be taken to a final setup screen called Get Going Fast. You can choose the Express Setting in the corner or manually configure it however you want.
- You’ll be asked to create a Windows account. Windows will encourage you to use the Cortana personal assistant (basically Microsoft’s answer to Siri) but we’d recommend selecting Not Now.
- Windows 10 will then open on your Mac but Boot Camp hasn’t quite finished yet. You’ll see another Boot Camp installer dialogue that will prompt you to install more drivers. Click Next until these are complete and your Mac will reboot.
- Finally, click on the Windows Start Menu and select Apple Software Update. This will update Windows with the latest drivers so that your soundcard, graphics card and other hardware work smoothly with Windows. Your Mac will once again reboot to Windows 10.
- A last piece of advice is to make sure that Windows security patches are up to date. Go to Start > Settings > Update & Security and Windows will automatically download any security updates. You don’t have to do this but it’s advisable.
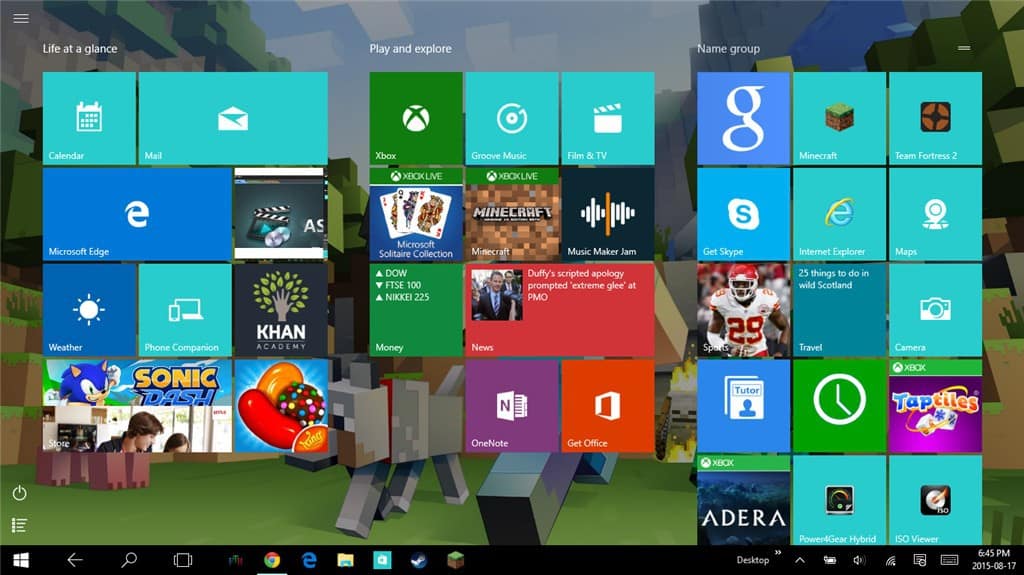
And that’s it, you’ve got Windows 10 installed on your Mac for free.
Of course, you won’t always want to boot your Mac in Windows.
Most of the time you want to boot your Mac in macOS as normal so to enable macOS as your default operating system, in Windows go to Control Panel, System and Security and then scroll to the bottom where you will see Boot Camp.
There you can select Macintosh HD as your default operating system and click OK to save.
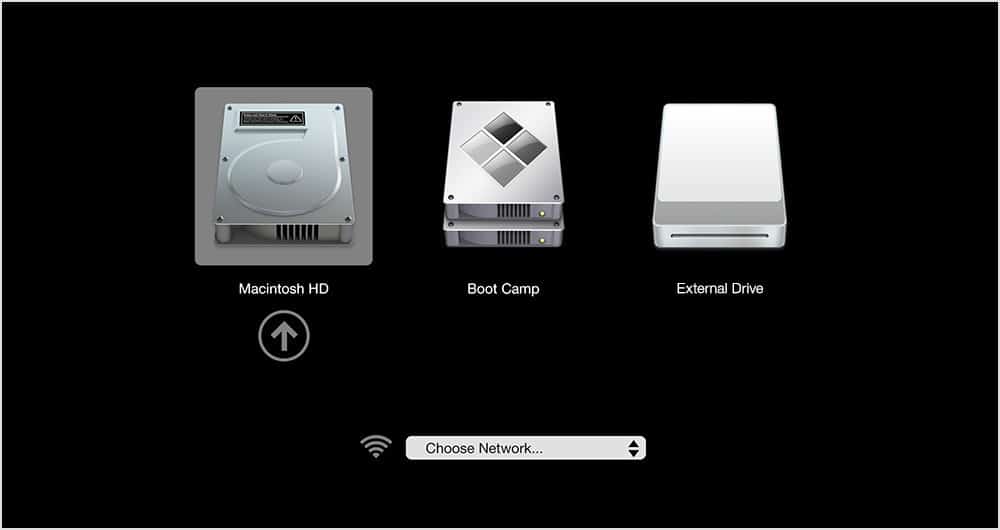
Alternatively, if you want to choose whether your Mac boots into Windows or macOS, simply hold down the Option key on your Mac when you switch it on:
And after about 5-10 seconds, you will be given the option of whether to boot in macOS or Windows.
Can You Connect an eGPU to Boot Camp on a Mac?
The short answer is yes, it is technically possible to connect an eGPU to a Mac running Windows in Boot Camp. However, the reality is it’s extremely tedious to configure and doesn’t always work well.
Unfortunately, at this time we can’t recommend using an external graphics unit with a Mac via Boot Camp.
You can however check out our guide to the best eGPUs for Mac to use natively with macOS.
We hope this guide has helped you get Windows up and running on your Mac, but If you have any problems let us know in the comments below.
Can You Connect Gaming Controllers to Mac With Boot Camp?
If you’ve installed Windows using Boot Camp, connecting gaming controllers can be complicated and you may need a third party app to handle external controllers.
Joystick Mapper allows you to connect external controllers and even allows you to use Playstation gamepads and Xbox controllers on a Mac.