
Have an older iMac gathering dust? Turning it into a high-resolution 5K monitor is much cheaper than buying a new display – but Apple hasn’t made it easy.
The options available differ according to which model of Mac you have, which version of macOS you’re using and what trade-offs you’re willing to accept.
Here we’ve broken down all the options available to help you decide which one is best for you including for the latest versions of macOS and M-series Macs.
Contents
- Quick Answer
- Why Even Try Using Your iMac As A Monitor?
- What Versions of iMac / Mac Setup Matter in 2026?
- Best Ways To Use an iMac as External Display in 2026
- 1. Luna Display (Best Overall Option)
- 2. AirPlay / macOS Screen Sharing (Best Free Option)
- 3. Target Display Mode (Older Intel Macs Only)
- 4. Duet Display (Flexible Software Alternative)
- 5. OpenCore Legacy Patcher (Advanced Users Only)
- 6. Hardware Hack / Panel Controller Boards (Extreme DIY Option)
- Comparison Table
- Which Method Should You Choose?
- Can You Use an M1, M2, M3, M4 or M5 iMac as a Monitor?
- Tips to Enhance Performance When Using an iMac as a Monitor
- Should You Do This or Just Buy a Monitor?
- FAQ
Quick Answer
In 2026, the best ways to use an iMac as an external display are:
- Luna Display: Best overall option for Apple Silicon and Intel Macs
- AirPlay to Mac: Best free option for casual use
- Target Display Mode: Only works on older Intel iMacs from 2009–2014
For most modern Macs, especially M-series Macs, Luna Display has effectively become the replacement for Apple’s discontinued Target Display Mode feature.
Why Even Try Using Your iMac As A Monitor?
- Cost savings: Good external 4K/5K/6K/8K monitors are expensive. If you already have an iMac, it can reduce cost. The iMac makes an excellent alternative to the Apple Studio Display and has the same resolution as Apple’s monitor which starts at $1,499. That’s pretty expensive considering you can now get a base model 24 inch M4 chip iMac for less than the Studio Display!
- Color consistency: Using Apple hardware from the same universe (macOS, displays, color profile) usually gives more consistent color and calibration.
- More screen real estate: Even a smaller iMac can outdo many cheap external monitors, especially if resolution, color depth, and brightness are good.
- Environmental reuse: Rather than let it collect dust, reusing your iMac is more sustainable.
However, there are also limitations:
- Wireless methods can reduce sharpness and responsiveness
- Some methods introduce lag
- True native 5K support is rare
- Apple Silicon Macs no longer support Target Display Mode
What Versions of iMac / Mac Setup Matter in 2026?
Here are several factors that determine which method works:
| Factor | Why It Matters |
|---|---|
| iMac model & year | Older iMacs (especially 2009-2014) support Target Display Mode; retina models and newer don’t. |
| Intel vs Apple Silicon | Whether it’s Intel or Apple Silicon (M1-M5) influences whether Target Display Mode works and which software/hardware options are available. |
| macOS version | Some features have been deprecated; others introduced (AirPlay Receiver, etc.). You’ll need recent macOS versions for newer options. |
| Ports available | Thunderbolt, Mini DisplayPort, HDMI, USB-C, etc., will limit or expand your connection options. Higher bandwidth ports allow higher resolutions. |
| Wired vs wireless | Wired connections reduce lag significantly |
Best Ways To Use an iMac as External Display in 2026
Here then are the best methods available in 2026 – with what you’ll get, what you’ll lose, and which setups each method is best for.
1. Luna Display (Best Overall Option)
How it works
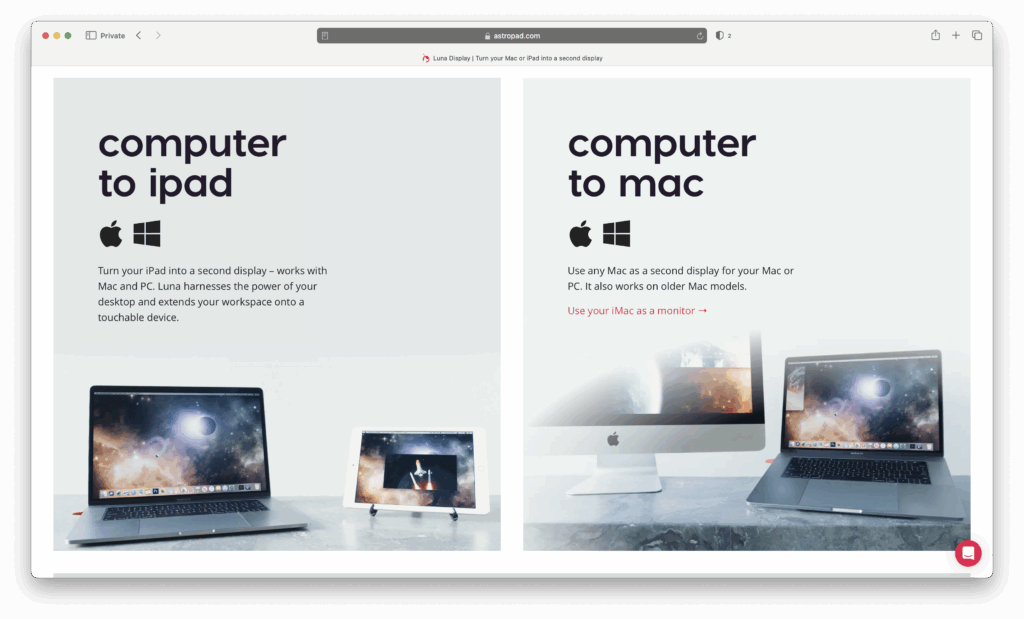
Luna Display makes a dongle (USB-C or Thunderbolt) and companion apps. It allows you to use another Mac (like an iMac) as a high fidelity external display.
What you’ll get
- Near-native or full native resolution in many cases. 5K panels typically supported.
- Works across Apple Silicon and Intel Macs.
- Option for wired (better) or wireless connection.
- Low latency, good performance if setup well.
Why Luna Display Has Become the Go-To Option
Apple effectively abandoned the idea of using Macs as displays when it removed Target Display Mode support years ago.
Luna Display fills that gap by offering:
- modern Apple Silicon compatibility
- Retina and 5K iMac support
- lower latency than AirPlay
- better image quality than most software-only alternatives
For many users, it’s now the closest thing to a true “monitor mode” for modern iMacs.
What you’ll lose / limitations
- Cost of hardware + app.
- Wireless performance depends heavily on your network.
- Might need to configure settings/tweak to reduce lag, color shift.
- Fast gaming and high-motion video still aren’t perfect
For more, check out our guide on how to use an iMac as an external monitor with Luna Display.
Pricing: $89.99 / £67.99
2. AirPlay / macOS Screen Sharing (Best Free Option)

How it works
Recent macOS versions let certain Macs become AirPlay Receivers (or you can use screen sharing) so another Mac can send its display wirelessly or over network/cable. In the latest versions of macOS (Ventura, Sequoia, Tahoe etc.), this works on most newer Macs.
What you’ll get
- Relatively easy setup – just enable AirPlay Receiver on the iMac, select it from the source Mac.
- Works with both Intel and Apple Silicon Macs.
- Good for presentations, light tasks, browsing, design previews.
What you’ll lose / limitations
- Resolution is often limited (commonly 1080p–1440p, occasionally higher on newer Macs with wired or Wi-Fi 6E connections). But rarely full native 5K or 6K with perfect clarity.
- Some lag, especially over WiFi. Wired or better-quality WiFi improves this.
- Color fidelity or refresh might not be perfect for professional design tasks.
- Older iMacs made before 2019 are not officially supported but models as old as 2011 may work with the OpenCore Legacy Patcher software (see below).
For more, check out our instructions on how to use an iMac as an external monitor with AirPlay.
Pricing: Free in macOS
3. Target Display Mode (Older Intel Macs Only)

Important reality check:
Target Display Mode (TDM) is a legacy Apple feature that only works on specific non-Retina Intel iMacs and is not compatible with Apple Silicon Macs.
How it works
If you have an iMac from 2009 to mid-2014 (non-Retina models), Target Display Mode (TDM) allows it to act purely as a display. Connect via Mini DisplayPort or Thunderbolt, hit ⌘-F2 (on the iMac), and voila – your other Mac shows up on the iMac.
What you’ll get
- Full native resolution of the iMac panel for supported non-Retina models (up to 2560×1440)
- Very low latency (virtually the same as a monitor).
- No software purchase required.
What you’ll lose / limitations
- Doesn’t work with Retina iMacs or newer iMacs (post-2014).
- Target Display Mode does not work as a display input from Apple Silicon Macs.
- Only works up through certain macOS versions (Catalina etc.), so depending on your software needs it may limit you.
- iMac’s ports, webcam, speakers still belong to the iMac – not passed through.
Who this is good for
- If you have a well-kept 2012-2014 iMac and an Intel Mac that still meets older macOS compatibility.
- People who want maximum fidelity and minimal lag, and aren’t worried about having newer hardware.
For more, check out our full instructions how to use an iMac as an external display with Target Display Mode.
Pricing: Free in macOS
4. Duet Display (Flexible Software Alternative)
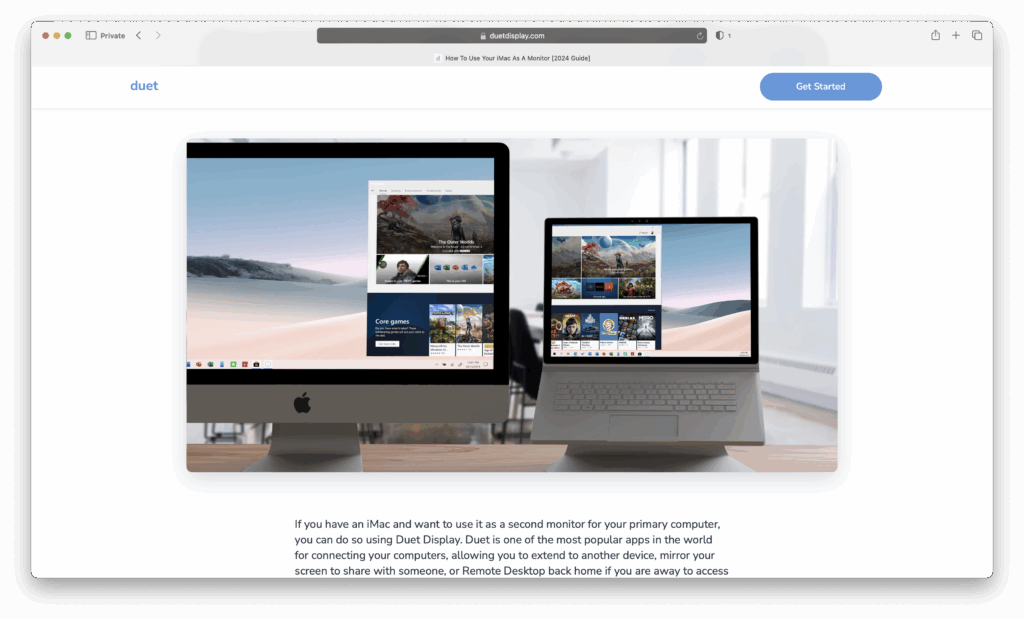
How it works
Software-only solution. You install Duet Display on both the iMac and the source Mac. Use a cable or network to connect and show the source Mac’s screen on the iMac.
What you’ll get
- Flexible, works with many combinations of Mac + iMac.
- Decent resolution (up to 4K in many cases).
- No dongle needed.
What you’ll lose / limitations
- Subscription cost.
- Quality not as high as Luna or true TDM for latency or color fidelity.
- Wireless is weaker than wired.
Pricing: Starts at $3.99/month
5. OpenCore Legacy Patcher (Advanced Users Only)
How it works
For Intel iMacs or Macs that have lost support, this OpenCore Legacy Patcher enables installing newer macOS versions or restoring functionality (like Target Display Mode) that Apple removed. Some users report limited success, but restoring true Target Display Mode is unreliable and not guaranteed with OpenCore Legacy Patcher.
What you’ll get
- Possibility of reviving functionality not officially supported.
- May get TDM working again; may support different macOS versions.
What you’ll lose / limitations
- Risk of instability, bugs, or future incompatibility.
- Security updates and official support may be weaker.
- Complicated setup.
Pricing: Free
6. Hardware Hack / Panel Controller Boards (Extreme DIY Option)
If you’re really handy with hardware, some users remove the display panel from an iMac and use a separate controller board to turn it into a “monitor only” device.
This isn’t as hard as you might think and you can find our full tutorial on how to convert an iMac into a 5K display here.
There’s also a whole thread on user experiences doing this here which makes fascinating reading including one user who managed to do the whole thing for less than $500 although more typically you’ll spend anything from $400-$700.
This can unlock full native resolution, but it’s complex and risky. Generally only useful if you like tinkering and have experience.
Comparison Table
If this all sounds sounds very confusing, here’s a useful comparison of the options available with pros and cons:
| Method | What You Need / What Works Best | How It Feels (Performance / Drawbacks) |
|---|---|---|
| Luna Display Dongle + App | Any Mac + iMac, especially good if iMac is recent and source Mac is M-series; use dongle + wired or fast network | Near native 5K visuals often. Dongles give good performance. Over WiFi, there is occasional choppiness, especially with text or fast motion. Many find wired Luna connections is where it really shines. |
| AirPlay/macOS Screen Sharing | iMac from 2019 or newer (for best responsiveness), newer macOS that supports “AirPlay Receiver,” and a source Mac also up to date | Easy setup. Over WiFi: may be laggy/soft, lower resolution (often “good enough” for email, notes, casual design preview). Wired or using Thunderbolt/USB-C cable + Thunderbolt bridge helps reduce lag. Wired version improves noticeably. |
| Target Display Mode (Intel iMacs, Older macOS) | iMac from 2009-2014 non-Retina, Intel Mac with Mini DisplayPort or Thunderbolt 1/2; older macOS (Catalina or earlier) | Very low latency, excellent image quality when it works. But useless for Retina iMacs, and no support with Apple Silicon. |
| Duet Display (Software Solution) | Both Macs must run Duet; use USB-C or Thunderbolt, or network; works on Intel and Apple Silicon | Affordable, flexible. Lower cost. But image resolution often lower (max ~4K). Lag higher over WiFi. Good for occasional secondary display work. |
| OpenCore / Legacy Patcher Hacks | Older Intel iMacs; willingness to risk using unsupported software; experience with patchers | Some users report success bringing back TDM or enabling AirPlay features on older hardware; often unstable or brittle. Not for casual users. |
| DIY Panel Controller | Very technical, takes apart iMac, rewire or use panel controller board | Can achieve native resolution, but high risk, voids warranty, requires skill. Usually a last resort for most users. |
Which Method Should You Choose?
If you’re still confused or unsure which one to go for, here’s an easy to read summary of the options available to you:
| Your Goal | Best Option(s) |
|---|---|
| Use with any Apple Silicon Mac | Luna Display or AirPlay (if resolution ok) |
| Use iMac for casual or backup display | AirPlay Receiver or Duet Display |
| Use iMac as display with full fidelity & lowest lag | Target Display Mode (if Intel iMac + Intel Mac, older-macOS) or Luna Display (wired) |
| Avoid tech hacks or complexity | Luna Display or buying a dedicated monitor |
Can You Use an M1, M2, M3, M4 or M5 iMac as a Monitor?
No modern Apple Silicon iMac supports native monitor input.
Apple removed Target Display Mode years ago and there is currently no direct HDMI or Thunderbolt display input on M-series iMacs.
Your realistic options with a new iMac are:
- Luna Display
- AirPlay to Mac
- Duet Display
- Hardware modifications
For most users, Luna Display is currently the best solution for reusing a modern Apple Silicon iMac as an external display.
Tips to Enhance Performance When Using an iMac as a Monitor
- Use a Thunderbolt / USB-C cable instead of WiFi where possible – it cuts lag drastically. For more on why, check out our look at Thunderbolt vs USB-C.
- Calibrate your displays (in System Settings) for color accuracy. Disable True Tone if you need consistency.
- Close unnecessary apps on both machines to reduce load and latency.
- Keep macOS updated and all relevant apps up to date for performance and compatibility fixes.
- If using wireless methods, ensure both Macs are on the same fast network (5GHz WiFi or a wired backbone) to minimize lag.
Should You Do This or Just Buy a Monitor?
While reusing an iMac can be satisfying and budget-friendly, for seriously accurate work (print, color critical, animation, fast motion), a dedicated external monitor is still often the better choice.
You get newer panels, full brightness, better calibration, warranties, less latency, and more flexibility.
For some options, check out our guide to the best 5K displays for Mac and best Apple Studio Display alternatives.
FAQ
Can you use a 5K iMac as a true 5K external monitor?
Not natively. Apple never allowed 5K Retina iMacs to work with Target Display Mode. Modern solutions rely on display streaming and involve some compromises.
Can Apple Silicon Macs use Target Display Mode?
No. M1, M2, M3, M4 and M5 Macs cannot use Target Display Mode under any circumstances.
What is the best way to use an iMac as a monitor in 2026?
For most users, Luna Display provides the best combination of compatibility, image quality and performance.
Is AirPlay good enough for professional design work?
Usually not. AirPlay introduces compression and latency, making it unsuitable for color-critical or precision workflows.
Is Luna Display worth it?
If you already own a good iMac, Luna Display is often much cheaper than buying a high-quality 5K monitor and gives significantly better results than AirPlay or most software-only alternatives.
Can OpenCore Legacy Patcher restore Target Display Mode?
Not reliably. Some users report partial success, but restoring true Target Display Mode functionality is inconsistent and unsupported.