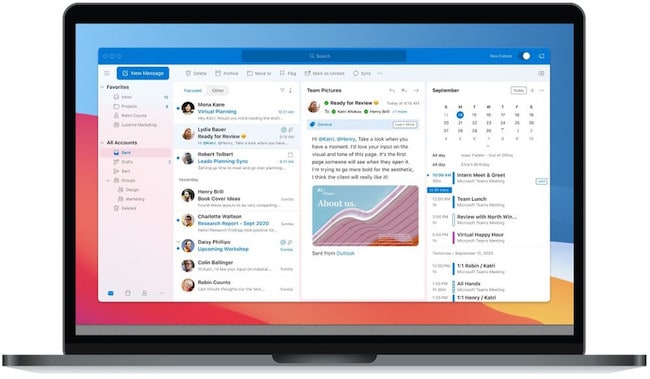
Microsoft Outlook for Mac is now free to use without a Microsoft 365 subscription so if you want to connect your Apple Mail, Gmail, Yahoo Mail or other inbox to it, here we show you how.
Now that Microsoft Office for Mac is free to use, many Mac users will want to use it as their main email client and connect other inboxes to it.
When the last big revamp of Outlook for Mac was publicly released in October 2020 it did not allow connecting to IMAP or iCloud accounts to retrieve mail.
It wasn’t until 2021 that Outlook for Mac finally supported IMAP and iCloud accounts.
IMAP is how email clients communicate with each other and so here we show how to setup an IMAP account with Outlook For Mac so that you can use it to send and receive mail from other email services.
You May Also Like:
- Microsoft Outlook For Mac Now Free To Use
- How To Get Microsoft Office For Mac For Free
- Microsoft Office For Mac vs Microsoft 365
How To Connect Outlook For Mac To Apple Mail, Gmail & Other Mail Services
To connect Microsoft Outlook to other mail services, you will need the following:
- An existing email address with Apple Mail, Gmail, Yahoo Mail, iCloud etc
- The username and password for the account
With this in mind, here’s how to connect Outlook to other mail services.
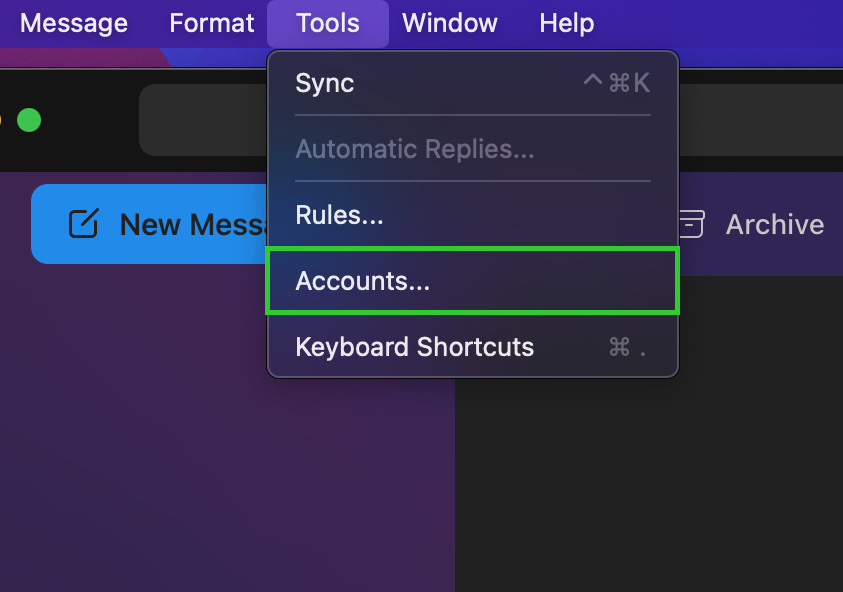
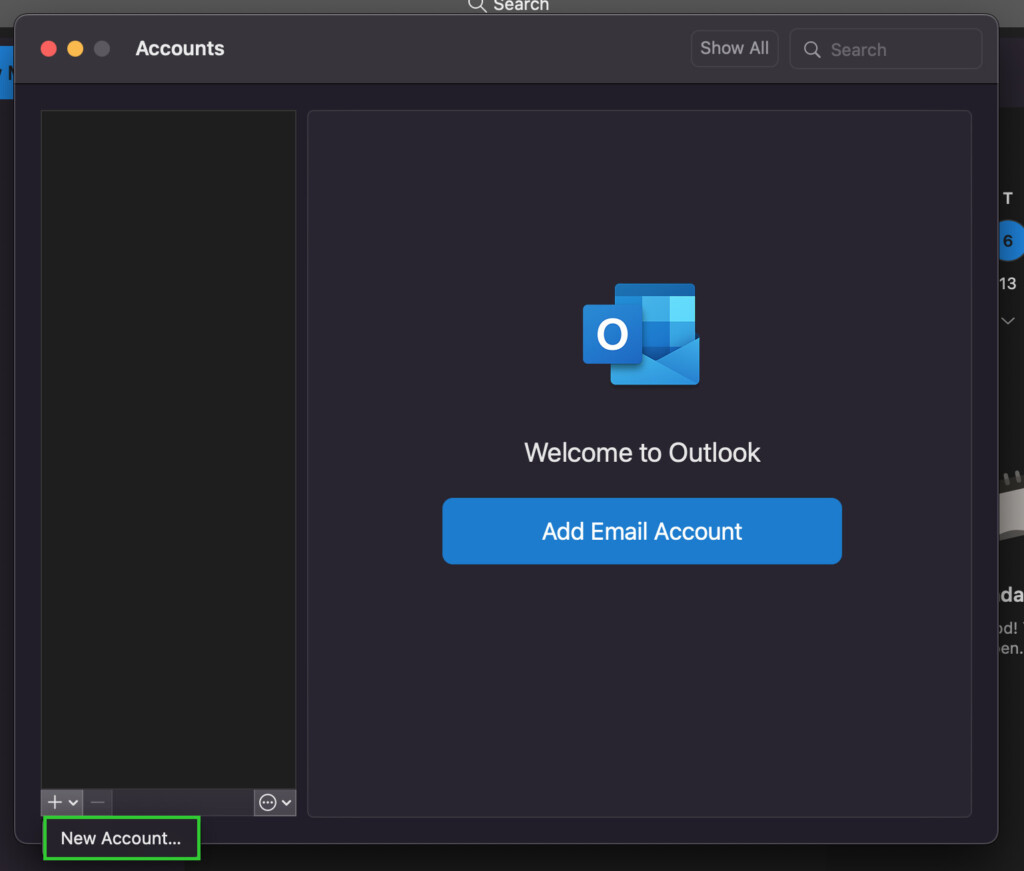
- Open Microsoft Outlook for Mac and select Tools > Accounts.
- Click on the “+” button in the bottom left to add a new account.
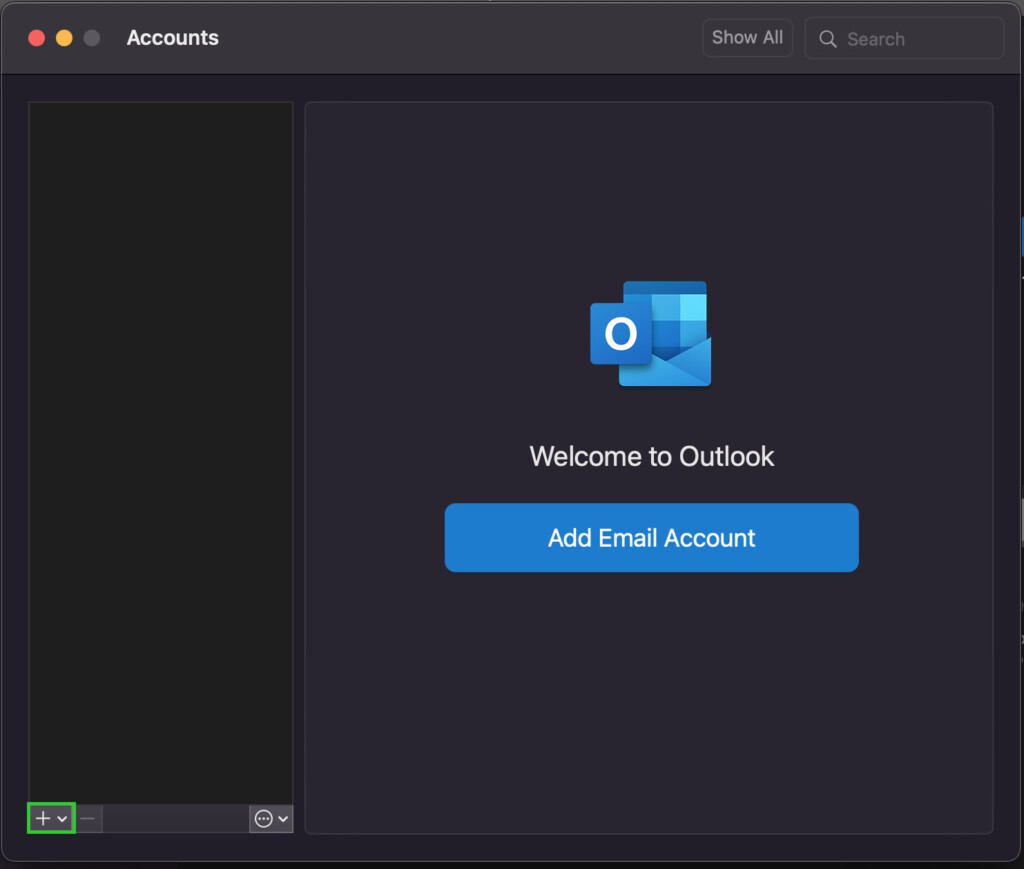
- Click on New Account that appears.
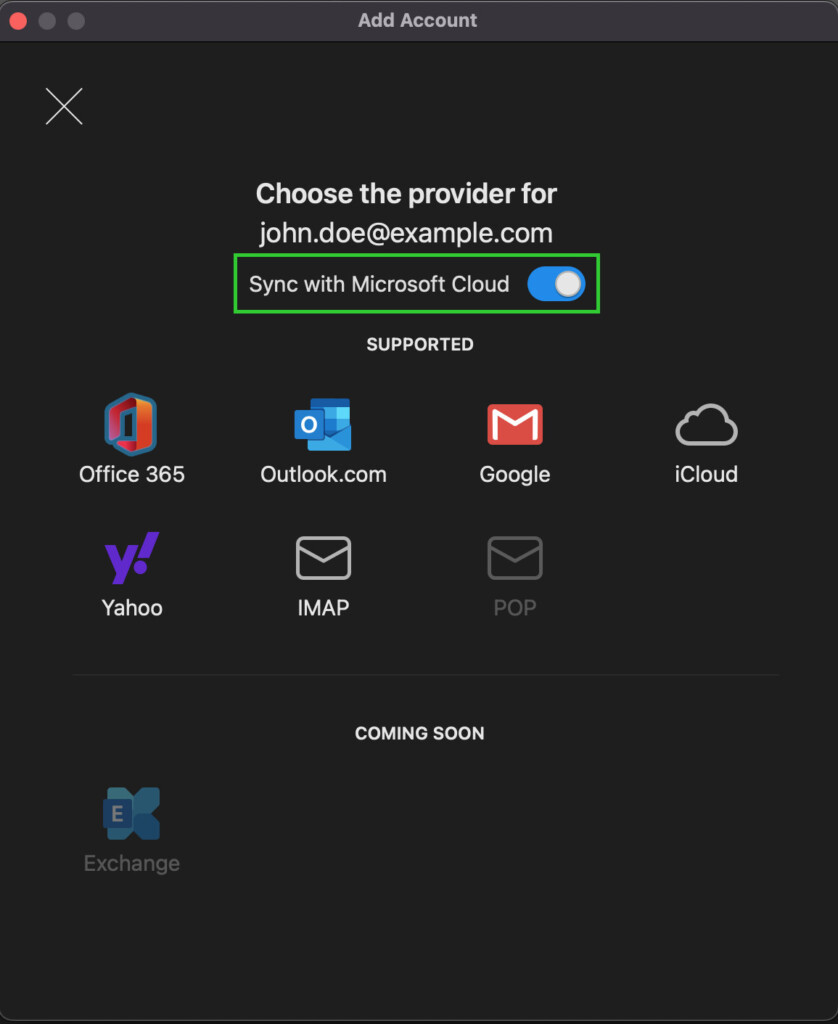
- In the Choose Provider window, select the Mail service you want to connect to such as Apple Mail, Outlook.com, Gmail, Apple Mail. If your Mail provider is not listed, you can still connect it by clicking on IMAP as long as you have to server detail for the account (see setting up IMAP accounts with Outlook for Mac below).
- Make sure that you deselect Sync with Microsoft Cloud by sliding the button left so it’s no longer active.
- A browser window will open for the email service you’ve selected requesting your username and password to authorize Outlook for Mac to connect to it.
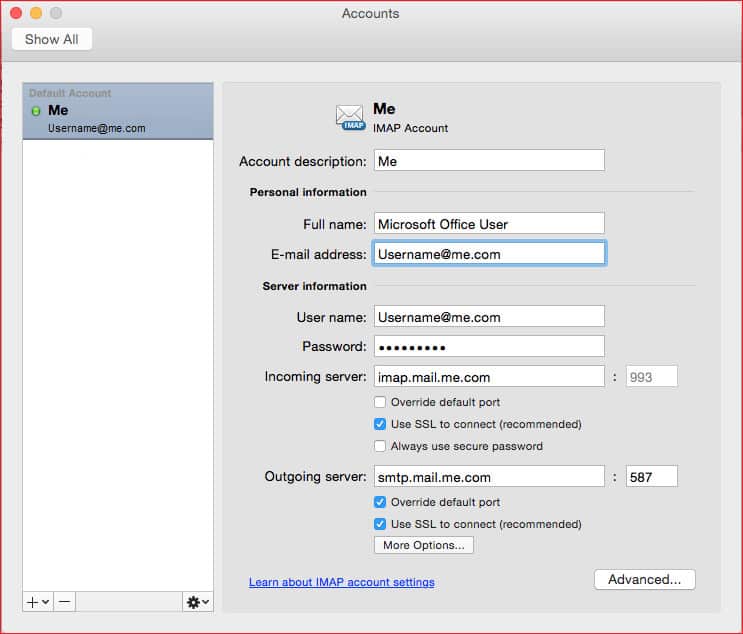
If this doesn’t work, you can also enter the IMAP configuration details manually.
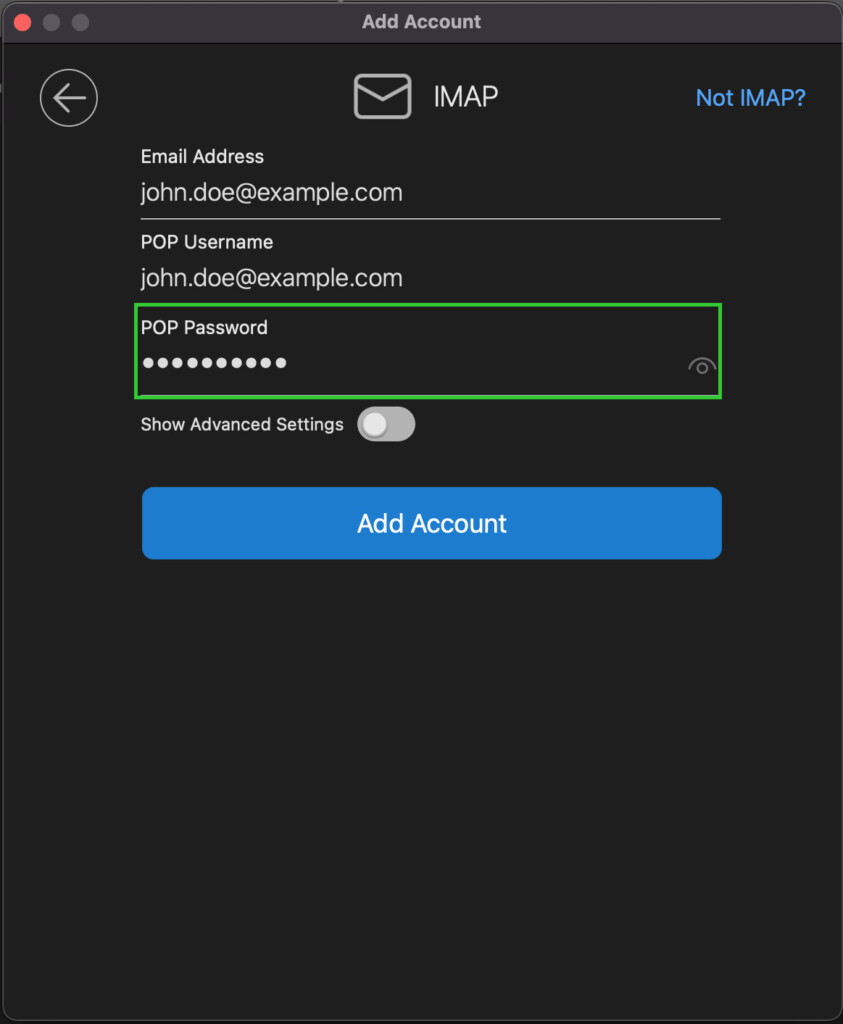
To setup another email service manually with Outlook for Mac using IMAP, go back to the Add Account window and click on IMAP and enter your account details.
Click on Show Advanced Settings.
How To Add An IMAP Account Manually In Outlook For Mac
You can also add an IMAP account in Outlook for Mac by following these instructions.
- In Outlook go to Preferences > Account.
- Click the plus (+) sign > New Account.
- Type your email address > Continue.
- Type your password > Add Account.
- Depending on your IMAP email provider, you may then be redirected to its website to give Outlook permission to access your mail, contacts, and calendars. Click Allow to continue.
- Select Done to start receiving and sending email from your IMAP account in Outlook for Mac.
If Outlook for Mac is not working with your IMAP account, then you can go into the account settings to check that everything is setup correctly.
