
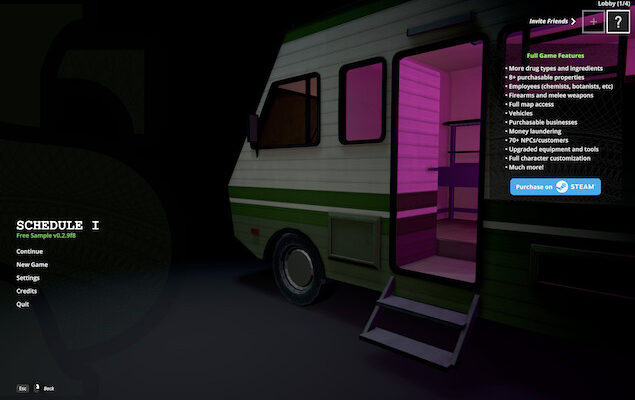
Schedule 1 is a PC game without a native Mac version, but Mac users – including those on Apple Silicon (M-series chips) – can still play it using various free and paid methods.
The best method for you will depend on your level of technical ability:
- For casual players: Use CrossOver – it’s fast, simple, and well-supported.
- For tech-savvy users wanting free solutions: Try Whisky (easier) or the Game Porting Toolkit (more complex).
- For those needing full Windows for other software too: Get Parallels Desktop.
- If you’re on an old Intel Mac: Just use Boot Camp for the best experience.
With this in mind, here are the best ways to play Schedule 1 on a Mac. You’ll also find troubleshooting tips for each of these methods at the end.
Contents
1. Play Schedule 1 with CrossOver
CrossOver is an emulation layer that allows you to play Windows only games on a Mac without actually having to install Windows itself.
Crossover is one of my favorite ways to play Windows games on a Mac because it’s so reliable and easy to use as you can check out in my full review.
It is a paid product but there is a free trial available.
Here’s how to install Schedule 1 on a Mac with Crossover.
Steps:
- Download CrossOver:
- Download the free trial or buy a license.
- Install CrossOver:
- Drag CrossOver into your Applications folder.
- Open it and allow any permissions it requests.
- Install Steam via CrossOver:
- Click “Install a Windows Application.”
- Search for Steam and install it into a new “bottle” (a bottle is a self-contained environment for Windows apps.)
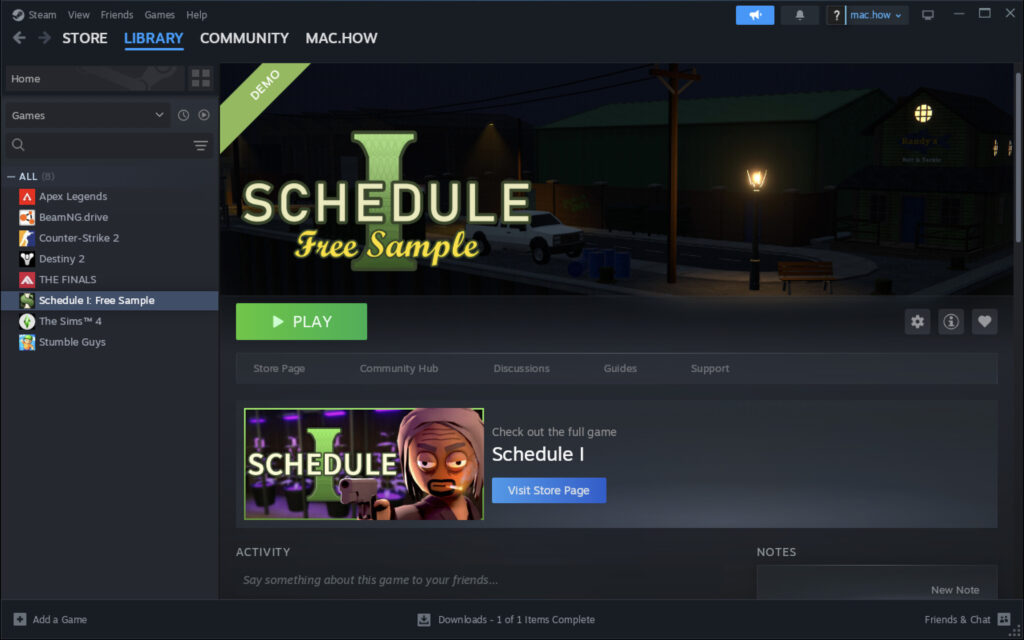
- Launch Steam and Install Schedule 1:
- Open Steam inside CrossOver.
- Log in, search for Schedule 1 and install it.
- Launch Schedule 1:
- After installation, click “Play” inside Steam.
- You can create a Mac shortcut for quicker access later if you prefer.
Performance Tips:
- Lower in-game graphics settings if you encounter lag.
- Enable DXVK (DirectX over Vulkan) in the bottle settings.
- Set the bottle architecture to Windows 10 or Windows 11.
If you have any problems setting-up Crossover, you can find further instructions here.
You can also watch me launching and playing Schedule 1 on a Mac in Crossover here.
2. Play with Whisky
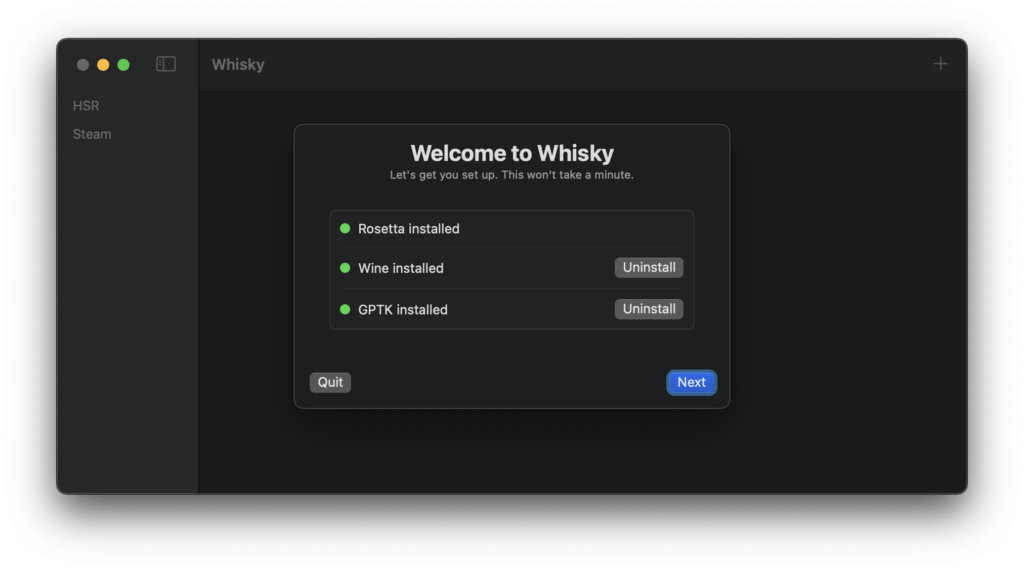
Whisky is a free Mac app that uses Apple’s Game Porting Toolkit (GPTK) and Wine under the hood but gives you an easy graphical interface – no Terminal commands are needed.
Whisky impressed me as a free way to play Windows games on Macs (as you can read in my review) although it’s not as stable or reliable as Crossover.
Steps:
- Download and Install Whisky:
- Visit getwhisky.app.
- Download the app, move it to your Applications folder, and open it.
- Create a New Whisky Prefix:
- Click the + button in Whisky to create a new prefix (an isolated Windows environment).
- Name it something like “Schedule1“.
- Set the architecture:
- arm64 for Apple Silicon (M-series chip Macs).
- x86_64 for Intel Macs.
- Install Steam:
- Install Steam inside the prefix using the “Install Application” option.
- Configure Settings for Best Performance:
- Enable DXVK (DirectX over Vulkan).
- Ensure Metal backend is active (GPTK should handle this automatically).
- Optional: Enable High Performance Mode if you’re on a MacBook.
- Launch and Play:
- Inside Whisky, select your prefix and click Run.
- Select the Schedule 1 executable if it doesn’t auto-launch via Steam.
- Create a shortcut on your Mac desktop for easier launching if you prefer.
If you need any help, check out my guide to using Whisky on a Mac.
Pros: Free with an easy to use GUI, full performance possible
Cons: Can be unstable and suddenly stop working with the game
3. Play with Apple’s Game Porting Toolkit
Apple’s Game Porting Toolkit (GPTK) lets you run unmodified Windows games using Wine and Apple’s Metal API, but it requires using Terminal commands and manual setup.
It also requires an Apple Developer account to use.
If you’re not familiar with Terminal on your Mac and not a developer, we don’t recommend this method but if you are, it’s a free way to play the game.
Follow these instructions to play Schedule 1 on a Mac using the Apple Game Porting Toolkit:
- Install Homebrew if you haven’t already: /bin/bash -c “$(curl -fsSL https://raw.githubusercontent.com/Homebrew/install/HEAD/install.sh)”
- Install the Game Porting Toolkit: brew install –cask game-porting-toolkit
- Create a Wine prefix and use the Toolkit to launch the Schedule 1 installer or executable.
- Tweak compatibility settings using Wine commands.
Pros: Free, full performance possible
Cons: Technical, no GUI, requires a lot of troubleshooting
4. Play with Parallels Desktop
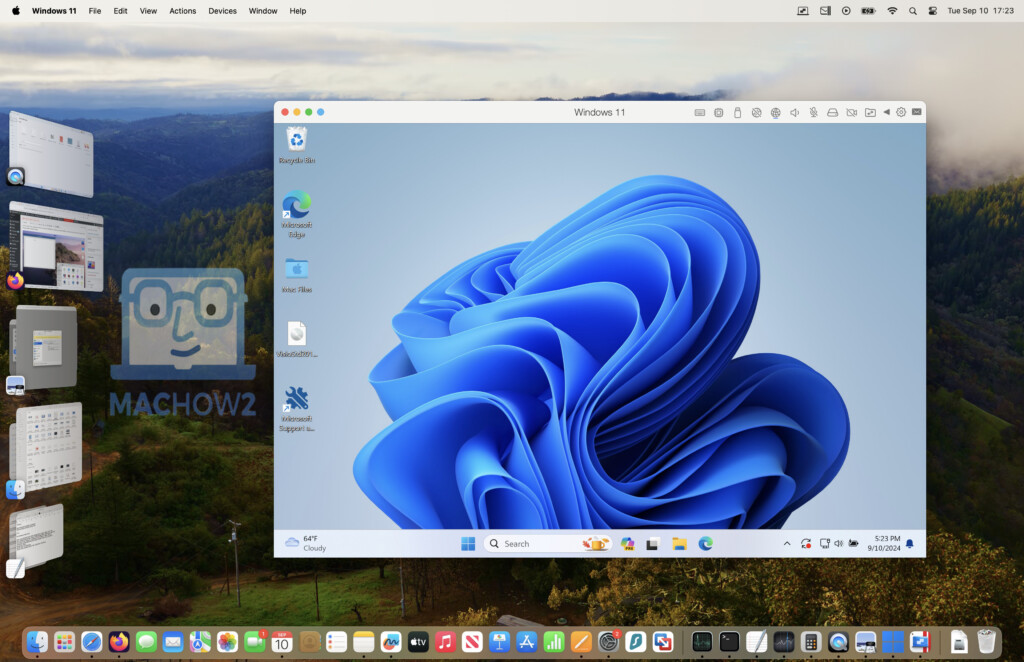
Parallels is one of the best virtual machines for Macs that creates a full Windows environment alongside macOS without rebooting.
Parallels is a paid product although there is a free trial available. Alternatively, you could also try doing this with VMware Fusion which is free although not as stable or as easy to setup.
Here’s how to play Schedule 1 on a Mac with Parallels.
Steps:
- Download the free trial or buy Parallels Desktop.
- Install Windows 11 ARM edition (Parallels will guide you through the process and download it automatically).
- Install Steam inside Windows and download Schedule 1 within Steam.
- Play the game like you would on a normal PC. Note that some games don’t work with Windows ARM but most like Schedule 1 work perfectly well due to x86-64 emulation.
Pros: Provides a full version of Windows on your Mac
Cons: You need a Parallels license to use it
More help on installing and using Parallels here.
5. Play with Boot Camp (Intel Macs Only)
If you’re on an Intel Mac (which is mainly all pre-2020 models of Macs), you can dual-boot into Windows using macOS Boot Camp Assistant.
Note that Boot Camp does not work on Apple Silicon Macs.
Here’s how to play Schedule 1 on a Mac using Boot Camp:
- Open Boot Camp Assistant built into macOS by searching for it in spotlight.
- Partition your drive and install Windows 11.
- Boot into Windows at startup.
- Install and play Schedule 1 as normal.
For more help, you can find full instructions here.
Troubleshooting Tips
There are various issues you may encounter running Schedule 1 on your Mac depending on the method you’ve used.
Here are the most common solutions by method.
CrossOver
1. Game Won’t Launch (Crashes Immediately)
- Solution:
- Open CrossOver → Select the Bottle → Click Settings → Enable DXVK.
- Ensure the bottle is set to Windows 10 64-bit.
- Try reinstalling Microsoft Visual C++ Redistributables inside the bottle (CrossOver can auto-install them).
2. Black Screen on Launch
- Solution:
- Enable Use DXVK (if not already on).
- Set Render Target Lock Mode to Strict in bottle settings.
- Lower the game’s resolution and switch to Windowed Mode in launch options (if possible).
3. Low FPS / Lagging Gameplay
- Solution:
- Lower graphics settings in Schedule 1 (especially shadows, resolution, anti-aliasing).
- Ensure Mac is running in High-Performance Mode (on Max chip laptops).
- Use a bottle based on Windows 10 64-bit, not older Windows versions.
- Update CrossOver to the latest version (the developer Codeweavers optimizes it regularly for Apple Silicon).
4. Controller Not Recognized
- Solution:
- In CrossOver, install Steam’s controller drivers or map controllers manually using macOS system settings.
- Some controllers (like PS5 DualSense) may need to connect via Bluetooth directly to macOS, not through the bottle.
Whisky
1. Game Won’t Launch / Immediate Crash
- Solution:
- Open the Whisky prefix settings.
- Make sure DXVK is enabled.
- Ensure you’re using a Wine-GPTK version (not a generic Wine version).
2. Black Screen When Launching Schedule 1
- Solution:
- Enable the option “Force Metal upgrade” under prefix settings.
- Run the game in Windowed Mode instead of Fullscreen.
3. Low FPS or Choppy Gameplay
- Solution:
- Lower the game’s in-game resolution (1080p or less).
- Turn off demanding settings like shadows, reflections, and anti-aliasing.
- Make sure you are running Whisky on the latest available Wine-GPTK build.
4. Installer or Steam Won’t Open
- Solution:
- Reinstall the app inside the prefix (sometimes Wine dependencies need a second install).
- Confirm your prefix architecture matches your Mac’s CPU (ARM64 for Apple Silicon).
5. Controller Not Working
- Solution:
- Connect your controller directly to macOS via Bluetooth.
- In some cases, using Steam’s Big Picture Mode inside Whisky helps with controller recognition.
Game Porting Toolkit (GPTK)
1. Error: “DX12 Not Supported”
- Solution:
- Install and enable DXVK manually in your Wine prefix.
- Verify that you are using the latest GPTK version.
2. Graphical Glitches (Missing Textures, Flickering)
- Solution:
- Use the
--metal-upgradeor--upscaleoptions when launching the game. - Run the game in DirectX 11 mode if Schedule 1 supports it.
- Use the
3. Installer Won’t Start
- Solution:
- Make sure you are using a 64-bit Wine prefix.
- Try manually launching the
.exewith:wine64 path/to/installer.exe
Parallels Desktop
1. Schedule 1 Not Running Smoothly
- Solution:
- In Parallels settings, allocate at least 6–8 GB RAM and 4+ CPU cores to the Windows VM.
- Enable Games Only profile under Parallels’ “Configure” → “Hardware” → “Graphics.”
2. Controller Inputs Are Buggy
- Solution:
- Install Parallels Tools inside Windows for full device compatibility.
- Alternatively, use wired controllers for better reliability.
3. DirectX 12 Errors
- Solution:
- In Windows Settings, force the game to run in DirectX 11 if available.
- The latest version of Parallels has better DirectX 11/12 support – updating Parallels can help.