
VMware Fusion is one of the best virtual machines for Mac users in 2026 and best of all it’s completely FREE to use for personal, educational and even commercial use.
I tested the latest version to see whether it really can run Windows on a Mac for free and whether there are any catches to this seemingly amazing free tool.
Quick Facts
- Runs Windows on Apple Silicon Macs: Yes
- Free Version: Free for personal and commercial use
- Supports DirectX & Metal: Yes (limited on ARM)
- macOS Compatibility: macOS 12 Monterey and above, including macOS 26 Tahoe
- Best for: Power users, developers, testers
What Is VMware Fusion?
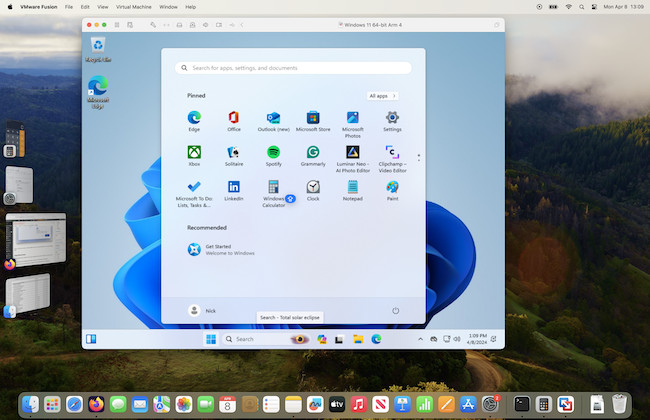
VMware Fusion is a virtual machine that allows you to run Windows on a Mac and also other operating systems such as Linux.
Like all virtual machines, VMware runs Windows and other operating systems simultaneously within macOS. This allows you to switch between Windows and macOS at any point.
For Mac users, there are basically two big players in the virtual machine market – Parallels and VMware Fusion.
There is also VirtualBox but because it’s more “techy” and still doesn’t support Apple Silicon Macs very well, it’s not quite there yet.
Parallels is by far the slicker, faster and all-round better VM of the two but it does cost $99.99 (£99.99) per year (or $129.99/£129.99 as a one off purchase) whereas VMware Fusion is FREE for non commercial use.
VMware Fusion has however been slow to update to work on the latest versions of macOS and especially for compatibility with Apple Silicon Macs from 2020 onwards, whereas Parallels was years ahead of it.
For more on these two virtual machine heavyweights, check out our head-to-head look at VMware Fusion vs Parallels.
But for now, let’s concentrate on taking a closer look at VMware Fusion for Mac.
You can see how effective VMware Fusion is at running Windows apps on a Mac, running MS Visio on a Mac as an example.
VMware Pricing
In May 2024, VMware announced a shakeup of its products following on from the acquisition of the company by Broadcom at the end of 2023 in a massive $69 billion deal.
Previously, VMware Fusion Player was the only free version of its products but that was retired in November 2024 and replaced by VMware Fusion Pro which is now free for personal, educational and commercial use.
Previously, VMware Fusion Pro was $199/£169.16 for commercial use.
This is a big selling point versus Parallels which is still subscription only.
Parallels costs $99.99 per year which includes all future updates or there’s a one time purchase version for $129.99 but this doesn’t include updates and therefore may suddenly stop working with future releases of macOS.
However, there is one caveat to this.
There is no paid support for VMware Fusion Pro anymore meaning if you have any issues, you have to rely on community support.
There’s also no guarantee that Broadcom won’t start charging again for VMware Fusion in the future so bear this in mind when deciding whether to go for it.
Windows 11 ARM in Virtual Machines
There are various pros and cons to running Windows on Macs but one of the biggest drawbacks on modern Macs is the version of Windows they support.
It’s important to be aware that all virtual machines (including both VMware Fusion and Parallels) can only run Windows 11 ARM on Apple Silicon Macs.
Windows ARM is a specially adapted version of Windows to work with ARM chips such as the M-series Apple Silicon chips.
Although you can’t purchase individual copies of Windows ARM from Microsoft (because Microsoft currently only licenses it to PC Manufacturers) you can still install Windows 11 ARM for testing or development purposes.
Long-term use may require activation with a volume or OEM key although as yet, it’s not necessary.
Although Windows ARM can run most Windows programs, there are some that may not work and so it’s important to be aware of this when using VMware Fusion or indeed, any virtual machine on a Mac.
VMware provides more information on the limitations of Windows ARM here.
How To Download & Install VMware Fusion For Mac
Since VMware’s acquisition by Broadcom, things have become a little bit confusing when downloading VMware Fusion.
The free version of VMware Fusion Pro (which is approximately 700MB) is still available via the VMware website but it simply redirects you to the Broadcom website where you have to create a Broadcom account.
It isn’t actually very obvious how to create an account but you need to click on “Login” in the top right corner and then click on “Register”.
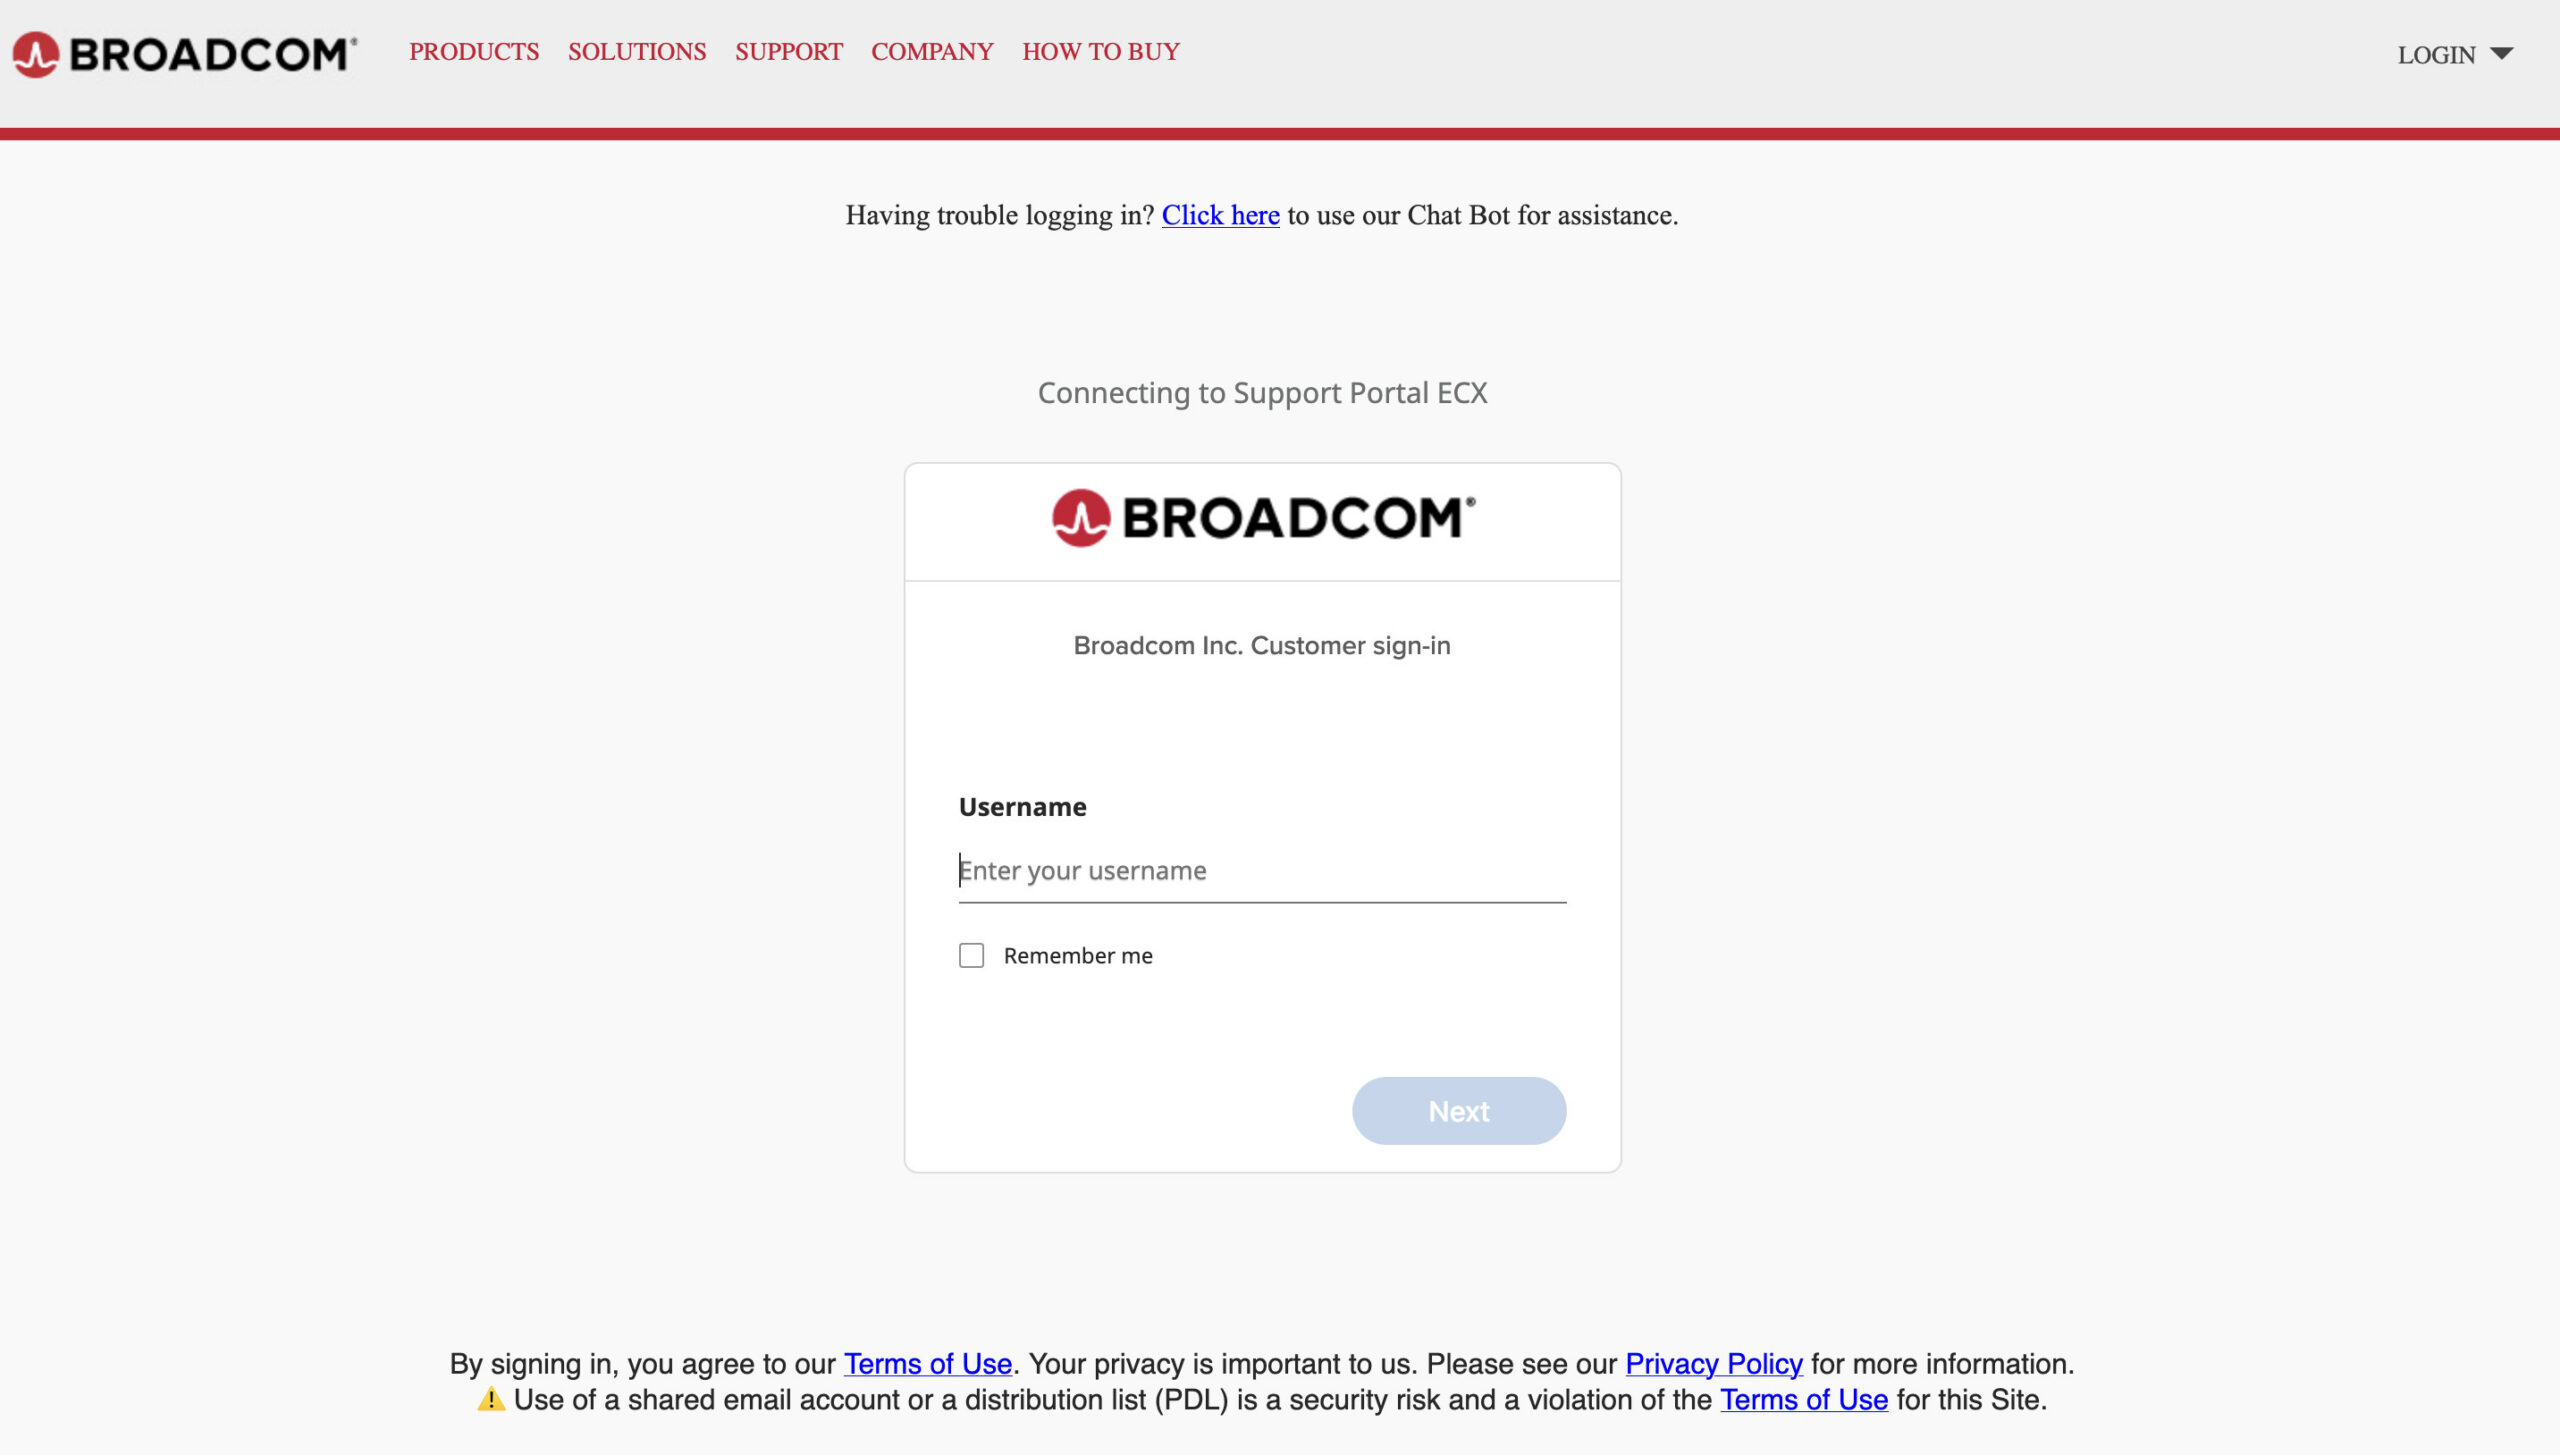
Once you’ve registered, you then get access to the free download of VMware Fusion Pro.
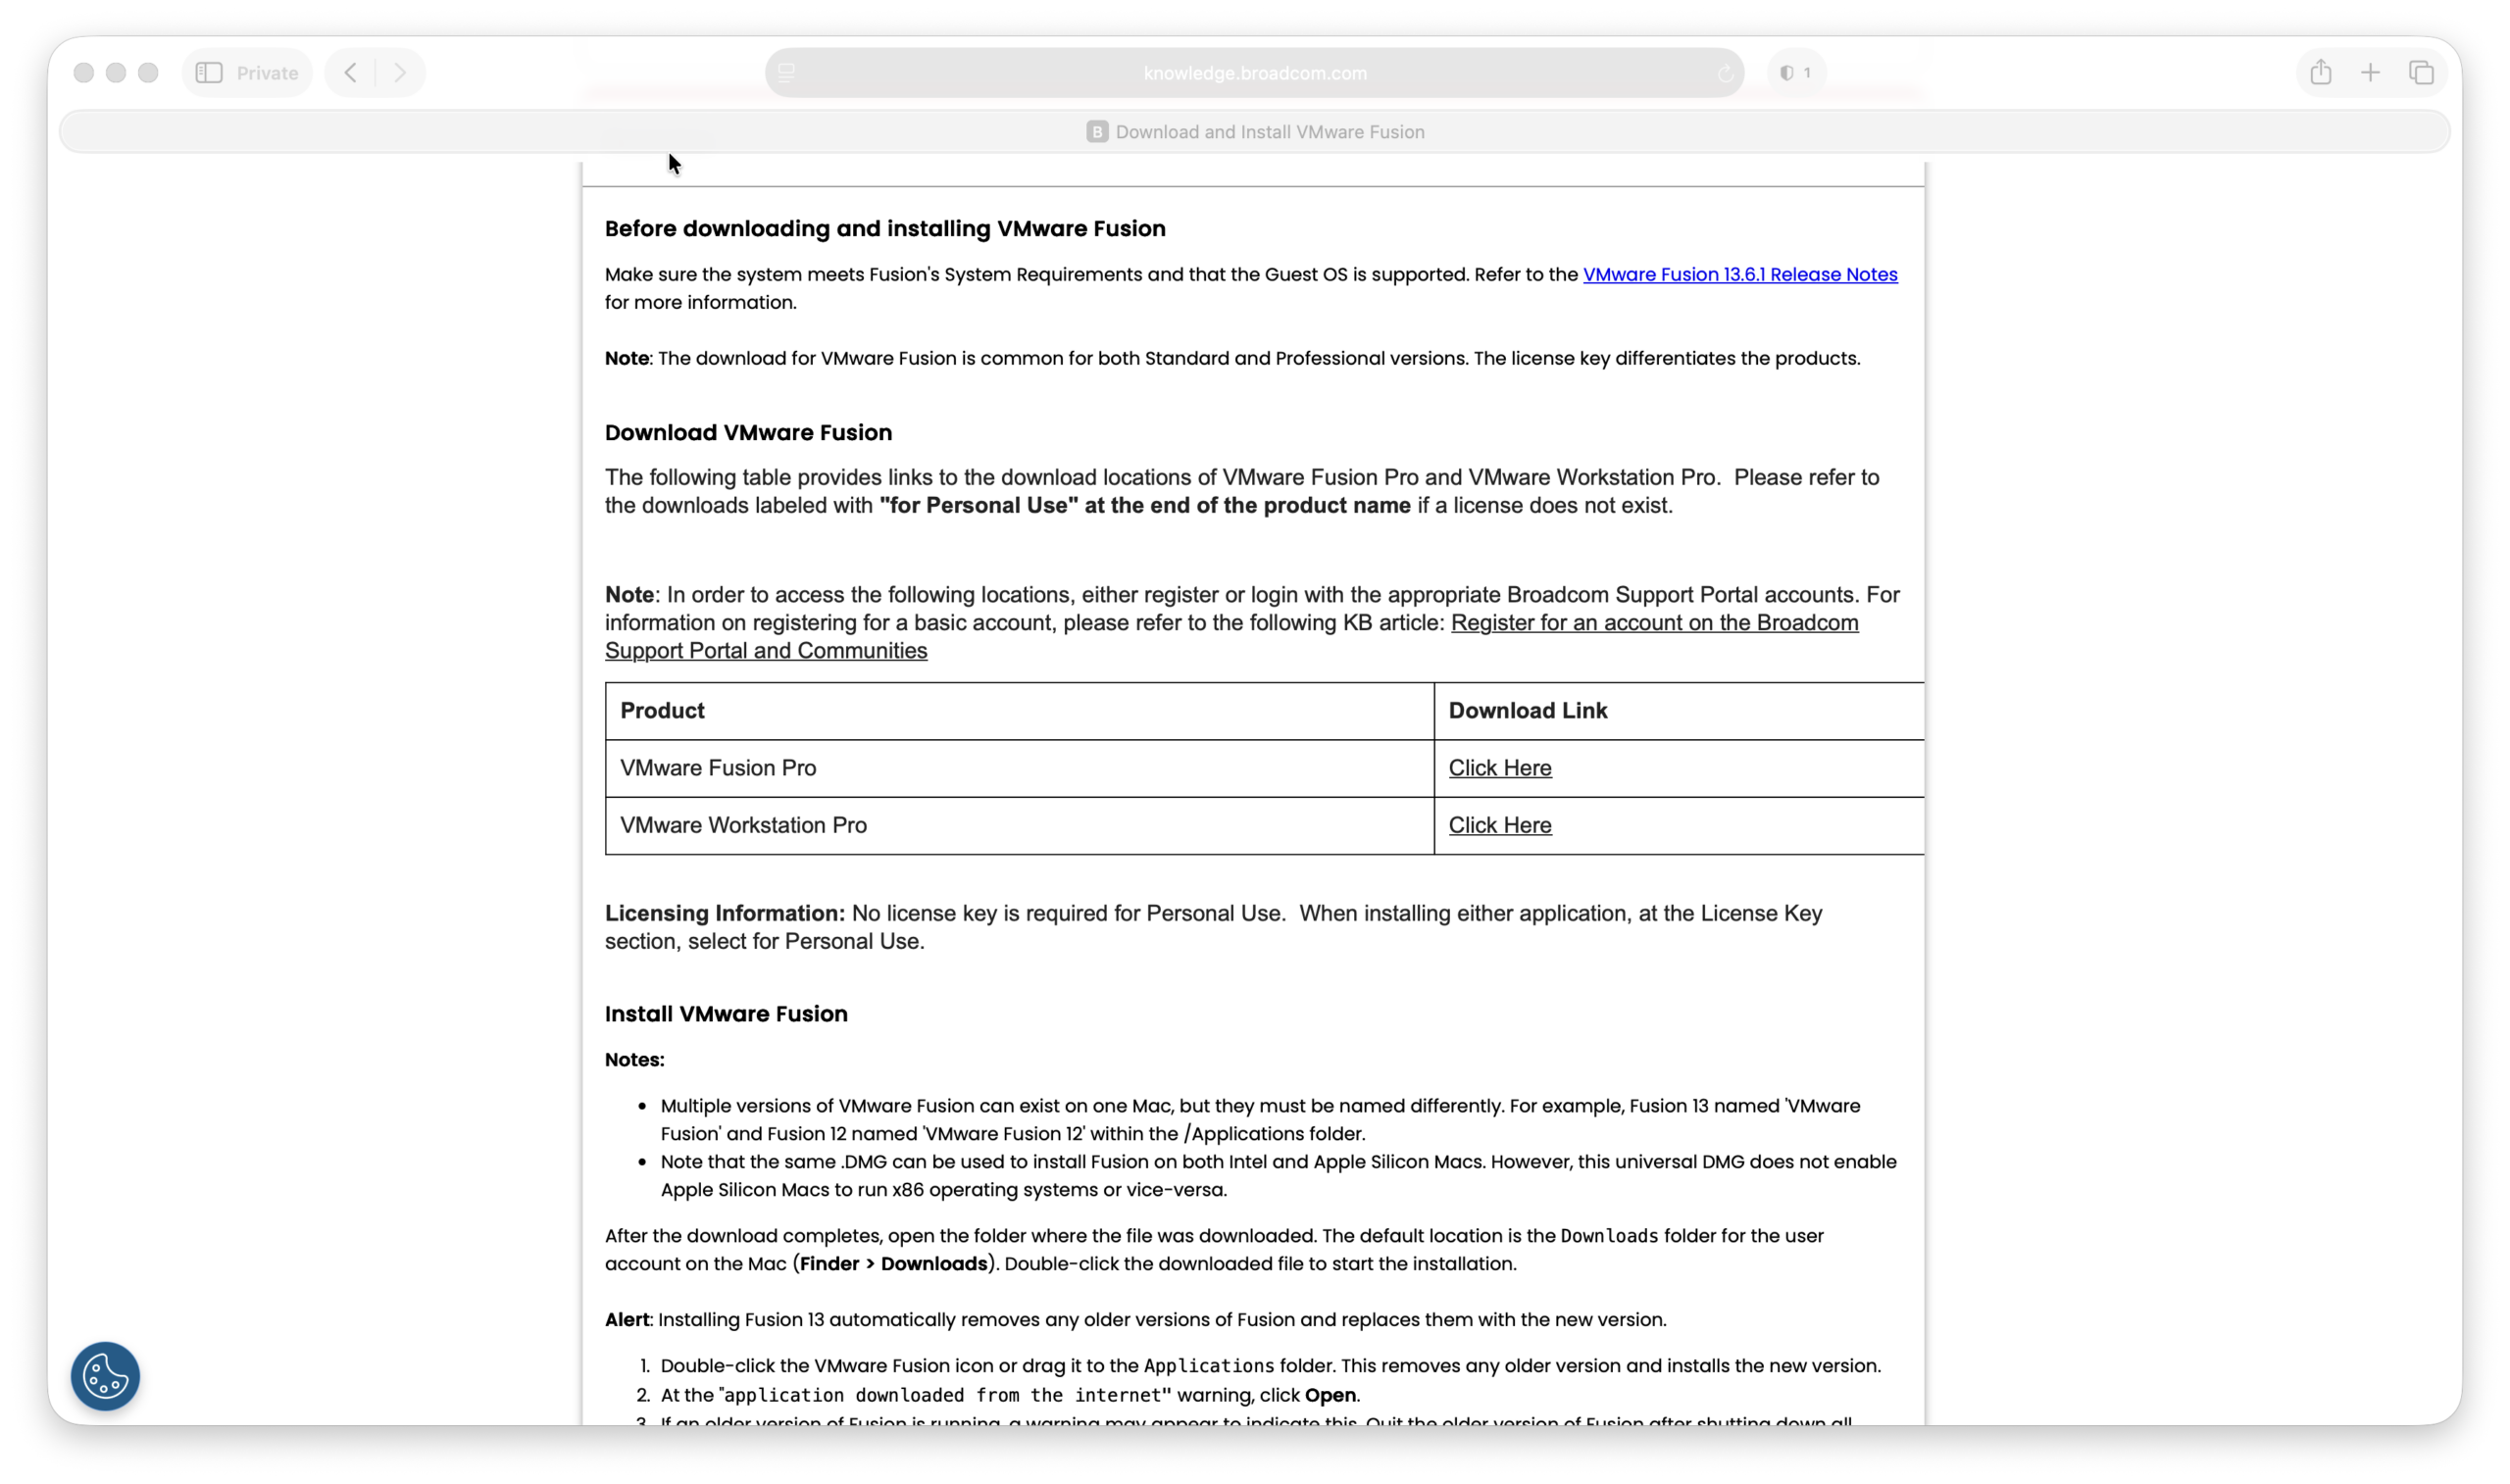
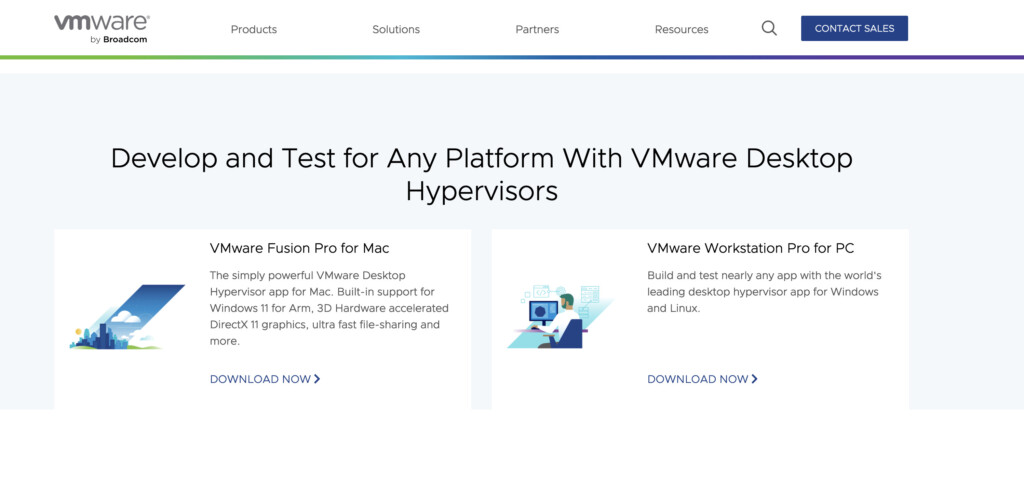
You can ignore the download for VMware Workstation Pro which is aimed at power users and enterprise developers on Windows/Linux with more advanced networking, snapshots, and nested virtualization controls.
How To Install Windows with VMware Fusion
During the installation process, you’ll have to enter the license key that’s provided with your free Broadcom account.
You’ll also be prompted to allow VMware to access your Mac’s Accessibility Settings which is perfectly safe to do and you can revoke this at any time.
You may also have to download a few updates if they are available which can take a while.

You’ll then need a copy of Windows 11and this is something VMware Fusion has improved significantly.
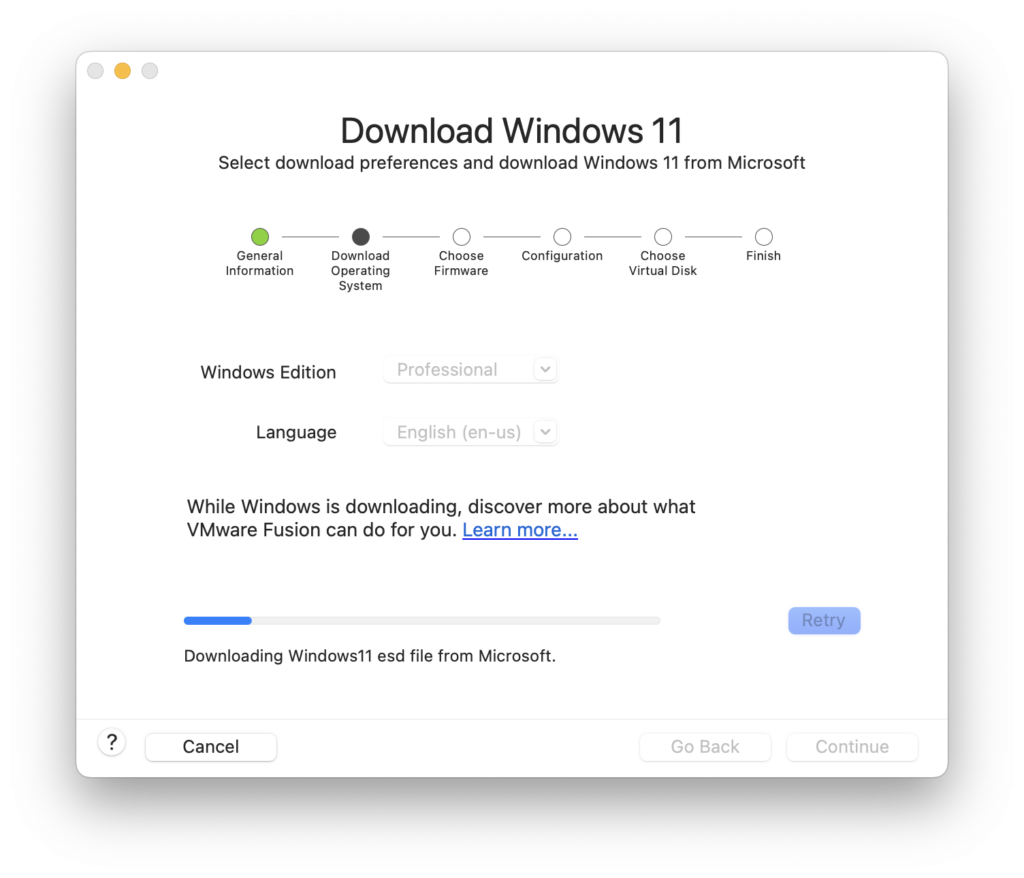
Previously you had to download it manually from Microsoft but since VMware Fusion 13.5, it now automatically downloads Windows 11 from Microsoft for you by selecting the option “Get Windows from Microsoft”.
This is a welcome improvement from previous versions and brings it inline with Parallels which has already offered this convenient feature for years.
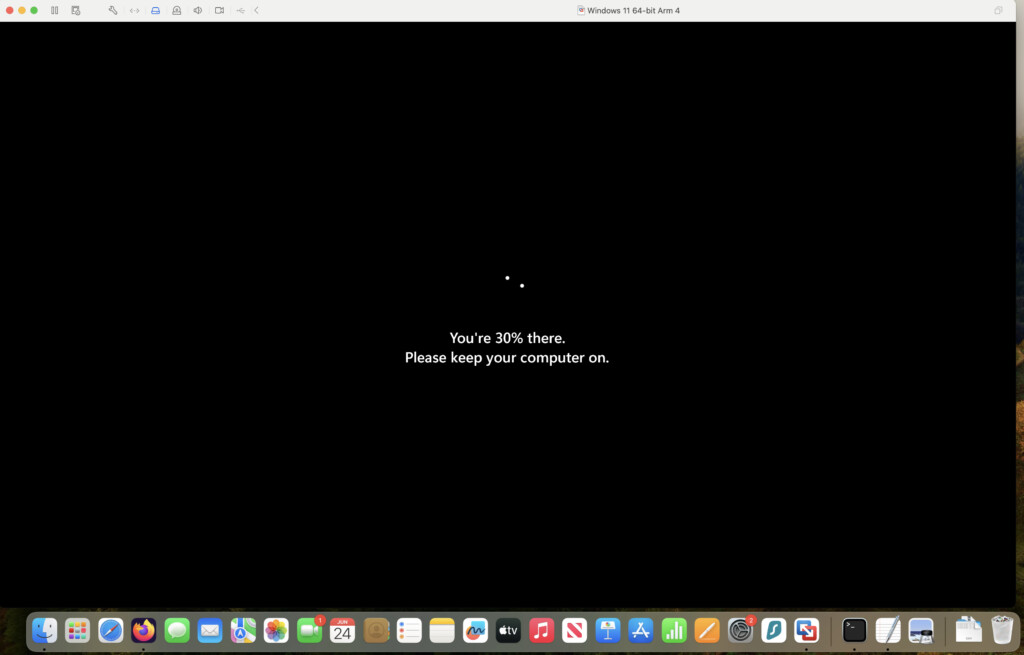
You can choose either the Professional or Enterprise version of Windows 11 and it will take around 5-10 minutes for VMware Fusion to download it depending on your connection.
Bear in mind that you’ll need at least 20GB of space on your Mac to install Windows and much more than this if you intend on installing lots of apps and games so you may have to recover some space on your Mac’s hard drive before going any further.
If you don’t have enough disk space, you can also run VMware Fusion from an external drive (we recommend using an external SSD drive for this) although you’ll need to make sure you format the drive in APFS format first.
Configuring VMware Fusion
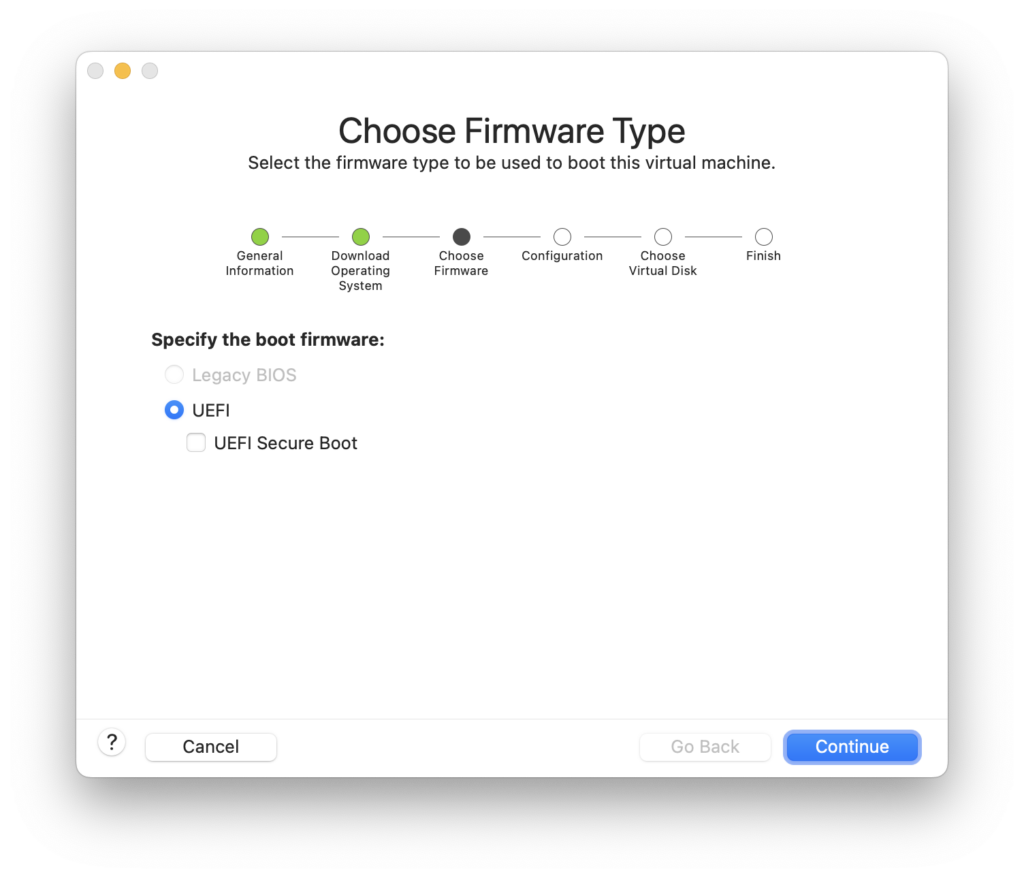
Once Windows has downloaded, select “UEFI” for the Firmware settings:
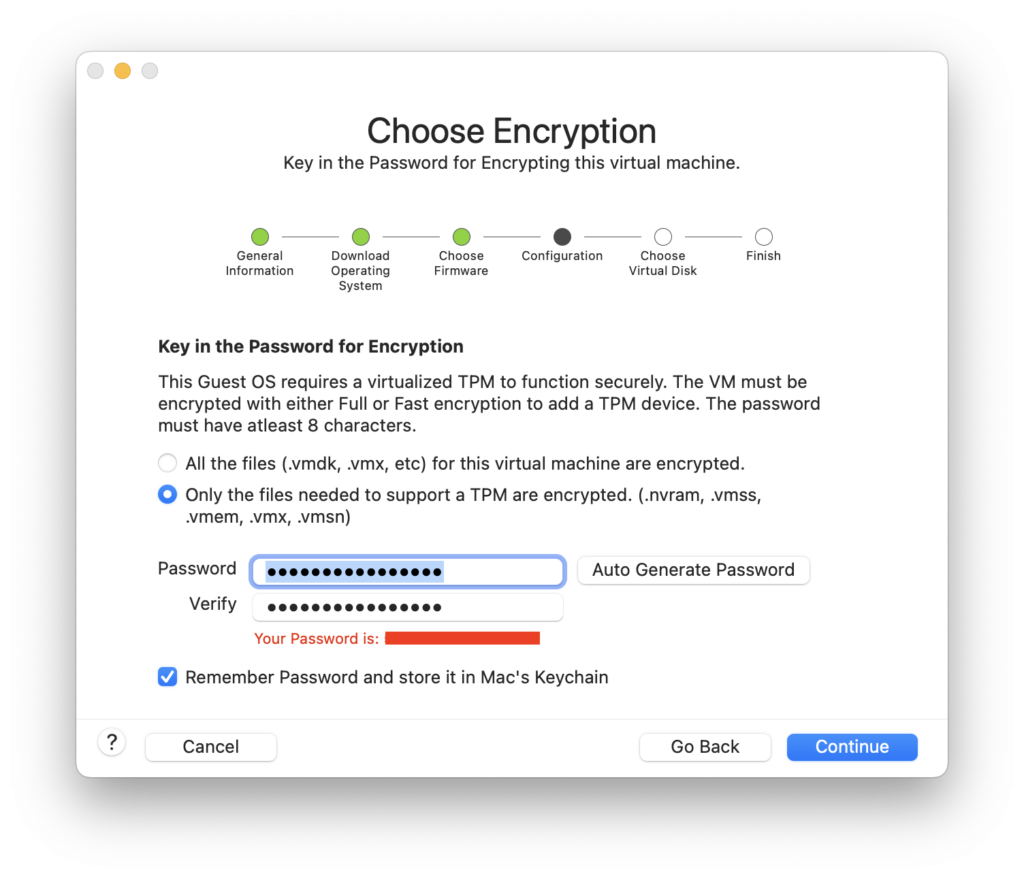
You then need to choose a password to create a virtualized TPM which is a requirement in Windows 11.
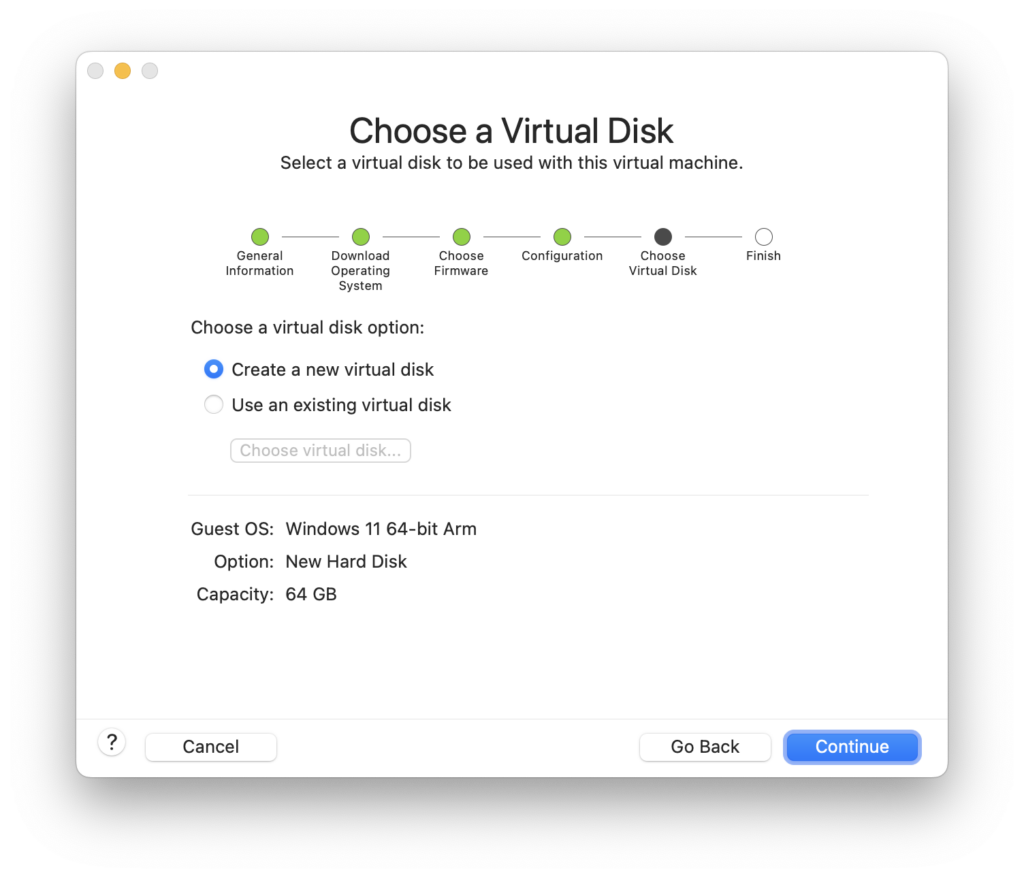
Finally you have to choose where to save your virtual disk. For most people you need to select “Create a new virtual disk” but if you’ve already created one before, you can select “Use an existing virtual disk” including on an external drive.
You’ll then get a summary of your installation and you simply click “Finish” to install Windows 11 on your Mac.
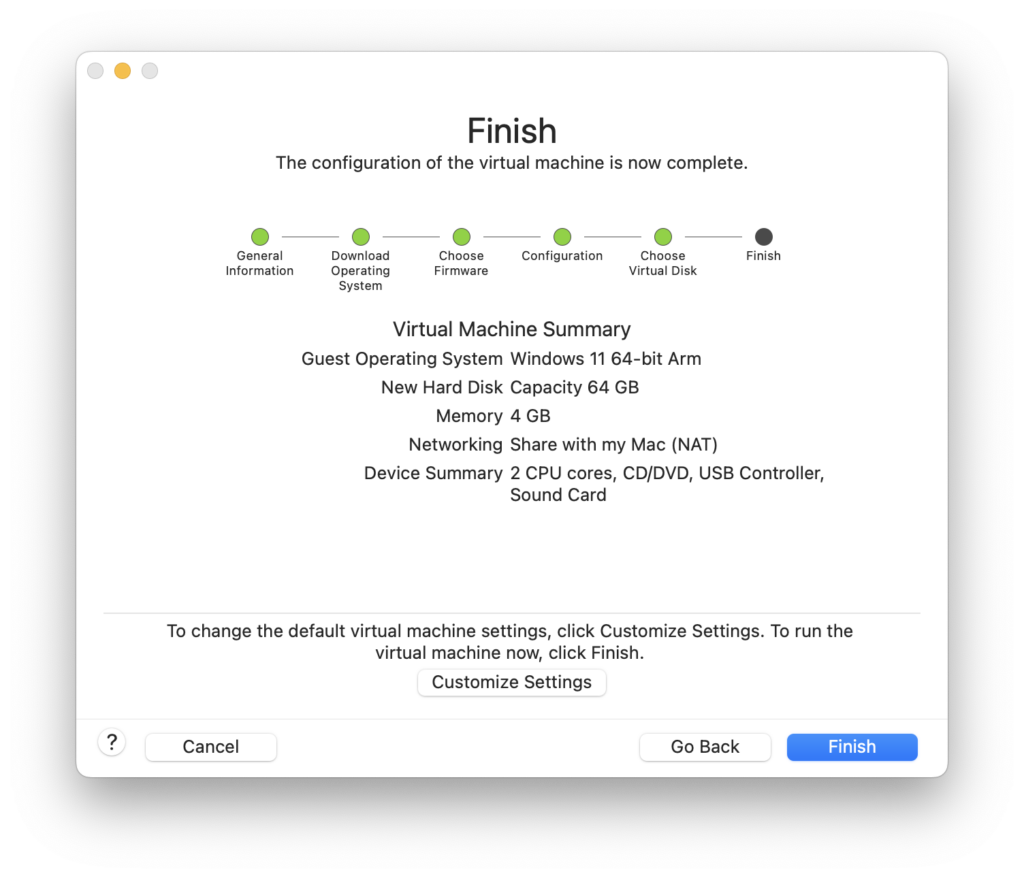
In the summary screen, if you select “Customize Settings” you can also choose to save the virtual machine on an external drive if you don’t have much disk space.
By default, VMware Fusion allocates only 4GB of RAM (known as Unified Memory on Apple Silicon Macs) and 2 CPU Cores to your virtual machine and the rest for macOS.
VMware Fusion does a good job of swapping memory to make sure it gets enough to run smoothly but we still recommend increasing this to at least 4 CPU Cores 8GB of RAM.
You can do this by going to the Menu Bar and selecting Virtual Machine > Settings > Processors & Memory.
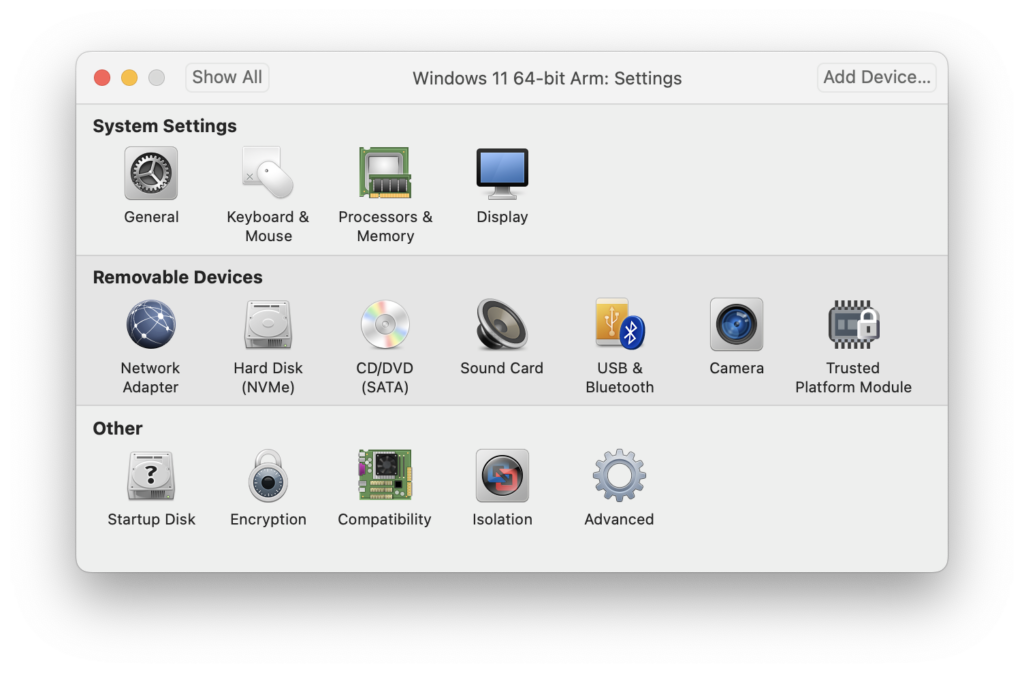
If your Mac has the capacity, you can assign up to 32 CPU cores and 128 of RAM which is more than enough to handle the most demanding games or graphic intensive applications.
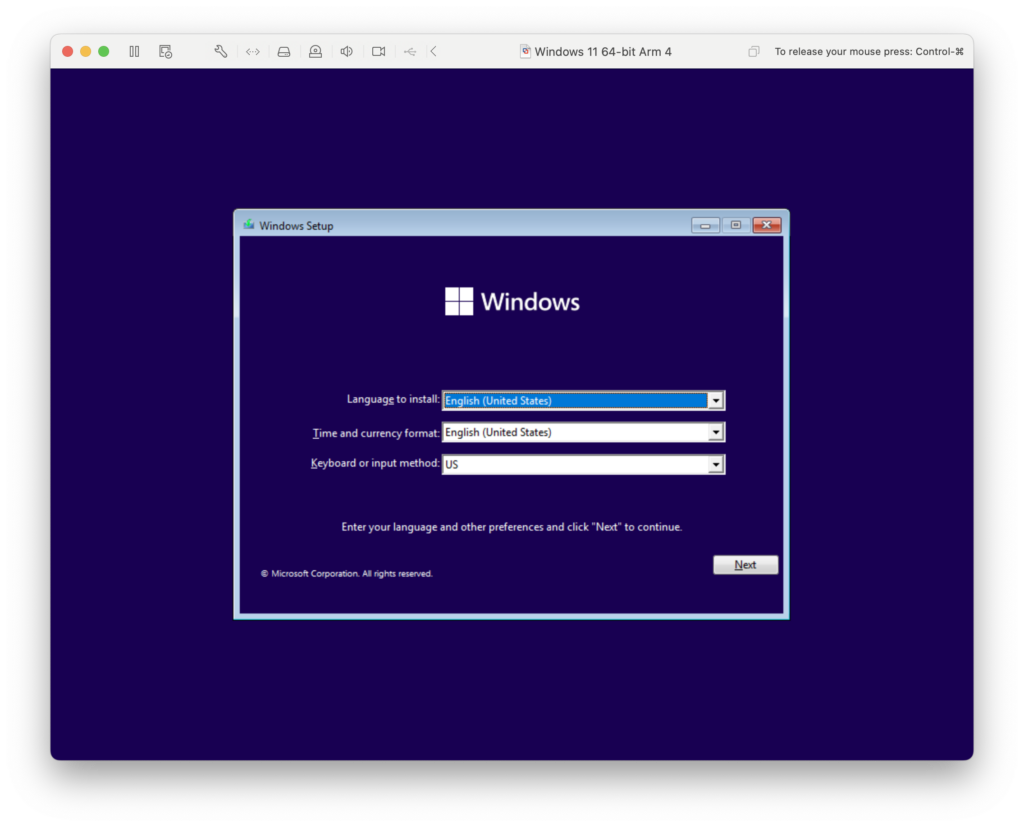
When you click “Finish” on the summary screen, the virtual machine will start the Windows setup.
VMware Fusion will ask for access to your Mac’s Bluetooth so that it can offer Bluetooth capabilities within Windows.
You must then hit any key on your keyboard to start the Windows setup process.
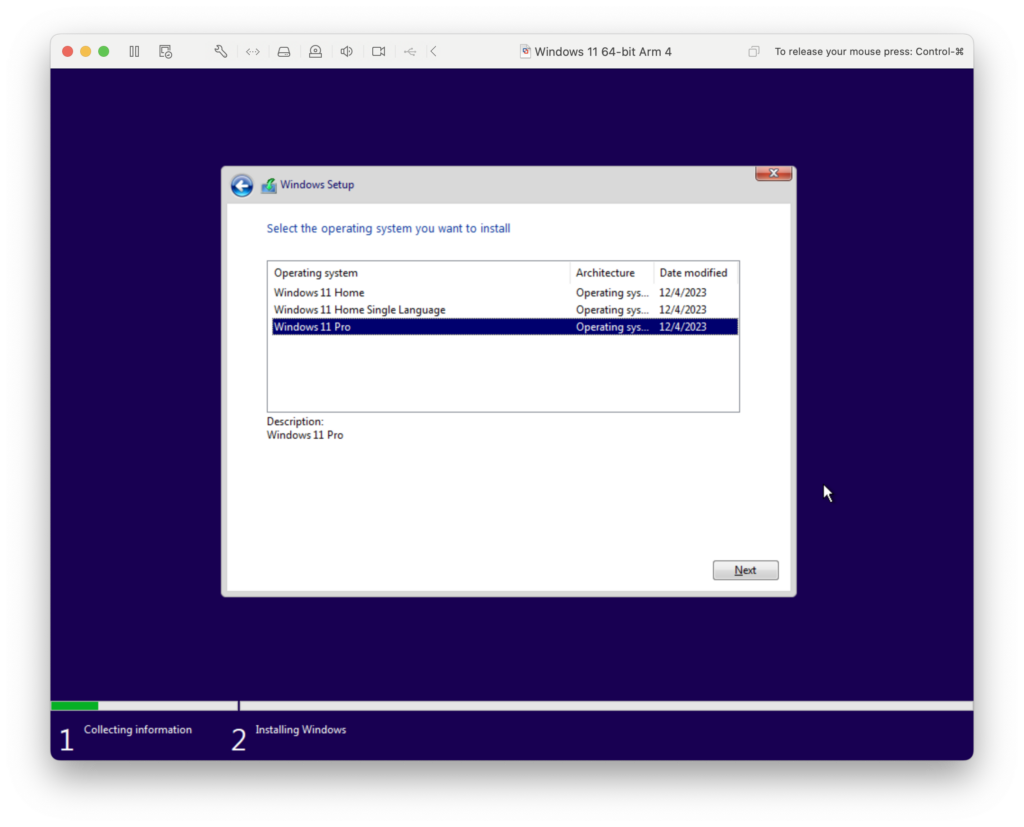
You then need to select the version of Windows you want to use. Select “I don’t have a product key” in the Windows setup.
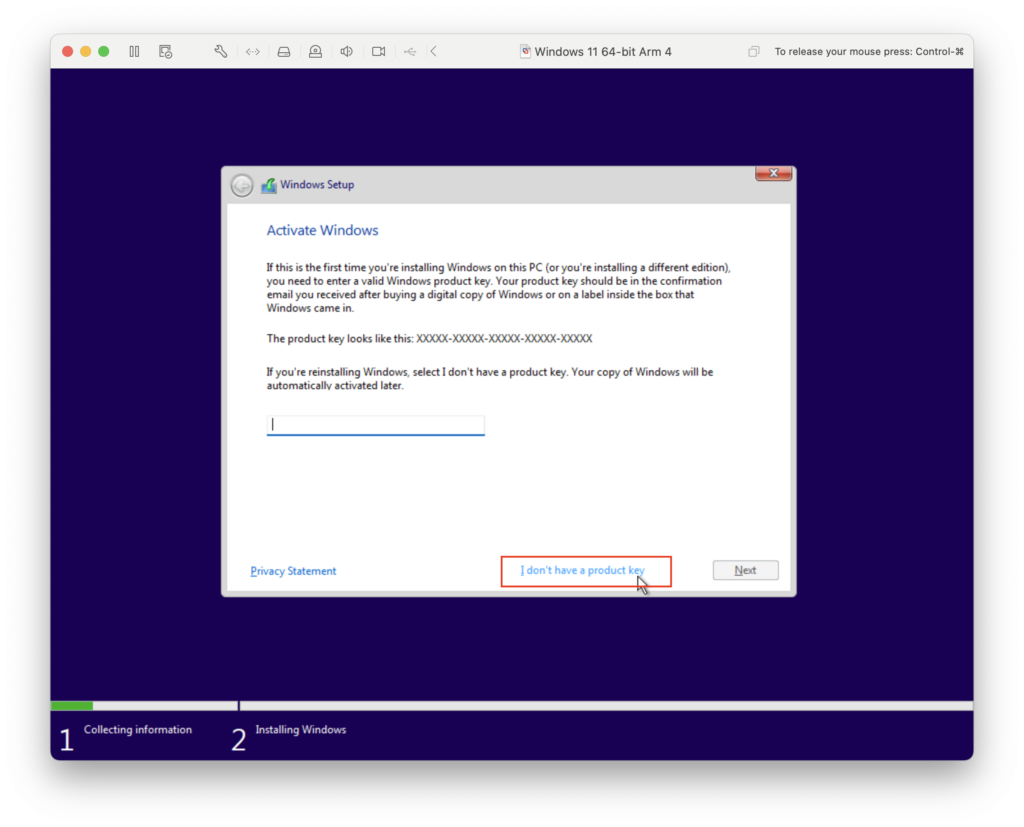
Select Windows 11 Pro.
Windows 11 Pro will then install in VMware Fusion on your Mac. When prompted, select “Custom Install” and select the Virtual Machine drive you setup earlier.
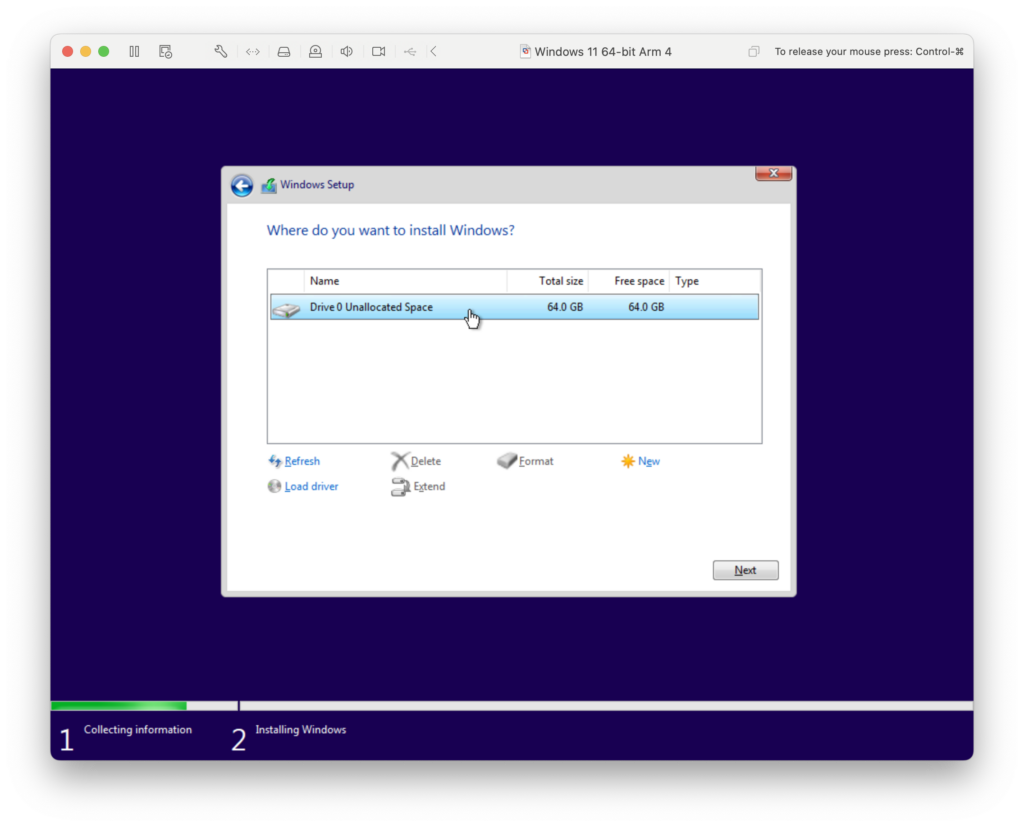
Windows will then install which will take a few minutes.
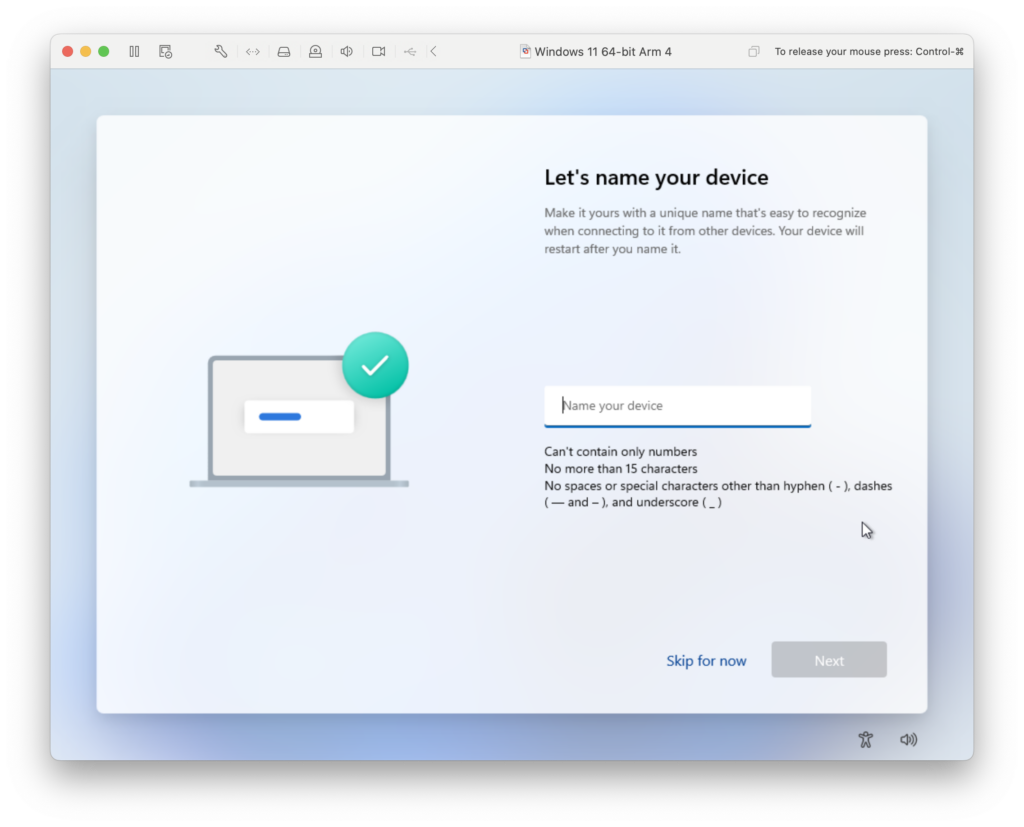
During the setup process you’ll be asked to name the device. Just call it whatever you want such as “MacBookPro”.
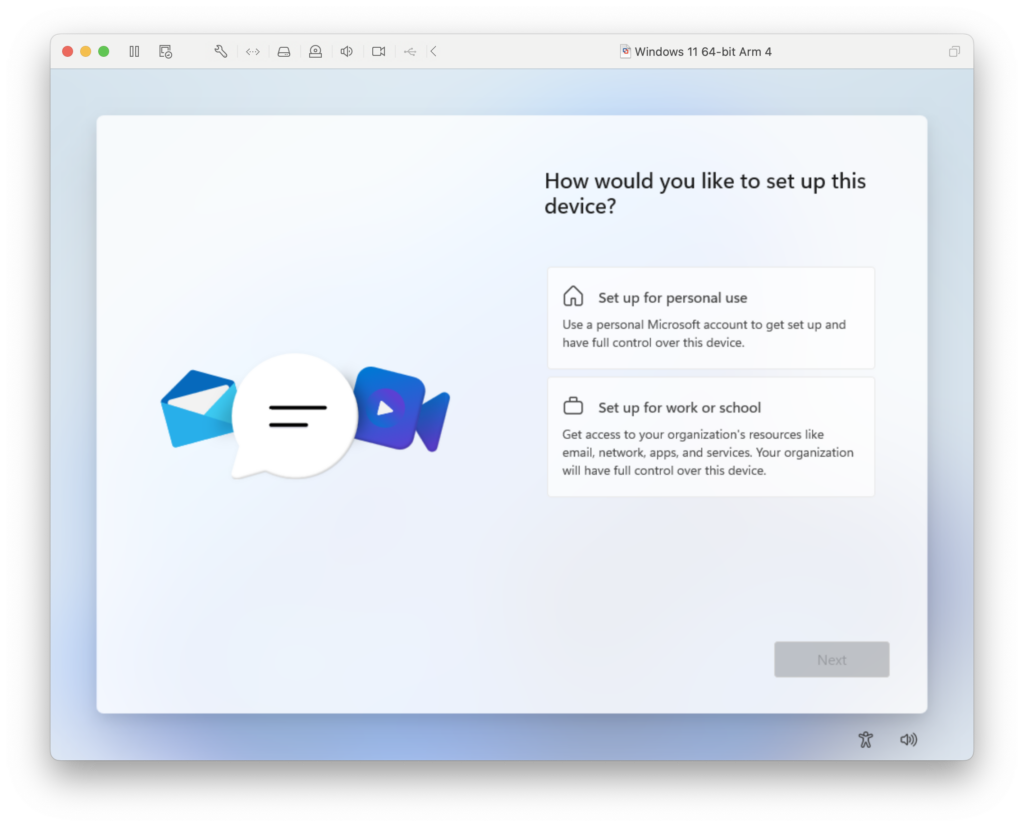
You’ll then be asked to customize how you plan to use the setup. Click on “Setup for Personal Use”.
At this stage you can sign-in with your Microsoft account if you want to access all of your Office 365 documents.
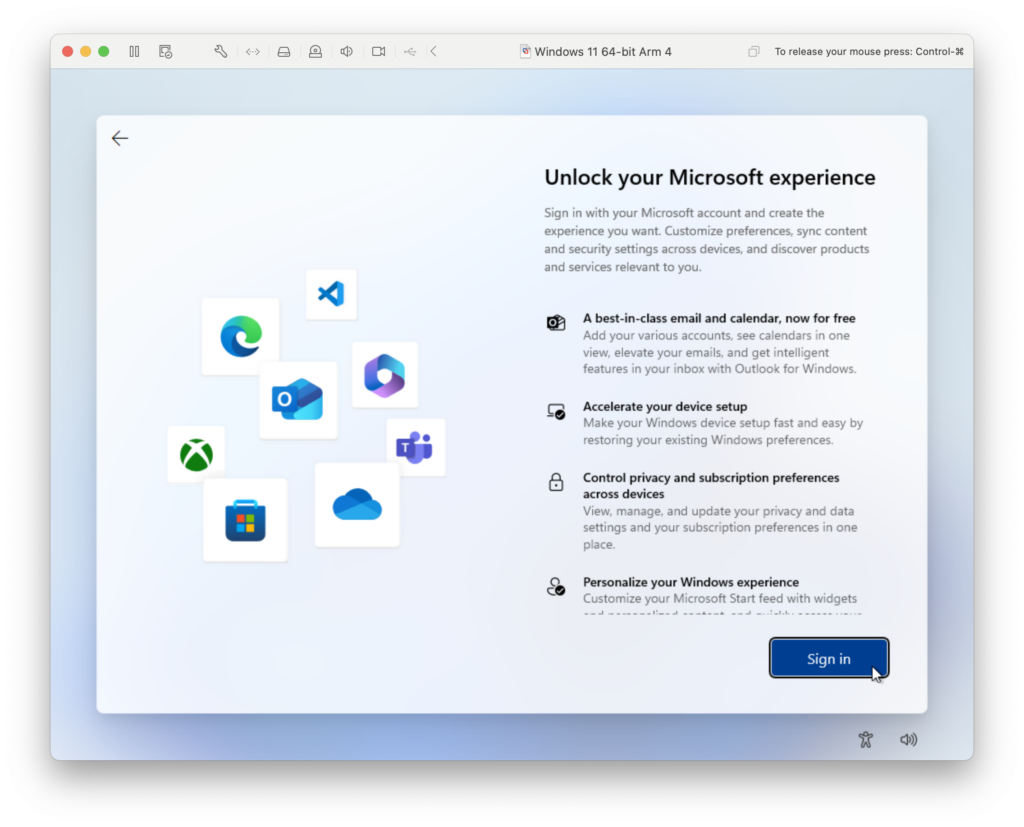
However, you can use a trick to bypass this step if you don’t want to sign-in. You can do this by doing the following:
- Turn off your Mac’s WiFi connection in the top right of your screen
- Press “Shift + Command + F10” to bring-up the Windows command line
- Type: oobe\bypassnro and hit Enter
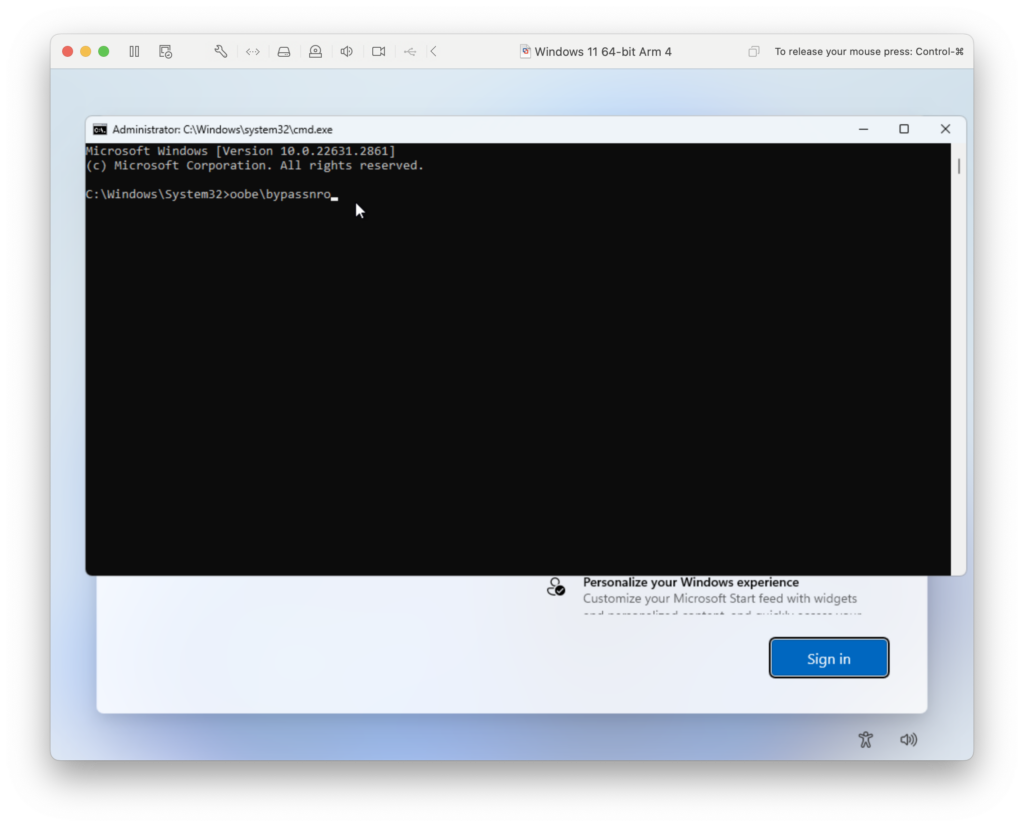
The Windows 11 installer will then continue without having to sign-in to your Microsoft account.
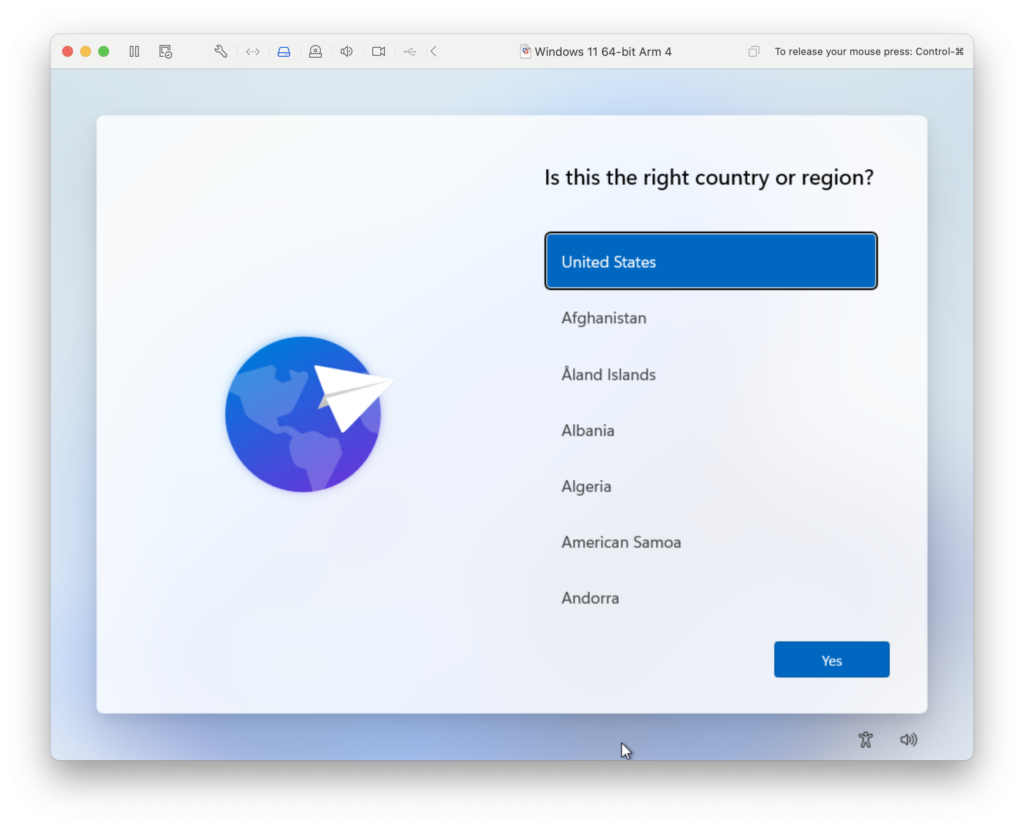
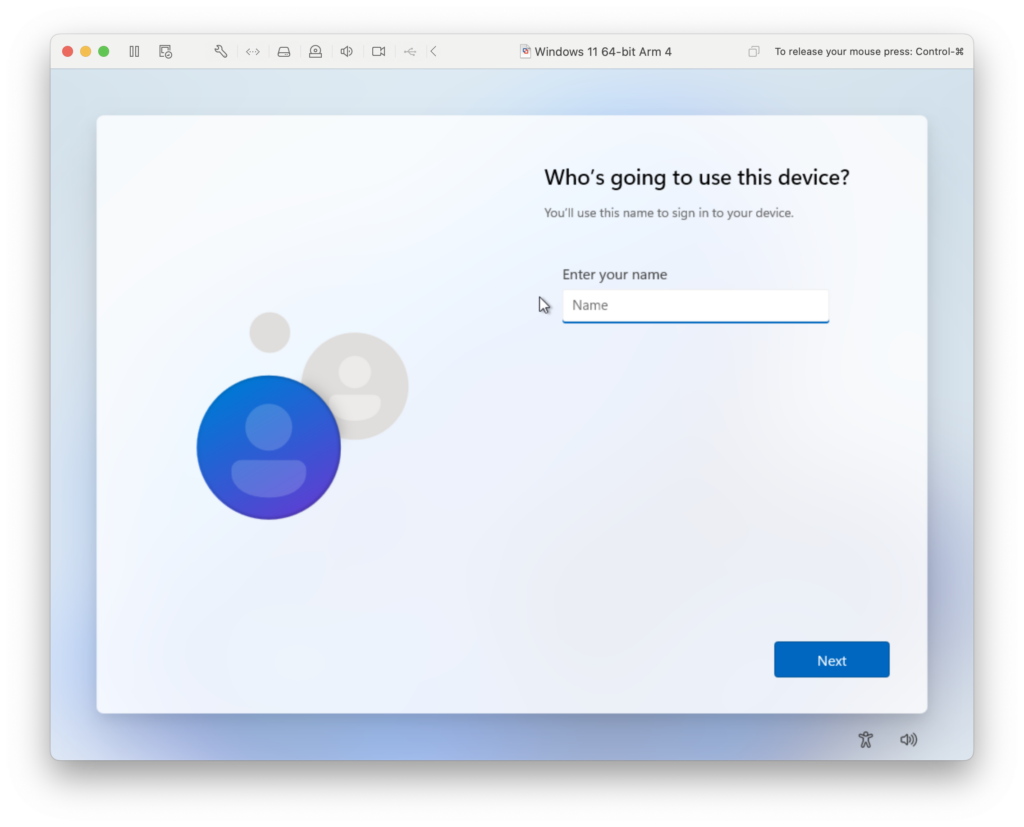
You’ll then have to repeat some of the setup process by re-confirming your region and keyboard settings, giving your device a name etc.
Give your Windows 11 account a name and setup a password to login into it.
The final step is to accept or deny the Windows 11 Privacy Settings which you can deselect all if you want.
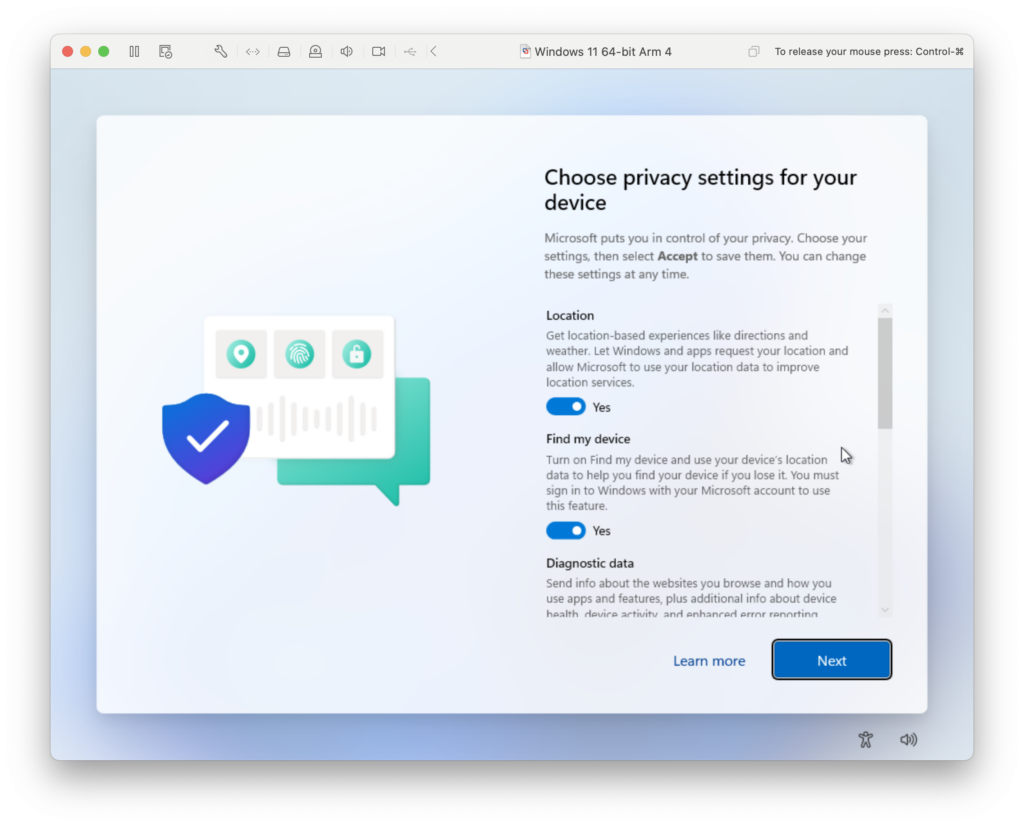
Windows 11 will then take a minute or so to finish the installation and you have completed installing Windows 11 on your Mac with VMware Fusion.

Using VMware Fusion
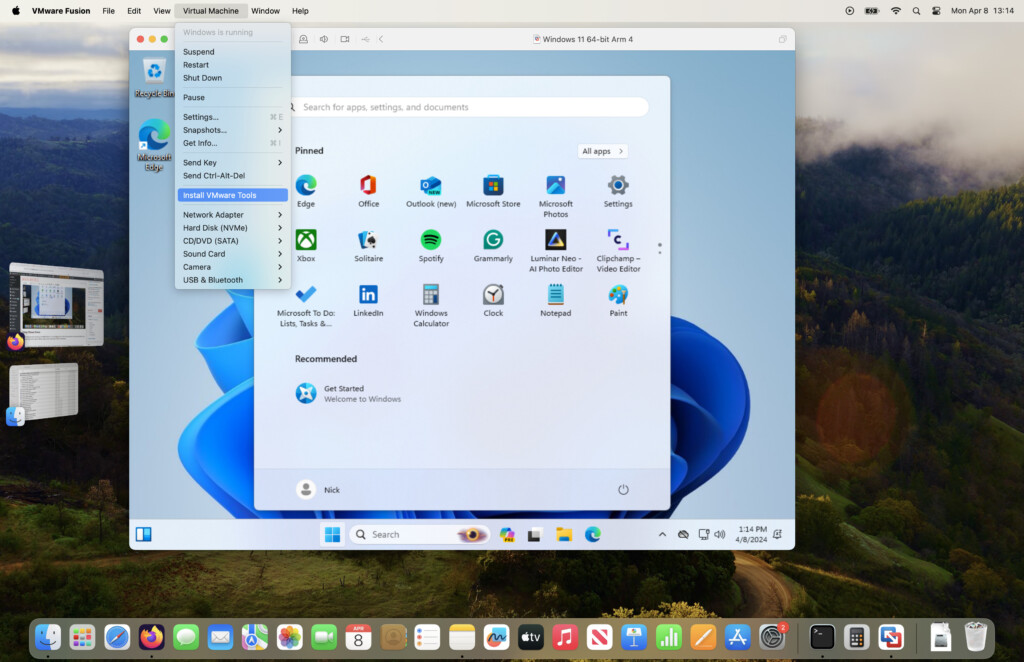
The first thing you need to do once you’ve installed Windows 11 is install VMware Fusion Tools.
Like Parallels Toolbox, this is an add-on to Fusion which allows you to customize things such as screen resolution, external device connections and other useful features.
To do this, go to your Menu Bar and select Virtual Machine > Install VMware tools.
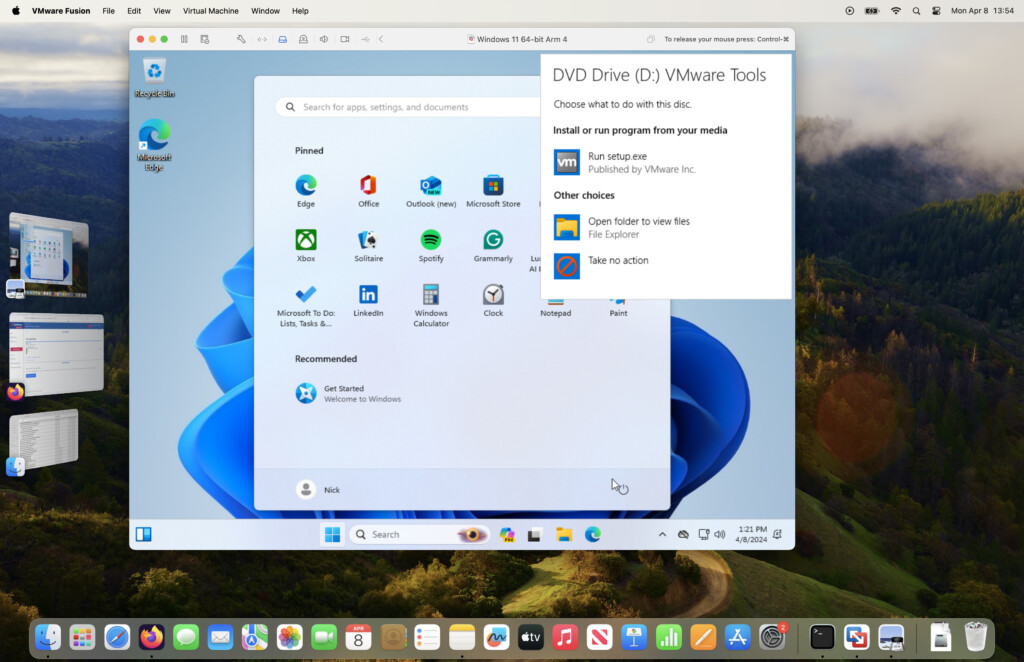
VMware will then automatically offer you the chance to run the VMware Tools installer by clicking on “Run setup.exe”.
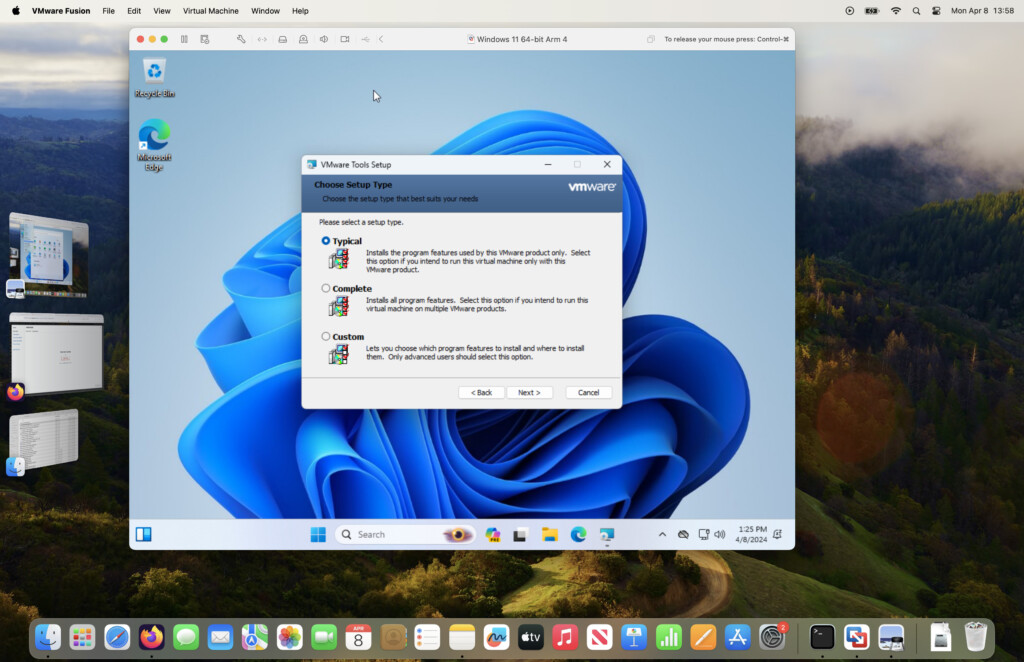
When prompted, select a “Typical” installation to complete the setup.
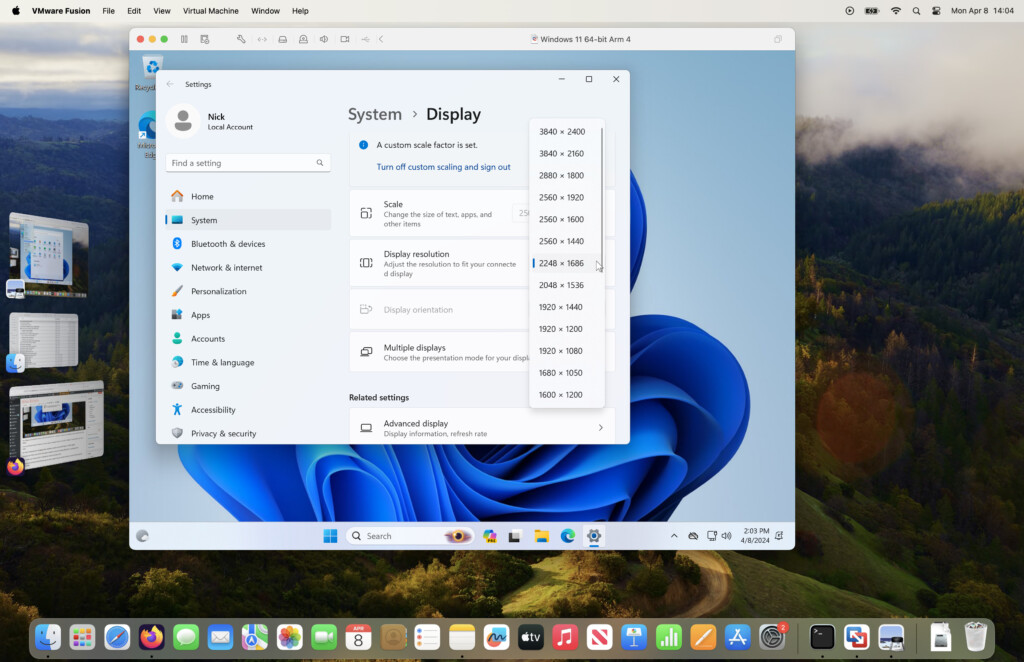
Once VMware tools is installed, Windows 11 will restart and then you can change the resolution of your Virtual machine by Ctrl clicking on the desktop and selecting a resolution.
I used it in 2248 x 1686 resolution but you can experiment until you find the setting that’s right for you.
You can use Windows 11 in VMware Fusion either in “windowed” mode so it appears as a separate window in macOS or “full screen” mode to take-up your whole screen.
Unfortunately, the “Unity” viewing mode which blends macOS and Windows together is not available when using VMware Fusion with Windows ARM.
In Unity Mode, your Windows apps and macOS app appear alongside each other on the desktop effectively in one operating system. This is similar to the “Coherence Mode” in Parallels which does exactly the same thing.
Unity Mode requires Intel binaries and Windows x86, which aren’t compatible with Windows ARM on M-series Macs.
It’s not a big loss but it is something worth bearing in mind when using VMware Fusion on Apple Silicon Macs.
Gaming in VMware Fusion
I found that VMware was pretty quick when starting and closing a virtual machine.
Both Parallels and VMware are much quicker on Apple Silicon Macs than the older Intel chips although I find Parallels still has the edge when booting and resuming VMs.
If you’re testing software, you can take a “Snapshot” of the state of a VM that allows you to restore it to a previous state.
This is useful if you’re testing software and something goes wrong so that you can roll-back to a previous fully functioning version of Windows for example.
I tried installing the Steam gaming platform in Windows 11 within VMware Fusion to see how it performs.
To install any application in Windows 11 in VMware Fusion, just use the Microsoft Edge browser in Windows.
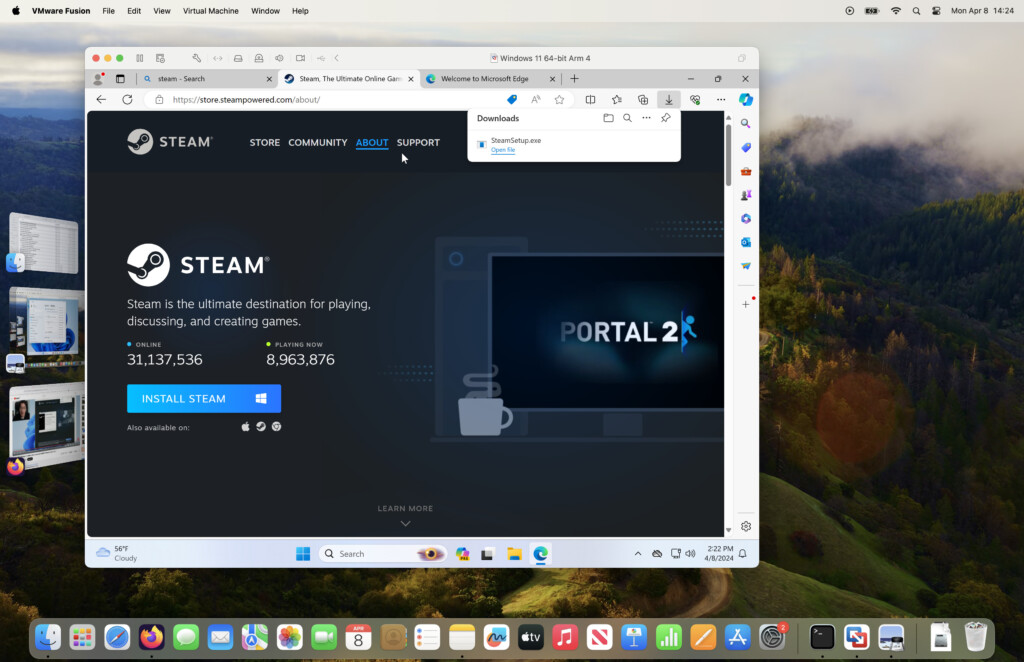
Although Steam isn’t available for Windows ARM, it works thanks to what’s known as “x86 emulation” which translates Intel only apps to work in it.
You’ll of course need a Steam account to access games on it and your library.
Some Steam games will not work in virtual machines due to lack of support for DirectX 12 and anti-cheat software so you won’t see them all available in Steam.
I tried starting with running Stumble Guys which only requires around 700MB of space in the virtual machine.
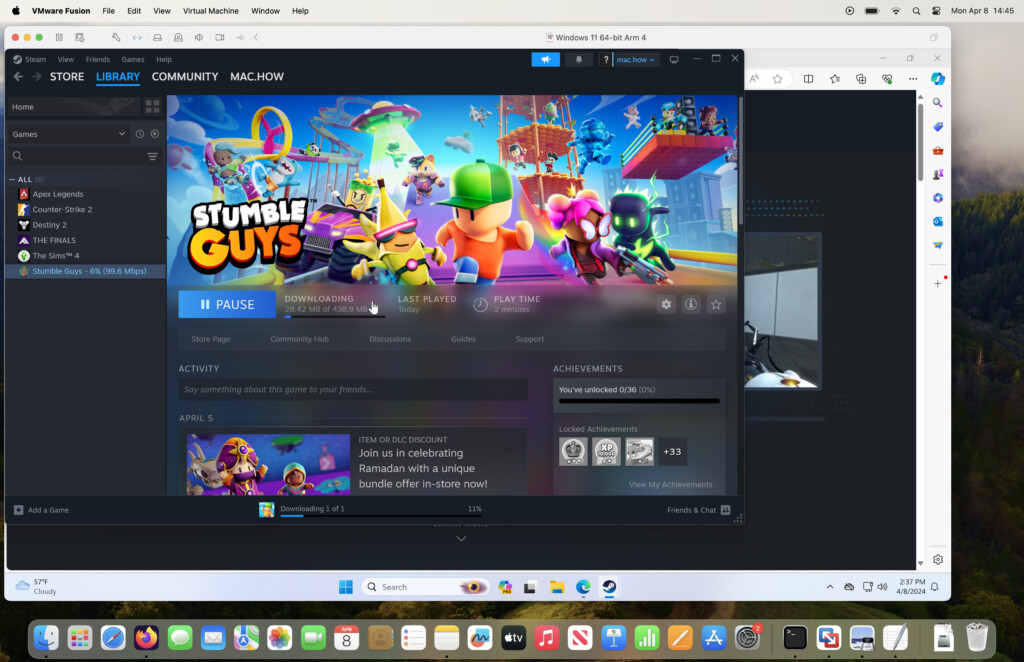
Once the game had downloaded, installation was as fast as any PC and Fusion had no problems running the game.
To quit the game by the way, you need to exit Full Screen mode, go to the Windows 11 toolbar at the bottom of your screen, Ctrl-click on the game Window and select “Close Window”.
Other games I tried were Apex Legends, Skyrim, and Counterstrike 2 all of which worked very well.
Some games such as Portal 2 froze occasionally but I’ve experienced the same both in Parallels and Crossover so this isn’t something that’s isolated to Fusion.
If you use VMware Fusion on battery power, both the battery optimization settings in macOS and Windows will help it run for longer which is especially important when gaming.
You may however notice that frame rates are limited to 30fps as a result however in order to conserve battery power but games are still playable.
I still think Crossover works better for gaming on a Mac but as a free solution, VMware Fusion is more than acceptable.
One downside I found in using VMware Fusion is restarting the virtual machine can take a long time after it has been put to sleep. This seems to get worse the more times you put it to sleep until you can end up waiting over a minute for it to restart.
VMware Fusion Video
Stumble Guys ran remarkably well in VMware Fusion with very little lag or lost frames as you can see below.
Using Microsoft Office in VMware Fusion
Once Windows 11 is installed, if you want to access Microsoft 365 (formerly Microsoft Office), you simply sign into your Microsoft 365 account to access your files and documents.
You can use Windows versions of all Office products on your Mac including Word, Excel and PowerPoint.
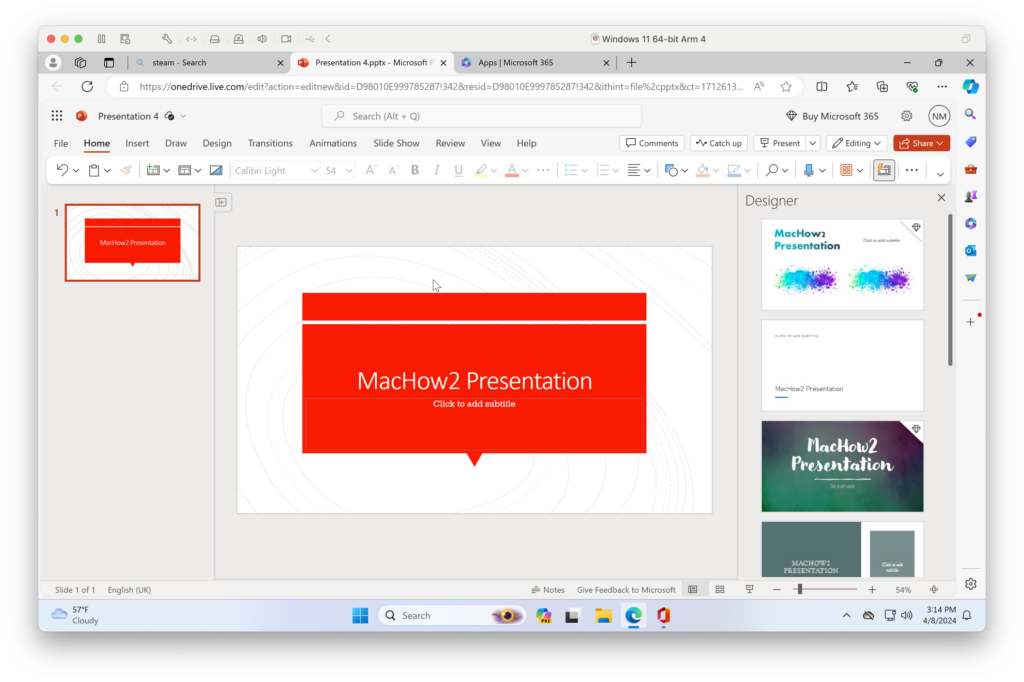
Products such as Microsoft Publisher, Access and Visio require added subscriptions though either through your work or an educational subscription.
I found that all Office products worked quickly in Windows 11 inside VMware Fusion and the responsiveness was similar to using it in macOS.
You can watch me running Microsoft Visio on a Mac in VMware Fusion and as you can see, it works pretty smoothly.
Improvements in the Latest Version of VMware Fusion
The latest version of VMware Fusion 13.5 was a significant update and introduced automatic installing of Windows 11 for you.
There were many other updates though that also brought it closer to Parallels.
It now supports much faster file transfers between macOS and Windows simply by drag and drop.
I tested creating a folder in Windows and dragging it onto my Mac and this feature worked seamlessly.
Other new features in VMWare Fusion 13.5 include:
- VMware Tools now adds full 3D support for emulated 32-bit, 64-bit and arm64-native graphics. This includes Metal-accelerated DirectX 11 3D graphics support for better performance when playing Windows only games on a Mac and using CAD software or rendering apps.
- Faster Window resizing and better dual-monitor support when managing display.
- More secure encryption for tighter security when using the virtual machine in your Mac.
- Improved vSphere and ESXi server connections to launch and control VMs remotely.
- Full support for macOS Sonoma
- Bug fixes for better stability
VMware System Requirements
VMware Fusion runs on Macs with Intel or Apple silicon chips which support macOS 12 and later. This includes macOS 12 Monterey, macOS 13 Ventura, macOS 14 Sonoma and macOS 15 Sequoia.
Is VMware Fusion The Same As VirtualBox?
VMware Fusion and VirtualBox are both free virtual machines but whereas VirtualBox is an open source project, VMware Fusion is a commercial product.
At the moment, VMware Fusion is a much better free solution than VirtualBox because it works on Apple Silicon Macs whereas VirtualBox does not support them as well.
For more check out our full VirtualBox review.
VMware Fusion vs VMware Workstation
VMWare Fusion and VMware Workstation are similar products but VMware Fusion is built for Macs whereas VMware Workstation is built to run virtual machines on Windows PCs.
VMware Fusion Player vs Pro
VMware Fusion Player used to be the basic free version of VMware’s virtual machine. but has now been replaced by a free version of VMware Fusion Pro for Mac.
The Pro version has more advanced features such as the ability to run an unlimited number of virtual machines.
The Pro version also allows system admins to create custom virtual networks with unique subnet settings, MTU sizes, NAT port forwarding and degraded network simulations.
VMware Fusion vs UTM
VMware Fusion and UTM are both free virtual machines but VMware is a more robust solution with more features than UTM.
Whereas UTM is an open source project, VMware is a commercial project with a much bigger development team behind it.
VMware Fusion is generally more feature-rich and performant, especially for running Windows ARM, but UTM may be a better choice if you need to emulate older or non-ARM operating systems
Alternatives To VMware Fusion
The most popular alternative to VMware Fusion is Parallels which is more polished and powerful than VMware Fusion.
However, it’s only available in subscription for $99.99 per year or $129.99 as a one off purchase.
For more, check out our in-depth look at VMware Fusion vs Parallels.
There’s also Virtual Box which is also free but the worst of the bunch as it doesn’t work on Apple Silicon Macs yet.
UTM is another free open source alternative as we’ve already mentioned but its very lightweight and basic compared to VMware Fusion.
You can read more in our look at the best virtual machines for Mac for more.
VMware Fusion Comparison Table
| Feature | VMware Fusion | Parallels | UTM | VirtualBox |
|---|
| Apple Silicon Support | ✅ | ✅ | ✅ | ❌ |
| Free for Personal Use | ✅ | ❌ | ✅ | ✅ |
| Free for Commercial Use | ❌ | ❌ | ✅ | ✅ |
| Windows ARM Support | ✅ | ✅ | ✅ | ❌ |
| Coherence/Unity Mode | ❌ (on ARM) | ✅ | ❌ | ❌ |
| 3D Acceleration | ✅ | ✅ | Limited | ❌ |
FAQs
Is VMware Fusion really free now?
- Yes. As of November 2024, it’s free for both personal and commercial use.
Can I run Windows 11 on an M-series Mac with VMware Fusion?
- Yes, using the Windows 11 ARM version.
Can I run macOS as a guest on VMware Fusion on Apple Silicon?
- No. macOS guests are not supported on Apple Silicon.
Is VMware Fusion better than Parallels?
- It depends. VMware is free and flexible but lacks some user-friendly features and polish that Parallels offers.
Can I play games with VMware Fusion?
- Light gaming is possible using x86 emulation, but Parallels is better for performance.