
If you need to uninstall Rosetta 2, here we show you how to uninstall it on Apple Silicon Macs with the M1, M2 and M3 chips.
Rosetta 2 is a clever free tool in macOS that “translates” Intel only apps and programs so that they work on Apple Silicon Macs.
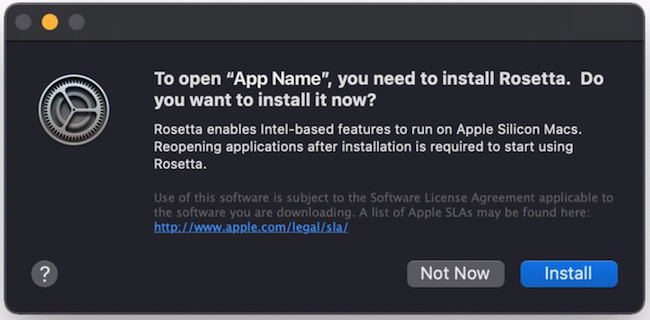
Rosetta is not installed by default on Apple Silicon Macs and you’ll only be prompted to install Rosetta on a Mac the first time you open an Intel only application or program that requires it.
Most people will never need to remove Rosetta 2 after it has been installed.
However, if you’re using a Mac for testing, development or are a system administrator, you may need to remove Rosetta 2 from a Mac to see how certain apps and software performs without Rosetta installed.
Unfortunately, there’s no easy way to get rid of it from a Mac because it installs deep within macOS and once installed, is SIP protected by for security reasons.
This is why if you’re using a Mac for testing purposes, it’s much better to use a Virtual Machine (VM) such as Parallels.
Although Parallels is most commonly used to install Windows on a Mac, you can also use it to install macOS in a virtual environment that you can then easily install, uninstall and wipe the installation without affecting your Mac.
You May Also Like:
How To Uninstall Rosetta
Before you starts, we strongly recommended backing-up your Mac with Time Machine.
Removing Rosetta may affect the functionality of other apps that rely on it and Time Machine will allow you to restore your Mac easily if anything goes wrong when deleting Rosetta from your Mac.
With this in mind, follow these instructions to remove Rosetta from your Mac:
- Open Terminal on your Mac. If you can’t see it in your Dock, use the magnifying glass in the top right of your Mac to open Spotlight and search for “Terminal”.
- Request a list of files/directories and LaunchAgents by entering the command: pkgutil –files com.apple.pkg.RosettaUpdateAuto
- Save them so that you can access them later on such as in a text document on your Mac. A typical list of Rosetta files will look something like this:
Library
Library/Apple
Library/Apple/usr
Library/Apple/usr/lib
Library/Apple/usr/lib/libRosettaAot.dylib
Library/Apple/usr/libexec
Library/Apple/usr/libexec/oah
Library/Apple/usr/libexec/oah/debugserver
Library/Apple/usr/libexec/oah/libRosettaRuntime
Library/Apple/usr/libexec/oah/runtime
Library/Apple/usr/libexec/oah/translate_tool
Library/Apple/usr/share
Library/Apple/usr/share/rosetta
Library/Apple/usr/share/rosetta/rosetta
- Shut down your Mac and then Boot into recovery mode by holding down the power button on your M1/M2/M3 Mac
- Open Terminal and run the command csrutil disable and confirm to temporary disable SIP security on your Mac
- Shut down and reboot your Mac normally
- Delete all of the the files listed earlier making sure you delete /Library/Apple/usr/share/rosetta and /Library/Apple/usr/libexec and contents.
- Shut down and reboot your Mac in Recovery Mode by holding down the power button again.
- Run csrutil enable and confirm to complete uninstalling Rosetta from your Mac.
You have now removed Rosetta 2 from your Mac.
You can check whether Rosetta has been fully removed from your Mac by going to the Apple logo in the top left corner of your Mac and selecting About This Mac and then click on System Report and in the left hand margin select Software > Installations.
If you scroll down to “R”, you should not see any references to RosettaUpdateAuto which means that Rosetta has been removed from your Mac.
