If you can’t wait until 20th of December when Resident Evil for Mac will finally be released, here we show you how to play the Windows version on a Mac.
Although Capcom has announced that the 2023 Resident Evil 4 remake will be released for Apple devices on 20th December 2023 including Macs, here we show you the only ways to play Resident Evil 4 on a Mac that definitely work.
Quick Navigation
Is Resident Evil 4 Available For Mac?
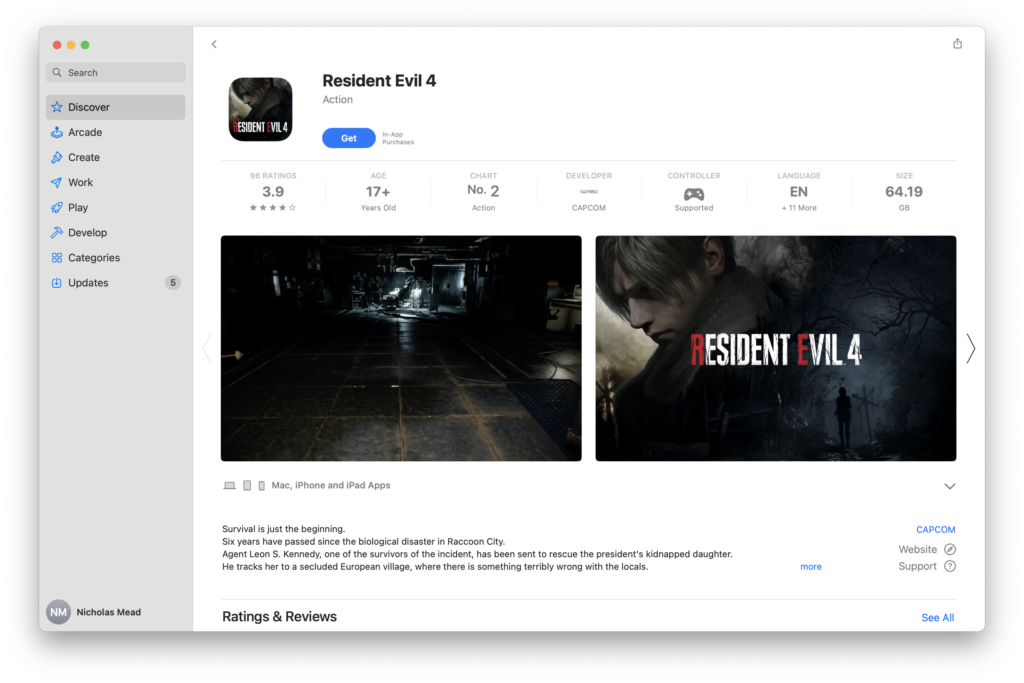
Capcom will release Resident Evil 4 for Mac on 20th of December 2023. You can currently pre-order it on the Mac App Store.
The system requirements for the game are macOS 13 Ventura or higher and you need an Apple Silicon Mac with an M1, M2 or M3 chip which includes MacBook Pros and the MacBook Air.
However, Resident Evil 4 will not work on Intel Macs. The System Requirements published by Capcom specify it only works on Apple Silicon Macs.
The game is however already available on PlayStation 4, PlayStation 5, Windows and Xbox Series X/S since March 24th 2023.
How To Play Resident Evil 4 on Mac
Here then are the easiest ways to play the Steam Windows version of Resident Evil 4 on a Mac.
1. Crossover
Until the official Mac release of Resident Evil 4, the easiest way to play Resident Evil on a Mac is with Crossover.
Crossover allows Mac users to play Windows only games without installing Windows on a Mac.
Crucially, Crossover supports games that require DirectX 12 such as Resident Evil 4 and has been widely used to play Diablo 4 on a Mac which also requires DirectX 12.
Most other ways of playing Windows games on a Mac don’t support this and thus can’t run games like Resident Evil 4.
You can try Crossover free for 14 days but after that you’ll need a subscription starting at $74.
You can also check out our full Crossover review for more.
Follow these instructions to play the Windows Steam version of Resident Evil 4 on a Mac with Crossover.
- If you haven’t already got one, sign-up for a Steam account.
- Add Resident Evil 4 for Windows to your game library on the Steam Store. The game costs $59.99 (£49.99).
- Download the free trial of Crossover for Mac.
- Install Crossover on your Mac by double clicking on the Zip file that downloads and then drag the Crossover application to your Applications folder.
- Click on “Try Now” to start the 14 day free trial unless you’ve already purchased a Crossover license.
- You then need to connect Steam to Crossover. To do this, search for “Steam” in Crossover.
- Crossover will then connect with Steam. Once this is done, you need to activate DXVK (which is the Vulkan backend for D3D 11) and ESync to make sure that Resident Evil 4 plays smoothly in Crossover. To enable DXVK and Esync in Crossover, select “Steam” under “Bottles” on the left in Crossover.
- Select the Advanced Options on the right and click the slider to on for both DXVK and ESync.
- Double click on Steam to launch it and login into your Steam account. Go to your Steam Library where you will see Resident Evil 2 from when you purchased it earlier. Click on the big blue “Install” button to install it on your Mac. You can now play Resident Evil 4 in Steam on your Mac!
If you have problems with Resident Evil 4 crashing in Crossover on your Mac, then try adjusting some of the game settings.
We recommend the following settings for best performance:
- Set the Video settings to “Full screen” or “Windowed mode”
- Set most of the Advanced Video settings set to “Medium” or “Low”
2. Whisky
Whisky is a free tool that’s based on the same technology as Crossover but doesn’t require a subscription to use.
It’s not as stable as Crossover and doesn’t support as many games but it is free to use and easy to setup.
To play the Steam PC version of Resident Evil 4 on a Mac using Whisky just follow these instructions:
- Download the latest release of Whisky for Mac. You need to download the Whisky.zip file.
- Double click on the ZIP file to unzip it and then drag Whisky to your Applications folder and double click on it to run it. If you receive the message:
“Whisky.app” can’t be opened because Apple cannot check it for malicious software. This software needs to be updated. Contact the developer for more information.
Click on “Open” to run it. The reason for this message is that, because Whisky has not been downloaded via the Mac App Store, macOS Gatekeeper is warning you that it has not been signed by Apple but it does not mean that Whisky is unsafe to use.
- When Whisky opens, you simply follow the on-screen instructions to set it up. Whisky will automatically install Rosetta, Wine and the Apple Game Porting Toolkit (GPTK) on your Mac which are all the tools that Whisky requires to work.
- When all of these are installed, Click on “Next” to continue.
- You then need to click on the “+” button in the top right corner to create a new bottle for Steam in Whisky. Bottles are self contained environments that you need to create for every Windows game or app you want to install. Select “Windows 10” which offers the widest compatibility with games on Steam including Resident Evil 4. Once you’ve created a bottle for Steam, it works for any games you install with Steam – you don’t need to keep creating a bottle for each separate game.
- Click on the “Run” button in the bottom right corner to configure the bottle for Steam.
- Next you need to download the Steam.exe client which is the Windows desktop version of Steam. It’s important that you download the Windows version of Steam and not the Mac version. By default, Steam will detect you are using a Mac and serve you the Mac DMG version of the Steam desktop client but you can change this manually to the Windows download by clicking on the Windows logo (see below).
- Browse to the Steam Setup.exe download in Whisky and click on “Open” in the bottom right corner to start installing the Windows Steam client.
- Whisky will then prompt you for access to the file on your Mac. Click “OK”. Whisky will then run the Steam EXE installer just as if you were installing it on a Windows PC.
- When the installation is complete, just make sure that “Run Steam” is selected and click on “OK” to launch it on your Mac.
- Then simply login to your Steam account and purchase Resident Evil 4 in the Steam Store for $59.99 (£49.99).
- Once the game is purchased, you simply go to your Steam Library at the top of Steam, select Resident Evil 4 and click the big blue “Install” button. Assuming you have enough disk space on your Mac, select a destination to install the game and enjoy playing Resident Evil 4 on your Mac!
- If you have problems with the frame rate or stability while playing, we also recommend enabling both DXVK and Esync in the bottle settings to help Resident Evil 4 run more smoothly in Whisky.
Other Ways To Play Resident Evil 4 on a Mac
Until the official release, there are very few other ways to play RE4 on a Mac due to the requirement for DirectX 12.
Intel Mac users can install Windows on a Mac using Boot Camp and then play the Windows version of RE4 but this doesn’t work on Apple Silicon M1/M2/M3 Macs.
You could also install Resident Evil 4 on a Cloud Gaming server like airGPU but this works out very expensive due to server rental costs.
Finally, there’s also the Apple Game Porting Toolkit released with macOS Sonoma but this is very technical and only developers currently have access to it.
You’re much better off using either Crossover or Whisky as both of them use the Apple Game Porting toolkit to work anyway but are much easier to use.
Can You Play Resident Evil 4 in Parallels?
Resident Evil 4 requires DirectX 12 in order to to work which rules out using virtual machines such as Parallels as they do not support DirectX 12.
Can You Play Resident Evil 4 in GeForce Now?
Capcom does not allow linking Steam games to GeForce Now so you can’t play RE4 in GeForce Now for Mac.
Can You Play Resident Evil 4 in Xbox Cloud?
Although the game is available for Xbox, it is not available in Xbox Cloud. It’s only available as a digital download on Xbox Series X/S.
Discover more from MacHow2
Subscribe to get the latest posts sent to your email.