
If you want to play Windows only games on a Mac, then one of the ways to do it is by using airGPU.
airGPU is a Cloud PC rental service based in the Netherlands which allows Mac users to use a Windows PC remotely.
It’s one of the best ways to stream games to a Mac – although it doesn’t come cheap.
Since airGPU is Cloud based, it can be accessed and used by all Macs including the latest Apple Silicon Macs.
It now has more than 15 servers across the globe including North America, Europe, Asia, Middle East and Africa.
Most commonly airGPU is used as a remote way to play Windows only games on a Mac but you can in fact install anything you want on a Cloud Windows PC hosted by airGPU meaning it’s also a useful way to use Windows on a Mac.
You May Also Like:
Why Use airGPU?
Although there are many ways of playing Windows only games on a Mac, airGPU is one of the best ways of playing games that won’t work in virtual machines (such as Parallels) or on Apple Silicon Macs that can’t use Boot Camp.
airGPU allows you to install pretty much anything on one of its Cloud PCs meaning Mac users can play games such as Diablo 4 and Hogwarts Legacy on a Mac.
Unlike many ways of running Windows on a Mac, airGPU isn’t restricted by anti-cheat software or DirectX 12 as both will run on a Cloud Windows PC.
However, airGPU isn’t cheap compared to other ways of running Windows games on a Mac.
You need to pay an hourly fee for hiring the Cloud PC which can be over $1 per hour plus you have to pay a monthly fee of at least $10 per month for extra storage if you want to install lots of games.
If you only want to play games for a few hours per month then this doesn’t work out too expensive but if you plan to game a lot, then the costs will soon add-up.
You’ll also obviously need to own the games in order to install and play them on an airGPU Cloud PC. It’s not like gaming platforms such as NVIDIA GeForce Now which allow you to play a catalog of games for a monthly fee.
How To Play Games With airGPU
Setting-up airGPU on a Mac is essentially a two-step process.
First you need to setup an airGPU Cloud computer.
Then you need to download and connect it to the remote desktop app Moonlight which basically allows your Mac to send and receive data between your Mac and the Cloud PC.
You can however also use other remote desktop apps with airGPU such as Parsec.
Since everything is hosted in the Cloud, using airGPU on a Mac is pretty much the same as setting it up on a Windows PC.
Here’s how to setup airGPU to play games.
- Sign-up for a free airGPU account.
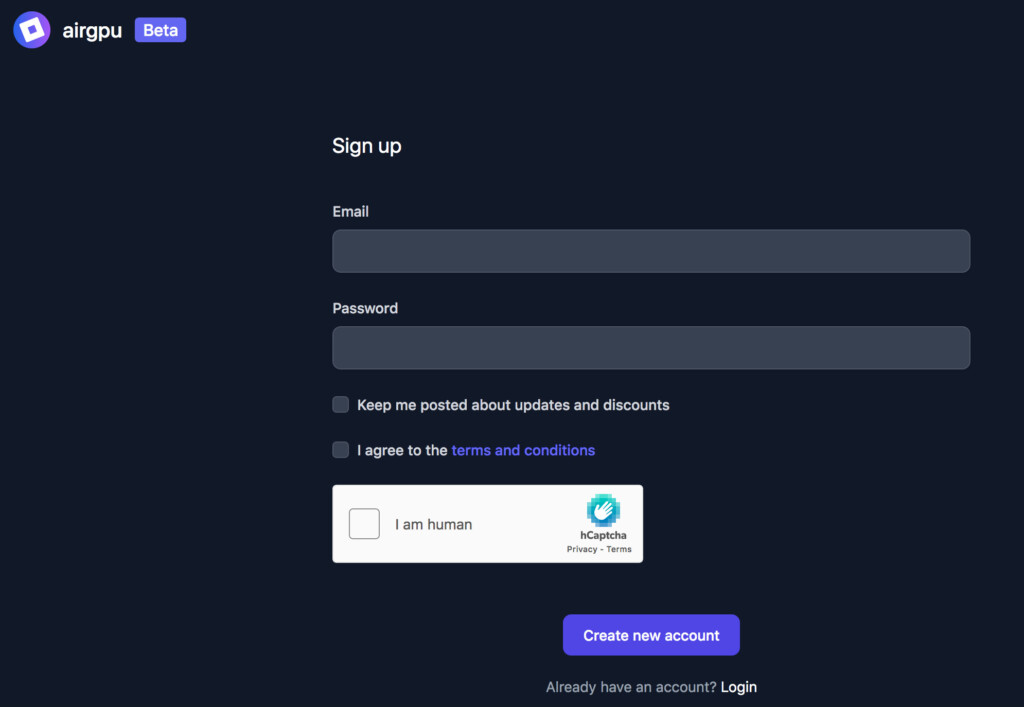
- Once you’ve signed-up, login with the details you’ve created, airGPU will then allow you to configure the Cloud PC you want use.
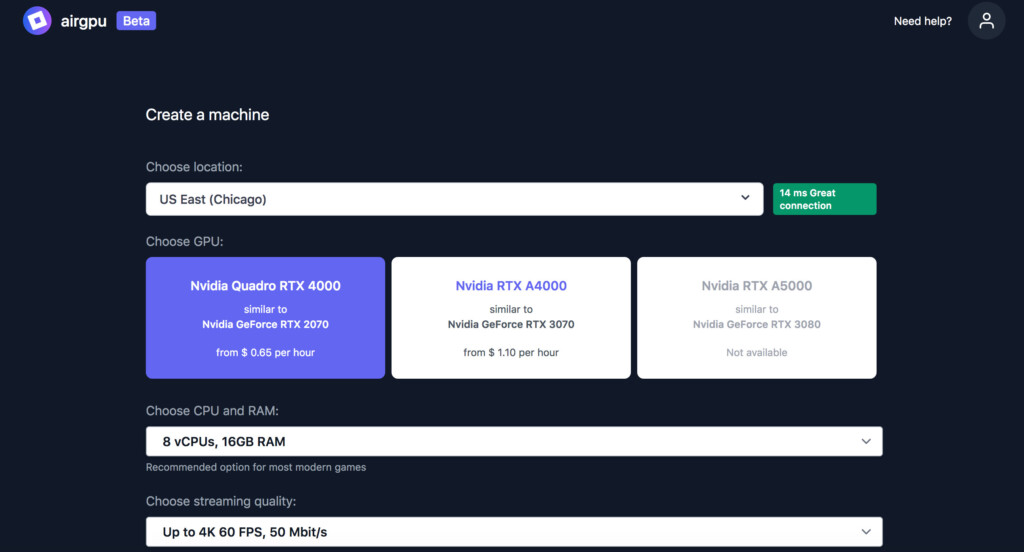
- It will start by offering you the fastest server according to your location although you can select an alternative one from the list provided.
- You must then choose which GPU you want to use. The more powerful the GPU you choose, the more expensive the hourly rate will be. Currently, the Nvidia Quadro RTX 4000 costs $0.65 per hour and the more powerful Nvidia RTX A4000 costs $1.10 per hour. Depending on your location, the availability of these servers may vary.
- The CPU and RAM are subject to the GPU you choose and may not be possible to change unless there are more powerful options available.
- The streaming quality is also subject to the GPU you choose and also may not be possible to change unless there are higher resolutions available.
- The storage space you need depends on how many games you want to install. If it’s just one game such as Diablo 4 then the minimum of 150GB is fine. However, if you plan to install multiple games then the more storage the better. However, storage space costs extra on top of the server rental cost and starts at $10.50 per month.
- Finally, you’ll need a Windows 10 license key to run Windows legally which airGPU will request later on in the installation.
Once you’ve configured your setup, airGPU will present a summary.
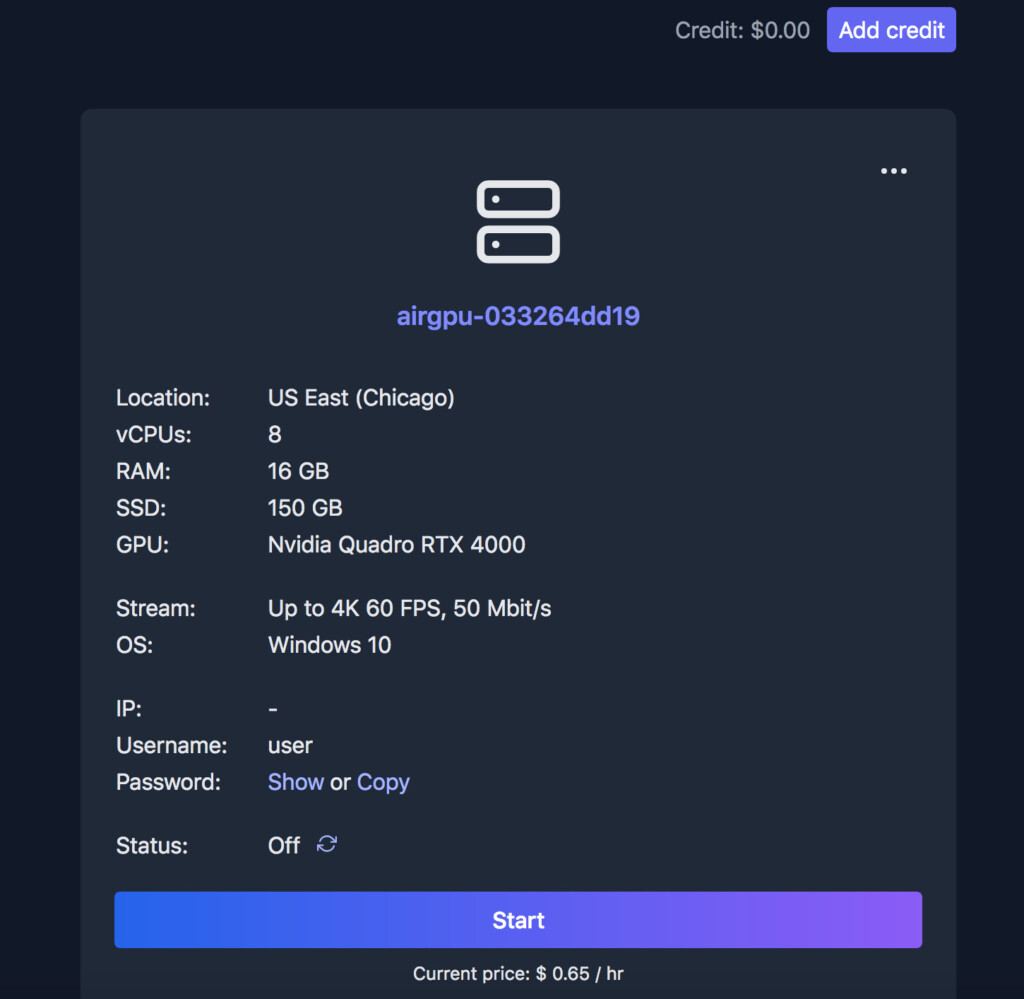
To activate the server, you need to click Add Credit at the top of the summary. This is where you need to add your credit or debit card details to setup an eGPU installation. You can also pay via PayPal and Google Pay.
Once you’ve done this, click on Start and it airGPU will setup your Cloud PC which may take a few minutes.
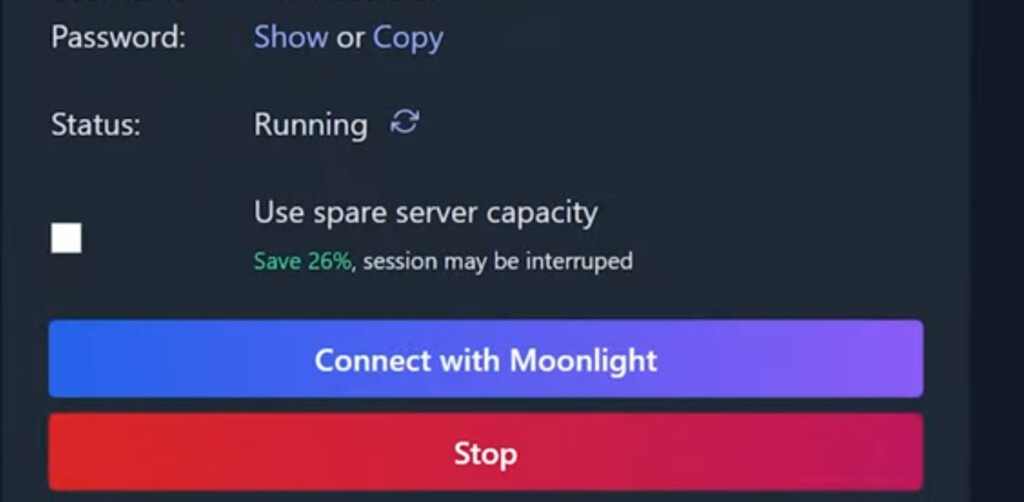
You’ll then see an option to Connect with Moonlight which is an airGPU integrated remote desktop client which allows your Mac to send and receive data to the eGPU Cloud PC you’ve set up.
Although you can use other remote desktop apps such as Parsec, airGPU will automatically configure Moonlight to work with it saving a lot of hassle especially for those that haven’t used airGPU before.
To connect airGPU to Moonlight, follow these instructions:
- Download and install Moonlight. Mac users will need to click on the macOS Universal link.
- In the Moonlight settings, change the resolution to 1440p and the video bitrate to 25 Mbps.
- Add a new PC with the address provided by airGPU for the new Cloud PC you’ve just setup which will end with the address airgpu.com
- Click on the Cloud PC that you’ve added and enter the PIN that airGPU provides for the Cloud PC you’ve setup.
- Click Connect and airGPU will then automatically sync up with Moonlight so you’re Cloud PC will appear on your Mac desktop ready to install and play games.
There are a few Moonlight keyboard shortcuts to switch between Moonlight and your Mac or PC which you’ll need to use.
Once you’ve done this, you can start installing Windows games or gaming platform clients such as Steam and Battle.net on your Cloud PC and play them from your Mac.
In general, airGPU works very well although much depends on the speed of your internet connection. The faster your connection, the less latency there is and the less lag you’ll notice when playing games.