
Autodesk Inventor isn’t available for Mac but here we show you how to install and run Inventor on a Mac.
Inventor is a CAD software for 3D mechanical design, simulation, visualization and documentation that’s often used by engineers alongside Autodesk’s industry standard AutoCAD software.
Frustratingly for many engineers, architects and students, although AutoCAD for Mac is available, Inventor is not including the latest version of Inventor 2024.
However, you can still use Inventor by using the Parallels virtual environment.
Parallels allows you to run Windows on a Mac so that you can install the Windows version of Inventor on your Mac.
Contents
Does Inventor Work On Apple Silicon Macs?
You can run Inventor on Apple Silicon Macs with the M-series chips using Parallels.
In fact, some users find that as long as you have enough RAM, the powerful Apple Silicon Macs run Inventor even better in a virtual environment like Parallels than running it on a Windows PC.
Does Inventor Work In Boot Camp On a Mac?
If you have an older Intel Mac you can also choose to use Boot Camp to install Windows and Inventor on a Mac.
Boot Camp is a free tool in macOS that allows you to dual boot your Mac in either macOS or Windows.
However, Boot Camp does not work on Apple Silicon Macs so Boot Camp is not an option to install Inventor on a Mac if you have an Apple Silicon Mac.
Finally, you can also use Inventor remotely on both Intel and Apple Silicon Macs by using Remote Access software on your Mac.
A remote access tool allows you to access Inventor by running on a Windows computer by connecting to it remotely and can be used on both Intel and Apple Silicon Macs.
However, this is the least preferable option as it has many limitations on usability and performance issues due to lag on the connection between your Mac and the Windows computer running Inventor.
Here then we look at the best ways to run Inventor on a Mac in more detail.
1. Virtual Environment

Virtual machines like Parallels allow you to run macOS and Windows at the same time which is far more convenient as you can switch between your Mac and Windows in one click.
Parallels is by far the easiest virtual machine to setup and install Autodesk Inventor on a Mac with and works on both Intel Macs and the latest Apple Silicon Macs.
Using Parallels means you don’t have to restart your Mac when you want to use Inventor – you can just switch to macOS as you do when you want to use any other application.
However, we strongly recommend only installing Inventor using a virtual machine like Parallels if you have at least 32GB of RAM and preferably 64GB of RAM if your budget allows.
The reason is Parallels will split the RAM in half – one half to run the virtual machine and Windows within it and the other to run macOS and software within it.
Any less than 32GB of RAM will mean Inventor will perform very slowly and laggy on your Mac.
If you’ve got an Intel Mac but can’t upgrade the RAM, you could also consider getting an eGPU to improve the performance of Inventor using Parallels.
Note that you can’t use an eGPU with Apple Silicon Macs so you must purchase the maximum amount of RAM you can afford when you buy an Apple Silicon Mac.
Finally, we also recommend getting an external storage drive for your Mac when running Inventor on your Mac.
The reason is that you’ll soon fill up your Mac hard drive with Inventor files and nowadays, the fastest thunderbolt drives for Mac are almost as fast as your Mac’s hard drive itself.
You can’t upgrade the internal storage of Apple Silicon Macs after you’ve purchased them either so using an external drive is a fast and easy solution.
With this in mind, just follow these instructions to install Inventor using Parallels.
- Download Parallels which will automatically install Windows 11 on your Mac. If you don’t want to purchase Parallels straight away, you can try a 14 day free trial first. Microsoft no longer requires users to activate Windows 11 with a product key in order to use it so the great thing is Windows doesn’t cost a cent nowadays unless you want to customize it.
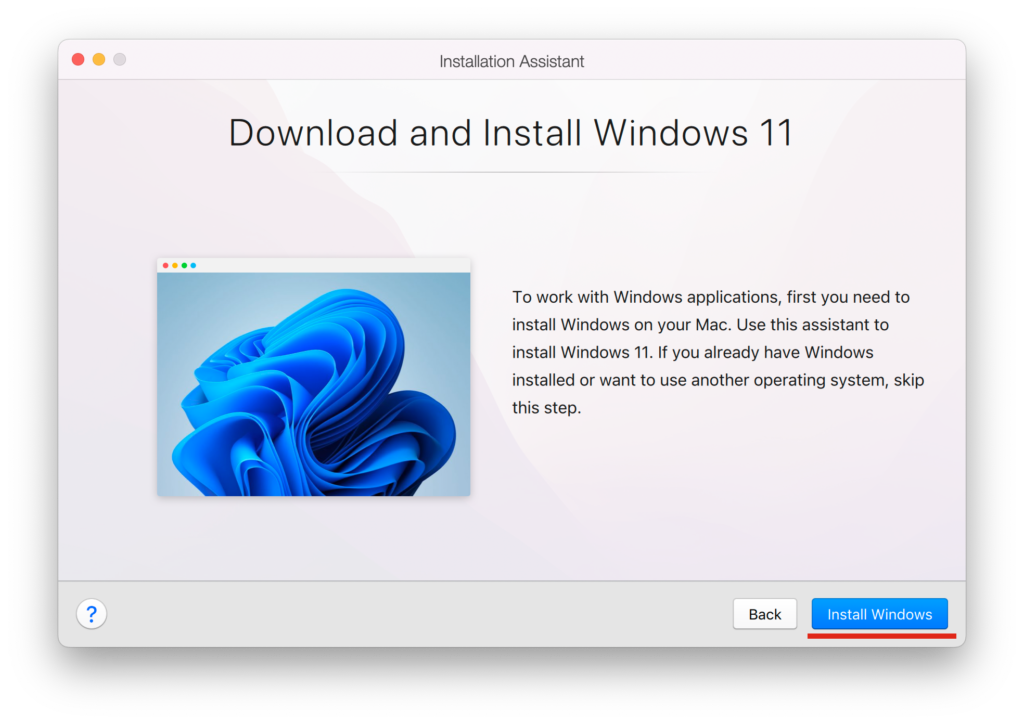
- When you open Parallels, it will automatically Install Windows 11 for you from Microsoft.
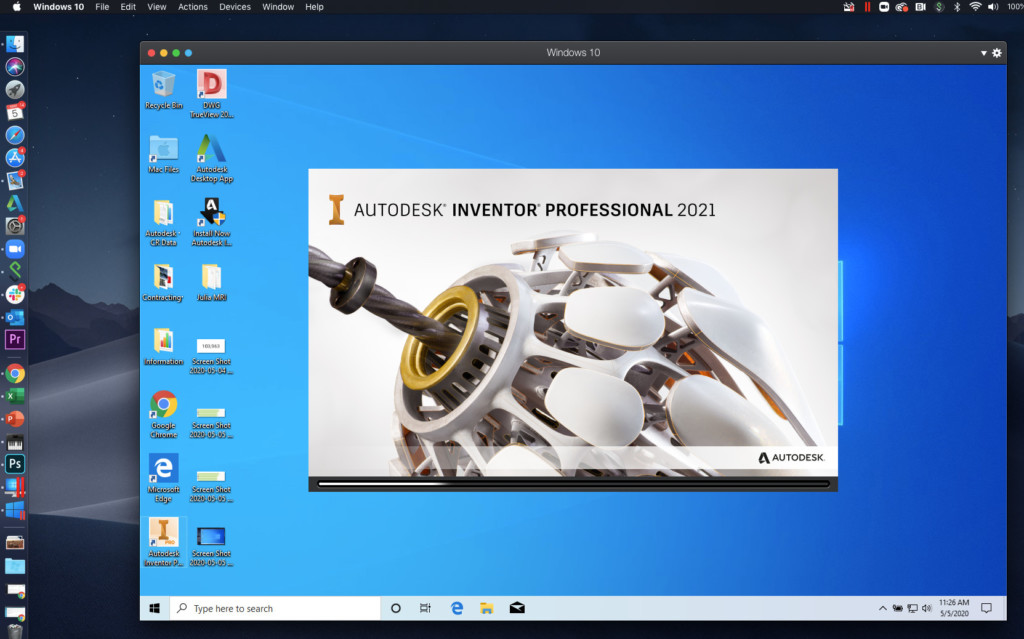
- Purchase Inventor and install it in Windows on your Mac. Alternatively, you can also download a free trial of Inventor to try it first. Inventor works with either Windows 10 or Windows 11 but is not compatible with Windows 7. You’ll also need to create a free Autodesk account to install Inventor.
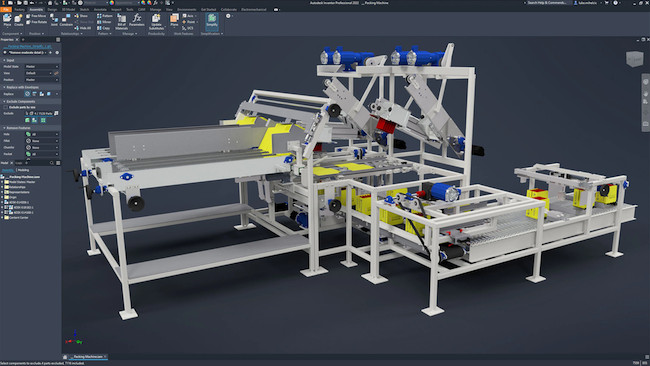
Once installed, you’ll find that you can use Inventor within the Windows environment just as if you were using a PC.
You should find that Inventor performs pretty well on a Mac using Parallels although using any software in a virtual machine never performs as fast as having it installed directly in macOS.
In particular you may find that panning, orbiting and zooming are sluggish.
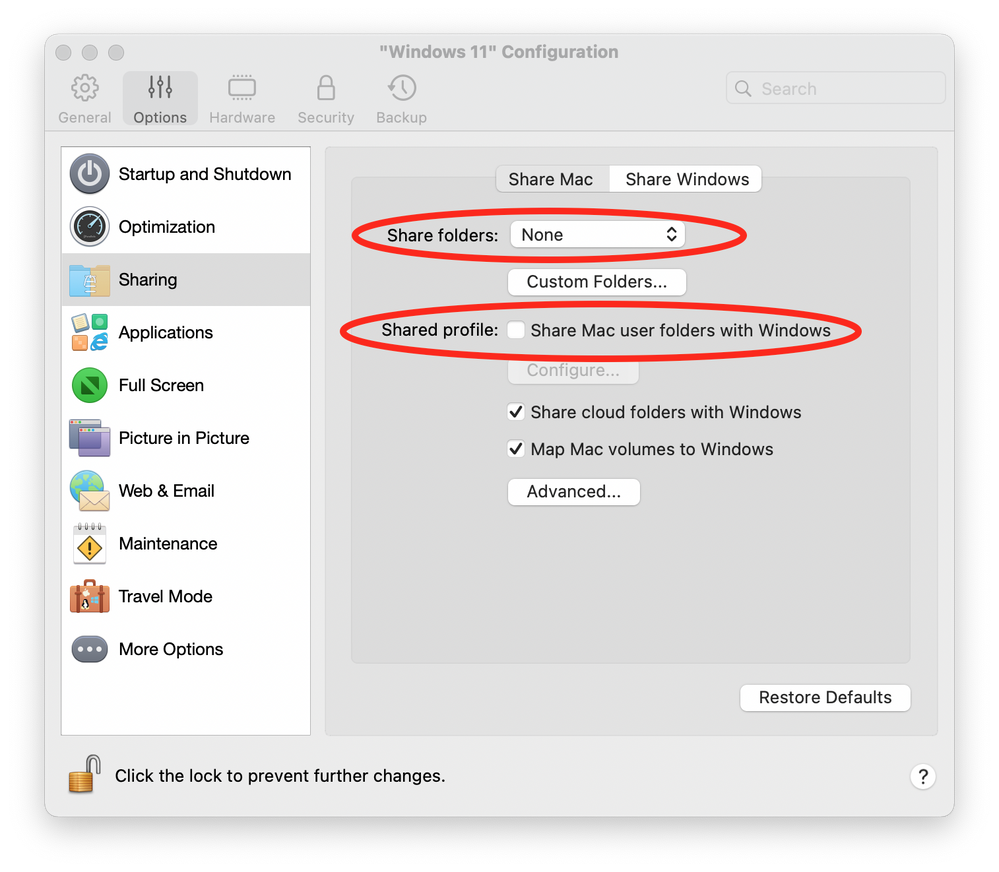
If you’re using an Intel Mac, you can share files between macOS and Windows by activating the Sharing options in the Windows configuration options in Parallels.
However, unfortunately you can’t share files between macOS and Windows on Apple Silicon Macs.
You need to deactivate Share folders and Shared profile Parallels in order to open Autodesk Inventor files on an Apple Silicon Mac otherwise it will not work.
Despite this limitation on Apple Silicon Macs, using Parallels to run Inventor is by far the quickest and easiest way to run Inventor on a Mac.
You can try Parallels for free and also read our full Parallels review for more.
2. Boot Camp (Intel Macs Only)
Boot Camp is a free tool on macOS that allows you to dual boot in either macOS or Windows.
Whereas a virtual machine like Parallels runs macOS and Windows simultaneously, Boot Camp only allows you to boot your Mac in either macOS or Windows. To switch between the two, you need to shut down and restart your Mac.
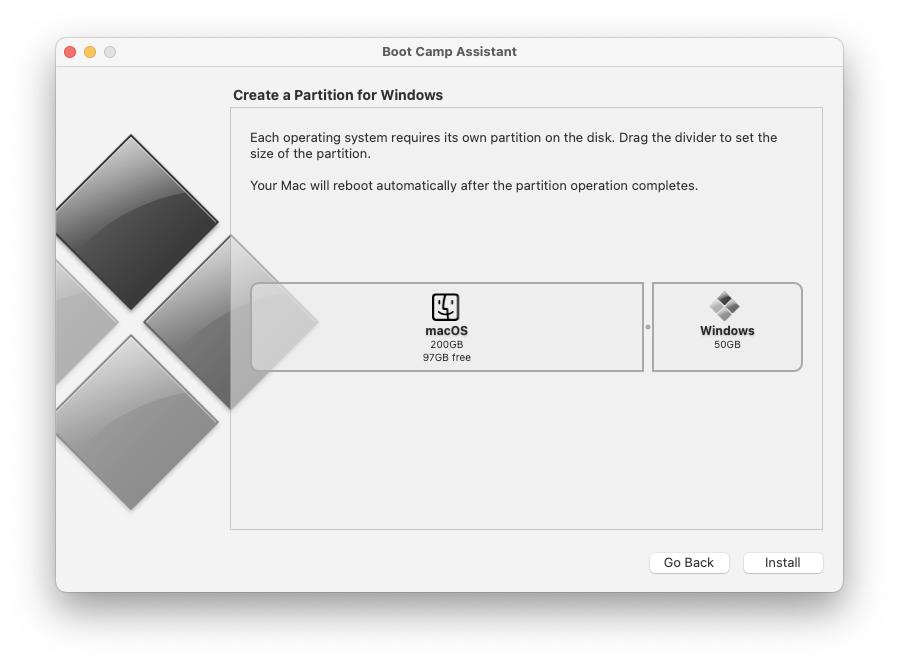
Boot Camp also requires you to partition-off a large part of your Mac hard drive to dedicate for running Window on. The disadvantage of this is that once all that hard drive space is filled-up, you’ll no longer have any free disk space to keep creating new Inventor projects.
It’s important to be aware that Boot Camp is only available in macOS on Intel Macs.
Boot Camp does not work on the latest generation of Apple Silicon Macs.
If you’ve got an Intel Mac, to install Inventor simply do the following:
- Follow these instructions to Install Windows on your Mac using Boot Camp. The main thing to consider when installing Inventor is to make the partition to install Windows as big as possible on your Mac. If you don’t have much disk space available, you can also consider using an external hard drive, preferably a thunderbolt hard drive for working with Inventor.
- Purchase Inventor and install it in Windows on your Mac. Alternatively, you can also download a free trial of Inventor to try it first. Inventor works with either Windows 10 or Windows 11 but is not compatible with Windows 7. You’ll also need to create a free Autodesk account to install Inventor in Windows on a Mac using Boot Camp.
3. Remote Access
You can also use Inventor remotely on a Mac by using remote access software.
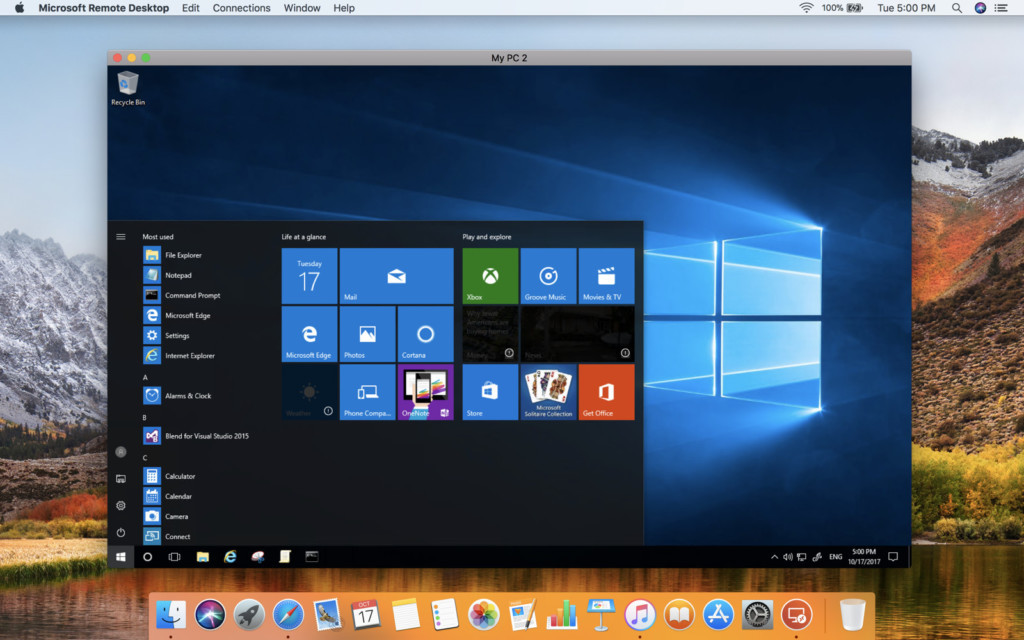
A remote access tool allows you to access Inventor running in a Windows PC in another location. Remote Access software allows you to access and control apps on another computer from your Mac.
To remotely access and use Inventor on another computer you need:
- Remote access software on your Mac such as Microsoft Remote Desktop
- Access to a Windows PC running Inventor
Remotely accessing Inventor is the least preferable way to use Inventor on a Mac because it relies very heavily on the stability and speed of your internet connection.
As a result, there can be a lot of lag and delay when using Inventor remotely this way.
It also limits the amount of control you have over Inventor. There are some functions and features which are difficult or impossible to use properly by using it remotely.
You can check out our roundup of the best remote desktop software for Mac here.
Why Is There No Inventor For Mac?
It’s not clear why Autodesk hasn’t released Inventor for Mac but it’s probably due to the added maintenance and development costs of making a Mac compatible version of Inventor.
There is however a Mac version of AutoCAD so hopefully at some point Autodesk will release Inventor for Mac too.
When Will Inventor For Mac Be Released?
At the moment, Autodesk hasn’t announced any plans to release Inventor on Mac.
There has never been a Mac compatible version of Inventor released including the latest version of Inventor 2024 which is Windows only.
For the foreseeable future, your only option to run Inventor on a Mac is to use one of the options featured here.
Can You Get Inventor For Free?
Although there’s no free Mac version of Inventor, if you’re a student or educator you can use Inventor for free on a Mac using Parallels with an Autodesk Education Plan.