
UTM has quietly become one of the most popular free ways to run Windows on Apple Silicon Macs. In 2025 it’s still, in my opinion, the best non-subscription virtual machine alternative to software like Parallels and VMware Fusion.
Boot Camp meanwhile still doesn’t exist on M-series Macs and probably never will so UTM is the next best thing.
Parallels is officially licensed by Microsoft and is still the best Windows-on-Mac experience – but at around $99.99 per year for the Pro version – a lot of Mac users simply won’t pay for it.
That’s where UTM comes in: it costs nothing (or $9.99 as a one-off purchase from the Mac App Store to support its development) and it lets you virtualize Windows 11 ARM on any M-series Mac.
UTM is built on top of QEMU, a flexible open-source emulator, but the difference is UTM gives you a user interface, presets for common OS types, and a guided VM creation process that makes it accessible to non-Linux/CLI people.
It’s still not as polished as Parallels (see my full comparison of Parallels vs UTM here), but it’s no longer the rough hack-project it was several years ago.
Contents
Compatibility in 2025
In testing on macOS Tahoe, UTM runs reliably on all Apple Silicon Macs including:
- M1 / M1 Pro / M1 Max / Ultra
- M2 / M2 Pro / M2 Max / Ultra
- M3 / M3 Pro / M3 Max / Ultra
- M4 / M4 Pro / M4 Max / Ultra
In my tests however, performance varies massively depending on what you’re trying to use. Windows desktop apps run fine although can be a bit laggy. Browser, Office and productivity apps are totally usable.
Video playback, heavy 3D rendering, or gaming is still very sluggish though and not recommended – for anything that requires some serious processing power, you’re still better to go with commercial software like Parallels.
Before You Start
You’ll need to have the following to install Windows for Free on your M-chip Mac with UTM:
- You’ll need macOS Big Sur 11.3 or later.
- To be on the safe side, I’d recommend at least 100GB of free hard drive space on your Mac to install both UTM, Windows and any applications you want to run on it. If you plan to install lots of apps, then you’ll obviously need a lot more than this. If you don’t have enough space, you can try to recover disk space on your Mac before starting.
- Download the UTM virtual machine. Note that it’s free from the developer website but if you download it from the Mac App Store, it costs $9.99 for which you get app updates automatically. You have to update the free version manually when new releases are released on the UTM Github page.
- Download a Windows 11 ARM ISO from Microsoft. Anyone can now download this (previously you needed to be a member of the Windows Insider program to access it). This is around 6.8GB in size so may take a while depending on your connection. Alternatively, you can use the Crystal Fetch app on the Mac App Store which automatically downloads a Windows 11 ISO for you. Note that Windows ARM is the only version of Windows that works on Apple Silicon Macs. Not all Windows apps or games work with Windows ARM but it does automatically translate most Intel only apps to work with it and its completely free to use as currently, Microsoft has not made it commercially available.
How To Install Windows on a Mac With UTM
If you’ve done all this, follow these instructions to get started.
Note that if at any time during the Windows installation process you want to return to macOS, you can hold down the Ctrl+Option keys to release your cursor from UTM.
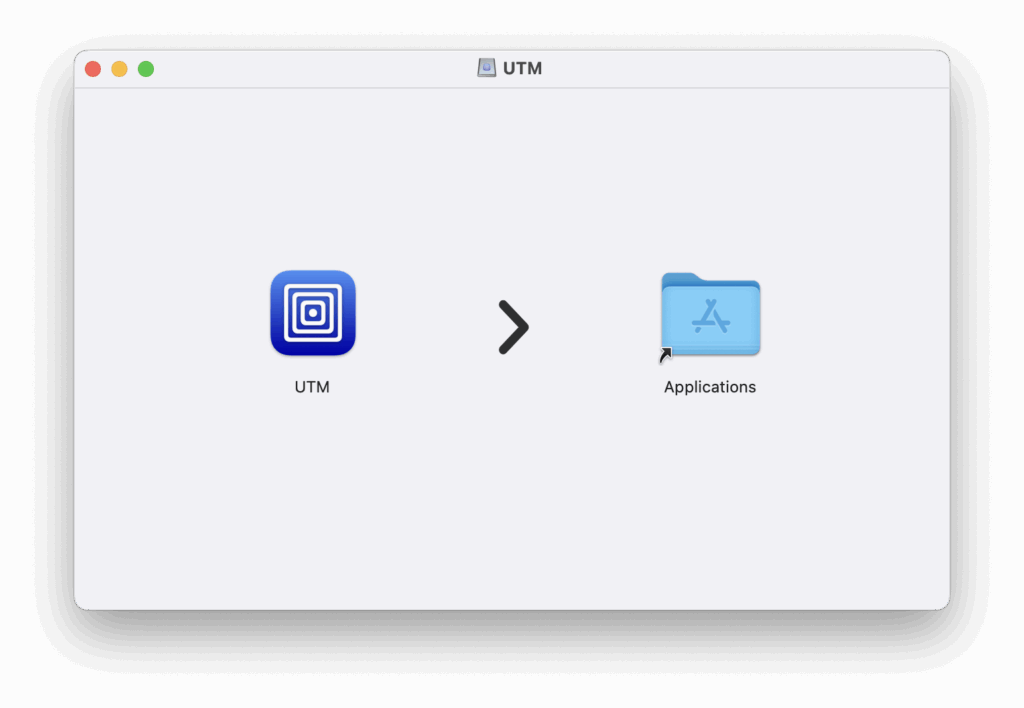
- Download UTM, open the DMG file and drag it into your Applications folder.
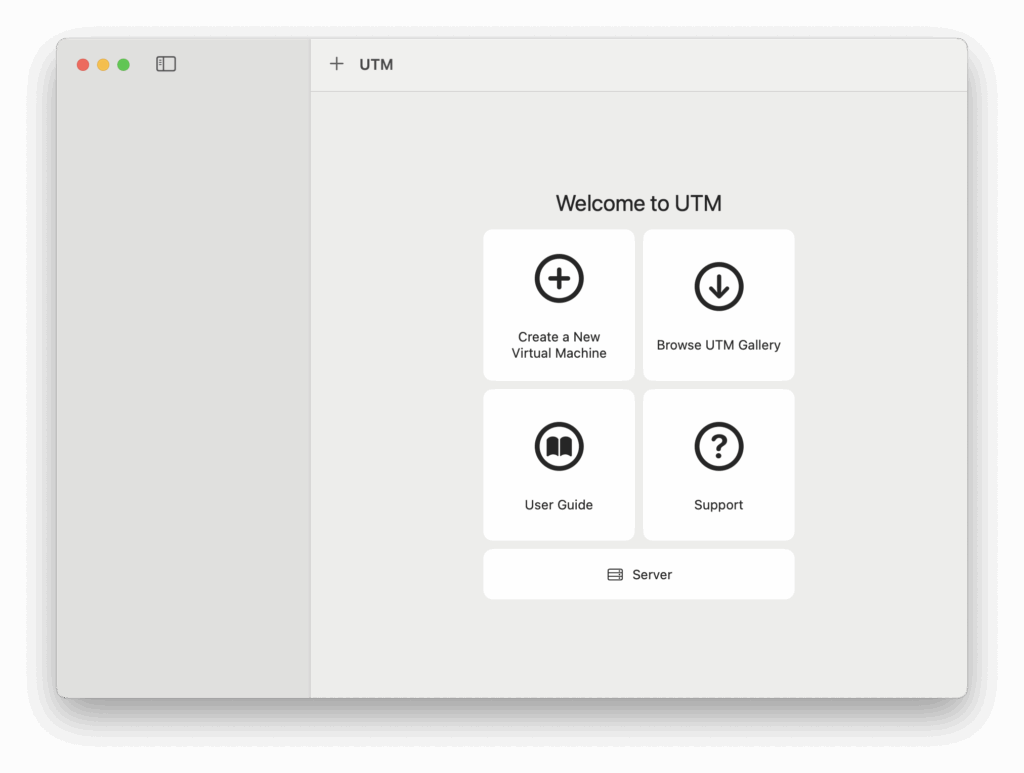
- Launch UTM and click on the “+” button to create a new virtual machine.
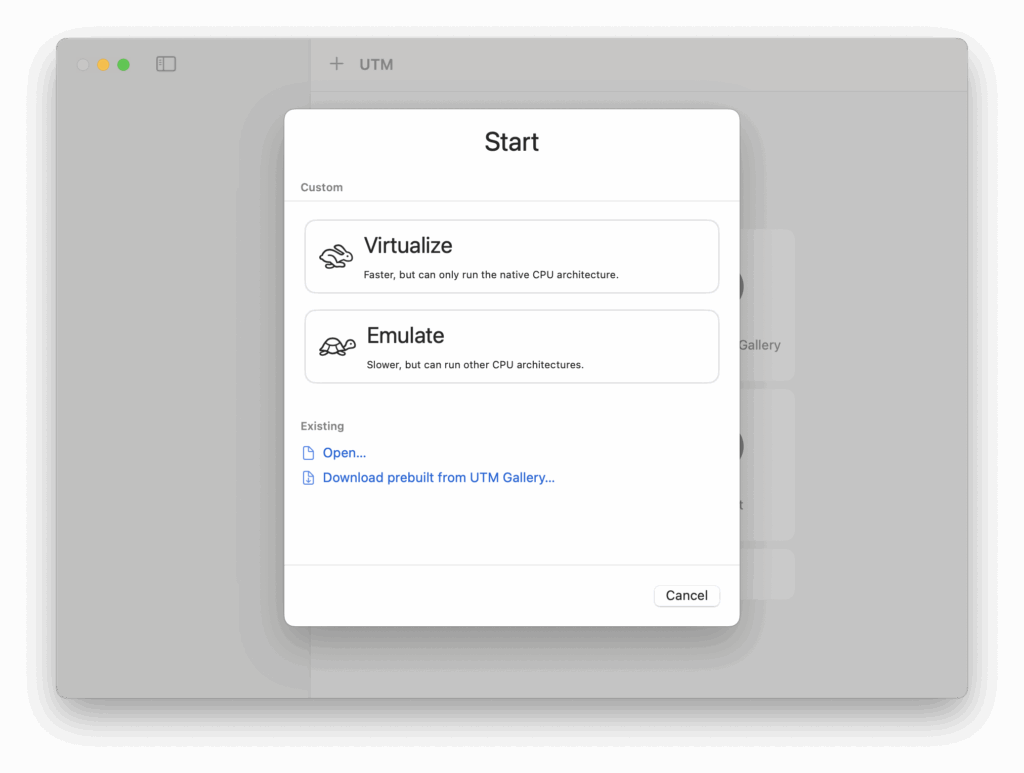
- Click on “Virtualize” which means it will run natively on your Apple Silicon Mac. If you want to run the Intel version of Windows, you can click “Emulate” but be warned that this way of running Windows works a lot slower on M-chip Macs and we really don’t recommend it.
- You can then select an operating system to install. Click on “Windows” to install Windows 11.
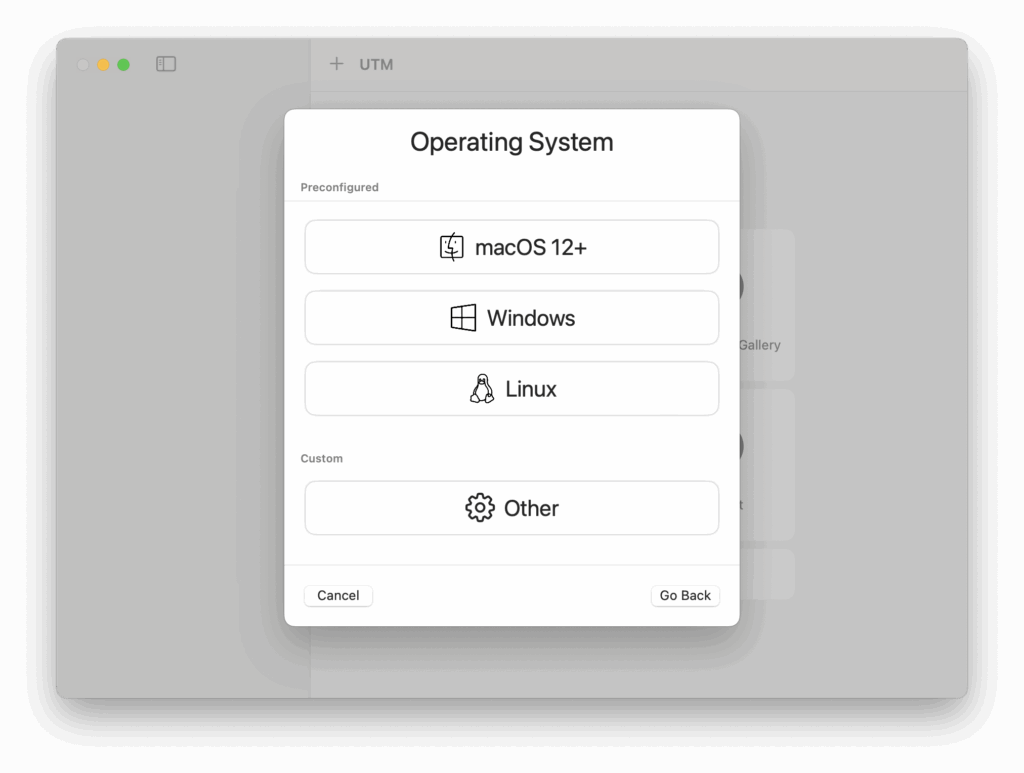
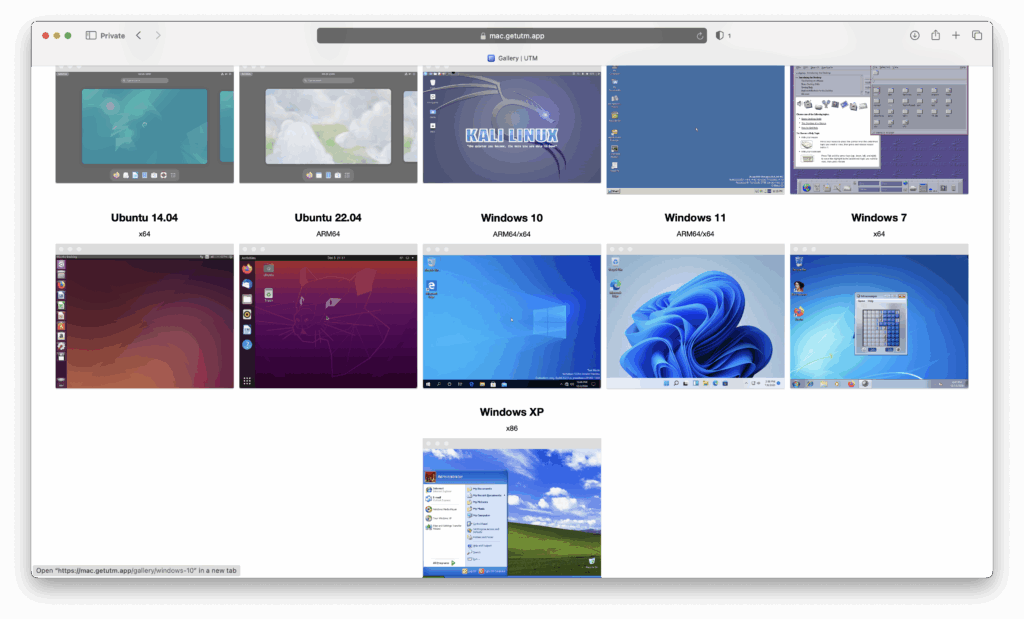
Note that if you wanted to install an older version of Windows, you can also download Windows 10, XP and many other builds of different operating systems from the UTM gallery.
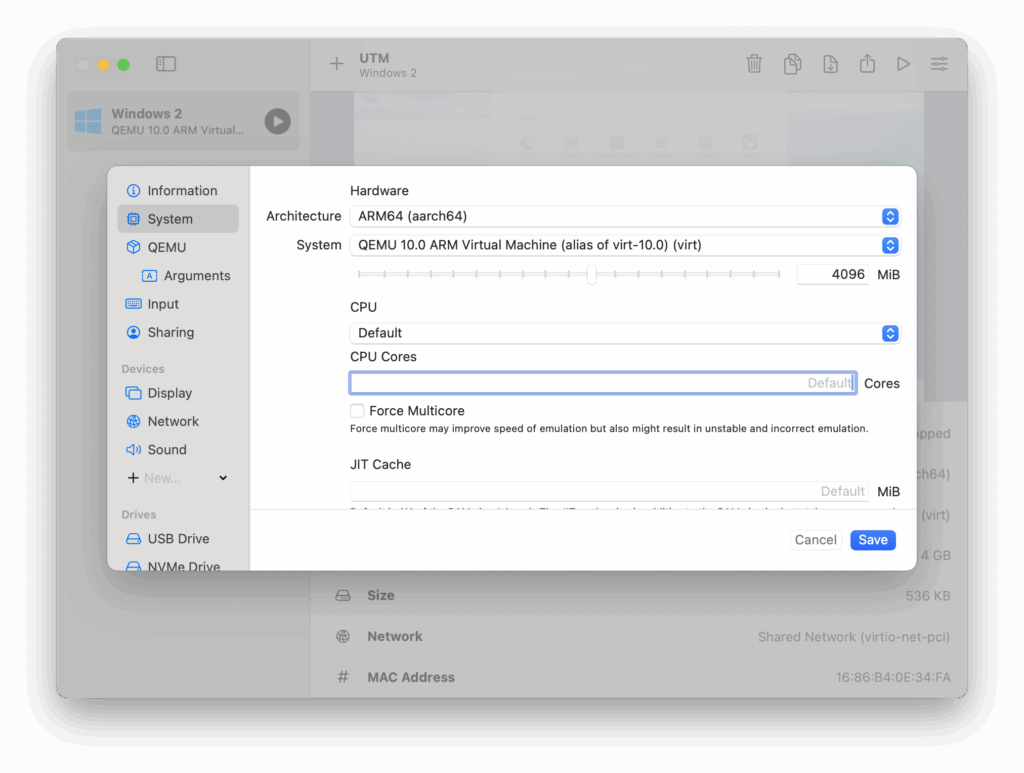
- Next in “Hardware” need to choose the number of CPU cores you want UTM to use to run Windows. I chose 2 but you can just leave them as the default settings as you can change this at any point later.

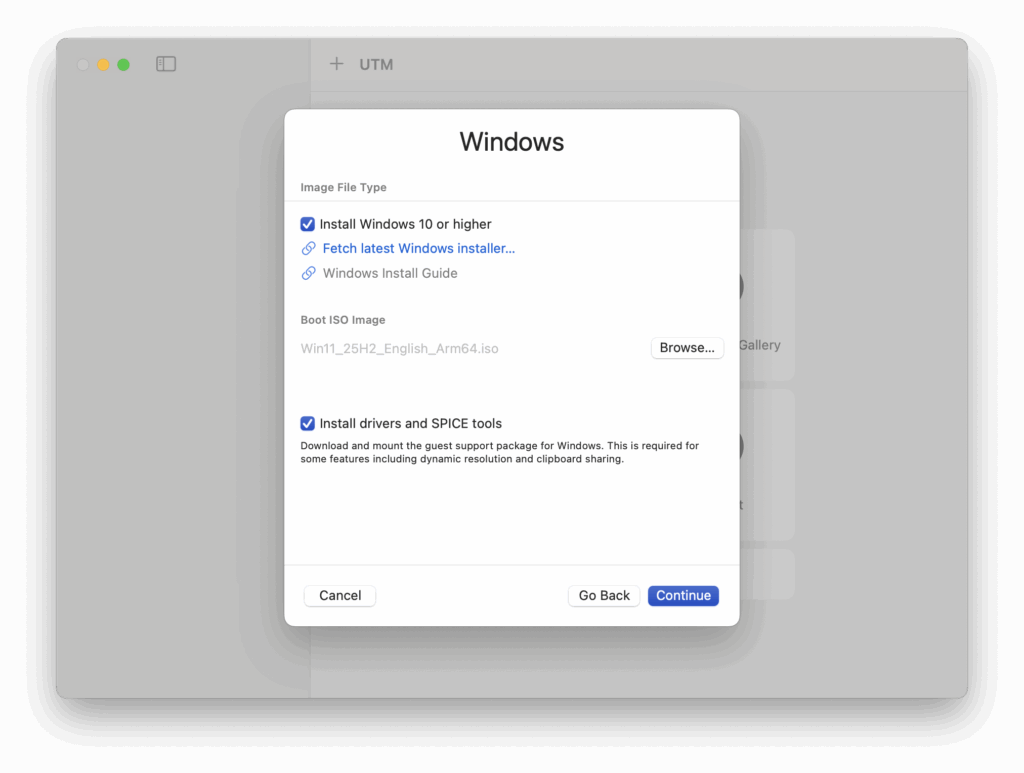
- Make sure that the boxes are all checked for “Install Windows 10 or higher”, “Import VHDX image” and “Install drivers and SPICE tools” and then click on “Browse…” to select the Windows ARM ISO you downloaded earlier. Click “Continue”.
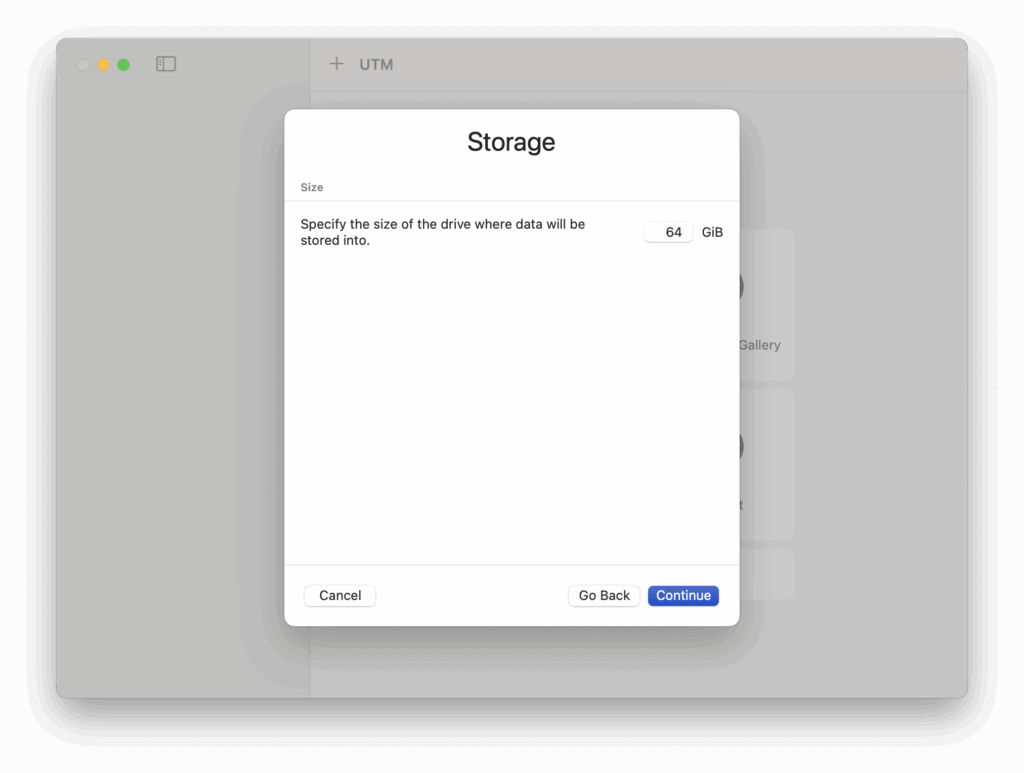
- In “Storage” you need to select how much of your Mac’s hard drive you want UTM to use. We recommend leaving this at 64GB but if you don’t have much storage space left on your Mac, don’t go any lower than 32GB.
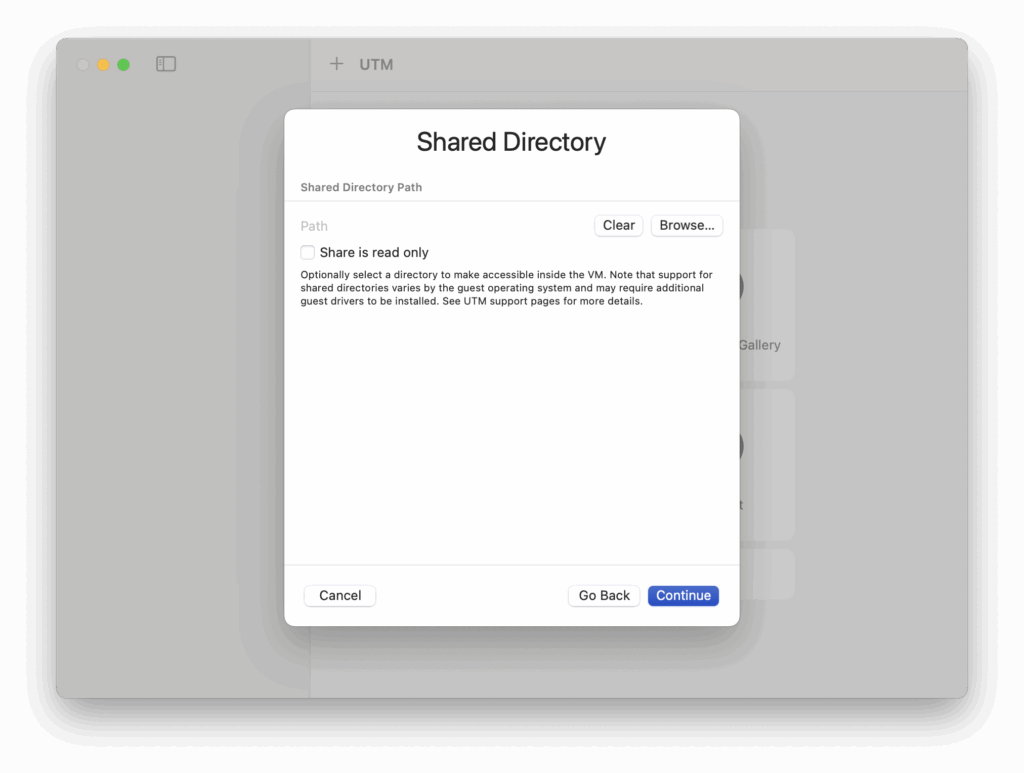
- Next in “Shared Directory” you need to select a file or folder that you want to share between your Mac and your Windows virtual machine so that you can drag and drop files between them. Simply click “Browse” to select the folder you want (such as the “Documents” folder on your Mac) and click “Continue”.
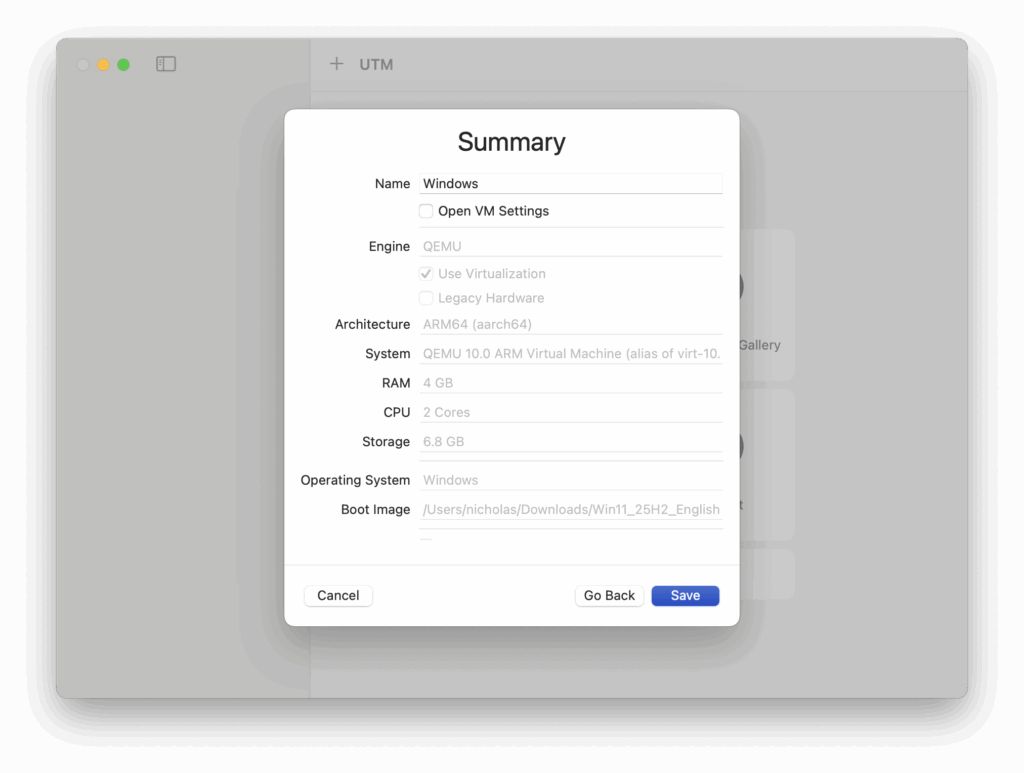
- Finally, you get a Summary of your setup and if you’re happy with it, click “Save”.
- UTM will then prepare the virtual machine. If you Ctrl-click on the virtual machine, you’ll also be able to optimize the graphic settings for Retina Macs.
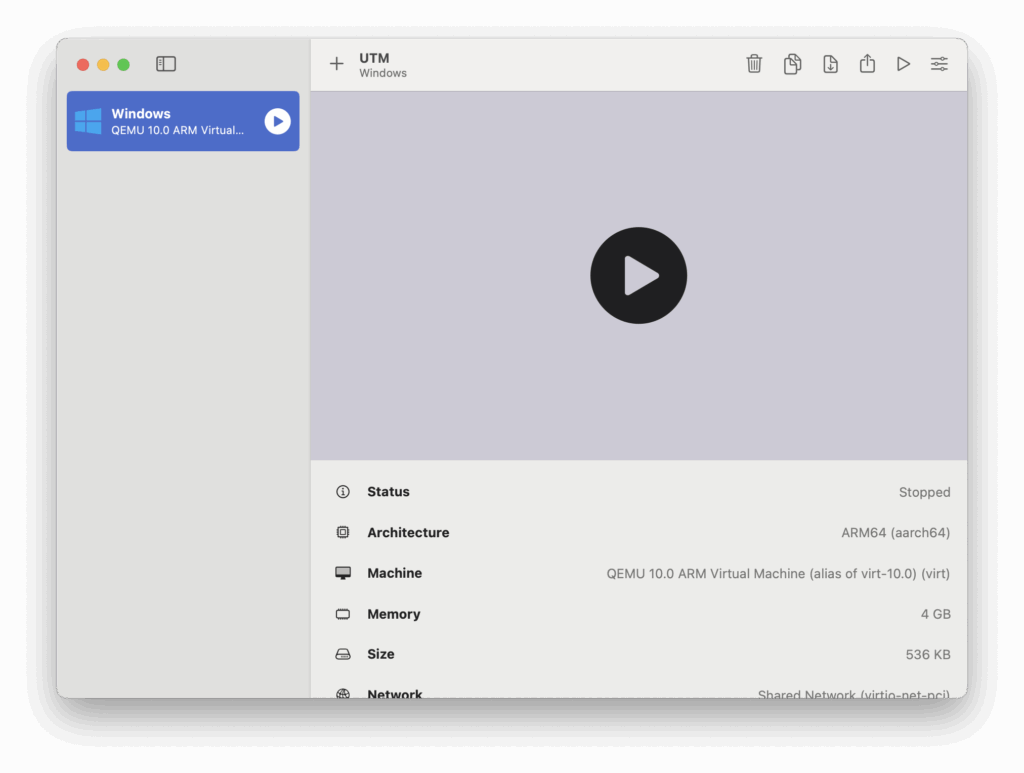
- Click the big play button to start it.
- When you see the following screen saying “Press any key to boot from CD or DVD…” it’s essential to press a key on your keyboard otherwise the installation will go to a Shell prompt and fail.

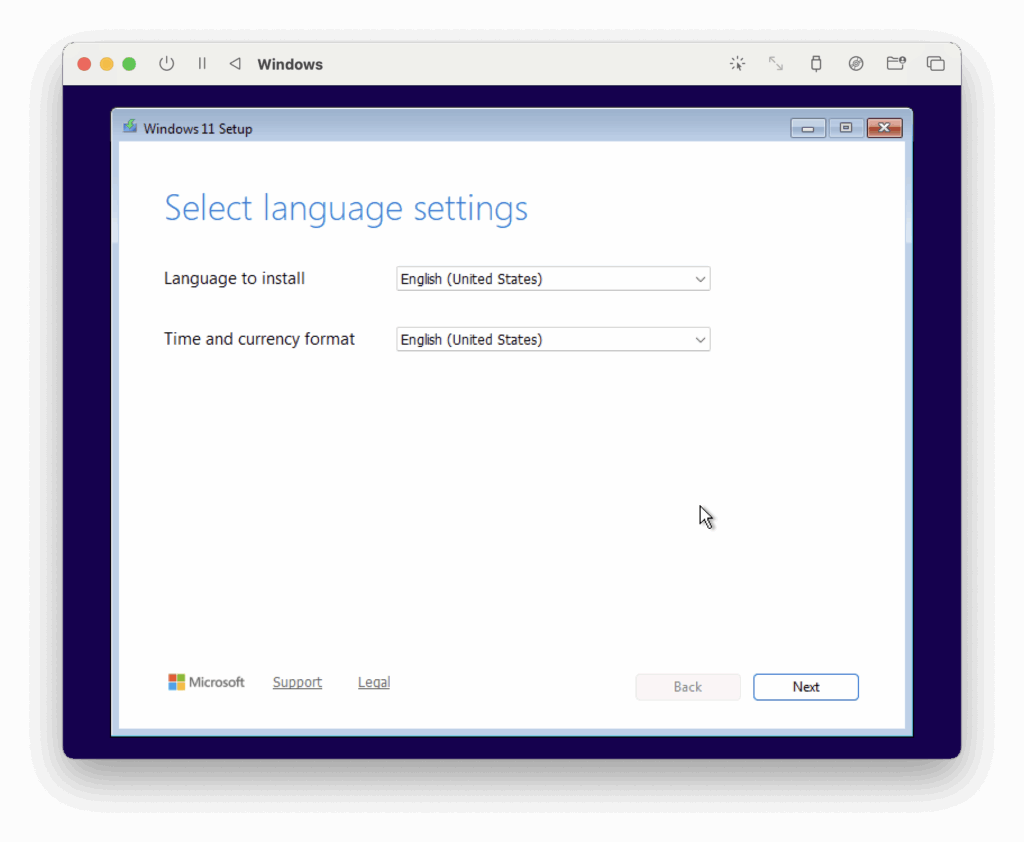
- You’ll see the Windows installer launch and you’ll be prompted to customize it with your language settings.
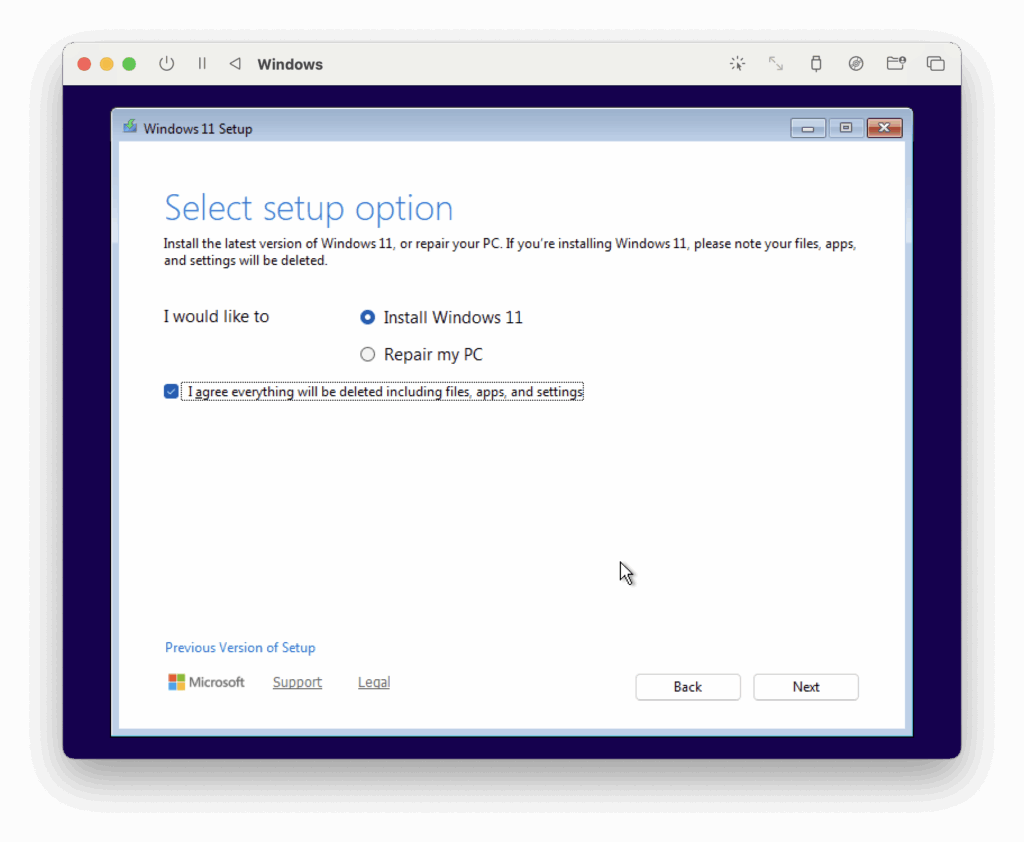
- From here, just follow the Windows 11 installation wizard and click on the checkbox to confirm that anything on your UTM virtual machine hard drive will be deleted (don’t worry this doesn’t mean anything on your Mac will be deleted).
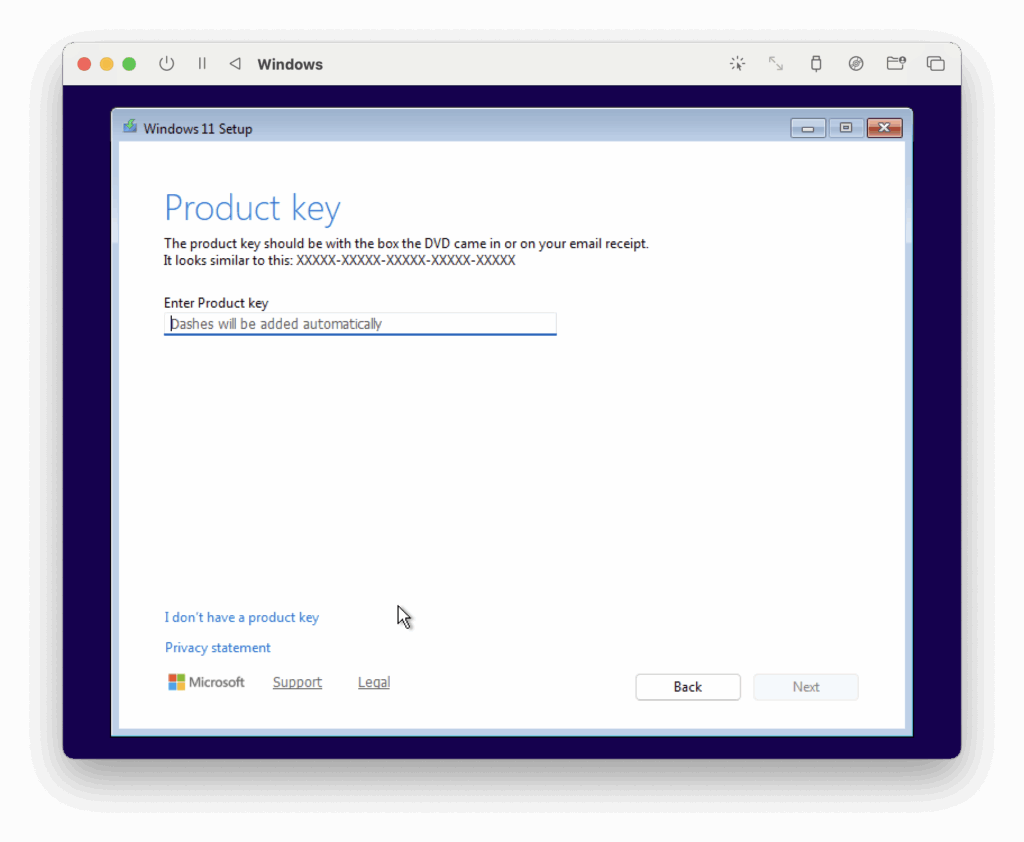
When prompted for a product key, simply click on “I don’t have a product key”. You don’t need a product key to install Windows ARM.
- Then select the version of Windows you want to install

- Then select the install location that you created before to install it.

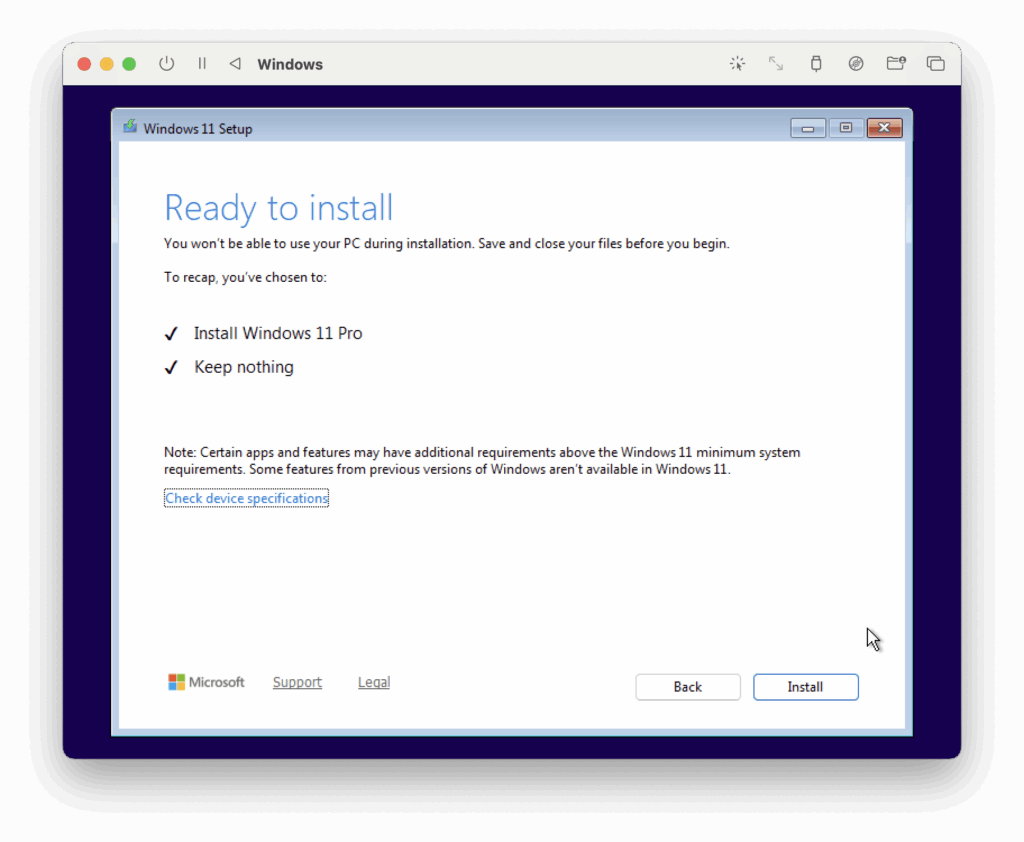
- Once you’ve done all this you’re finally ready to install Windows 11.
- The installer will then take several minutes to install Windows 11 within UTM.

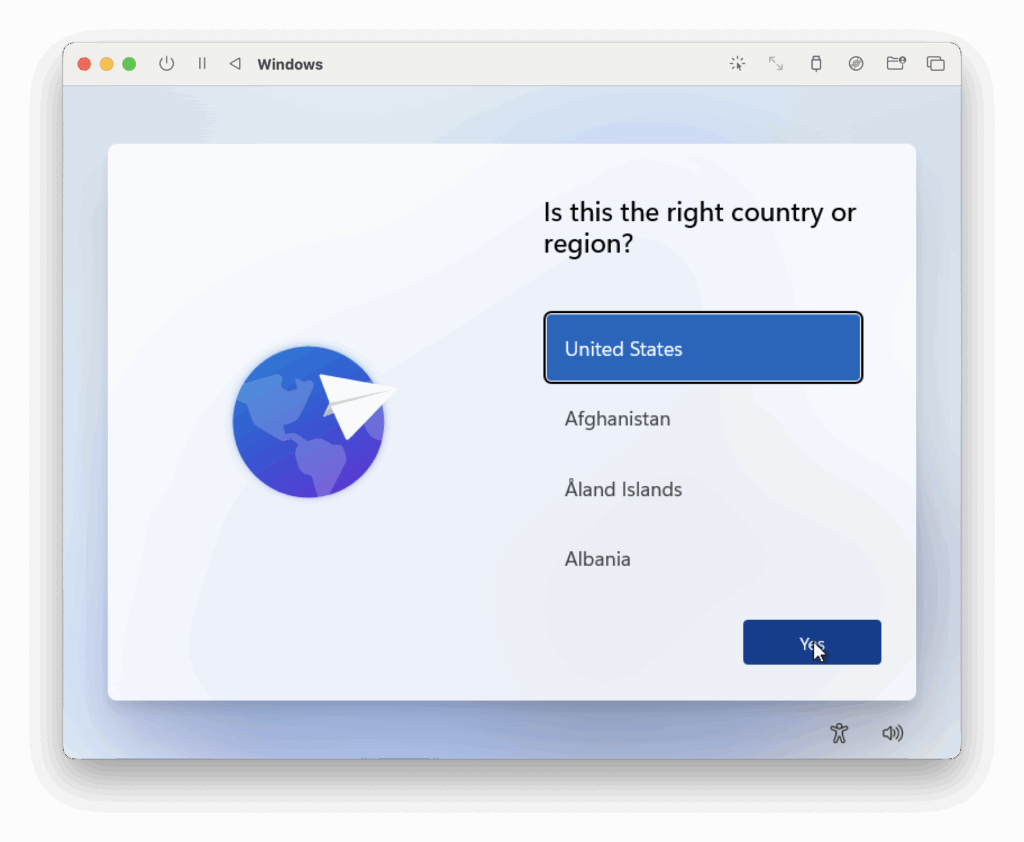
- Once this is complete, Windows will then ask you to confirm your region and keyboard language settings.
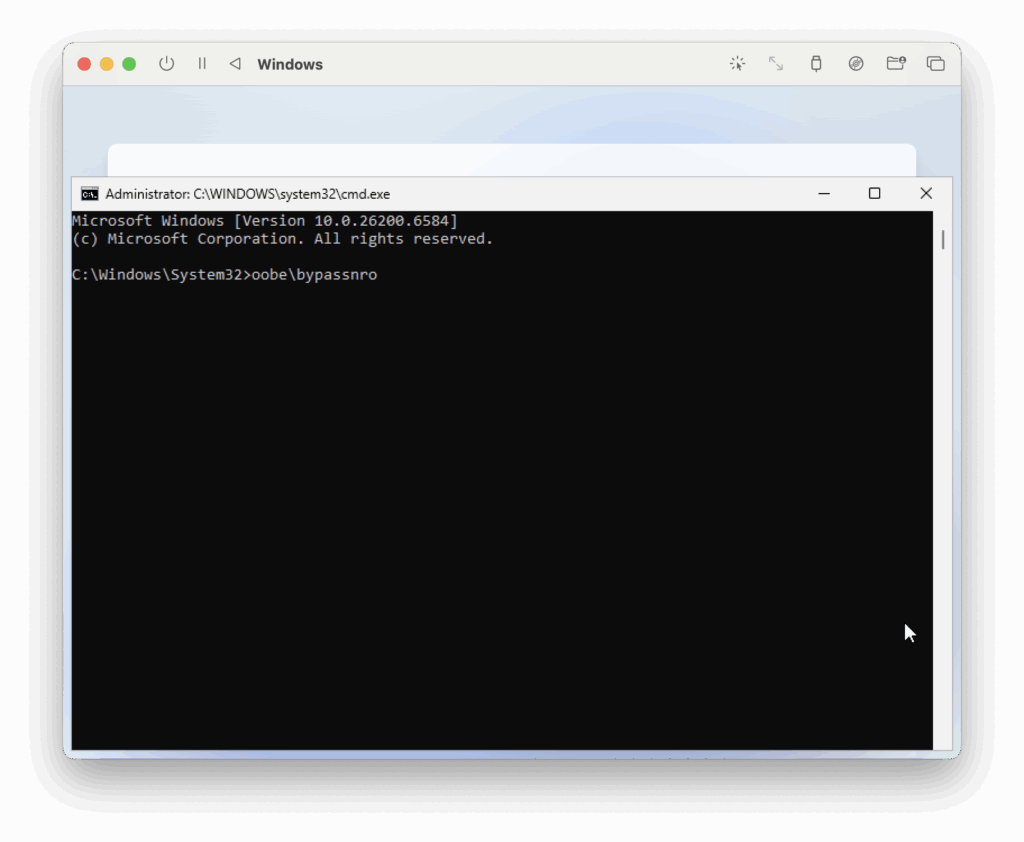
- You’ll then be asked to connect to your WiFi but do not click Install Driver.

- You need a little hack at this point to skip it which you can by pressing Fn+Shift+F10 to access the Windows command prompt. You must then type: “oobe\bypassnro” at the prompt and it will bypass this stage and restart the virtual machine.
- The installer will then restart asking you to confirm your region and keyboard language settings before bring you to the “Connect to a Network” screen again. This time however, you’ll notice a “I don’t have internet” option at the bottom (thanks to the command prompt hack earlier). Click on this to continue the installation without connecting to any networks.

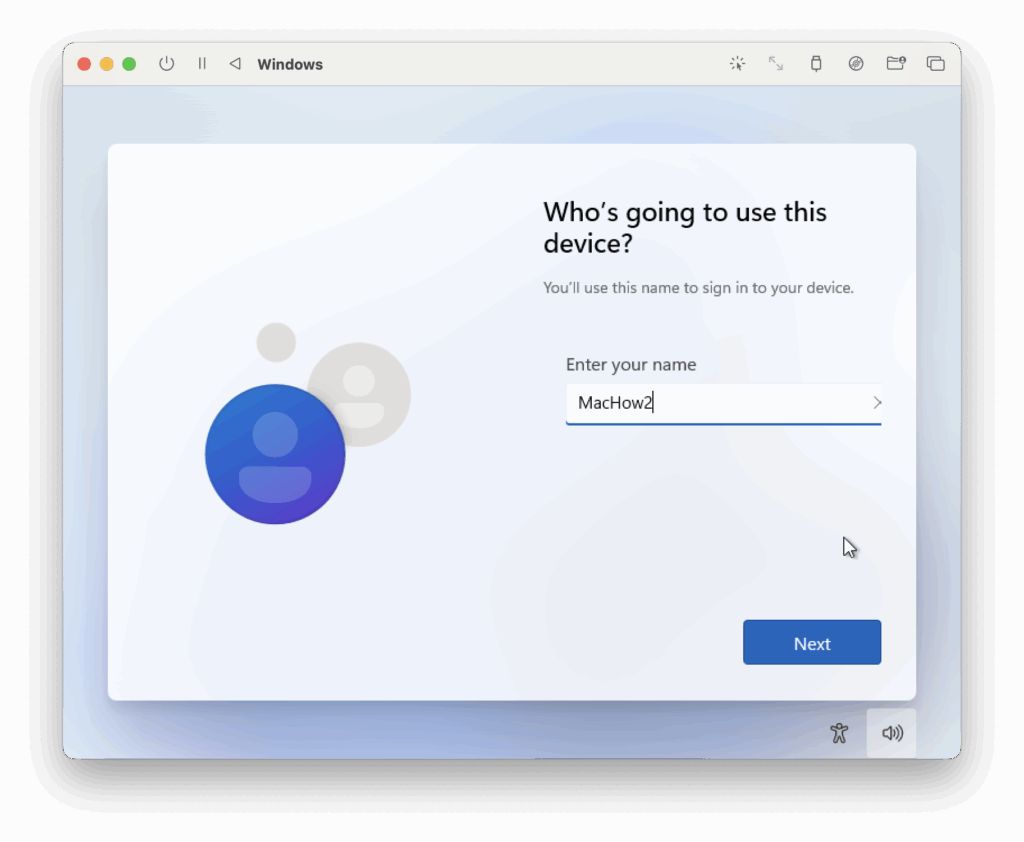
- Windows will then prompt you to setup a user account with a username and password.
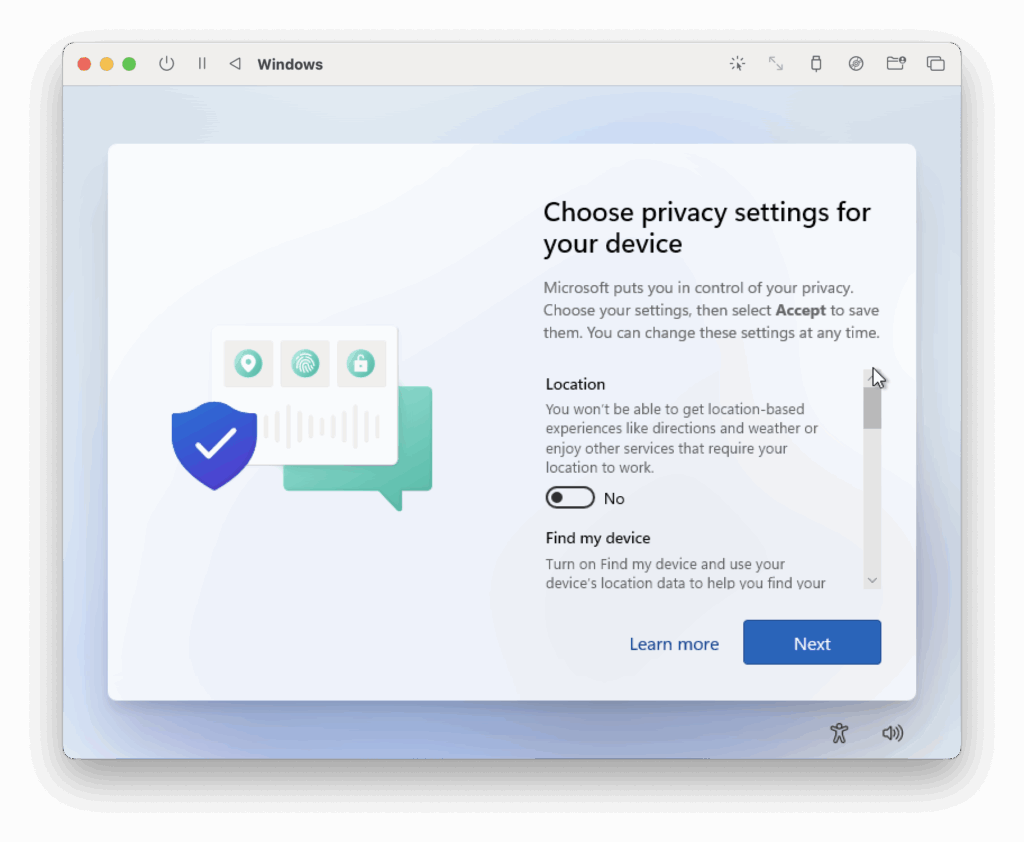
- Finally you’ll then be asked to configure some privacy settings for your Windows 11 installation.
- UTM has been streamlined so that it now automatically connects your Windows installation to your internet connection and will download any Windows updates.
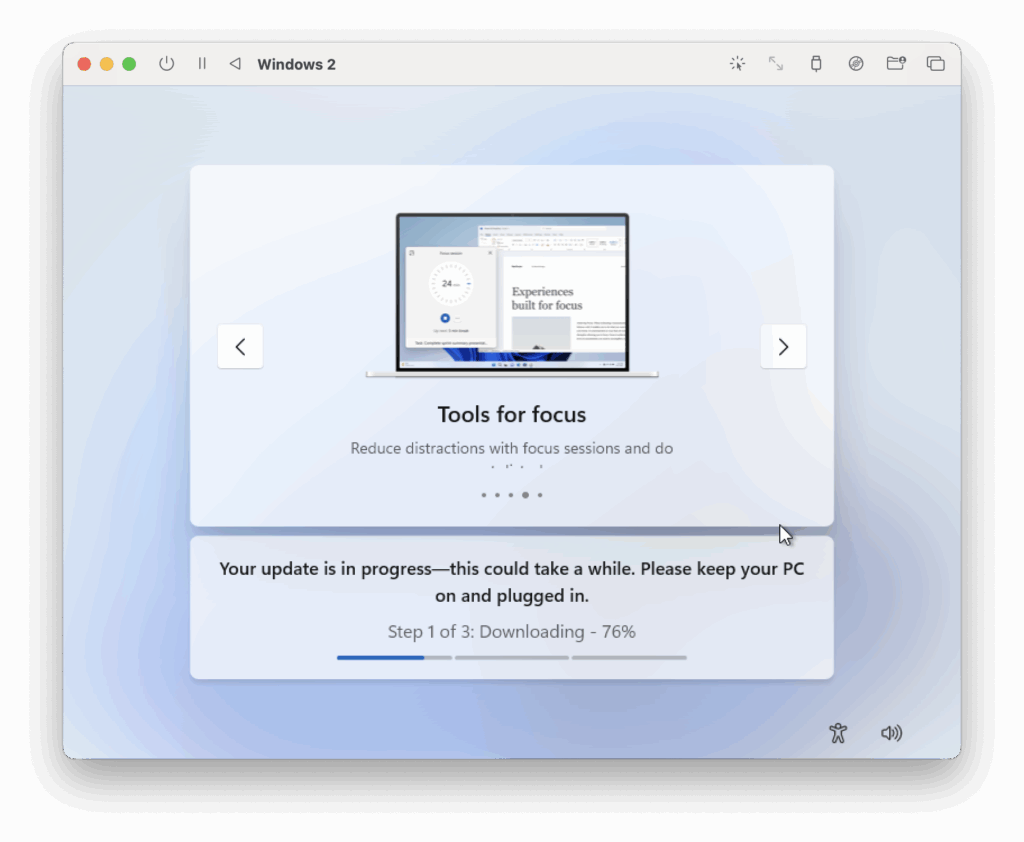
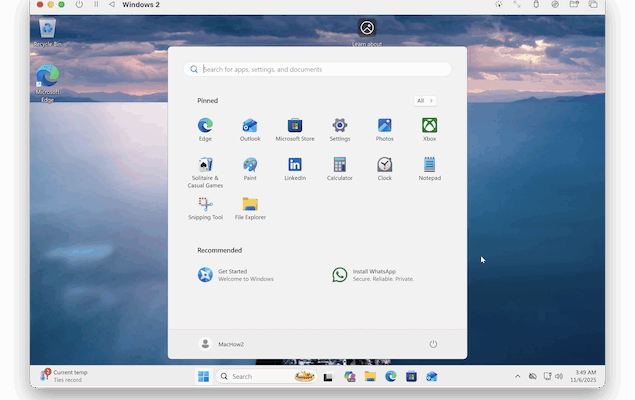
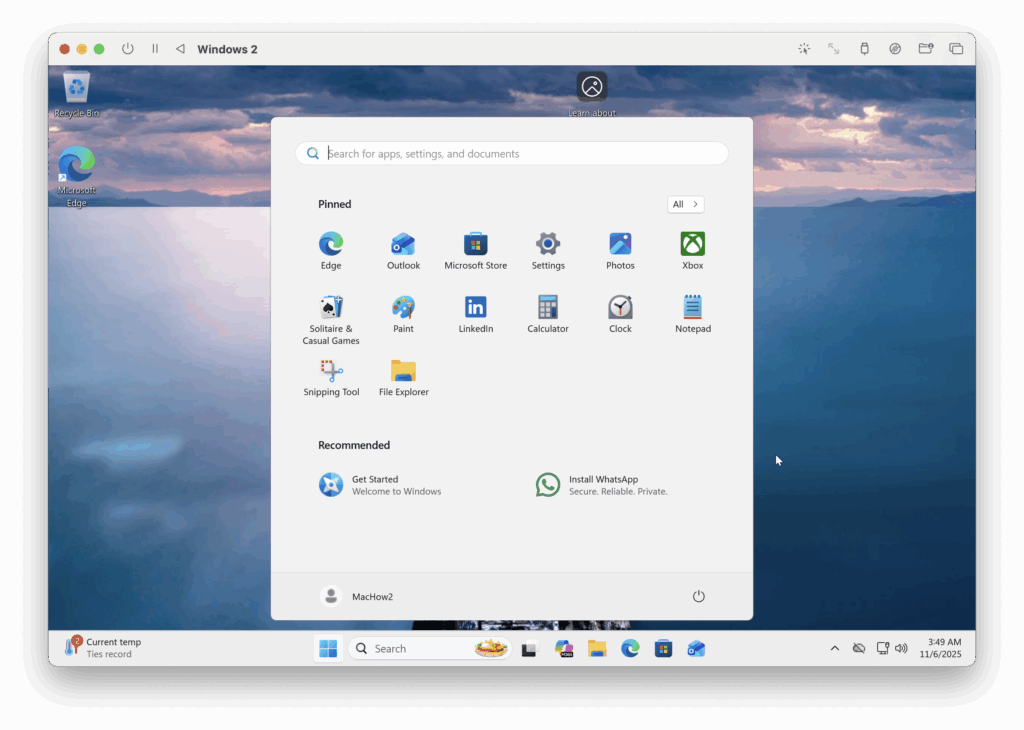
- Windows 11 will then finally re-start after displaying a brief “This might take a few minutes…” message and you will see the Windows 11 desktop.
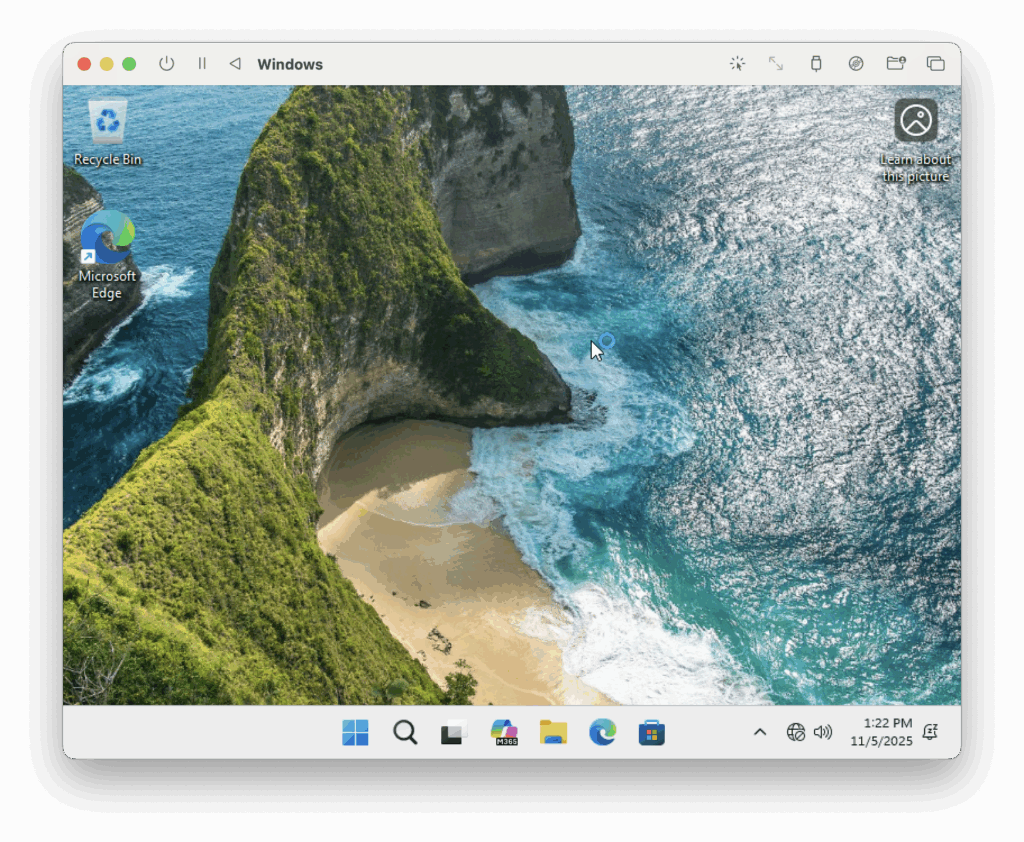
You’ll notice immediately that Windows running in UTM looks very pixelated but you can improve this by installing the SPICE drivers in UTM.
To do this, go to the yellow File Explorer folder at the bottom of Windows and select This PC and then the CD drive with UTM Guest Tools on.
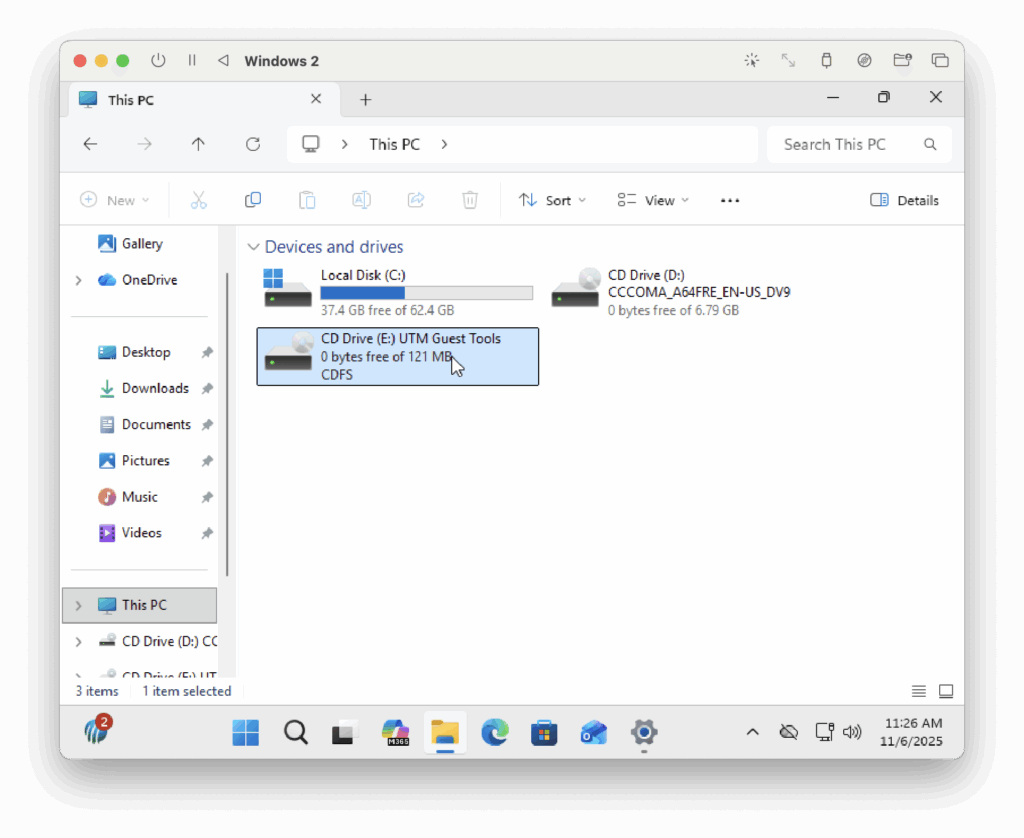
Then select the UTM Guest Tools installer and it will run. After a few seconds, you’ll see Windows looks a lot better although you may notice everything is a bit small have to adjust the resolution scaling in Windows too.

Go to the Windows Start Menu > Settings > Display and change the scaling to your preferred resolution.
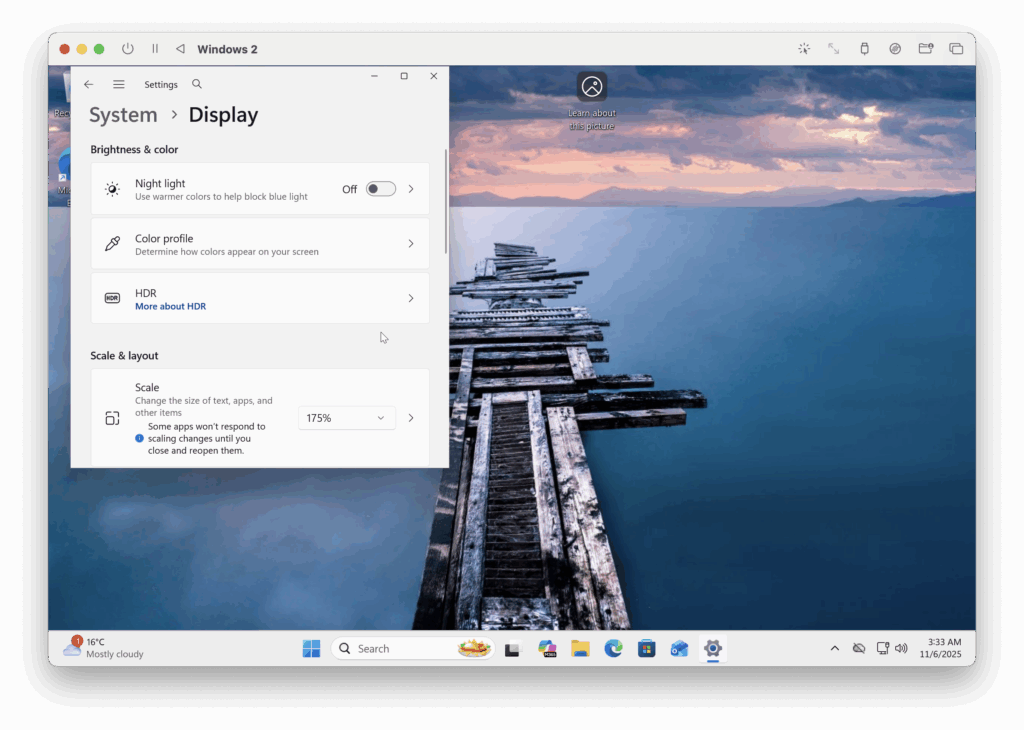
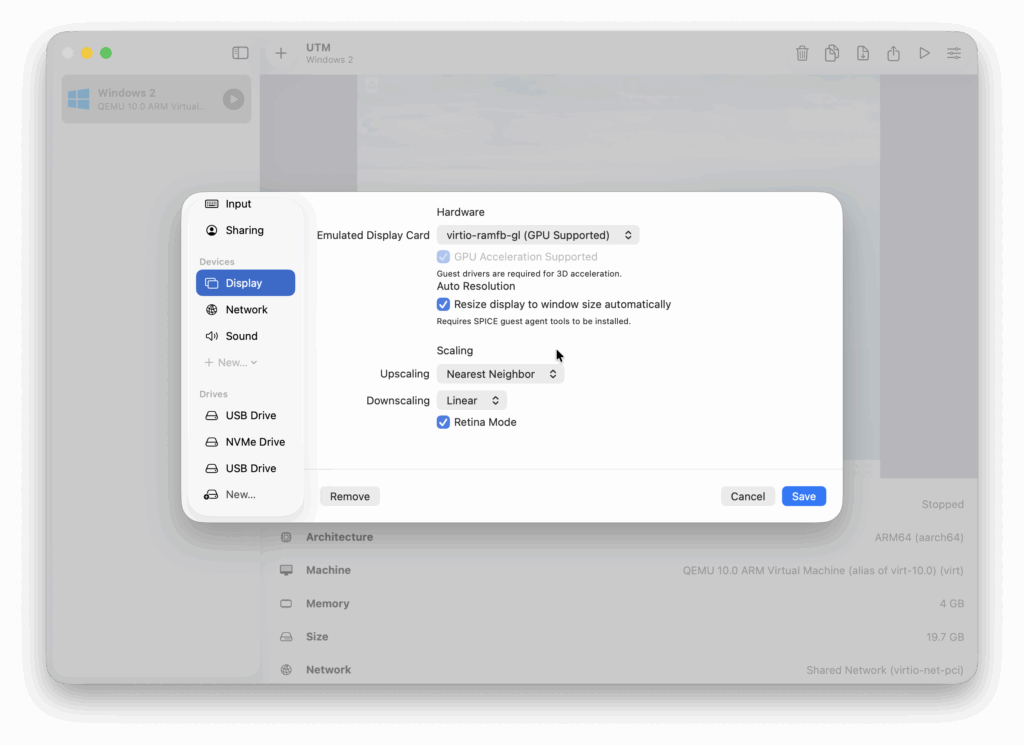
You can also improve it further by enabling Retina Mode. To do this, shut down UTM, Ctrl click on the Virtual Machine you’ve installed and go to Edit > Display and tick Retina Mode (HiDPI).
Restart Windows and it will look a lot better running in UTM on your Mac.
Watch UTM Running Windows on a Mac
You can watch how UTM performs running Windows on a Mac below including startup and shutdown times.
Customizing UTM
You can also customize how Windows and macOS interact in the UTM preferences.
Note that to change settings, your virtual machine must be shut down. Changes won’t take effect if Windows is running when you make the changes.
Generally, we don’t advise changing the settings you configured during setup but you can change things like the number of CPU cores and RAM UTM uses if you find that Windows runs slowly or is sluggish.
Alternatives to UTM
It’s important to be aware that although not prohibited, installing Windows on an M-series Mac using UTM is not officially supported by Apple or Microsoft.
If you want an officially authorized way to run Windows on Apple Silicon Macs, then Parallels is officially authorized by Microsoft to do so.
UTM isn’t as powerful or as stable at running Windows as commercial products like Parallels.
Watching videos, using trackpad gestures and scrolling can be very jerky at times but for a free solution, it’s usable.
You can see my in-depth comparison of UTM vs Parallels here.
Here’s how UTM compares to the best of the rest virtual machines for Mac available.
| VM | Apple Silicon Support | Cost | Performance | Windows 11 ARM Licensing Status |
|---|---|---|---|---|
| Parallels Desktop | ✅ Native ARM virtualization | $99.99/yr (Pro) | Best overall(fastest 2D & 3D) | Officially supported by Microsoft |
| UTM | ✅ Native ARM virtualization | Free (or $9.99 one-off App Store) | Good for everyday apps – weak 3D | Not officially supported |
| VMware Fusion (Tech Preview ARM) | ⚠️ Experimental ARM builds | Free Tech Preview | Mixed – better than VirtualBox, worse than Parallels | Not officially supported |
| VirtualBox (Developer Preview ARM) | ⚠️ Very early preview, unstable | Free | Poor / unstable / crashes common | Not supported |