
If you’ve got a spanking new Apple Silicon Mac, here we show you the best way to install Windows 11 on an M-series Mac.
In our testing and research, we found that by far the best way to run Windows 11 on M-series Macs in 2024 is using a virtual machine.
Virtual machines run Windows “virtually” within macOS meaning you can switch between Windows or macOS instantly without having to reboot your Mac.
They even allow you to drag and drop files between the two operating systems, copy and paste between Windows and macOS and use printers, hard drives and other devices with Windows.
Although there are various virtual machines to choose from, in this tutorial we use Parallels which we’ve found by far the best way to run Windows on a Mac.
Parallels is incredibly easy to use even for beginners and in our test it installed Windows 11 on an Apple Silicon Mac in around 10 minutes as you can see below although the video has been edited to remove some of the waiting around.
Why Parallels Is The Best Way To Install Windows 11
Although there are other virtual machines for Macs, we found Parallels is the easiest and quickest way to install Windows and has the best integration with macOS.
Most other virtual machines require more manual configuration and setup which can be tricky for beginners whereas Parallels takes care of most things automatically.
Parallels is also the only virtual machine to use Windows 11 on a Mac that is now officially authorized by Microsoft to install Windows 11 on a Mac.
Parallels does require a subscription though and there are free virtual machines such as VMware Fusion and UTM which you can also use.
Can You Use Boot Camp On Apple Silicon Macs?
Boot Camp is a free utility in macOS that allows you to install other operating systems on Intel Macs only and you can’t use Boot Camp on M-series Macs because it does not work with the Apple Silicon chip.
If you search for Boot Camp on an Apple Silicon Mac, you won’t find it because Apple has not made an Apple Silicon chip compatible version of Boot Camp for M-series Macs.
This means you can’t dual boot in Windows or macOS with Boot Camp on an Apple Silicon Mac like you can on Intel Macs.
We don’t think Boot Camp is a big loss for Apple Silicon users however.
Parallels is a much more convenient and powerful way to use Windows on a Mac and you can see some of the advantages of Parallels vs Boot Camp below.
| Boot Camp | Virtual Machines | |
|---|---|---|
| Install Windows 10 & 11 | ||
| Play Windows Games | ||
| Run Windows and macOS without restarting | ||
| Works on M1/M2 Macs | ||
| Run Windows and macOS apps at the same time | ||
| Share files and folders between macOS and Windows | ||
| Transfer all data from PC to your Mac | ||
| Copy and paste images between macOS and Windows | ||
Free Trial |
Apple Silicon & Windows 11 ARM
There are a few important things to be aware of before you go ahead and install Windows on an Apple Silicon Mac.
Since Apple Silicon is based on an ARM (Advanced RISC Machine) architecture, M1, M2 and M3 chips can only run the “Windows for ARM” version of Windows not the standard Intel version of Windows 11 that’s used on most Windows PCs.
One issue with Windows for ARM is that some programs and applications either work slowly in it or don’t work with it at all.
However, as a general rule, if the application you want to run is available in the Microsoft Windows app Store, then it probably runs on Windows for ARM.
If it isn’t in the Microsoft Store though, it may not work on Windows ARM.
Although Windows for ARM can run most software that the Intel x86 version of Windows can (thanks to something called x86 emulation in Windows for ARM), it doesn’t always work with all programs or games.
You may therefore find that some games or software simply don’t work or experience lag after installing Windows for ARM on an M-chip Mac.
It’s also important to be aware that you can’t actually buy a license from Microsoft for Windows ARM to use on Apple Silicon Macs.
The good news is that Microsoft provides Windows 11 ARM for free.
You only need to buy a license if you want to customize the desktop wallpaper and other tweaks that aren’t very important.
Parallels automatically downloads and installs Windows 11 ARM for you so you don’t need to find it yourself.
However if you want to install Windows 11 ARM Pro you do need to buy a license from Microsoft to use it.
Other limitations to running Windows 11 ARM on a Mac on a Silicon Mac are:
- No support for DirectX 12 or Open GL 3.3 and above. This means that you may not be able to play some Windows only games that require it although there are now other ways of playing PC only games on a Mac that do support DirectX 12.
- No support for 32-bit Windows ARM apps – only 64-bit apps are supported.
- No support for Windows Subsystem for Linux/Android
- No support for Windows Sandbox
- No support for the new Virtualization-based Security (VBS) feature in Windows 11.
These are generally minor drawbacks that most users won’t miss for running and using Windows applications on a Mac.
How To Install Windows 11 on an M1, M2 & M3 Mac
With this in mind, follow these instructions to install Windows 11 on an Apple Silicon Mac with Parallels.
- Download Parallels for Mac and run the installer. You can use the free trial to try it first.
- Double click on the Parallels download and when prompted by macOS click “Open” and then click “Accept” on the End User License Agreement.
- Parallels will now download the installer and then prompt you for your Mac admin username and password to continue the setup.
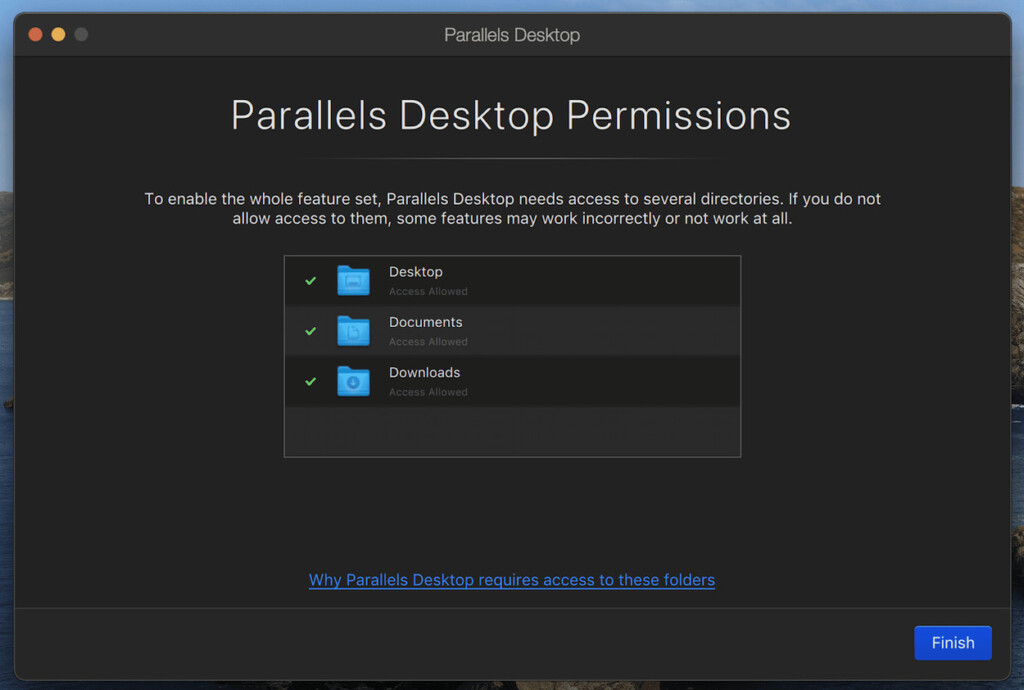
- Parallels will ask permissions to access your Mac Desktop, Downloads and Documents folders. Click on “Finish”.
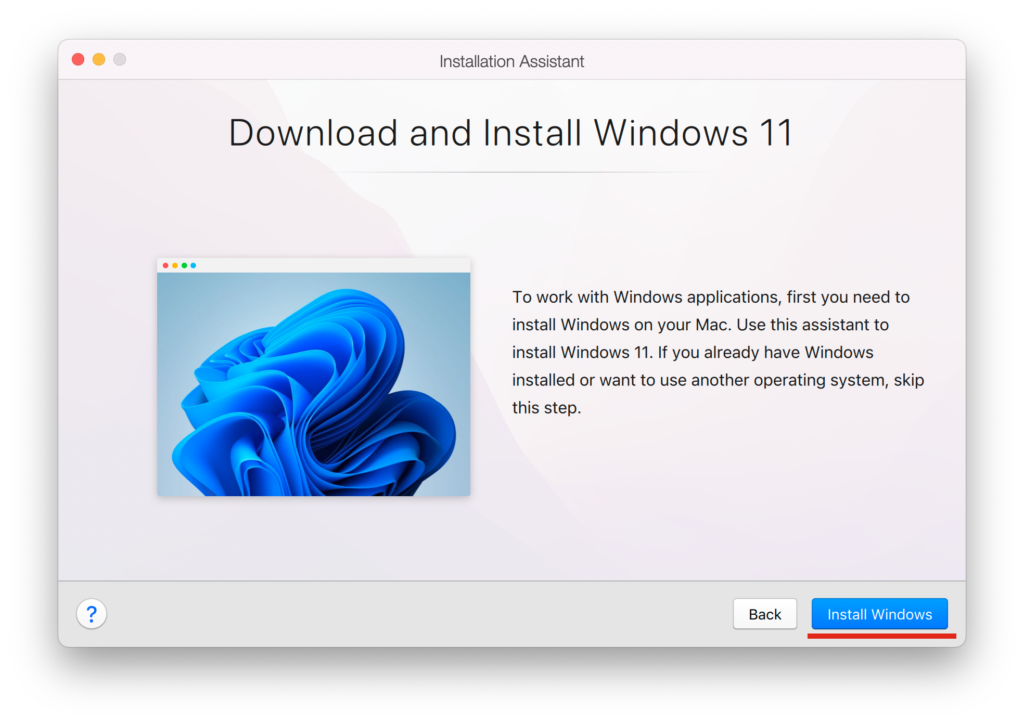
- Parallels will then automatically download and Install Windows 11 on your Apple Silicon Mac when you click Install Windows.
- Parallels will then start to download Windows 11 from Microsoft.
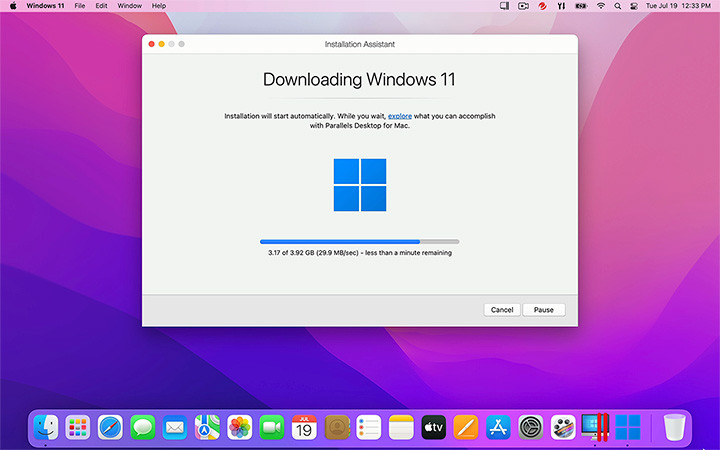
- Once is has validated the install, Parallels will then start the Windows 11 installer on your Mac just as if it were installing Windows on a PC.
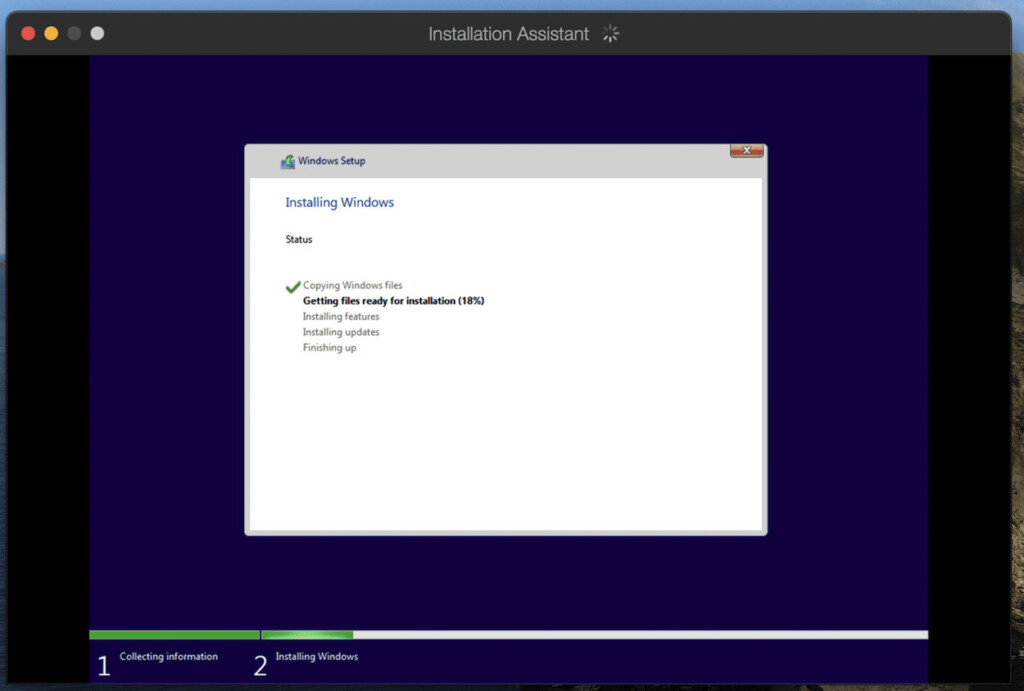
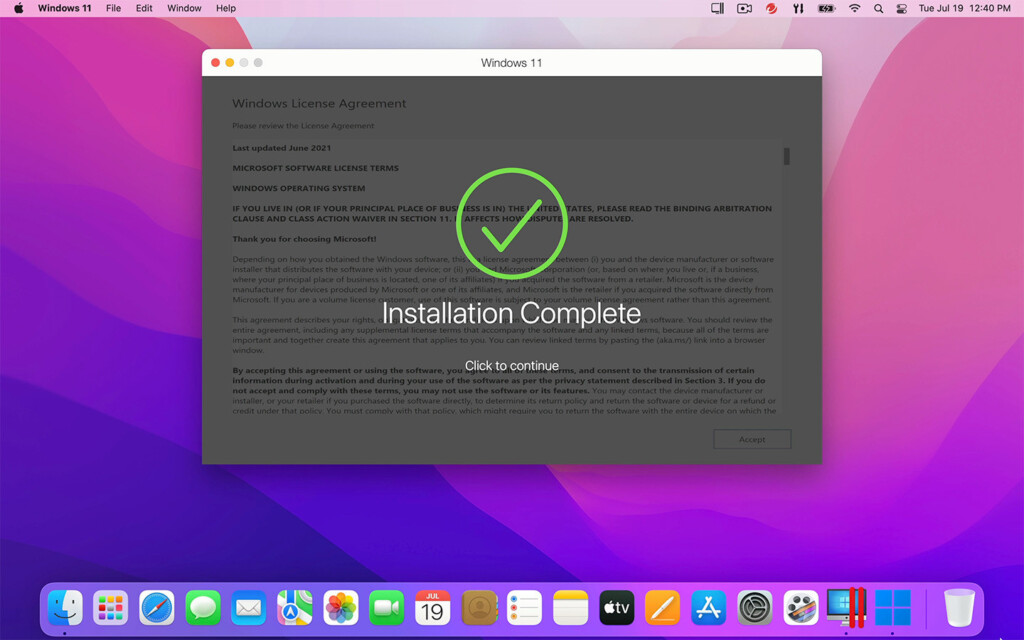
- When this is completed, you’ll get an “Installation Complete” message.
- To finalize the setup, Parallels will prompt you for your Parallels username or password. You can setup an account if you don’t already have one or sign in with your Apple, Google or Facebook account too.
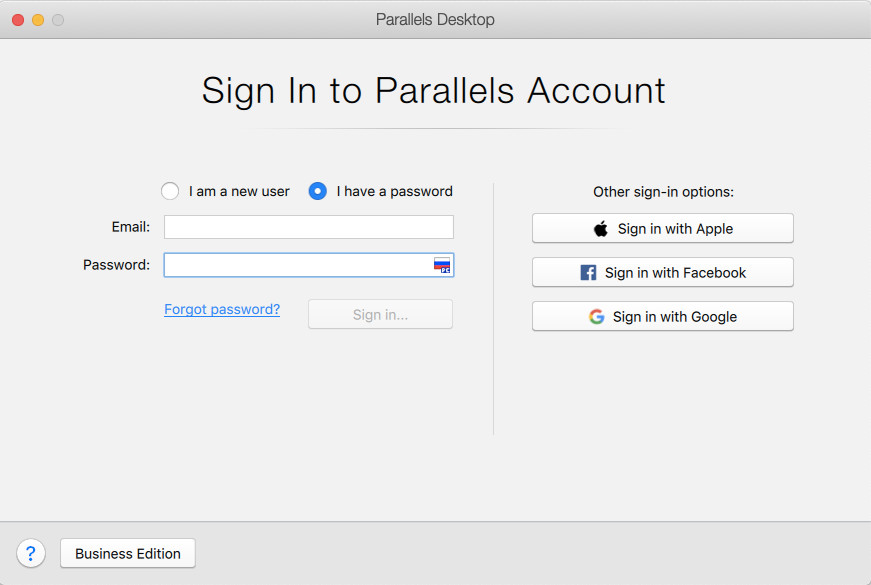
- After you’ve signed-in, Parallels will give you access to a 14 day free trial but if you’ve purchased a Parallels license already, you can enter the license key next.
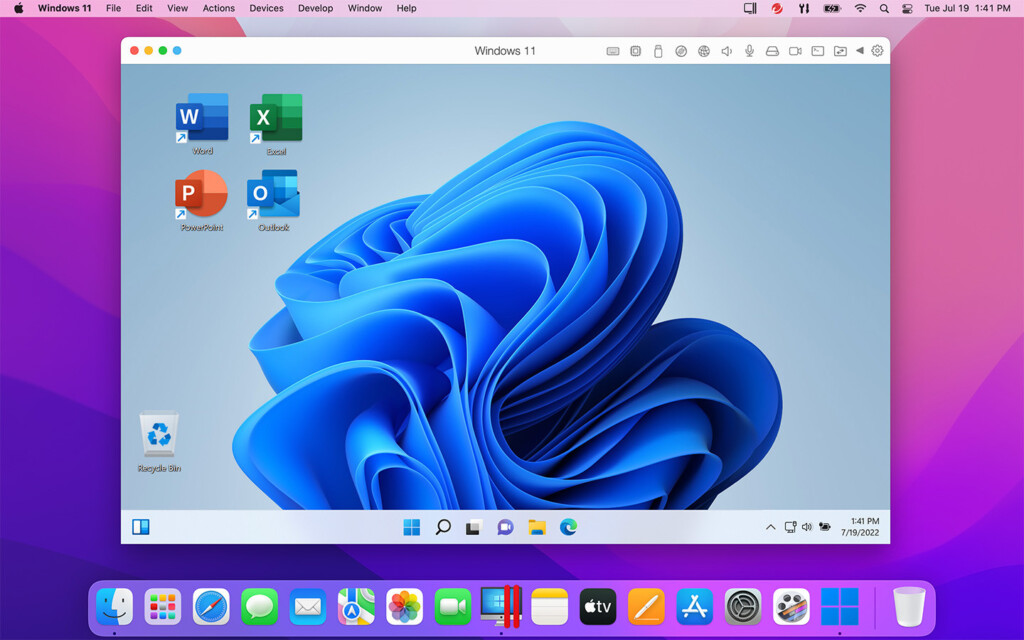
- Parallels will then display the Windows 11 End User License Agreement which you must click on “Accept” before continuing. You’ll then have full access to Windows 11 on your Apple Silicon M1 or M2 chip Mac.
- Since you’re using a fresh install of Windows 11, the first thing you’ll need to do is install the latest updates for Windows 11 from Microsoft. To do this, go to the Windows Start Menu > Settings > System > Windows Update which is in the bottom left hand corner.
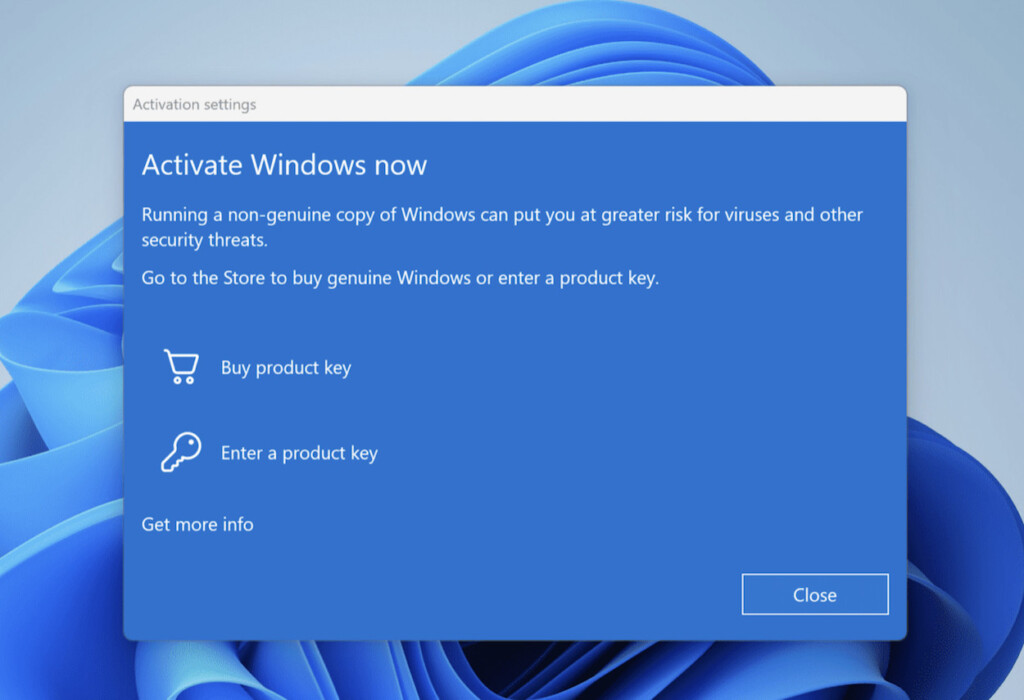
- Windows 11 may prompt you to activate it at this point but you can simply click “Close”. Windows 11 is free to use and you only need to activate it with a key if you want advanced customization options such as changing the wallpaper or desktop theme.
- Click on “Check for updates” button in the top right corner of the Windows Update screen and then install the updates. This can take some time depending on the speed of your internet connection.

- When you have installed all the updates, Windows 11 will then restart to apply them.
- Once Windows has restarted, you can then configure Parallels to optimize how it uses resources on your Mac. To do this, go to your Windows 11 desktop and select “Actions” from the Menu bar across the top and then select “Configure” at the bottom of the Menu.
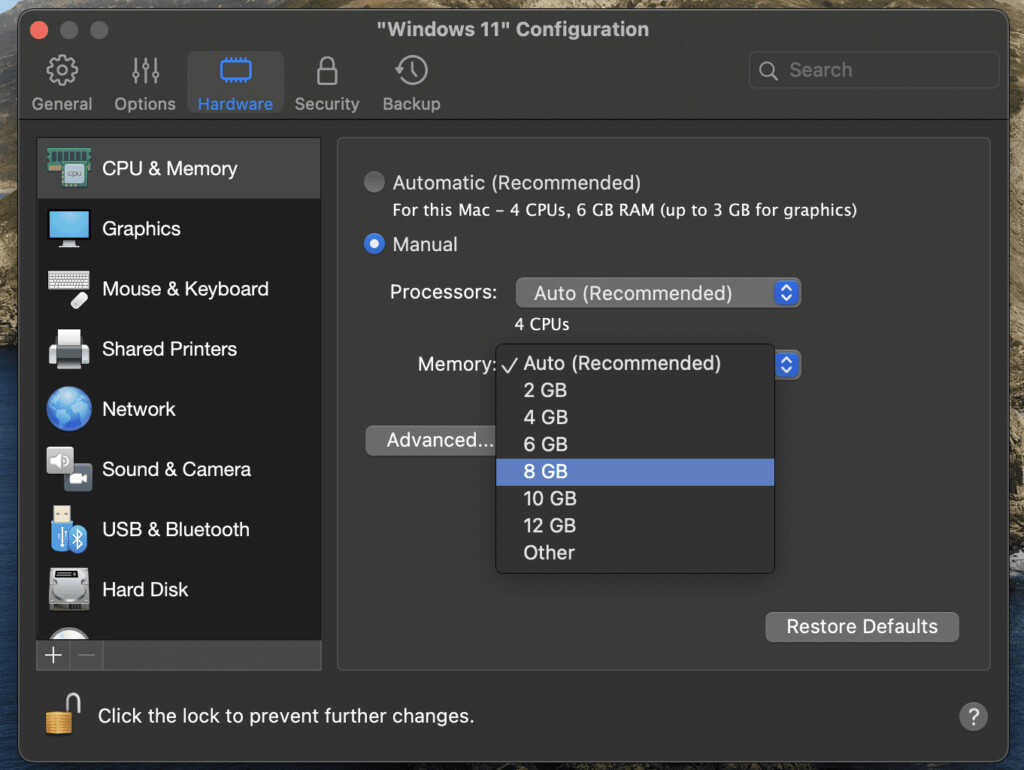
- You’ll then see the Windows 11 Configuration Window in Parallels. The most important setting to change is the CPU & Memory allocation under the “Hardware” tab. You can leave the settings on “Automatic” if you want Parallels to manage it for you but we recommend increasing the Memory on Apple Silicon Macs. So for example, if you have an M1 or M2 MacBook Pro with 16GB of unified memory, you can allocate at least half of this to Parallels (i.e. 8GB). This makes it easier for your Mac to run Windows in Parallels smoothly at the same time as macOS.
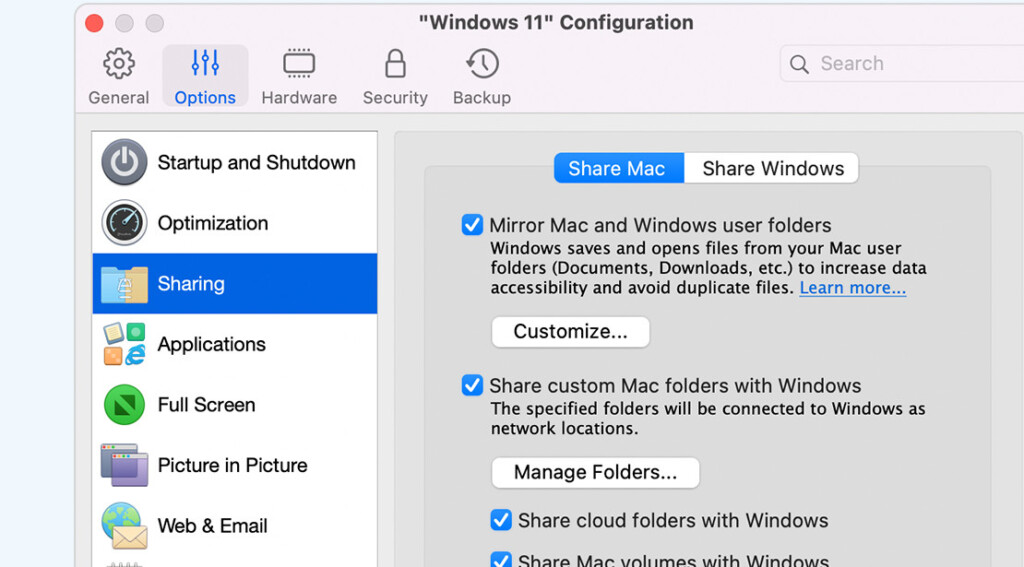
- There are many other options you can configure in Parallels. If you click on the “Options” tab across the top for example and select “Sharing”, you can configure how macOS and Windows 11 share files and folders.
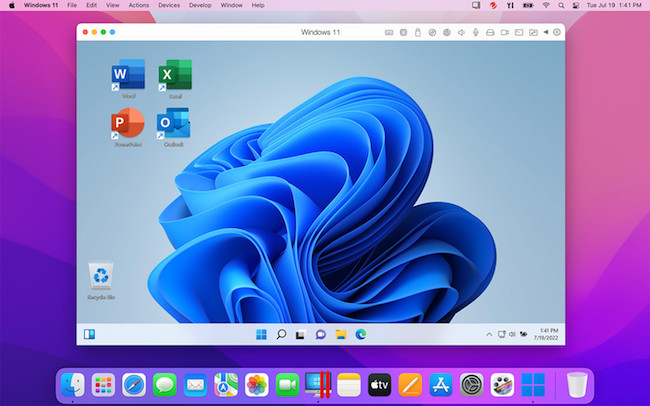
- The other thing you might like to configure is how you want macOS and Windows to interact. If you want all of your Windows and Mac apps blended in the Dock for example, then use Parallels in “Coherence” mode.
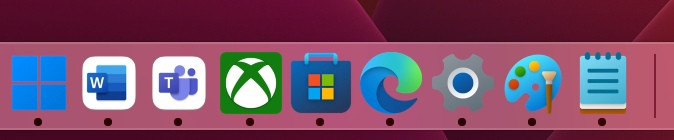
- To activate Coherence mode go to “View” at the top of your screen in Parallels and select “Enter Coherence”. Then select the blue icon in the top-left of the Window to activate Coherence mode.
![]()
- You can exit Coherence mode by going to the “View” Menu again and selecting “Exit Coherence”.
If you choose to use Parallels in the default Windowed Mode instead of Coherence Mode, you can easily switch between macOS and Windows by pressing CMD+TAB on your Mac at any time and there’s no lag when resuming the virtual machine.
Once you’re happy with the setup, that’s it. You’ve completed the installation of Windows 11 on your Apple Silicon Mac.
From here, you can install Windows apps or gaming platforms in on your Mac such as Steam, Microsoft Office or any other Windows only games and software that won’t work on a Mac.
How Does Windows 11 Perform on an M-chip Macs?
Windows 11 runs incredibly fast on Apple Silicon Macs using Parallels. In fact, it’s so fast that it’s arguably better at running Windows than any PC laptops.
If you measure the performance in Geekbench, even when running Windows virtually, then Apple Silicon chips outperform some PCs with Intel chips running Windows natively which is pretty incredible.
Considering the amount of emulation that is going on between Parallels and Windows 11 for ARM to run Intel only software and games, it’s incredible how smooth everything is.
For example, you can play GTA V in Windows on your Mac via Steam absolutely perfectly even on an M-chip MacBook Air which is the slowest of the Apple Silicon MacBooks.
You can also watch YouTube videos in 4K which play amazingly well even using the Microsoft Edge browser.
Which Games Work on Apple Silicon Macs Running Windows?
Installing Windows on a Mac is often the only way to play PC only games on a Mac.
However, unfortunately we found that some games simply would not work on Apple Silicon Macs running Windows for ARM.
Steam games such as GTA V, Rocket League and Final Fantasy 7 worked amazingly well even on the highest graphic settings at 30 FPS with no glitching at all.
However, many other games simply wouldn’t launch on Steam and other gaming platforms.
We had the same problem with games on Battle.net in Windows such as World of Warcraft III, Call of Duty: Cold War and Overwatch 2 all of which wouldn’t work either.
Downloading extra Windows plugins such as DirectX and the x86 version of Visual C++ didn’t help either.
This is usually because some games such as Fortnite and Valorant won’t work in Parallels due to the anti-cheat Vanguard anti-cheat software and EasyAntiCheat software used in Epic games.
DirectX 12 and Open GL 3.3 or above are also not supported in Parallels which means that software and especially many Windows only games that require them won’t work in Parallels (DirectX 11 is supported in Parallels though).
For games that don’t work in Parallels, we recommend checking out our guide on the best ways to play Windows only games a Mac.
Overall all, playing those Windows games that do work on an Apple Silicon Mac in Parallels is an incredible experience and illustrates the awesome power of the M1, M2 and M3 chips.
Other Ways To Use Windows 11 on M-chip Macs
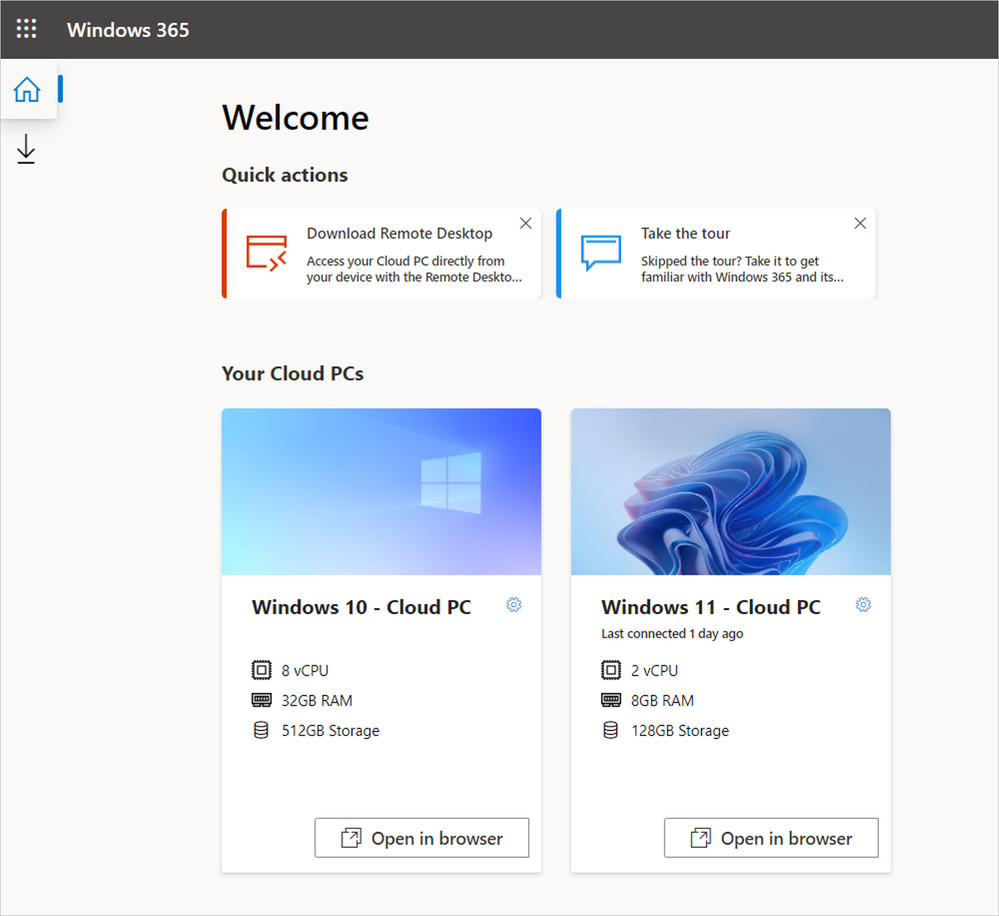
Microsoft also advise that another way to use Windows 11 on a Mac is to stream it using Windows App (formerly known as Windows 365)
However, this is not the same as installing Windows 11 on an Apple Silicon Mac.
Windows 365 is an online service which only allows you to remotely access Windows 11 running in the Cloud.
This does not offer as much flexibility as physically having Windows installed on your Mac as it imposes certain restrictions on what you can and can’t install.
Because you are accessing Windows 11 remotely, it also creates a certain amount of lag (known as latency) over the connection between your Mac and the remote version of Windows 11 you are accessing.
Windows 365 is also expensive compared to using a virtual machine to use Windows 11 on Apple Silicon Macs.
Costing starts at around $30 per user, per month and is aimed mainly at commercial enterprises that need to provide remote Windows access to large numbers of employees.
However, one advantage of Windows 365 is that it gives you access to the standard x86 version of both Windows 11 and Windows 10 on Apple Silicon Macs compared to virtual machines, which can only run Windows ARM.
Can You Install Windows 10 On Apple Silicon Macs?
Virtual machines such as Parallels and VMware no longer offer an automatic option to download and install Windows 10 for ARM because Microsoft has discontinued support for it to concentrate on Windows 11 ARM.
However, you can still install Windows 10 ARM by downloading an ISO version of Windows 10 from Microsoft and uploading it to either Parallels or VMware to install.
We strongly recommend installing Windows 11 on a Mac however as the installation process is much simpler and most applications that worked on Windows 10 also work on Windows 11.
Microsoft will also gradually drop support for Windows 10 as it puts more resources into Windows 11.
Windows 11 is already used by almost half a billion devices and well on the way to being the most dominant operating system out there.
The only other way to use Windows 10 on an Apple Silicon Mac is to access it remotely using Windows 365 although as mentioned earlier, this is expensive and aimed at commercial enterprises.