
Although Microsoft Publisher has never been released for macOS, you can still run it on a Mac using a virtual machine.
This guide shows the best way to install and use Publisher on both Intel and Apple Silicon (M1, M2, M3, M4) Macs in 2026.
Contents
Before You Start: Consider Better Mac Alternatives
Before going through the setup, it’s worth noting that Publisher is now quite dated compared to modern design tools.
It’s also going to be discontinued by Microsoft in October 2026.
If you want better results (and native Mac performance), consider:
- Adobe InDesign – Best for professional publishing
- Apple Pages – Free and good for basic layouts
- Affinity Publisher (excellent one-time purchase alternative)
In many cases, these are faster, more modern, and fully optimized for macOS.
For a closer look at them, check out our guide to the best alternatives to Publisher for Mac.
What You Need To Run Publisher On A Mac
To run Microsoft Publisher on a Mac in 2026, you’ll need:
1. A Virtual Machine
A virtual machine lets you run Windows inside macOS.
Best options:
- Parallels Desktop (Recommended)
- Best performance on Apple Silicon
- Seamless macOS + Windows integration
- Supports Windows 11 ARM
- VMware Fusion
- Free for personal use
- Slightly less polished than Parallels
Boot Camp note:
- Boot Camp only works on Intel Macs
- Not available on Apple Silicon Macs (M1 and later)
2. A Microsoft 365 Subscription
You’ll need a subscription to Microsoft 365. This includes Publisher in the Windows version only (not Mac).
Important 2026 Compatibility Note
On Apple Silicon Macs:
- You’ll be running Windows 11 ARM
- Publisher runs via Microsoft’s built-in x86 emulation
- Performance is generally smooth for light to moderate use, but:
- Very large documents may feel slower
- Some legacy add-ins may not work
How To Install Publisher on a Mac
In this tutorial, we’ve used the free trial of Parallels to run both Windows and Publisher.
- Install the free trial of Parallels and follow the setup to install Windows 11 (ARM on Apple Silicon). If you have any problems you can also check these instructions on how to install Windows 11 on your Mac using Parallels.
- Once you’ve installed Windows, you’re ready to install Microsoft Publisher. If you don’t have one, you’ll need a Microsoft 365 subscription although you can try a free trial first.
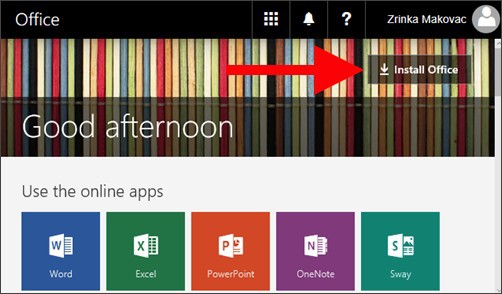
- If you already have one, open the Microsoft Edge browser in Windows and sign-into Microsoft 365. You can also open the login from within the Windows Start Menu if you prefer.

- Once you’ve setup or logged into your Microsoft 365 account, simply select Install Office from the Microsoft 365 home page. If prompted, make sure you install the 64 bit version of MS Office and not the 32 bit version for older versions of Windows.
If you’re prompted with the warning “Do you want to allow this app to make changes to your device?” click Yes. The Microsoft Office installation will then begin.
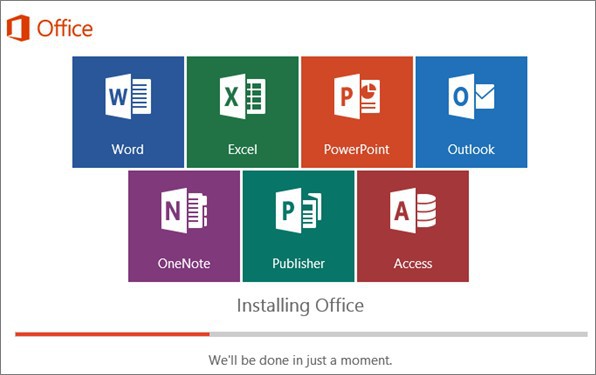
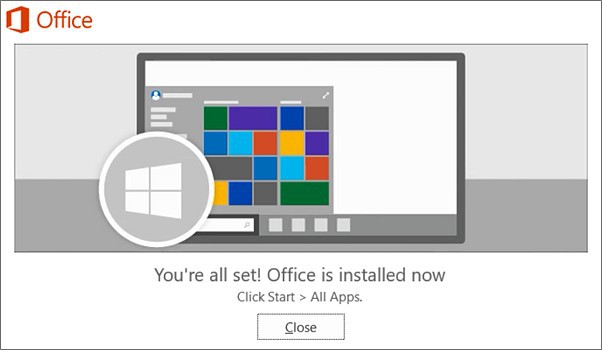
- When the installation is done, you’ll receive a confirmation message with an animation showing you that you can access Office by going to Start > All Apps in Windows. You’ll see Word, Excel, PowerPoint, Outlook, OneNote, Publisher and Access.
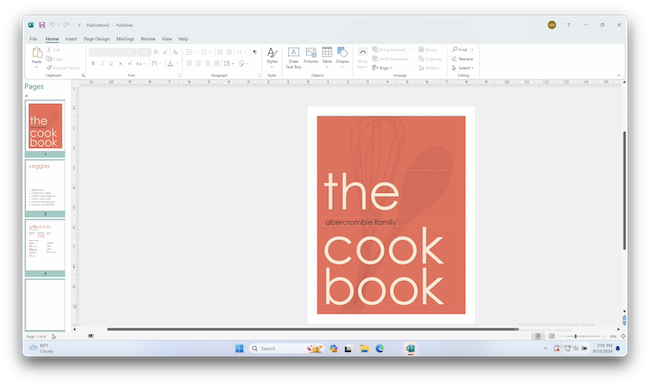
- Select Publisher. When you open an Office application for the first time, you’ll be prompted to accept that it will be updated automatically by Microsoft. Just click Accept to launch the app (see video below).
- You’re done! You can now use Microsoft Publisher on your Mac just as if you were using a PC.
Why Parallels Is the Best Option in 2026
Parallels Desktop is the best option we’ve used for running MS Publisher on a Mac because:
- No reboot required (unlike Boot Camp)
- “Coherence Mode” lets Windows apps run like Mac apps
- Optimized for Apple Silicon performance
- Easy file sharing between macOS and Windows
This makes running Publisher feel far more native than older methods.
Limitations to Be Aware Of
- Publisher is Windows-only and aging software that’s due to be discontinued in October 2026
- Performance depends on your Mac’s RAM (16GB+ recommended)
It’s not ideal for:
- Large print publishing projects – for this we recommend checking our guide to the best desktop publishing software for Mac
- Heavy graphic design work – check our guide to the best graphic design software for Mac for better options.
FAQ
Can you get Microsoft Publisher on a Mac?
No, Microsoft Publisher is not available for macOS. However, you can run it on a Mac by installing Windows using a virtual machine such as Parallels Desktop or VMware Fusion.
Is Microsoft Publisher included in Microsoft 365 on Mac?
No, Microsoft 365 for Mac does not include Publisher. It’s only available in the Windows version of Microsoft 365.
Does Microsoft Publisher work on Apple Silicon Macs?
Yes, Publisher works on Apple Silicon Macs (M1, M2, M3, M4) when running Windows 11 ARM in a virtual machine like Parallels Desktop. It runs via emulation, but performance is generally smooth for most tasks.
Is Parallels the best way to run Publisher on a Mac?
For most users, yes. Parallels Desktop offers the best performance, easiest setup, and seamless integration with macOS. Alternatives like VMware Fusion are available but may require more setup.
Can you use Boot Camp to run Publisher on a Mac?
Only on Intel-based Macs. Boot Camp allows you to install Windows directly, but it is not supported on Apple Silicon Macs.
Are there any good alternatives to Microsoft Publisher on Mac?
Yes, there are several Publisher replacements for Mac that run natively, including Adobe InDesign for professional publishing and Apple Pages for simpler layouts. Many users find these faster and more powerful than Publisher.