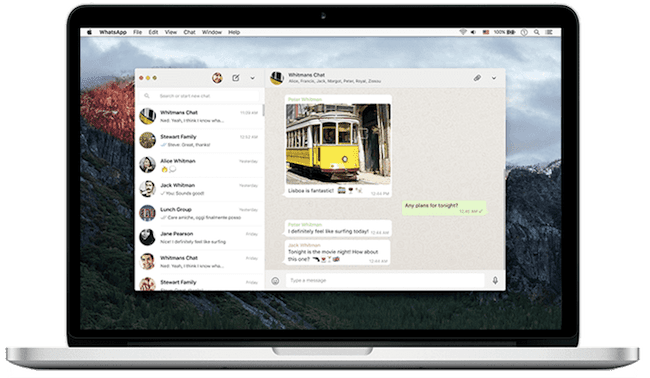
If you want to use WhatsApp on your Mac, here we show you the best ways to run WhatsApp on macOS including on the latest Apple Silicon M-Series Macs and macOS Sonoma.
Table of Contents
1. Use WhatsApp For Mac Desktop
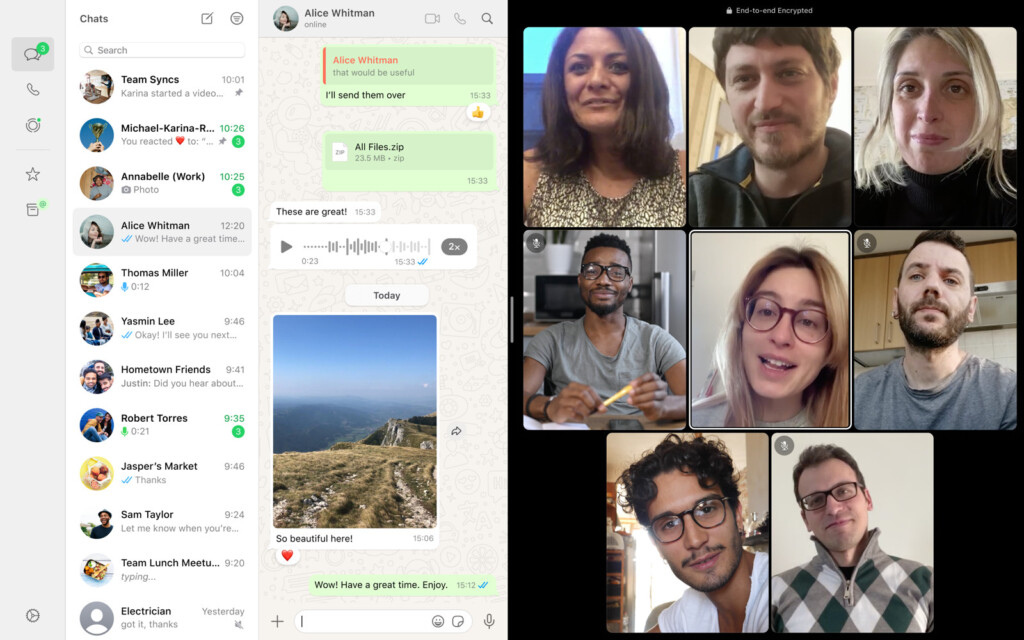
WhatsApp has been available as a desktop app on Mac since 2016 although it was only in 2023 that it was finally released on the Mac App Store as a native app.
The desktop app is the best way of running WhatsApp on a Mac because it has more support for desktop notifications and better keyboard shortcuts than any other method.
WhatsApp For Mac also works natively on both Intel and Apple Silicon M1/M2/M3 Macs.
WhatsApp For Mac has all the same features as the iPhone version including support for group audio and video calling.
It also syncs with the iPhone version of WhatsApp. You still require an iPhone and mobile number to use WhatsApp for Mac as you can’t sign-up for it without a mobile number.
You can download WhatsApp from the Mac App Store here.
When you open the app, you need to scan the QR code with your phone in order to sync your mobile with the desktop app. When you’ve done this, you can start using WhatsApp on your Mac desktop.
All messages that you send with WhatsApp for Mac are synced with your phone and vice versa.
Some of the advantages of the macOS desktop client include keyboard shortcuts such as CMD + Shift + M to mute a conversation and CMD + Shift + U to change the read status of a message.
You also don’t have to log back in every time you close your browser like you have to with the web app.
2. Use WhatsApp Web On Mac
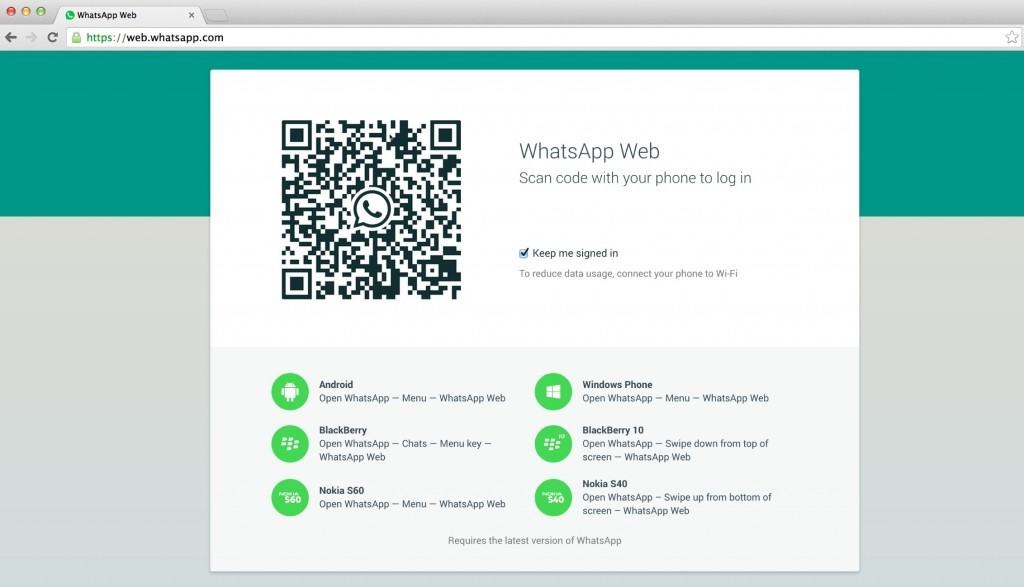
The web version of WhatsApp was released in early 2015 and was the first time Mac users could use WhatsApp via Google Chrome but has one big drawback.
The web version of WhatsApp does not work with iPhones due to “platform limitations” with Google Chrome (that’s basically Google/Apple talk for “we don’t like each other much”).
It only works with Android, BlackBerry, Nokia and Windows phones. However, if you don’t want to install the desktop version on your Mac, the web version works in your browser and requires no download or installation.
Here’s how to use WhatsApp Web on a Mac:
- Update WhatsApp on your mobile device to the latest version. This is very important, otherwise, the web version will not work with it.
- Make sure you’ve installed the Google Chrome browser on your Mac. Open it and go to the following address: https://web.whatsapp.com.
- Scan the QR code that appears with your mobile device. To do this open WhatsApp on your phone. Select the Menu button by touching the three dots in the top right corner and you’ll see the option “WhatsApp Web”.
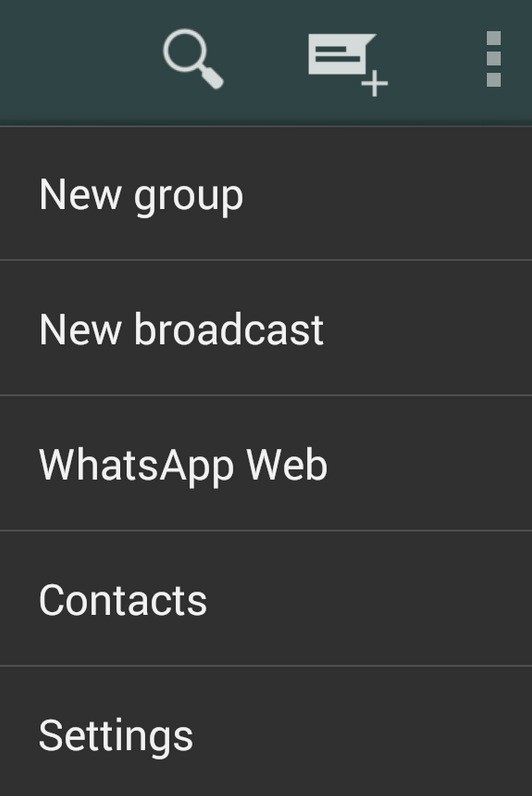
Select this option and The QR code scanner will appear with a message to go to the WhatsApp web page that you’ve already got open in Chrome. 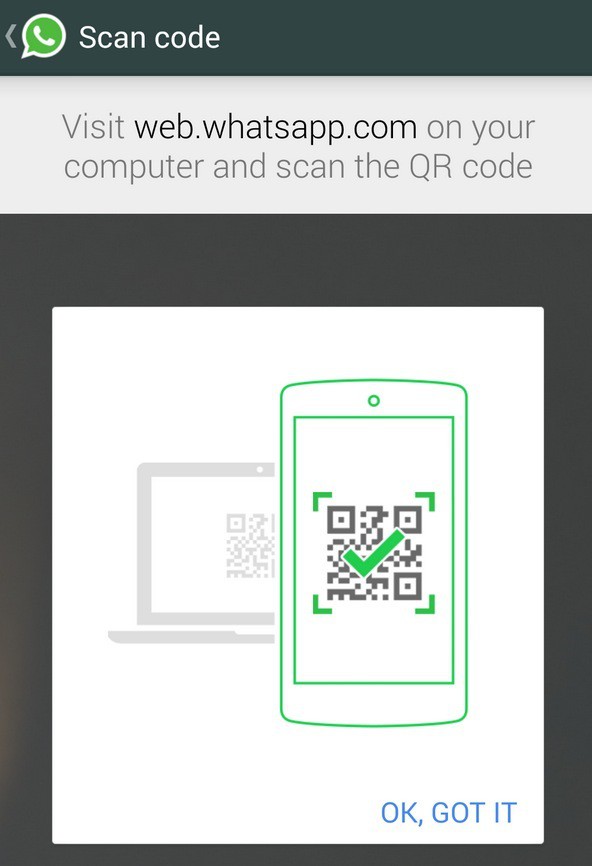
- When you’ve scanned the code in Google Chrome, you’re done. You can then chat using WhatsApp Messenger on your Mac. Like on your phone, you will receive desktop notifications when a user has messaged you.
All chats will be synced with your phone when you return to it. You can logout of WhatsApp Web on your Mac at any time but if you do, you’ll need to go through the QR code scanning process again to log back on.
It’s a good idea to make sure you are using WiFi on your phone when logged onto WhatsApp Web on Macs because if your phone is connected to WhatsApp via 3/4G, it will also use your data plan to sync messages while you are using WhatsApp on your Mac.
3. Use WhatsApp on Mac Without A Connected iPhone
If you don’t want to connect or sync WhatsApp with your phone then you can also use WhatsApp on a Mac without a connected phone.
Thanks to multi-device support in WhatsApp you can now use WhatsApp on up to 4 different devices without a connected phone.
To link your WhatsApp account to your Mac without an iPhone or iPad follow these instructions.
- Open WhatsApp on your phone
- Select Settings > Linked Devices
- Tap Multi-Device Beta, then tap the blue Join Beta button.
- Tap Back and select Link a Device
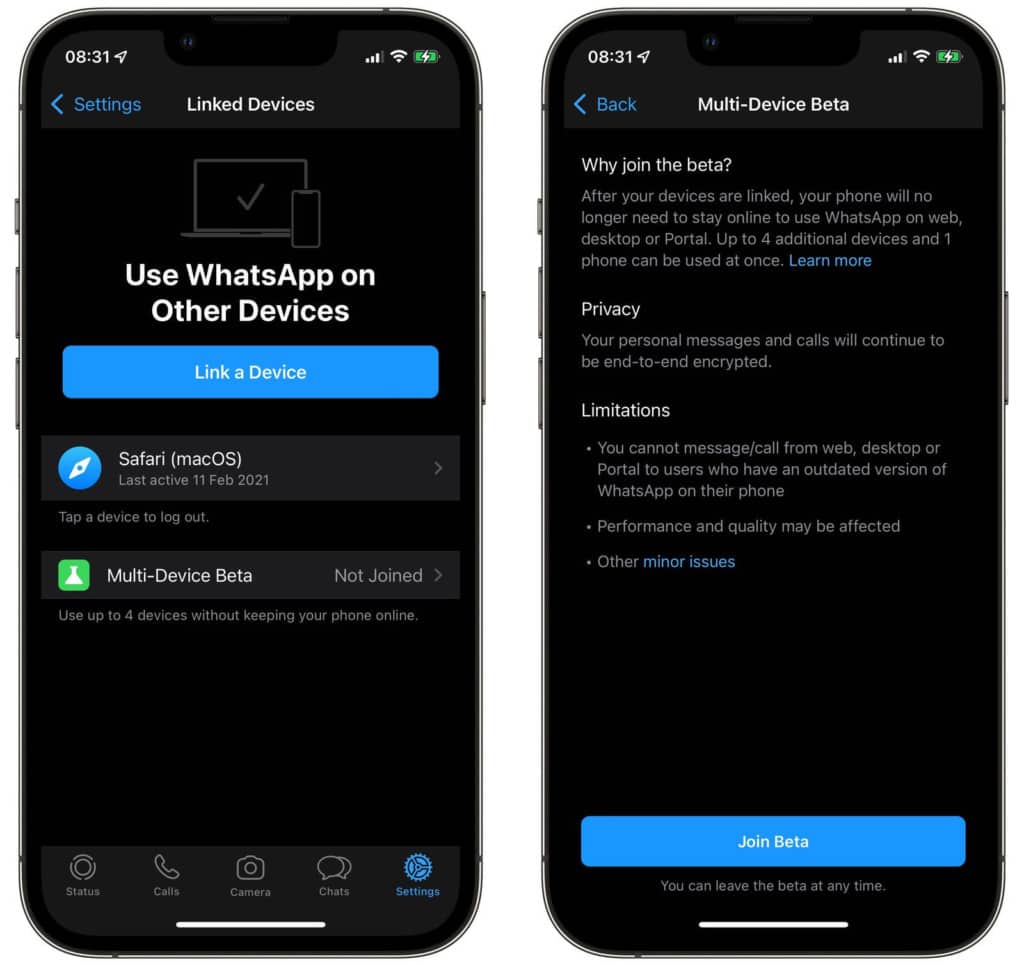
- Open the WhatsApp for Mac desktop app if you have it otherwise go to WhatsApp Web and scan the QR code that appears in your browser.
You can now send and receive WhatsApp messages from your Mac without having to have a phone connected to the internet. All calls and messages will be encrypted as they are on a phone.
There are limitations to using WhatsApp on a Mac this way though.
- You cannot delete messages or conversations using WhatsApp without a connected phone
- You cannot message or call users that have an outdated version of WhatsApp on their phone
- You can only have one phone connected to your WhatsApp account at one time
- If you don’t use your main WhatsApp account on your phone for more than 14 days, your Mac version of WhatsApp will disconnect and stop working for security reasons.
4. Use ChitChat For Mac
ChitChat for Mac is a free app that basically wraps the web app into Safari and then makes it available as an application that you can launch from your Dock like any other.
It means that you don’t need a browser to use WhatsApp web and works like a separate app on your Mac:
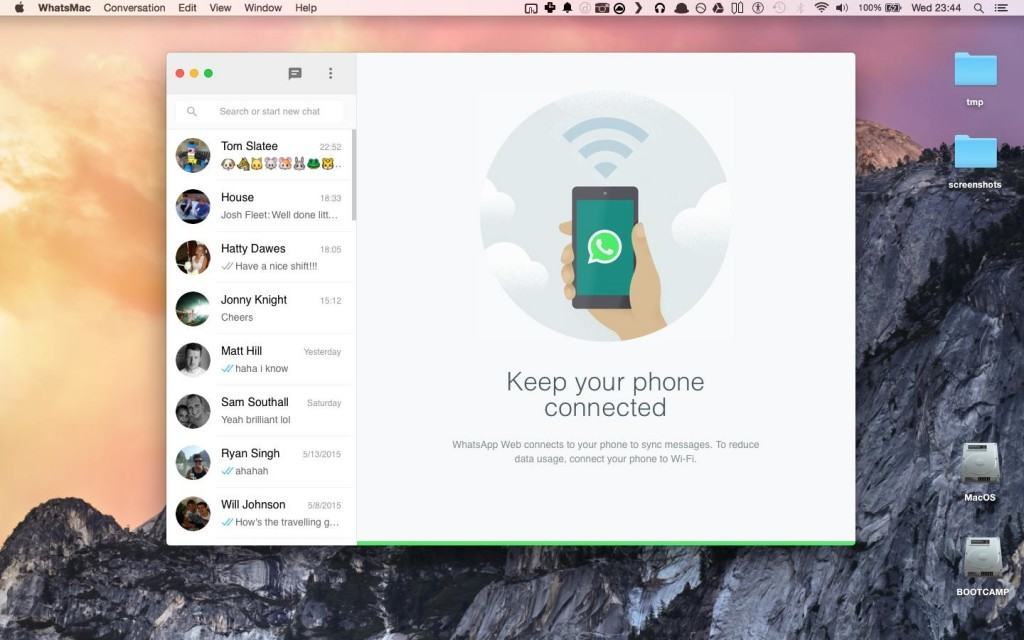
It also means that you can use keyboard shortcuts to manage WhatsApp on your Mac: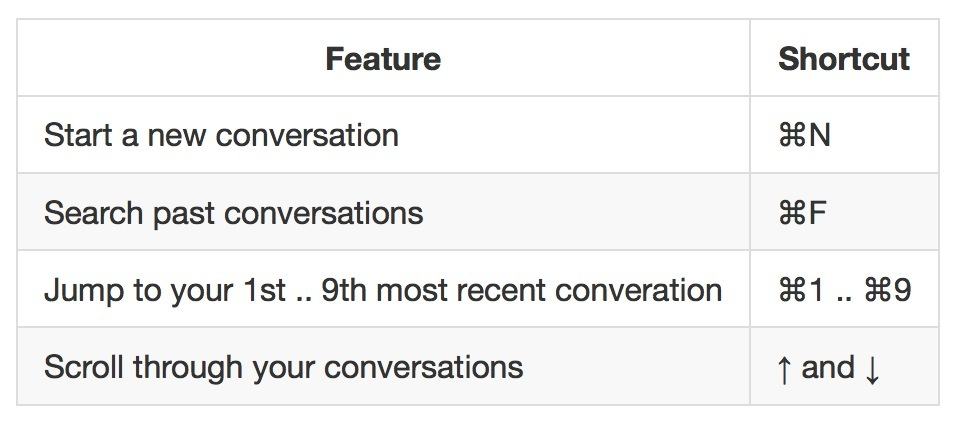
There are some little glitches like the media upload button doesn’t work but you can also upload video and audio to ChitChat by dragging it into the app.
5. Use An Android Emulator
The most complicated way to use WhatsApp on your Mac is to install an Android emulator.
This method is definitely more complicated and impractical because it requires an extra mobile number since WhatsApp only allows you to have one account installed on one device at a time unless you’re using the official app.
The Android emulator method is worth doing however if you plan to install other apps on your Mac which are only available on mobile (such as Candy Crush).
Here we show you all the ways to use WhatsApp on your Mac so you can decide which one is best for you.
Although Bluestacks used to be the most popular way to install Android apps on Mac, it has become less reliable in recent years so this method does not require the Bluestacks Android emulator.
- Download this ISO image of Android. Download the first file in the list which should be the one with the most downloads.
- Download Virtual Box for Mac. Virtual Box allows you to run other operating systems – such as Android and Windows – on your Mac. Download the file that says “Download Virtual Box for Mac Hosts”.
- Install VirtualBox on your Mac and then when you open it, click “New” in the top left corner.
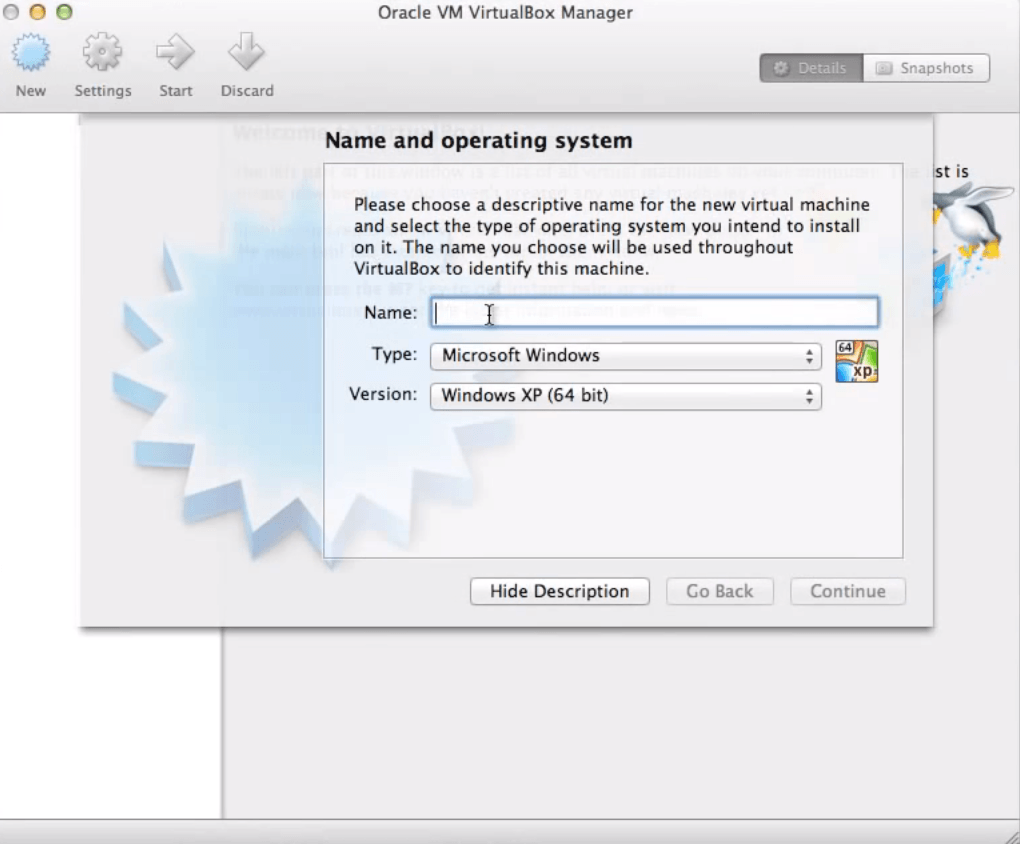
In the Name field, you can write WhatsApp and in the Type just select “Other” as Android is not on the list.
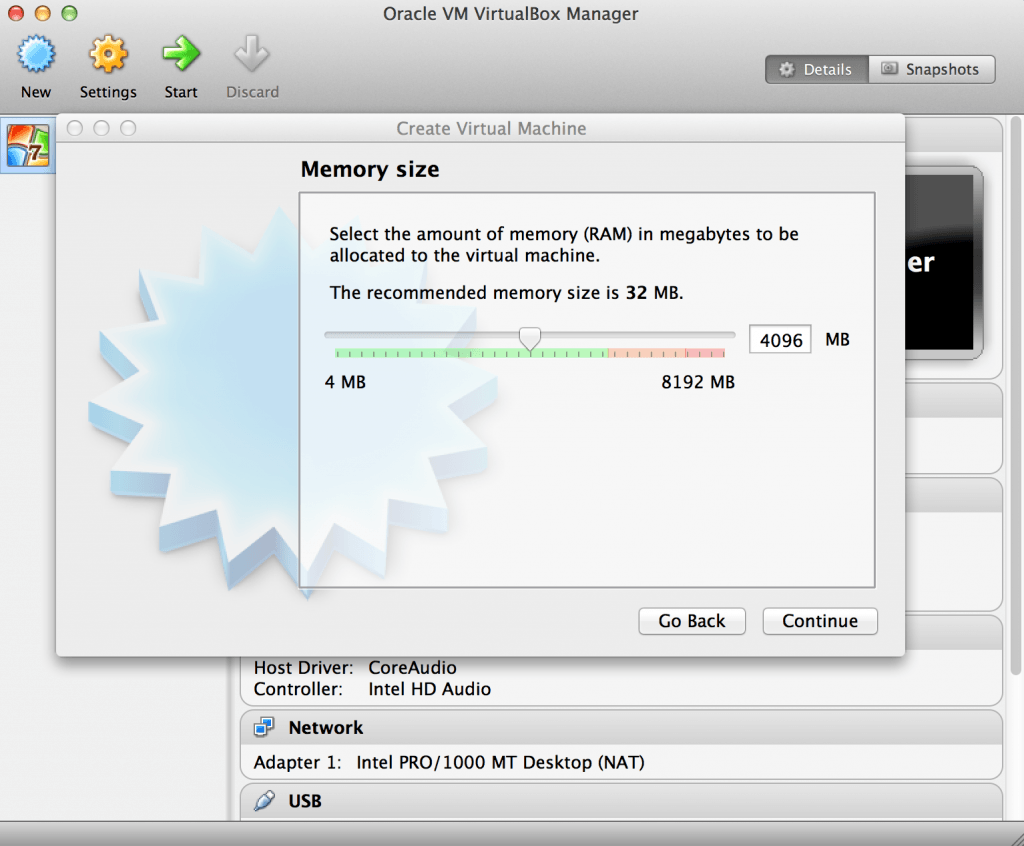
- Move the Memory slider somewhere in the middle.
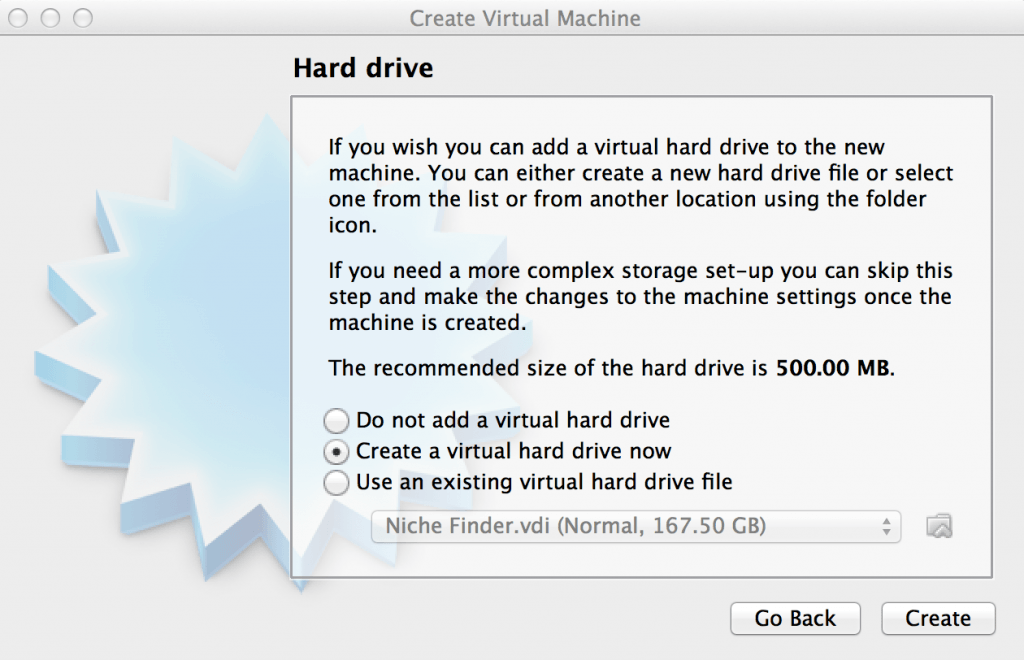
- Select the second option “Create a Virtual HardDrive Now”.
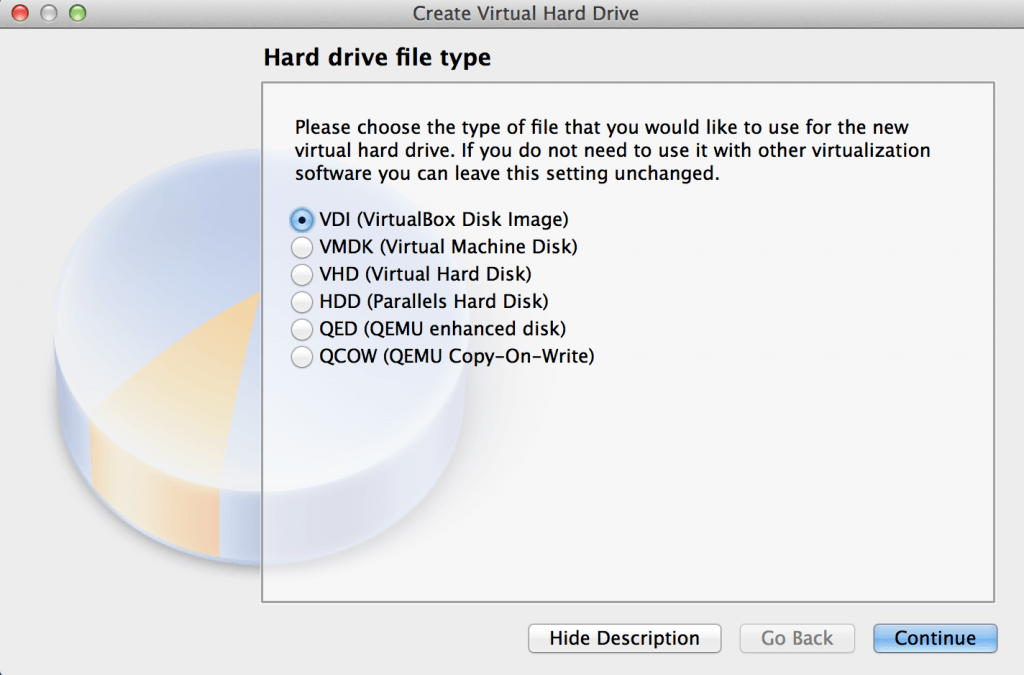
- Select the first option “VirtualBox Disk Image”.
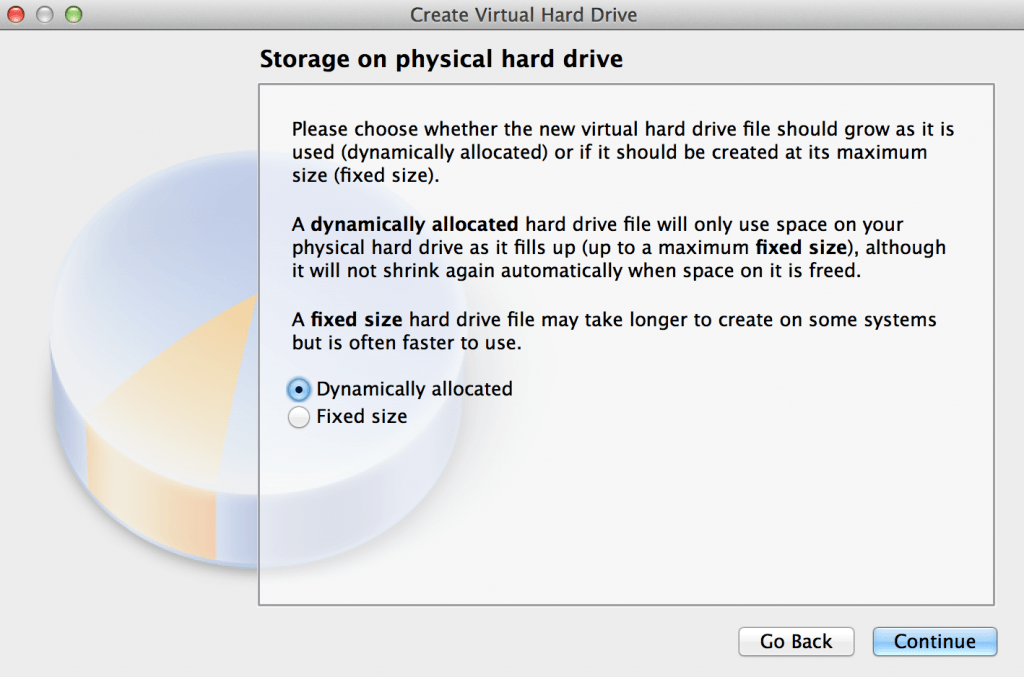
- Select the first option “Dynamically Allocated”.
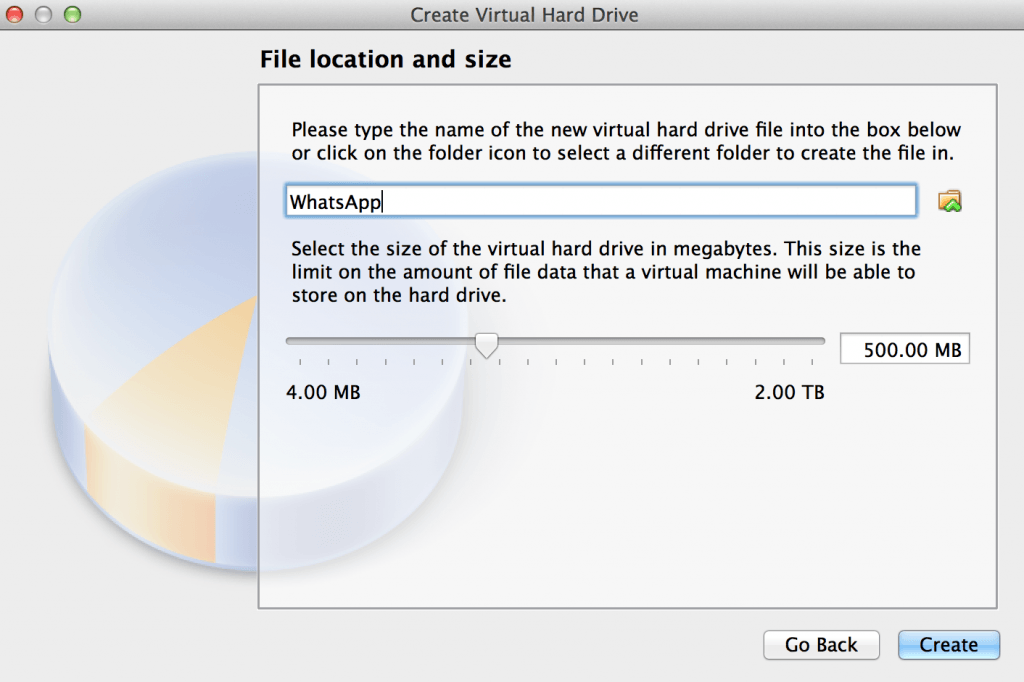
- You can call the new Hard Drive “WhatsApp”. Click Create.
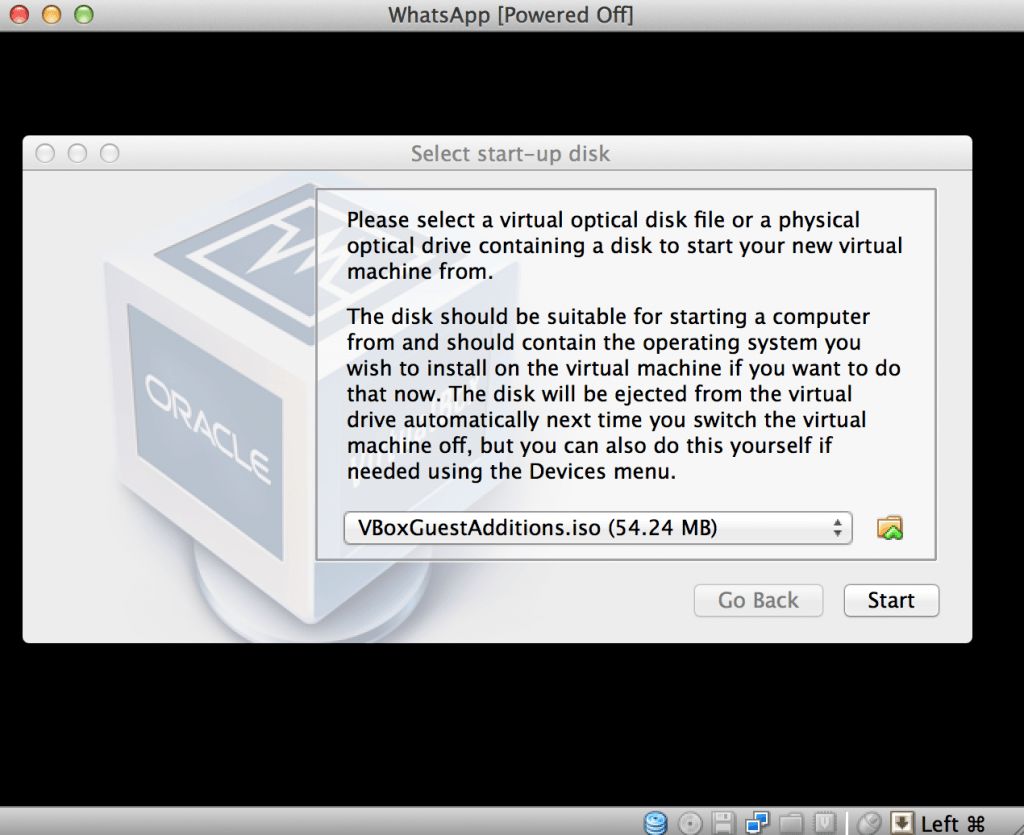
- You’re now ready to setup Android on your Mac. You’ll see your new WhatsApp Virtual Drive in the left menu. Make sure it is selected and click Start. You’ll then be prompted to select a Virtual Disk which is the Android ISO you downloaded earlier. Browse to the Android ISO file and click Start.
- When you see the Virtual Box mouse warning, just click capture and then simply hit “Enter” as the option you need “Run Android -x86 Without Installation” is selected by default. Once your mouse is inside Virtual Box, it is “locked” in there but if you need to get it out to use it in OS X again, simply press the left CMD key next to the spacebar to release it.
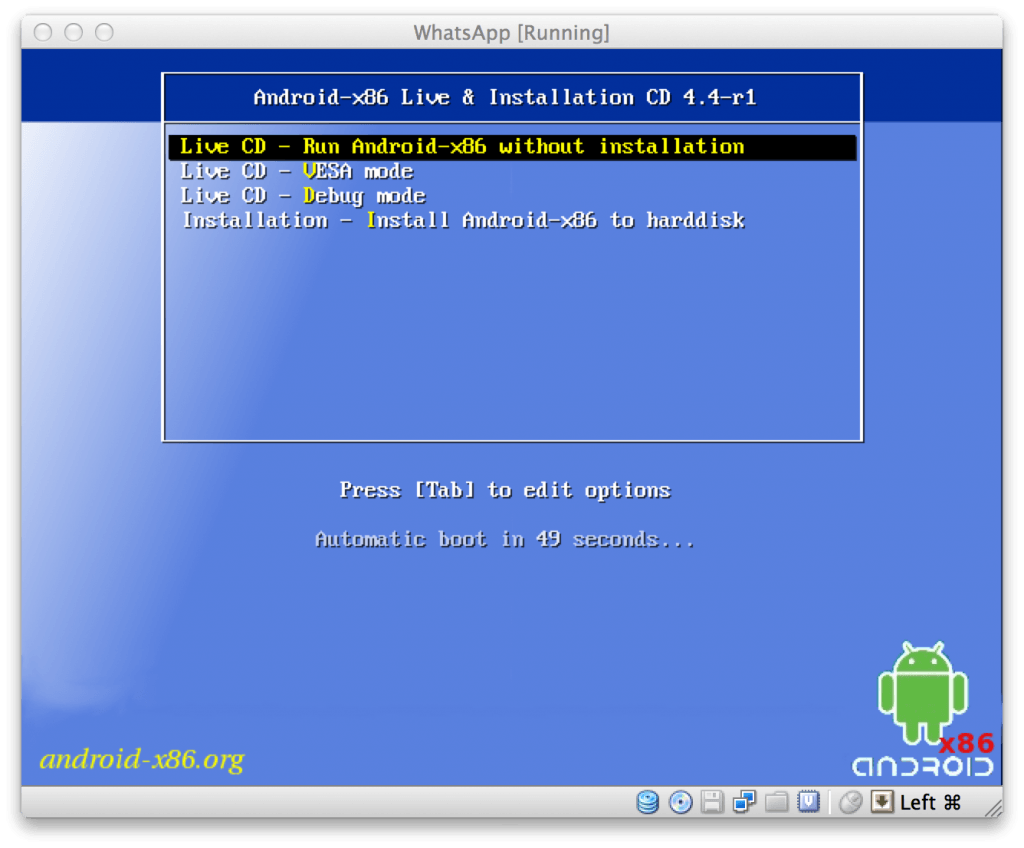
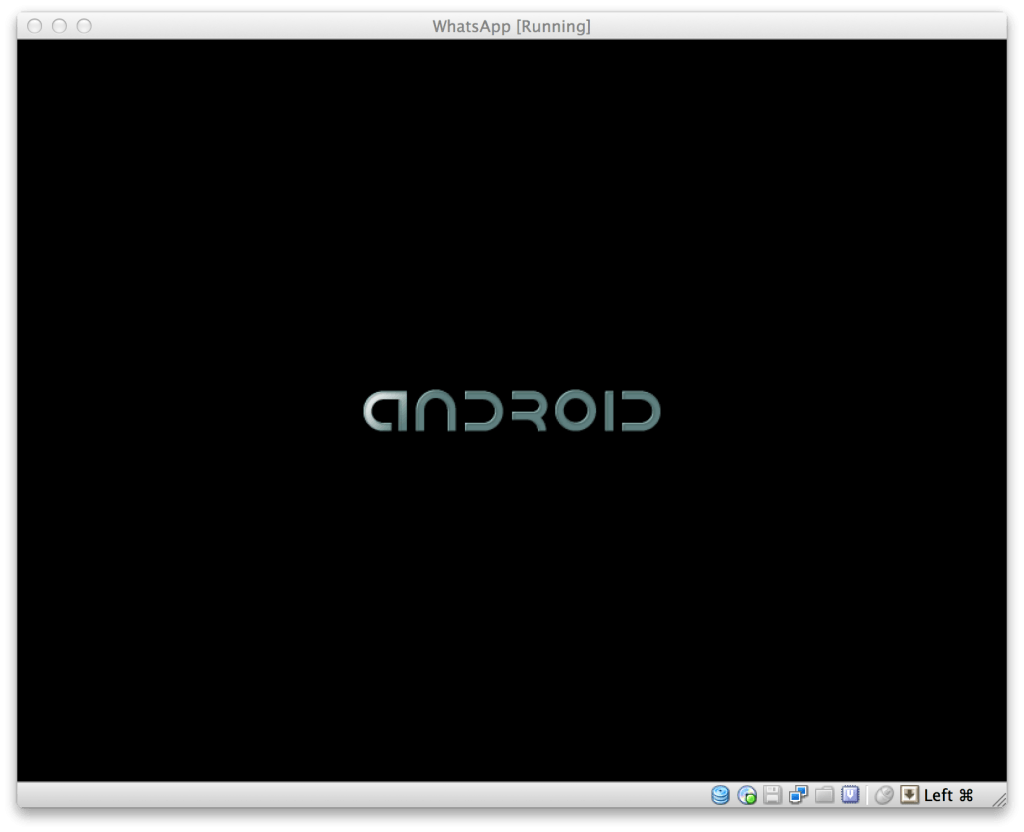
- Android will not setup automatically.
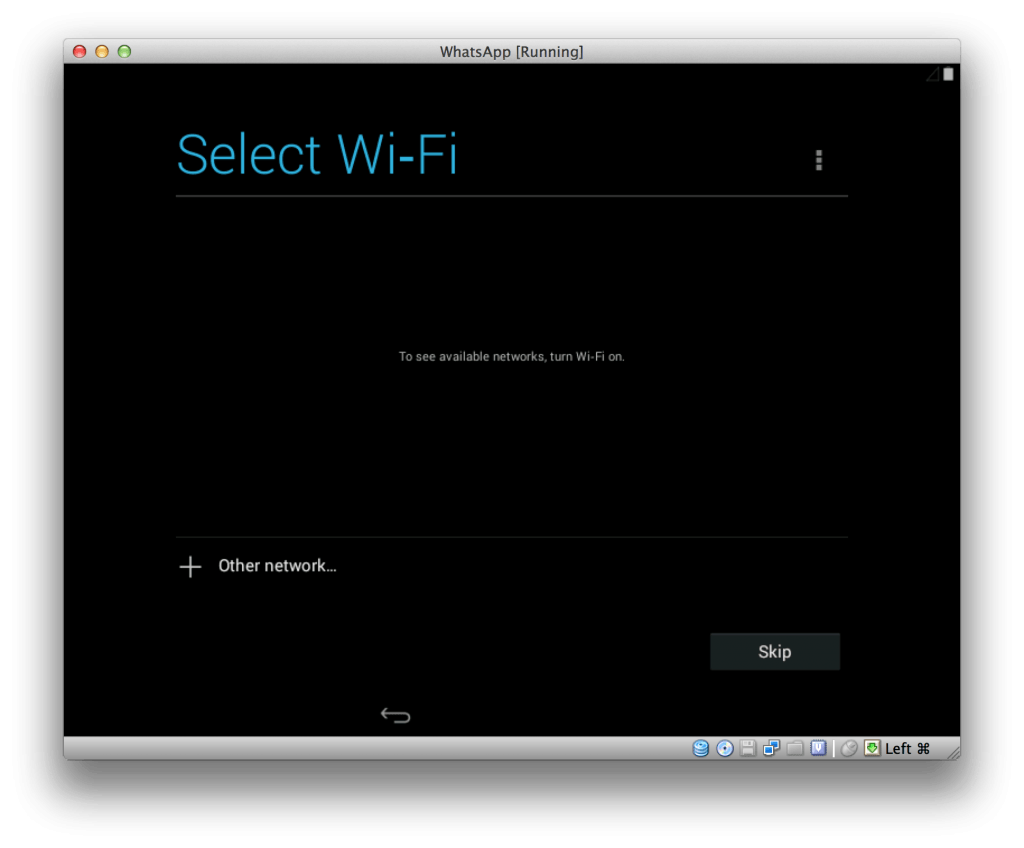
- Skip the WiFi setup and Google Account setup stages.
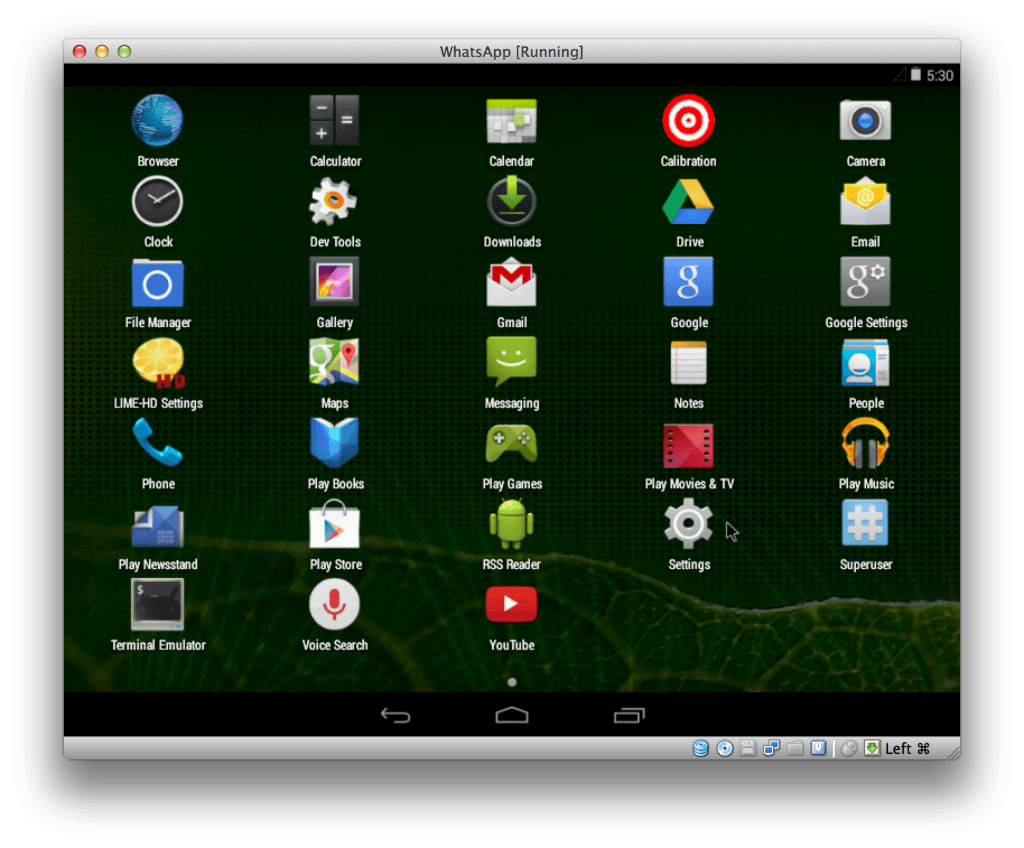
- Once setup has finished, you are on the main Android screen. Select the Home Menu button as you would if you were using an Android device. You must first access Settings.
- Go to Security and enable Unknown Sources. Click OK when the security warning pops up and Unknown Sources is enabled.
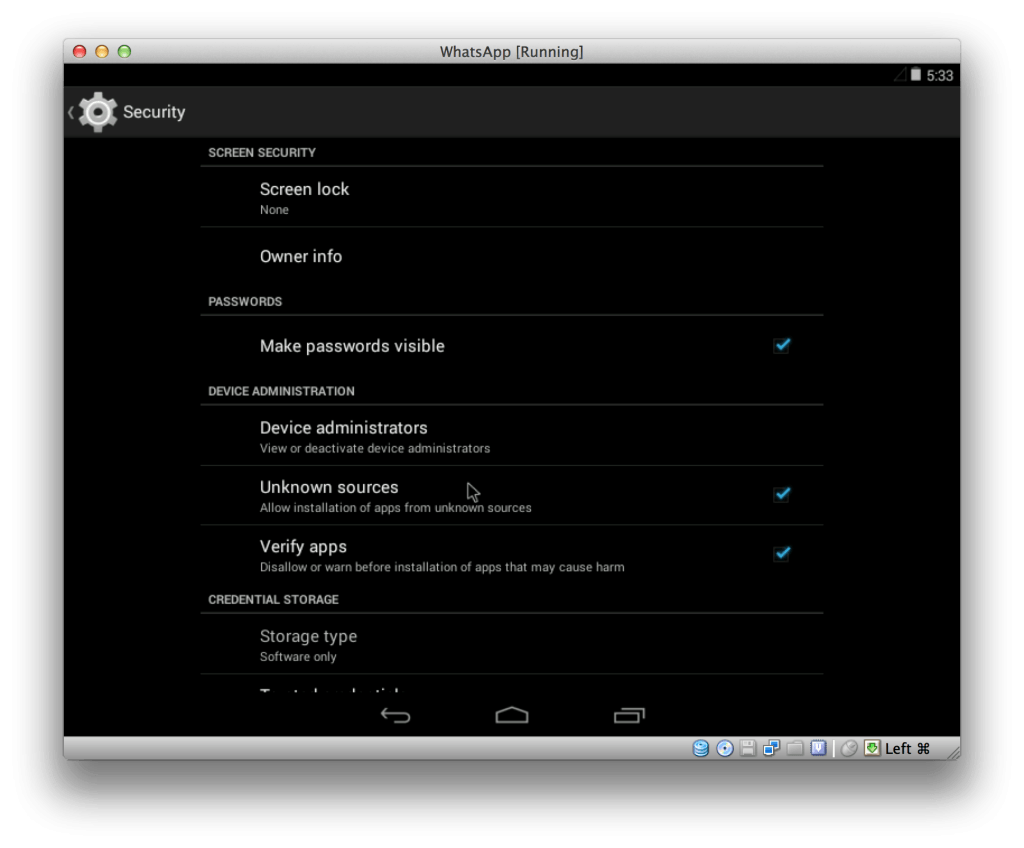
- Use the Back button at the bottom of the screen to go back to your Android desktop…
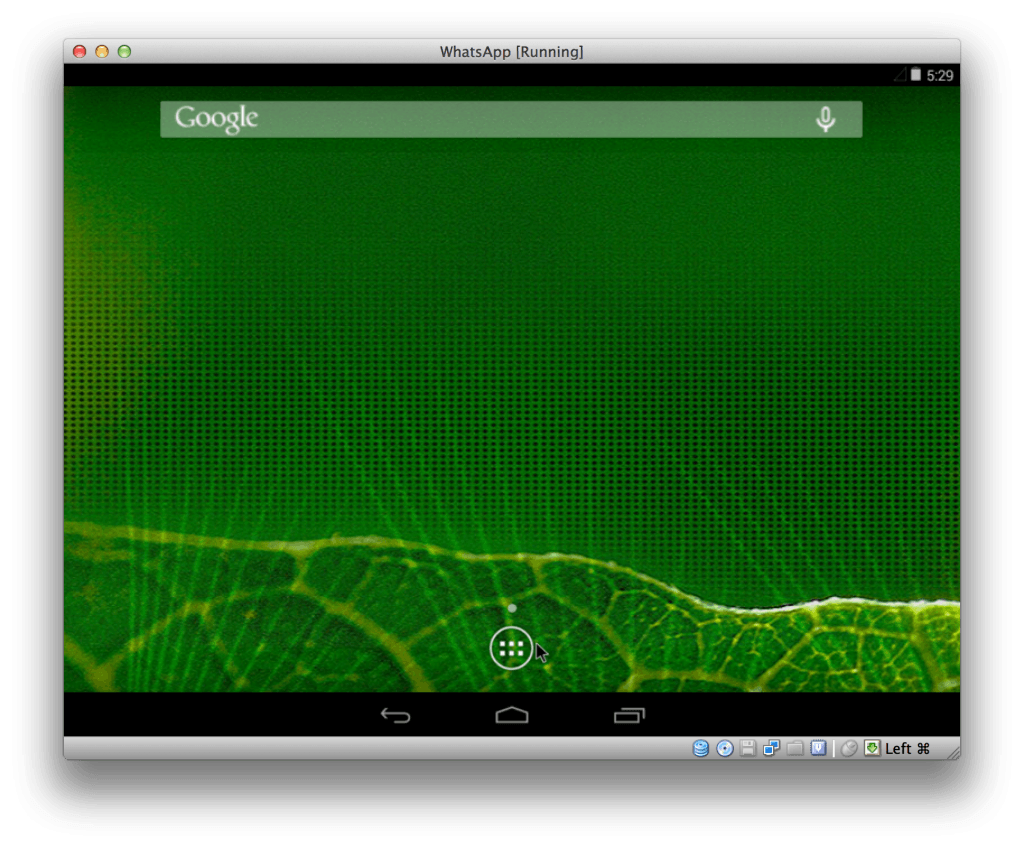
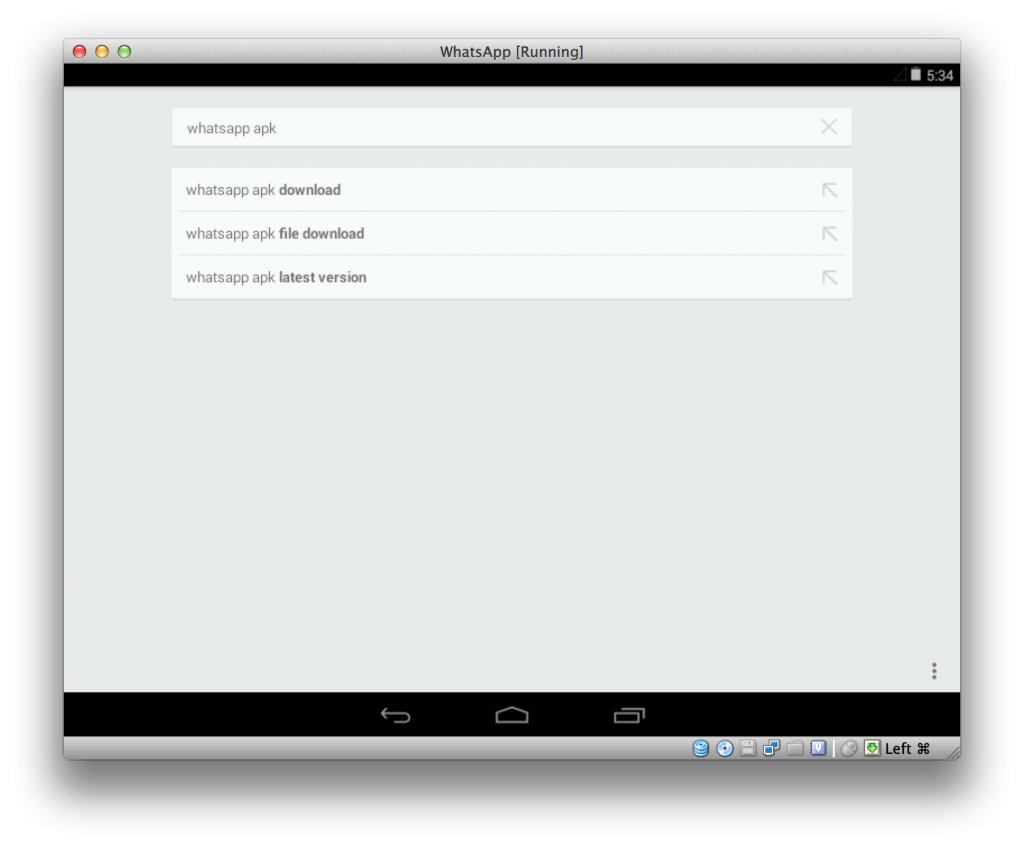
- And then search for “WhatsApp apk” in the Google search bar at the top. If a Google Account prompt appears, just use the back arrow bottom in the bottom left to remove it and return to the Search Bar.
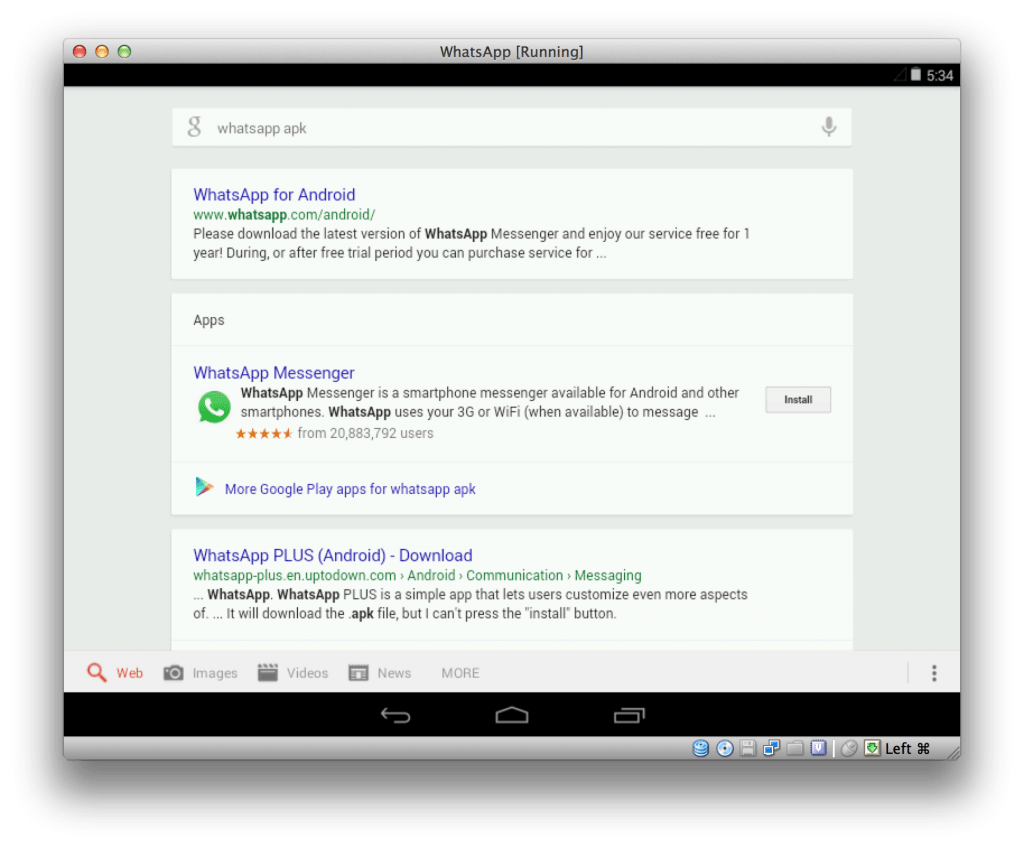
 Select the result that says WhatsApp for Android from the official WhatsApp site which should be the first result on the page.
- Click the green “Download Now” box
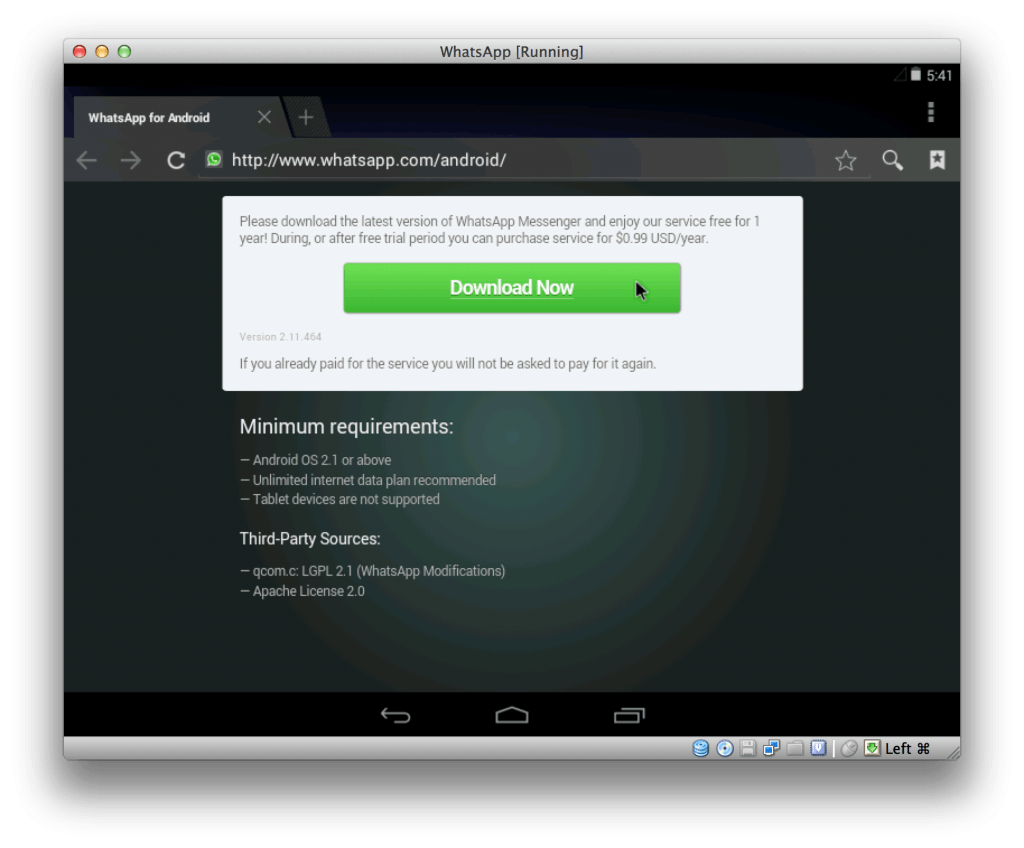
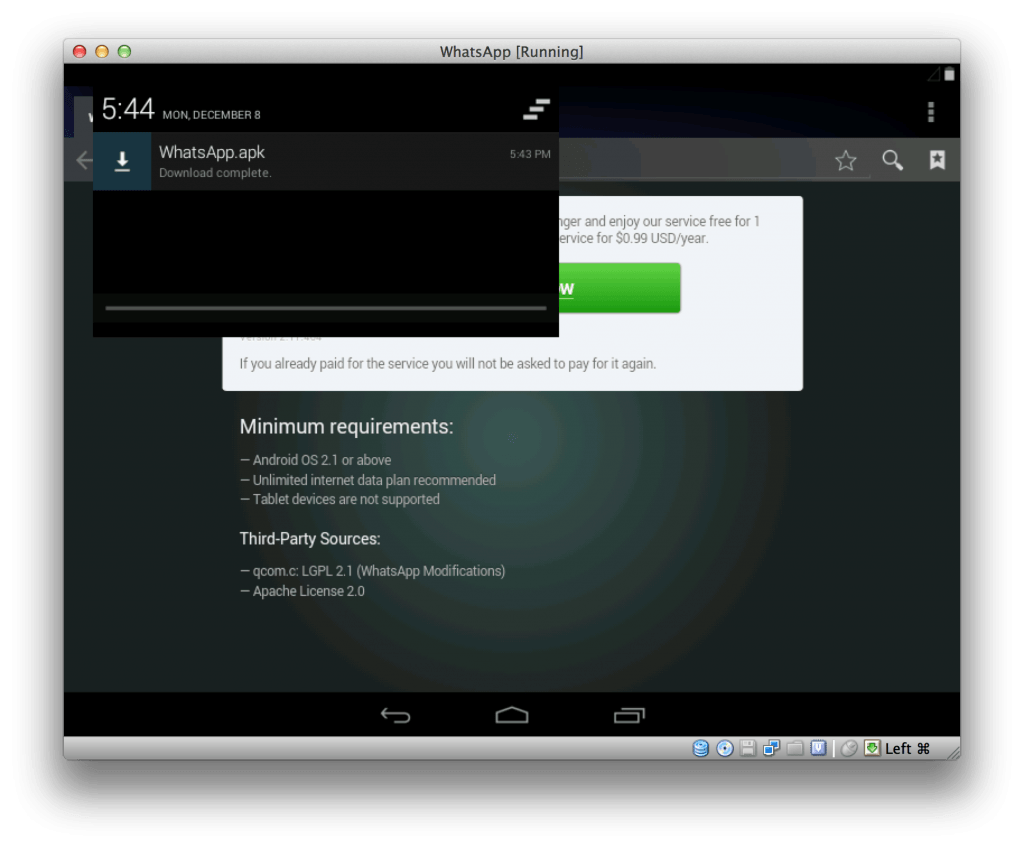
- When WhatsApp has finished downloading, click on it. If you have problems seeing the download, drag on the download manager arrow in the top left of the screen and drag down.
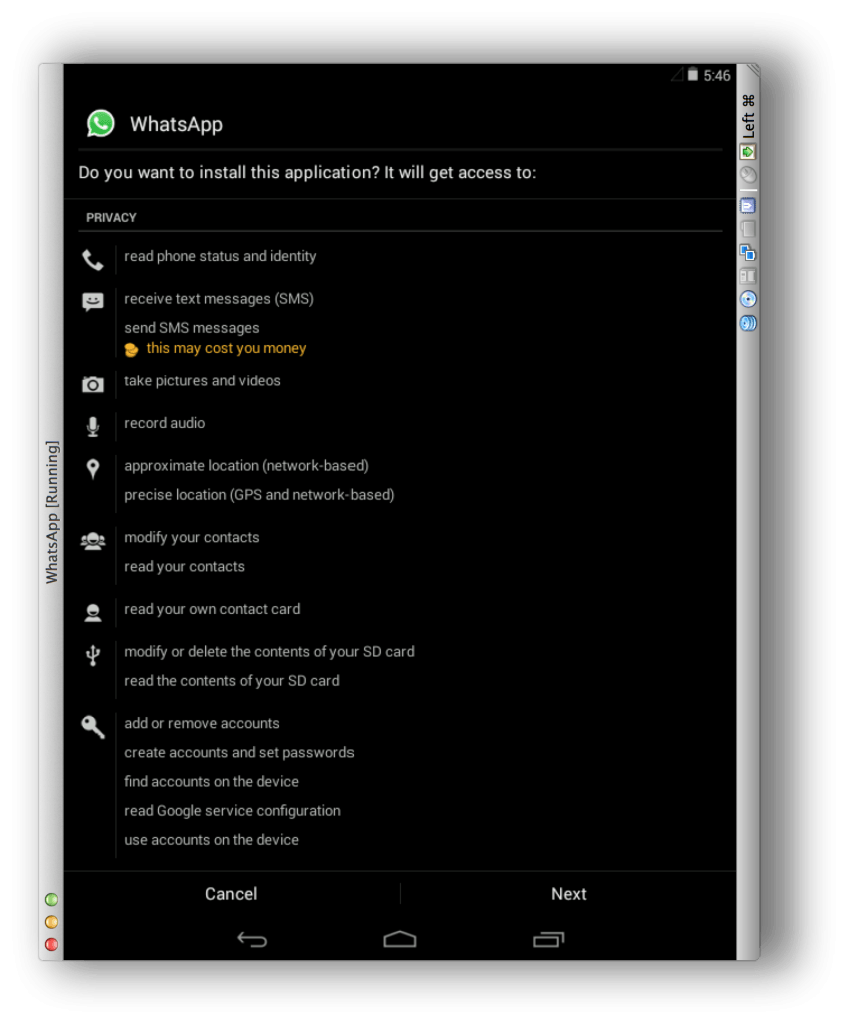
- Click Open and Accept the Custom ROM warning. Then simply follow the WhatsApp setup process.
- You’ve now installed WhatsApp on your Mac in an Android emulator.
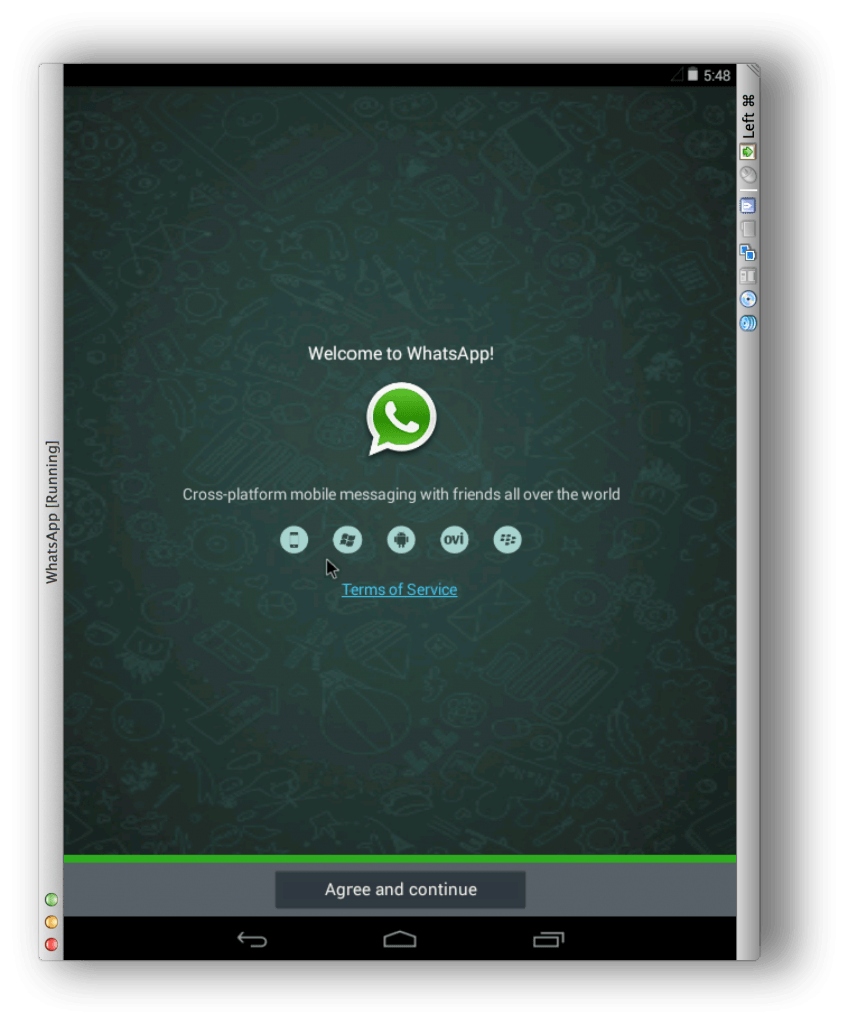
Of course, you’ll need a mobile number that is not already setup with a WhatsApp account to do this as you can only use one WhatsApp account on one device at a time.
Important: If the verification method by SMS fails, you need to use voice verification instead. Make sure the SIM card is on your mobile and select voice verification. You will then receive an automated message with a code that you can then enter into WhatsApp on your Mac to activate it.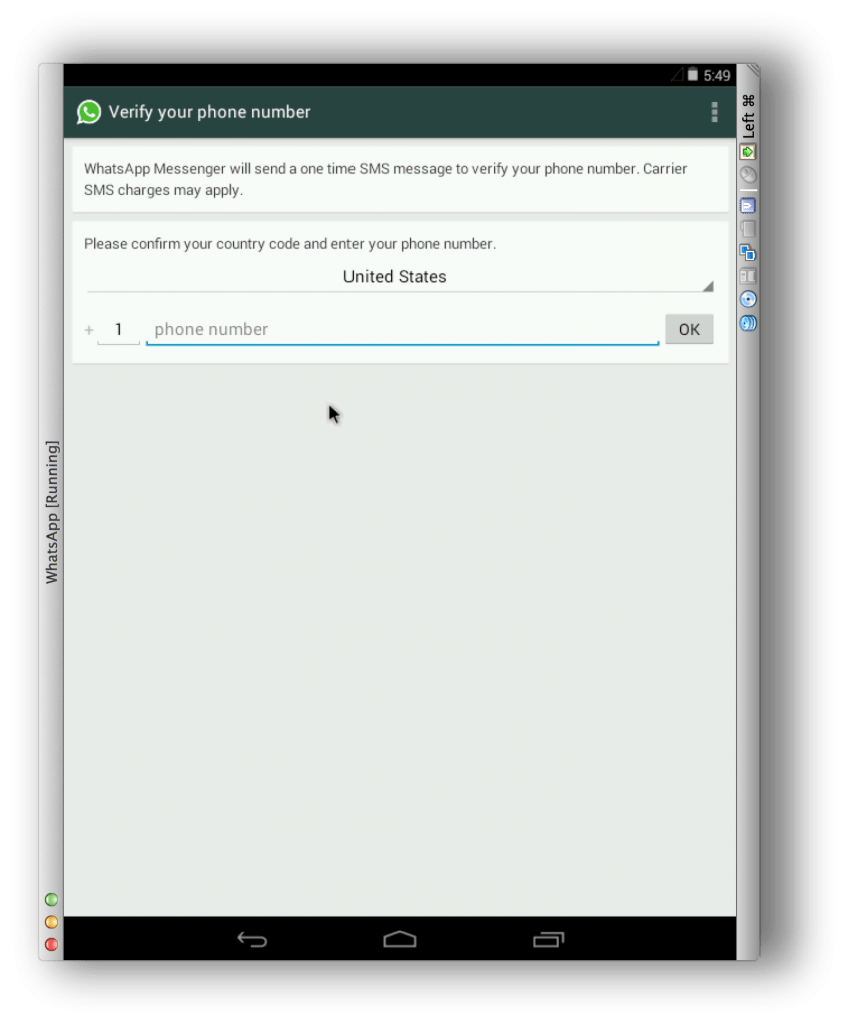 At the time of writing, this is the only way to physically install WhatsApp on Mac that definitely works other than the web version. If you have any problem using this tutorial, please let us know in the comments below.
6. Use Bluestacks
Bluestacks for Mac is an Android emulator which allows you to play Android games and use Android apps on a Mac.
It’s easier than using Virtual Box to install and Android emulator although it can be unreliable and unstable on a Mac.
Here’s how to install WhatsApp on a Mac using Bluestacks.
- Download and install Bluestacks 4 for Mac (note that the most recent version Bluestacks 5 is not available for Mac). Let the installer run and Bluestacks App Player is installed on your Mac.
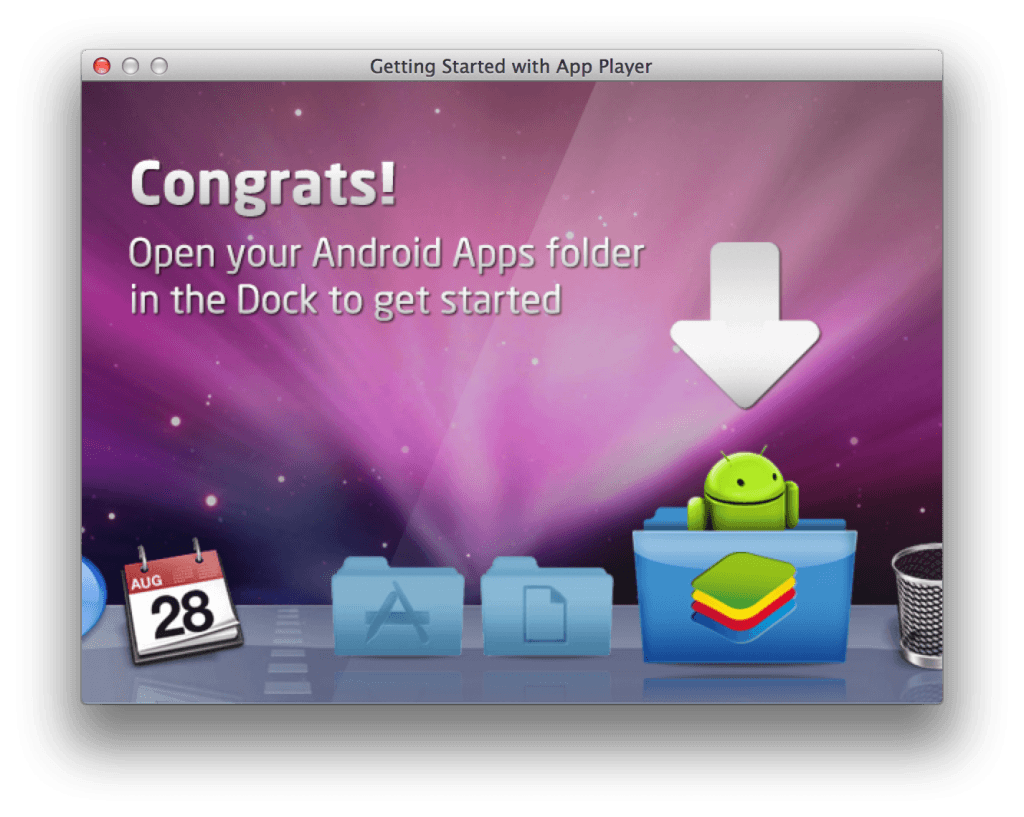
- You’ll find all of the pre-installed Android apps in your Dock which includes WhatsApp.
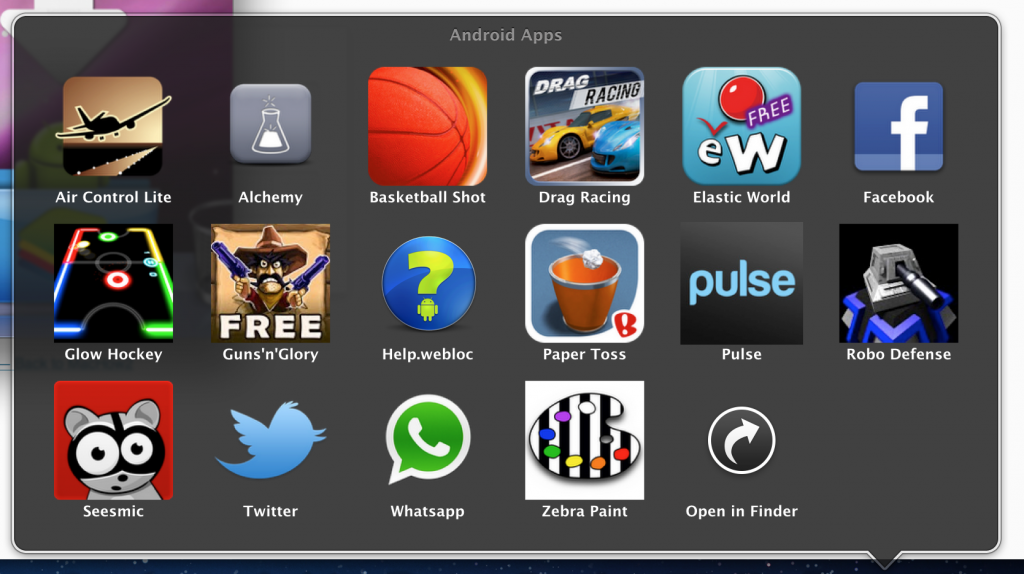
- However, the preinstalled Whatsapp will not work. You have to reinstall it by doing the following. Click on the Facebook app in Bluestacks and login into your Facebook account. Send yourself a message with the following link in it: http://www.whatsapp.com/android/
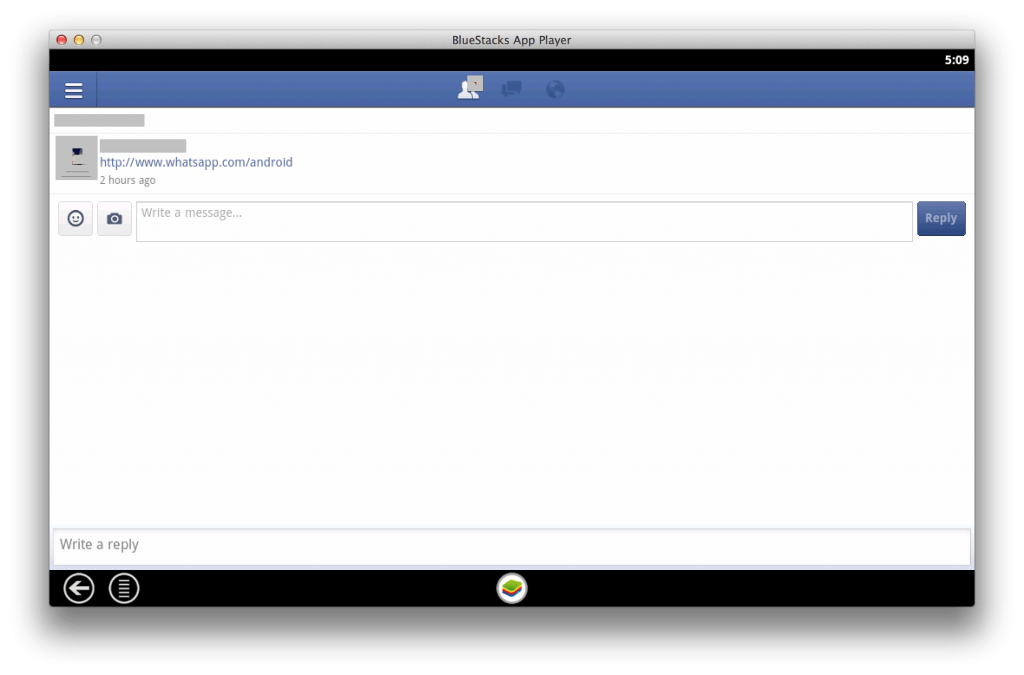
- Click on the link and then click “Download Now”.
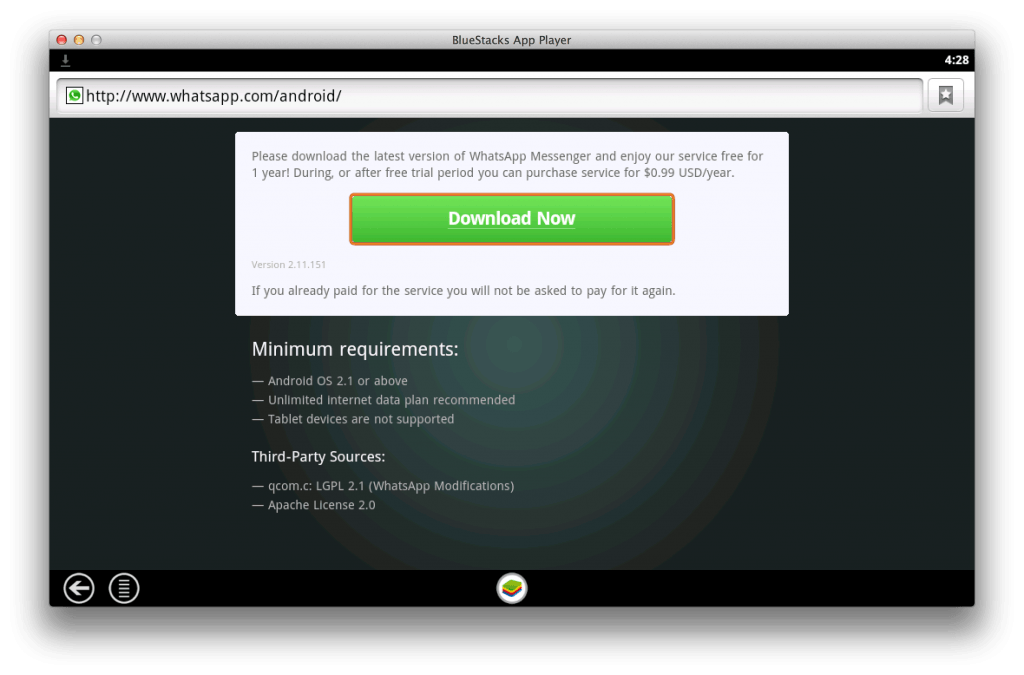
- WhatsApp will then start to download in Bluestacks App Player. You can see the status of the download by dragging down the status bar as if you were using an Android phone.
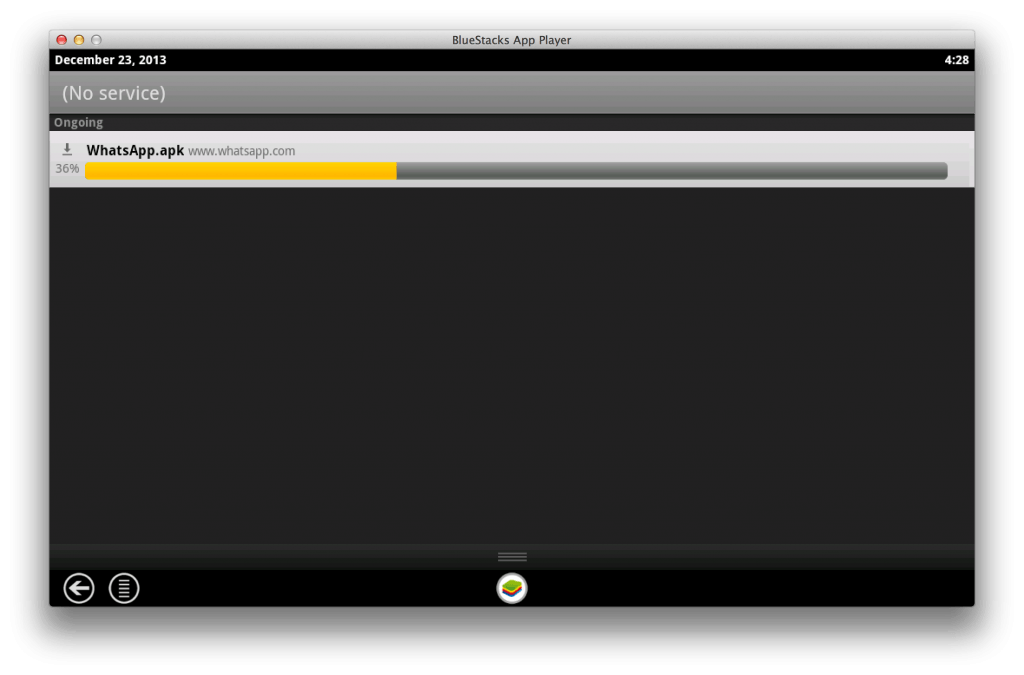
- When it’s finished, click on it to install Whatsapp on Mac. Then simply follow the install instructions as if you were installing Whatsapp on an Android phone.
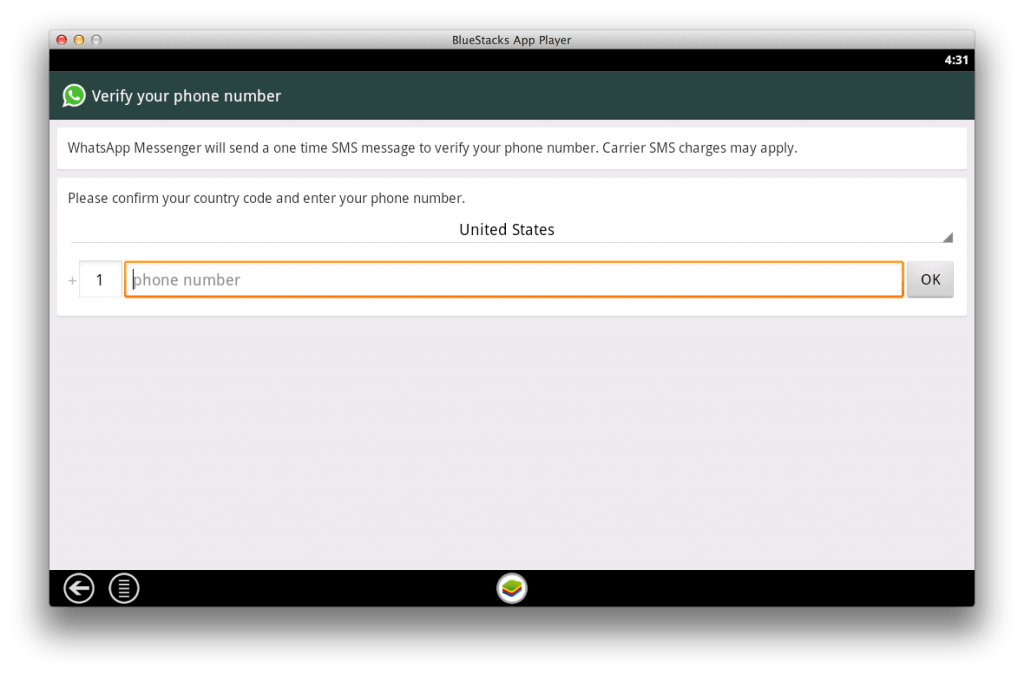
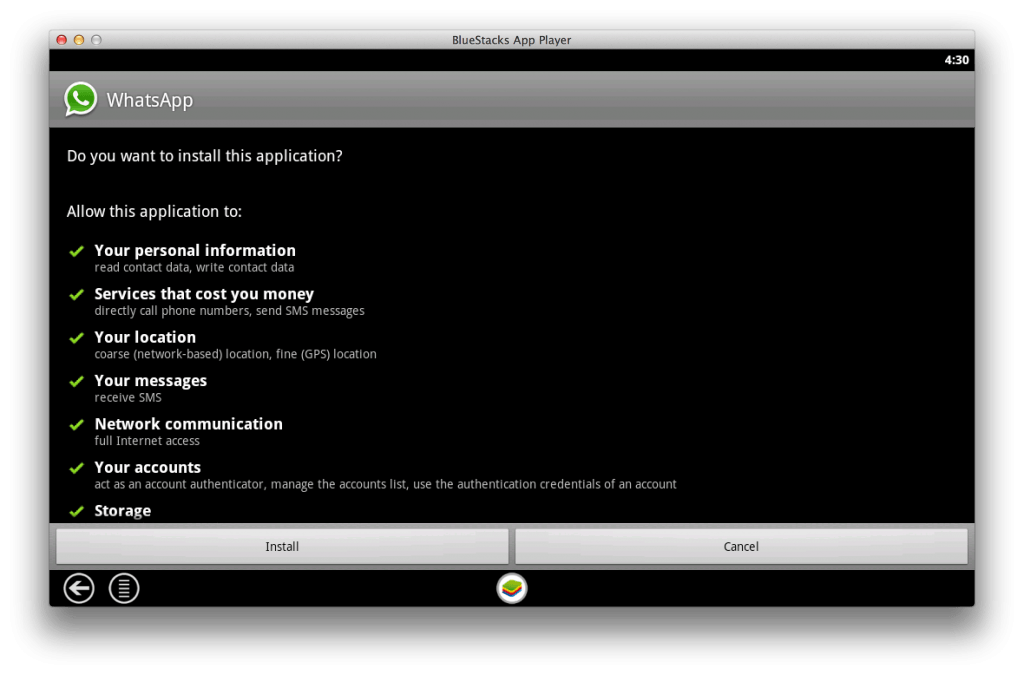 Remember that you’ll need a phone number with which to verify your Whatsapp account, either via SMS or Voice Message.
