If you’re having problems with external monitors not working on your Mac after upgrading to macOS Sonoma, Ventura or Monterey or after buying an Apple Silicon Mac, here we show you how to get them working again.
Many users have found that after upgrading to Sonoma, Ventura, Monterey and Big Sur, one or more of the external monitors they were using suddenly stopped working with their MacBook Pro, Mac Studio or Mac Mini.
The problem has affected all brands of monitor including LG, Dell, BenQ, Asus, Acer, Xiaomi and even Apple’s own Studio Display.
You May Also Like:
In the worst cases, some Mac users have found that the external display is not recognized by Sonoma, Ventura or Monterey when connected via USB-C or Thunderbolt.
In other cases, some monitors are completely blacked-out or not charging the MacBook Pro connected by Thunderbolt or USB-C cables.
Others are experiencing temporary black-outs which come and go, unstable connections, blurry fonts, washed-out fonts, garbled images or screen flickering.
For those that have just bought M1, M2 or M3 Macs and are trying to use more than one external monitor, it’s important to be aware that the base model M1, M2 and M3 chips do not support more than one external monitor so do not recognize dual monitors.
If you’re having problems connecting more than one external monitor to a base model Apple Silicon Mac (i.e. not M1 Pro, M1 Max or M1 Ultra chip Macs), we strongly recommend checking out these workarounds to make dual monitors work with Apple Silicon Macs.
However for users that are using just one monitor and have found that it has suddenly stopped working after upgrading to macOS Sonoma, Ventura, Monterey or even Big Sur, these fixes will help.
The display issues have affected both Intel Macs and the latest M1, M2 and M3 Macs so it’s not just an issue related to Apple Silicon Macs.
External monitor problems have been an ongoing issue since the release of Big Sur although the 12.1, 12.2, 12.3 and 12.4 updates to Monterey have fixed it for some users, many Sonoma and Ventura users are still struggling with no updates from Apple in sight.
Note that if your external display is being recognized by macOS but you’re just having problems with the resolution on your external display such as text looking blurry or too small especially on 4K or 5K displays, you may find these external display resolution solutions more useful.
Here then is how to fix external display problems on Intel and Apple Silicon Macs including those running Sonoma, Ventura, Monterey and Big Sur.
Table of Contents
- 1. Install DisplayLink Manager
- 2. Reset The External Display
- 3. Change The Refresh Rate
- 4. Deactivate TrueTone
- 5. Change The DisplayPort Setting
- 6. Use The HDMI Port
- 7. Disconnect & Reconnect Your Hub
- 8. Allow USB-C Connections
- 9. Try Using SwitchResX
- 10. Change Thunderbolt, USB-C or HDMI Cable
- 11. Deactivate Nightshift
- 12. Use BetterDisplay
- 13. Boot Into Safe Mode
- 14. Update macOS
- 15. Disable Graphics Switching
- 16. Kill The WindowServer Process
- 17. Roll Back macOS To Monterey
1. Install DisplayLink Manager
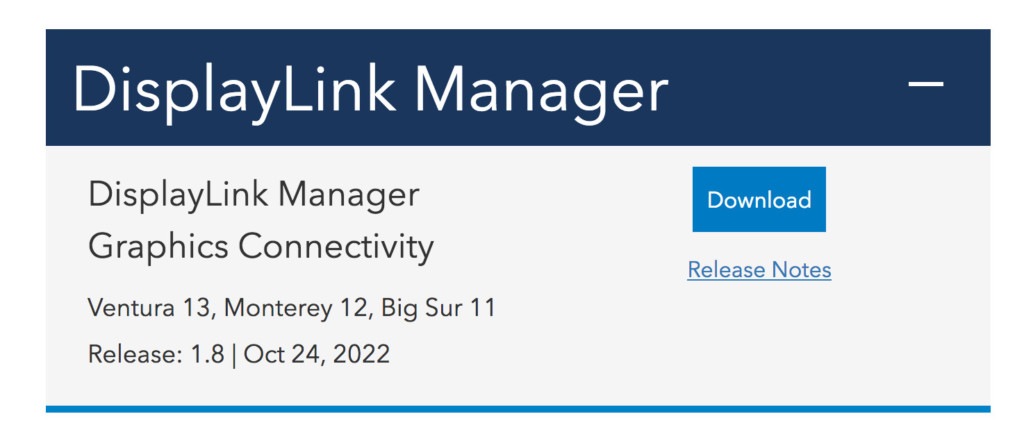
If you’re using a Thunderbolt or USB-C dock/hub to connect your monitors to an Intel or Apple Silicon Mac, then you may find that downloading and installing the free DisplayLink Manager from Synaptics helps.
DisplayLink Manager allows you to connect and manage dual monitors on Macs via a hub, including on Apple Silicon Macs.
Even if you’re only using one external monitor however, DisplayLink Manager can fix the problem if it’s not being recognized by your Mac.
It’s important that the dock or hub you are using supports DisplayLink and you can find this out by checking the model online but most Thunderbolt hubs support DisplayLink.
Once you’ve installed DisplayLink, your monitor should appear in your Mac Display preferences where you can manage the resolution, brightness and other things.
2. Reset The External Display
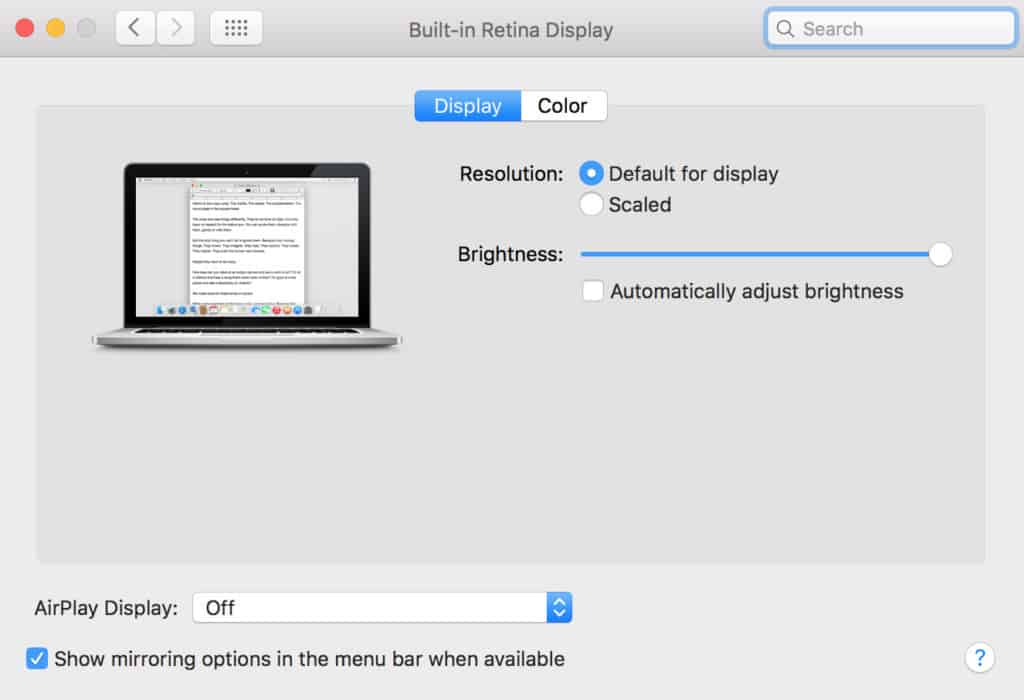
Sometimes when you change the resolution or refresh rate settings, your external monitor may not support the setting you’ve selected and go black.
In some cases, the monitor will reset itself back to a supported resolution or refresh rate but sometimes you’ll have to reset the external monitor manually to get it working again.
Note that resetting the NVRAM doesn’t usually fix this issue as it’s specific to the display settings on your Mac.
You can find full instructions how to reset an external display here.
If all else fails, it’s definitely worth contacting the manufacturer of your external display to see whether there is a firmware upgrade or known solution to the problem with Sonoma, Ventura, Monterey and external displays.
Most manufacturers are aware of the problem by now and many will roll out fixes or suggest solutions specific to their models.
3. Change The Refresh Rate
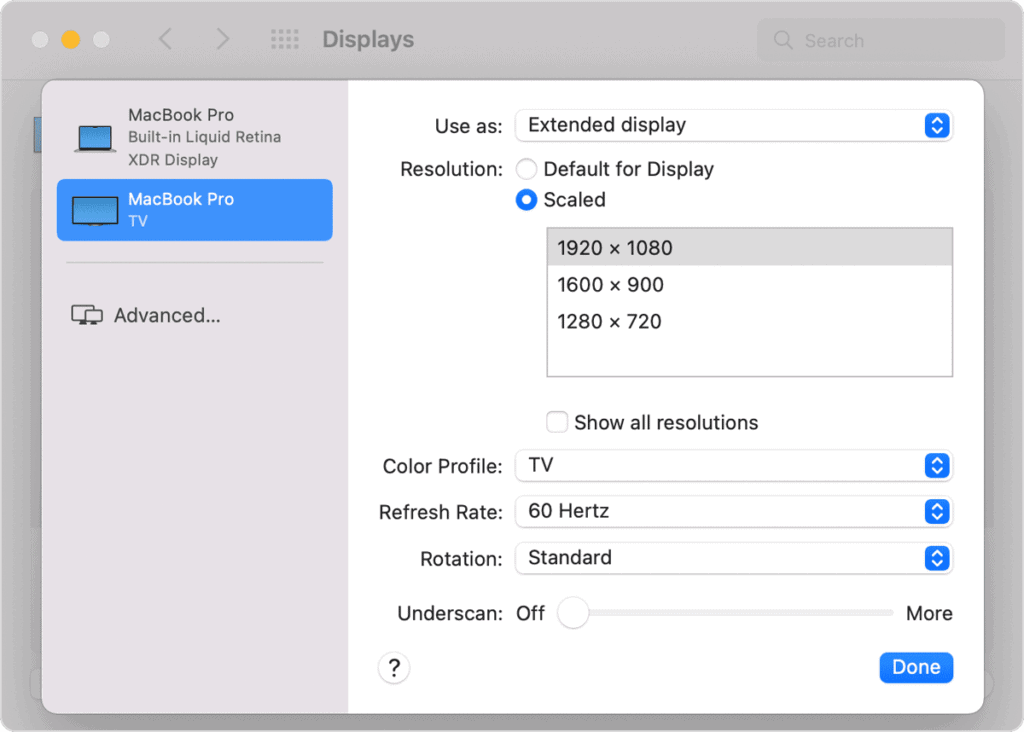
For some reason the refresh rate of some external monitors has been affected by Sonoma, Ventura and Monterey.
It seems that in some cases, macOS is trying to run external displays at a refresh rate that it’s not capable of.
Most external displays run at around 60Hz although some gaming monitors can run at over 100Hz.
To change the refresh rate, you need to go to the Display settings on your Mac by going to System Preferences > Displays where you can manually change the refresh rate.
We recommend setting it at 60Hz if possible but you can try experimenting with whatever options are available to see if it helps.
If you can’t see the refresh rate in settings, then try changing the resolution settings from “Default For Display” to “Scaled”.
You should then be able to see the refresh rate and change it manually.
4. Deactivate TrueTone
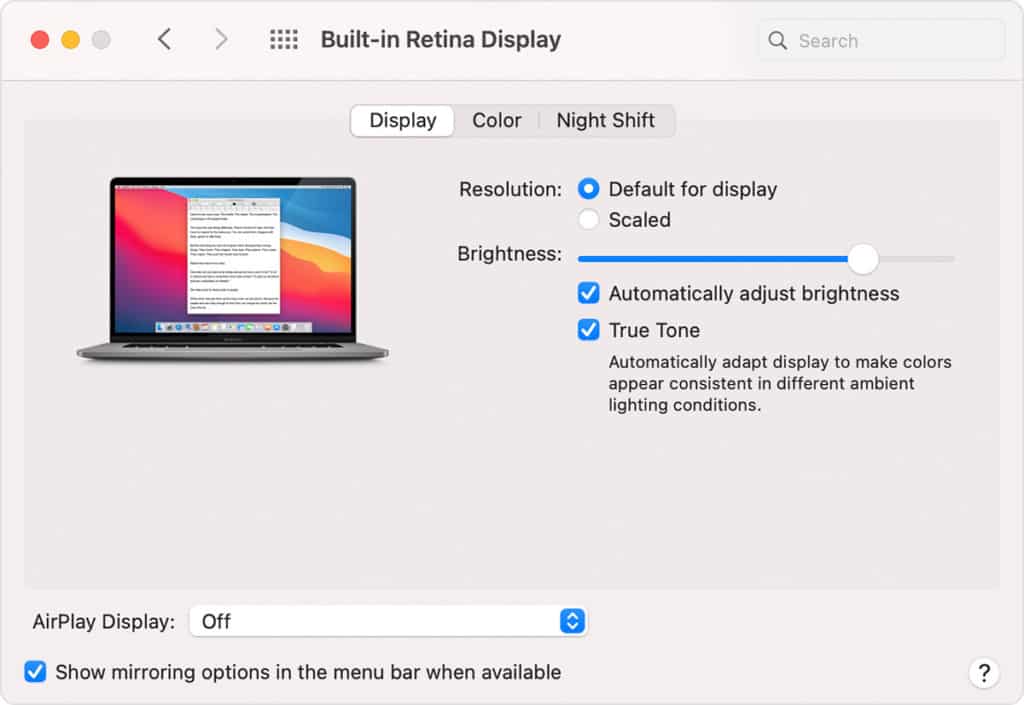
Some users have found that deactivating True Tone on the MacBook Pro display has helped to make external monitors work again with their Mac.
This is mainly on LG 4K or 5K UltraFine displays that support extending True Tone to them from your Mac.
On MacBook Pros and iMacs that support True Tone, go to the Display settings and you simply uncheck the True Tone box to deactivate it.
5. Change The DisplayPort Setting
In LG monitors, if you go into the Settings > General you can select the DisplayPort version your Mac is using to get it working again.
The DisplayPort version is usually set to 1.4 but if you change it to 1.2, you may find that the monitor starts working again with your Mac.
Some Mac Mini users have found changing the DisplayPort setting has helped fixed external displays not being detected by macOS.
You can also try downloading and installing the latest version of DisplayPort Manager if you don’t have a choice of settings.
6. Use The HDMI Port
If you’re not having any luck with the USB-C or Thunderbolt port on your monitor, then you can try using the HDMI port instead.
If the problem is related to the USB-C or Thunderbolt connections ports, then no other workaround will fix it other than changing to HDMI.
Note this may not work via a Thunderbolt hub. You’ll need to connect the HDMI directly to your Thunderbolt port using an HDMI to Thunderbolt adapter.
Note that HDMI isn’t as good as Thunderbolt because Macs only support the older 2.0 HDMI standard.
This means that although you can get 4K resolution via a Mac’s HDMI port, you can’t get high refresh rates of 120Hz via HDMI.
HDMI 2.0 only supports a maximum display resolution of 3840 x 2160 with a 60Hz refresh rate.
HDMI 2.1 supports the same 3840 x 2160 resolution but at up to a 120Hz refresh rate and can also support resolutions of 7680 x 4320 at 60Hz.
7. Disconnect & Reconnect Your Hub
If you’re using a USB-C, Thunderbolt hub or HDMI adapter to connect your monitors to your Mac, unplug and disconnect the device and then reconnect it again.
The most reliable hub to use with an external monitor connected to Macs is the Apple USB-C Digital AV Multiport adapter.
If you’re not using a DisplayLink compatible hub, you should also try checking the manufacturer website to see if any updated drivers have been released for your hub to make it work with Sonoma, Ventura and Monterey.
8. Allow USB-C Connections
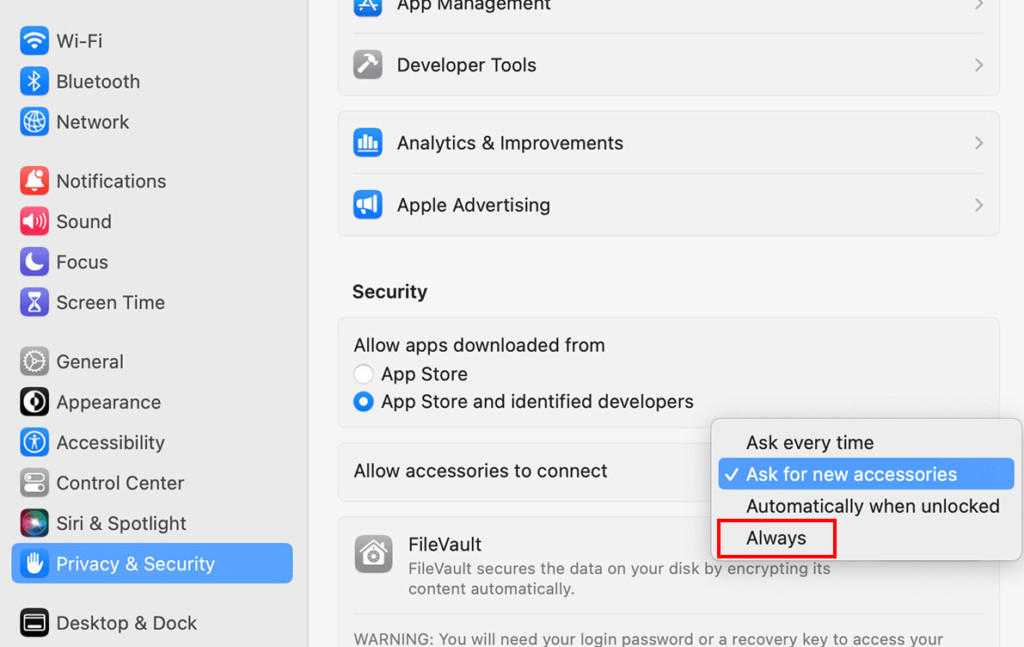
macOS Ventura introduced a new feature “USB Restricted Mode” for M1 and M2 Macs which requires you to allow USB-C devices such as monitors to connect to your Mac.
If this is enabled, it may be preventing your display from connecting to your Mac.
If you updated to Ventura while the monitor was connected then it shouldn’t be a problem but if you connected it after the update, macOS may have blocked it.
Try unplugging and re-plugging your monitor into the Thunderbolt/USB-C port and click “Allow” when prompted.
You may have to then setup the monitor as a Mirrored Display then switch to Extend Display to complete the setup.
If macOS Ventura still isn’t detecting the external monitor then you can disable USB Restricted Mode by going to:
- Go to the Apple logo in the top left of your screen.
- Click on System Settings > Privacy & Security
- Scroll down to Security and in the “Allow accessories to connect” drop-down menu select “Always”.
9. Try Using SwitchResX
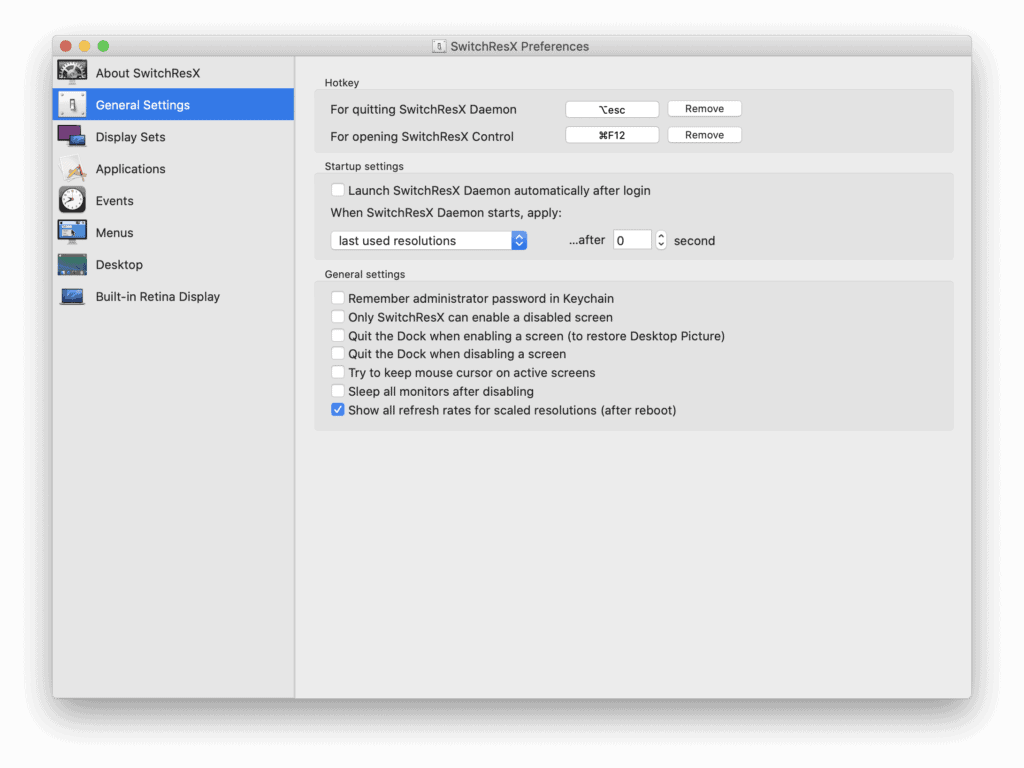
SwitchResX is a simple app that allows you to instantly switch resolution on your Mac screen or any external monitors connected to it.
It’s been used to fix external displays with poor resolutions when connected to Apple Silicon Macs running Sonoma, Ventura and Monterey.
If your monitor is being recognized by your Mac but the resolution is poor then by experimenting with the resolution settings, you may be able to get your external monitors working again.
SwitchResX has been updated to work with the M1, M2 & M3 chip too and allows you to change the resolution of your external monitors, set display rotation, set display underscan and more.
10. Change Thunderbolt, USB-C or HDMI Cable
In some cases, simply changing the Thunderbolt cable or HDMI cable will fix the problem.
If you’re using a cheap Thunderbolt or HDMI cable, we recommend buying an official Apple Thunderbolt cable or a high end HDMI cable such as the JSAUX HDMI cable.
11. Deactivate Nightshift
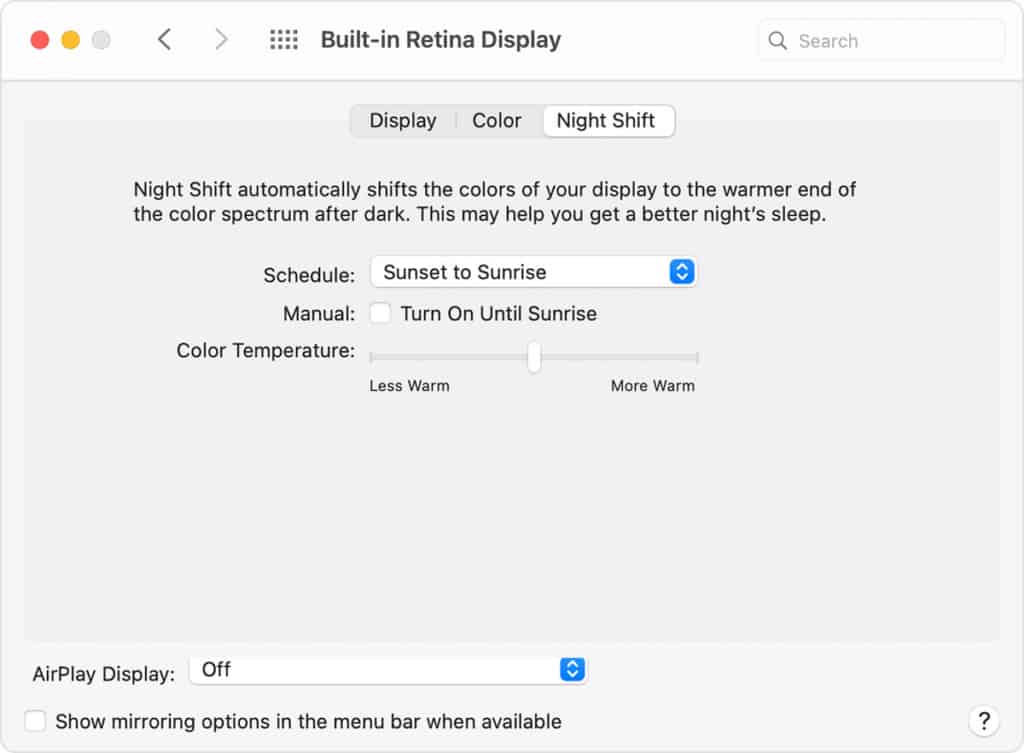
Nightshift adjusts the colors on your Display to the warmer end of the color spectrum. However, deactivating it has fixed the Sonoma, Ventura and Monterey monitor issues that some users have been having.
To deactivate Nightshift, go to System Preferences > Displays and then uncheck Nightshift.
12. Use BetterDisplay
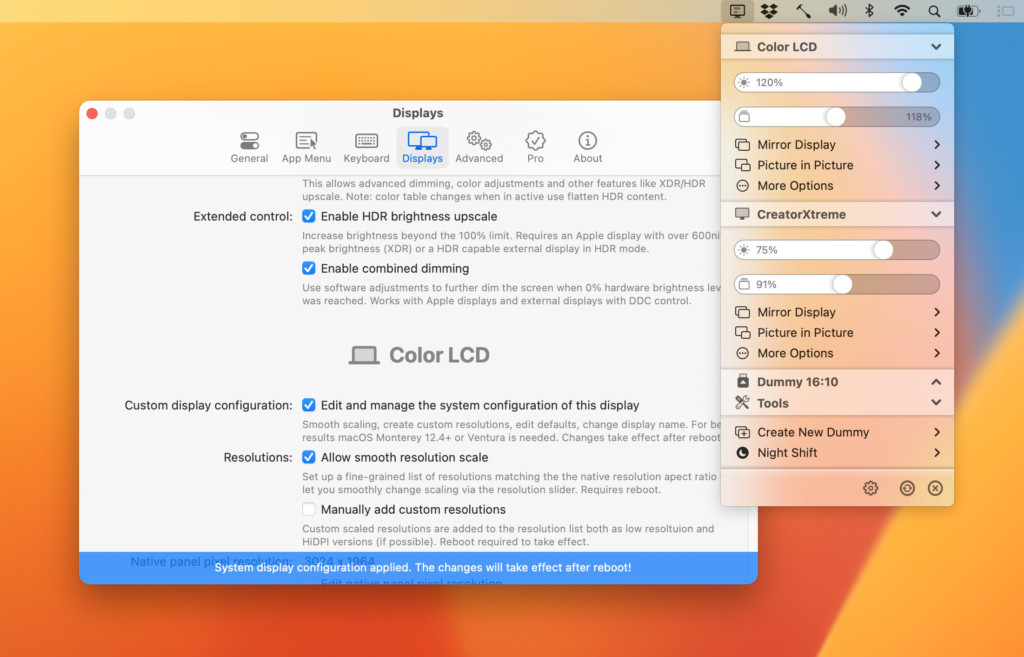
BetterDisplay (previously BetterDummy) is a cleaver utility that aims to fix resolution problems with external displays connected to Macs.
BetterDisplay has been very effective at correcting external displays that look blurry or are poor quality when connected to Apple Silicon Macs.
BetterDisplay works by works by creating a virtual display in macOS and then mirroring that virtual display to help improve the quality of images when connecting Apple Silicon Macs to external displays.
This is mainly to improve the results with cheap QHD or FHD monitors but is worth a go if you can’t get your Apple Silicon Mac monitor working with an external display in Sonoma, Ventura and Monterey.
You can find more information on BetterDisplay and how to fix external monitor resolution problems here.
13. Boot Into Safe Mode
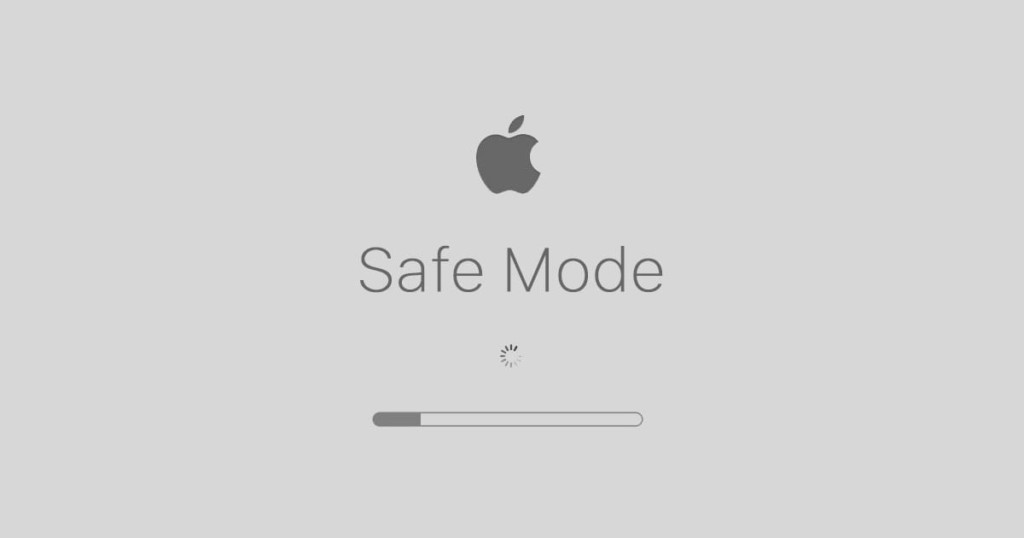
If your Mac won’t recognize your display then booting into Safe Mode provides a way to diagnose the problem.
Booting into safe mode uses only the most essential parts of macOS to help identify apps or devices which may be causing problems on your Mac.
If your the external monitor is recognized on your Mac in Safe Mode you can often simply reboot normally and your external displays will work again.
However, sometimes this doesn’t work and then it’s a case of finding which app or process on your Mac is preventing your external displays working properly.
In this case, you must restart your Mac in normal mode and start deleting or uninstalling apps you don’t use or run an anti-virus or malware scanner such as Malwarebytes to remove any malicious processes or apps.
To boot into Safe Mode on an Intel Mac:
- Shut down or turn off your Intel Mac
- Turn it on by pressing the power button in the top left of your keyboard and immediately hold down the Shift key until you see the login window
- Log in to your Mac which will be in Safe Mode
To boot into Safe Mode on an Apple Silicon Mac:
- Shut down or turn off your Apple Silicon Mac.
- Hold the power button down until you see “Loading startup options.”
- Select the startup volume that you usually boot your Mac on.
- Hold down Shift and click “Continue in Safe Mode.”
- Log into your Mac which now be in Safe Mode
14. Update macOS
It’s possible that Apple has already issued an update to fix external displays not being recognized in Sonoma, Ventura, Monterey and other problems.
This was the case with macOS Big Sur and updates to Monterey have fixed some if not all of the problems with external displays that Mac users are having.
Make sure that you’ve updated to the latest version of macOS by going to the Apple logo in the top left of your screen and selecting System Preferences > Software Update.
15. Disable Graphics Switching
Sometimes Automatic Graphics Switching does not play well with external displays connected to a Mac which is why it’s worth switching it off.
Automatic Graphics Switching is designed to save battery power when your Mac is disconnected from the mains by using less power for graphics.
To disable graphics switching in Sonoma or Ventura go to the Apple logo in the top left of your screen and select System Settings > Battery > Options.
To disable graphics switching in Sonoma or Ventura go to the Apple logo in the top left of your screen and select System Settings > Battery > Options.
To disable graphics switching in Big Sur Catalina and earlier, go to the Apple logo in the top left of your screen and select System Settings > Battery > Options.
16. Kill The WindowServer Process
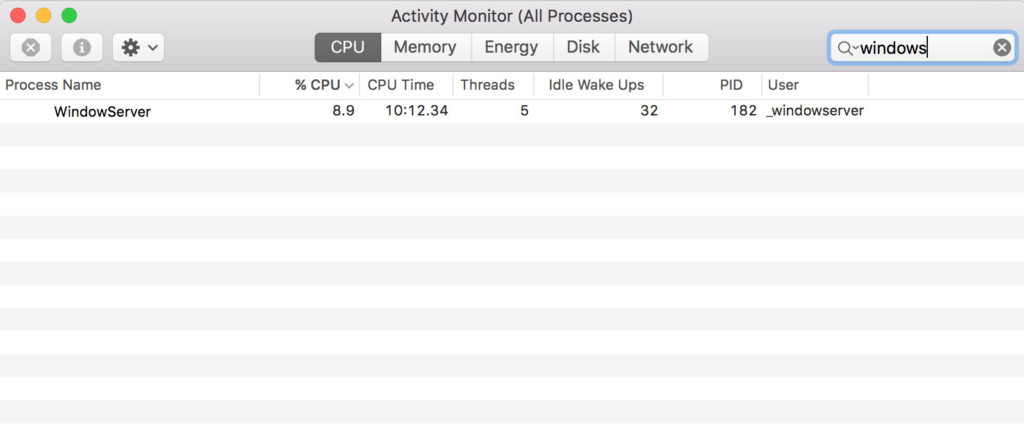
Some users that have had problems with macOS Monterey not recognizing external monitors have found that stopping the WindowServer process that runs in the background in macOS has fixed the problem.
To do this follow these instructions:
- Make sure your monitor is connected to your Mac and search in Spotlight on for Activity Monitor.
- Activity Monitor search for “WindowsServer”
- Double Click on it and Quit the Process. If necessary you can Force Quit the process too.
The process will then restart automatically and your monitor should start working with macOS again.
You’ll have to repeat this process every time you boot your Mac running macOS Ventura with an external display.
17. Roll Back macOS To Monterey
If the problem is Ventura or Sonoma is not working with the external display or recognizing it then if you did a Time Machine backup before upgrading, you can roll back to macOS Monterey very easily.
You can find full instructions how to restore a Mac with Time Machine here.
If you didn’t backup with Time Machine before updating to Sonoma or Ventura, it takes a lot longer to downgrade to an older version of macOS.


