
I always thought that creating a Windows bootable USB installer on a Mac was “easy”.
The theory goes: Download a Windows ISO, use a boot disk creation tool like Etcher or Boot Camp Assistant (on Intel Macs), plug the pen-drive into your PC and the bootable Windows installer is created.
In reality, after recently building my first Windows PC in years, I discovered that creating a Windows 11 boot disk on an Apple Silicon Mac wasn’t quite so simple.
If you’re trying to create a bootable Windows USB on a modern Mac, especially an Apple Silicon MacBook, here’s how I did it.
Contents
Using Rufus via a Virtual Machine
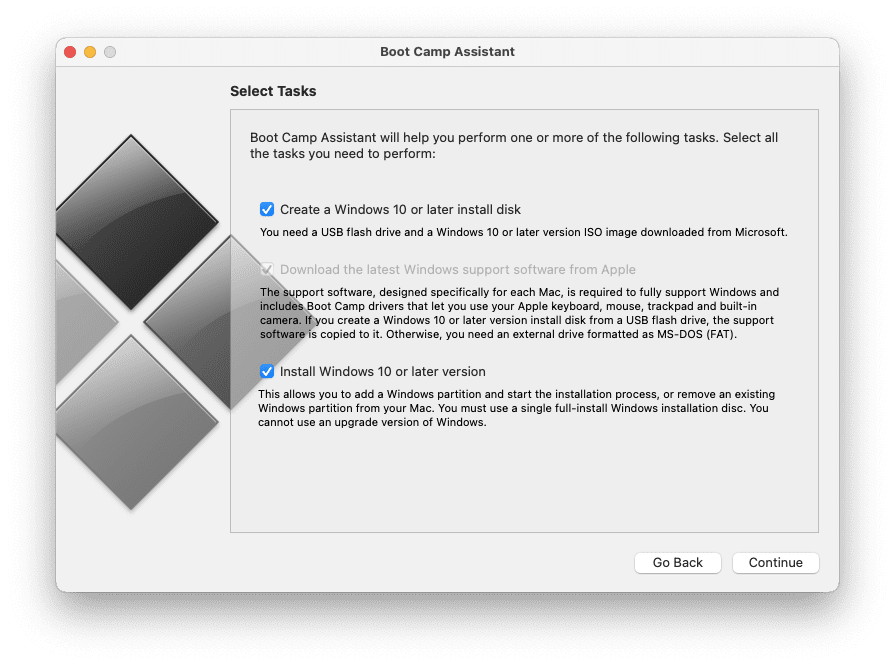
After using both an old Intel Mac to create a bootable USB installer with Boot Camp (since Boot Camp is not available for Apple Silicon Macs) and then trying Balena Etcher to create one on an Apple Silicon Mac, for some reason the PC would not boot from either of them.
When I placed the newly created USB boot pendrive in the PC and turned it on, all I got was a black screen with a flashing cursor in the corner. It was clear the PC had detected something was connected to the USB drive (since the BIOS screen was not automatically appearing anymore) but it could not boot the Windows 11 installer from it.
The solution I discovered (after a lot of messing around with other alternatives to Rufus for Mac) was to use Rufus in a virtual machine.
Here’s how I did it.
How To Run Rufus on a Mac To Create a Bootable Windows USB Drive
- Firstly Install a virtual machine on your Mac. I used Parallels but it should also work using the free VMware Fusion virtual machine.
- Install Windows in the virtual machine. Both Parallels and VMware Fusion do this automatically now as you can see using Parallels as an example in the video below.
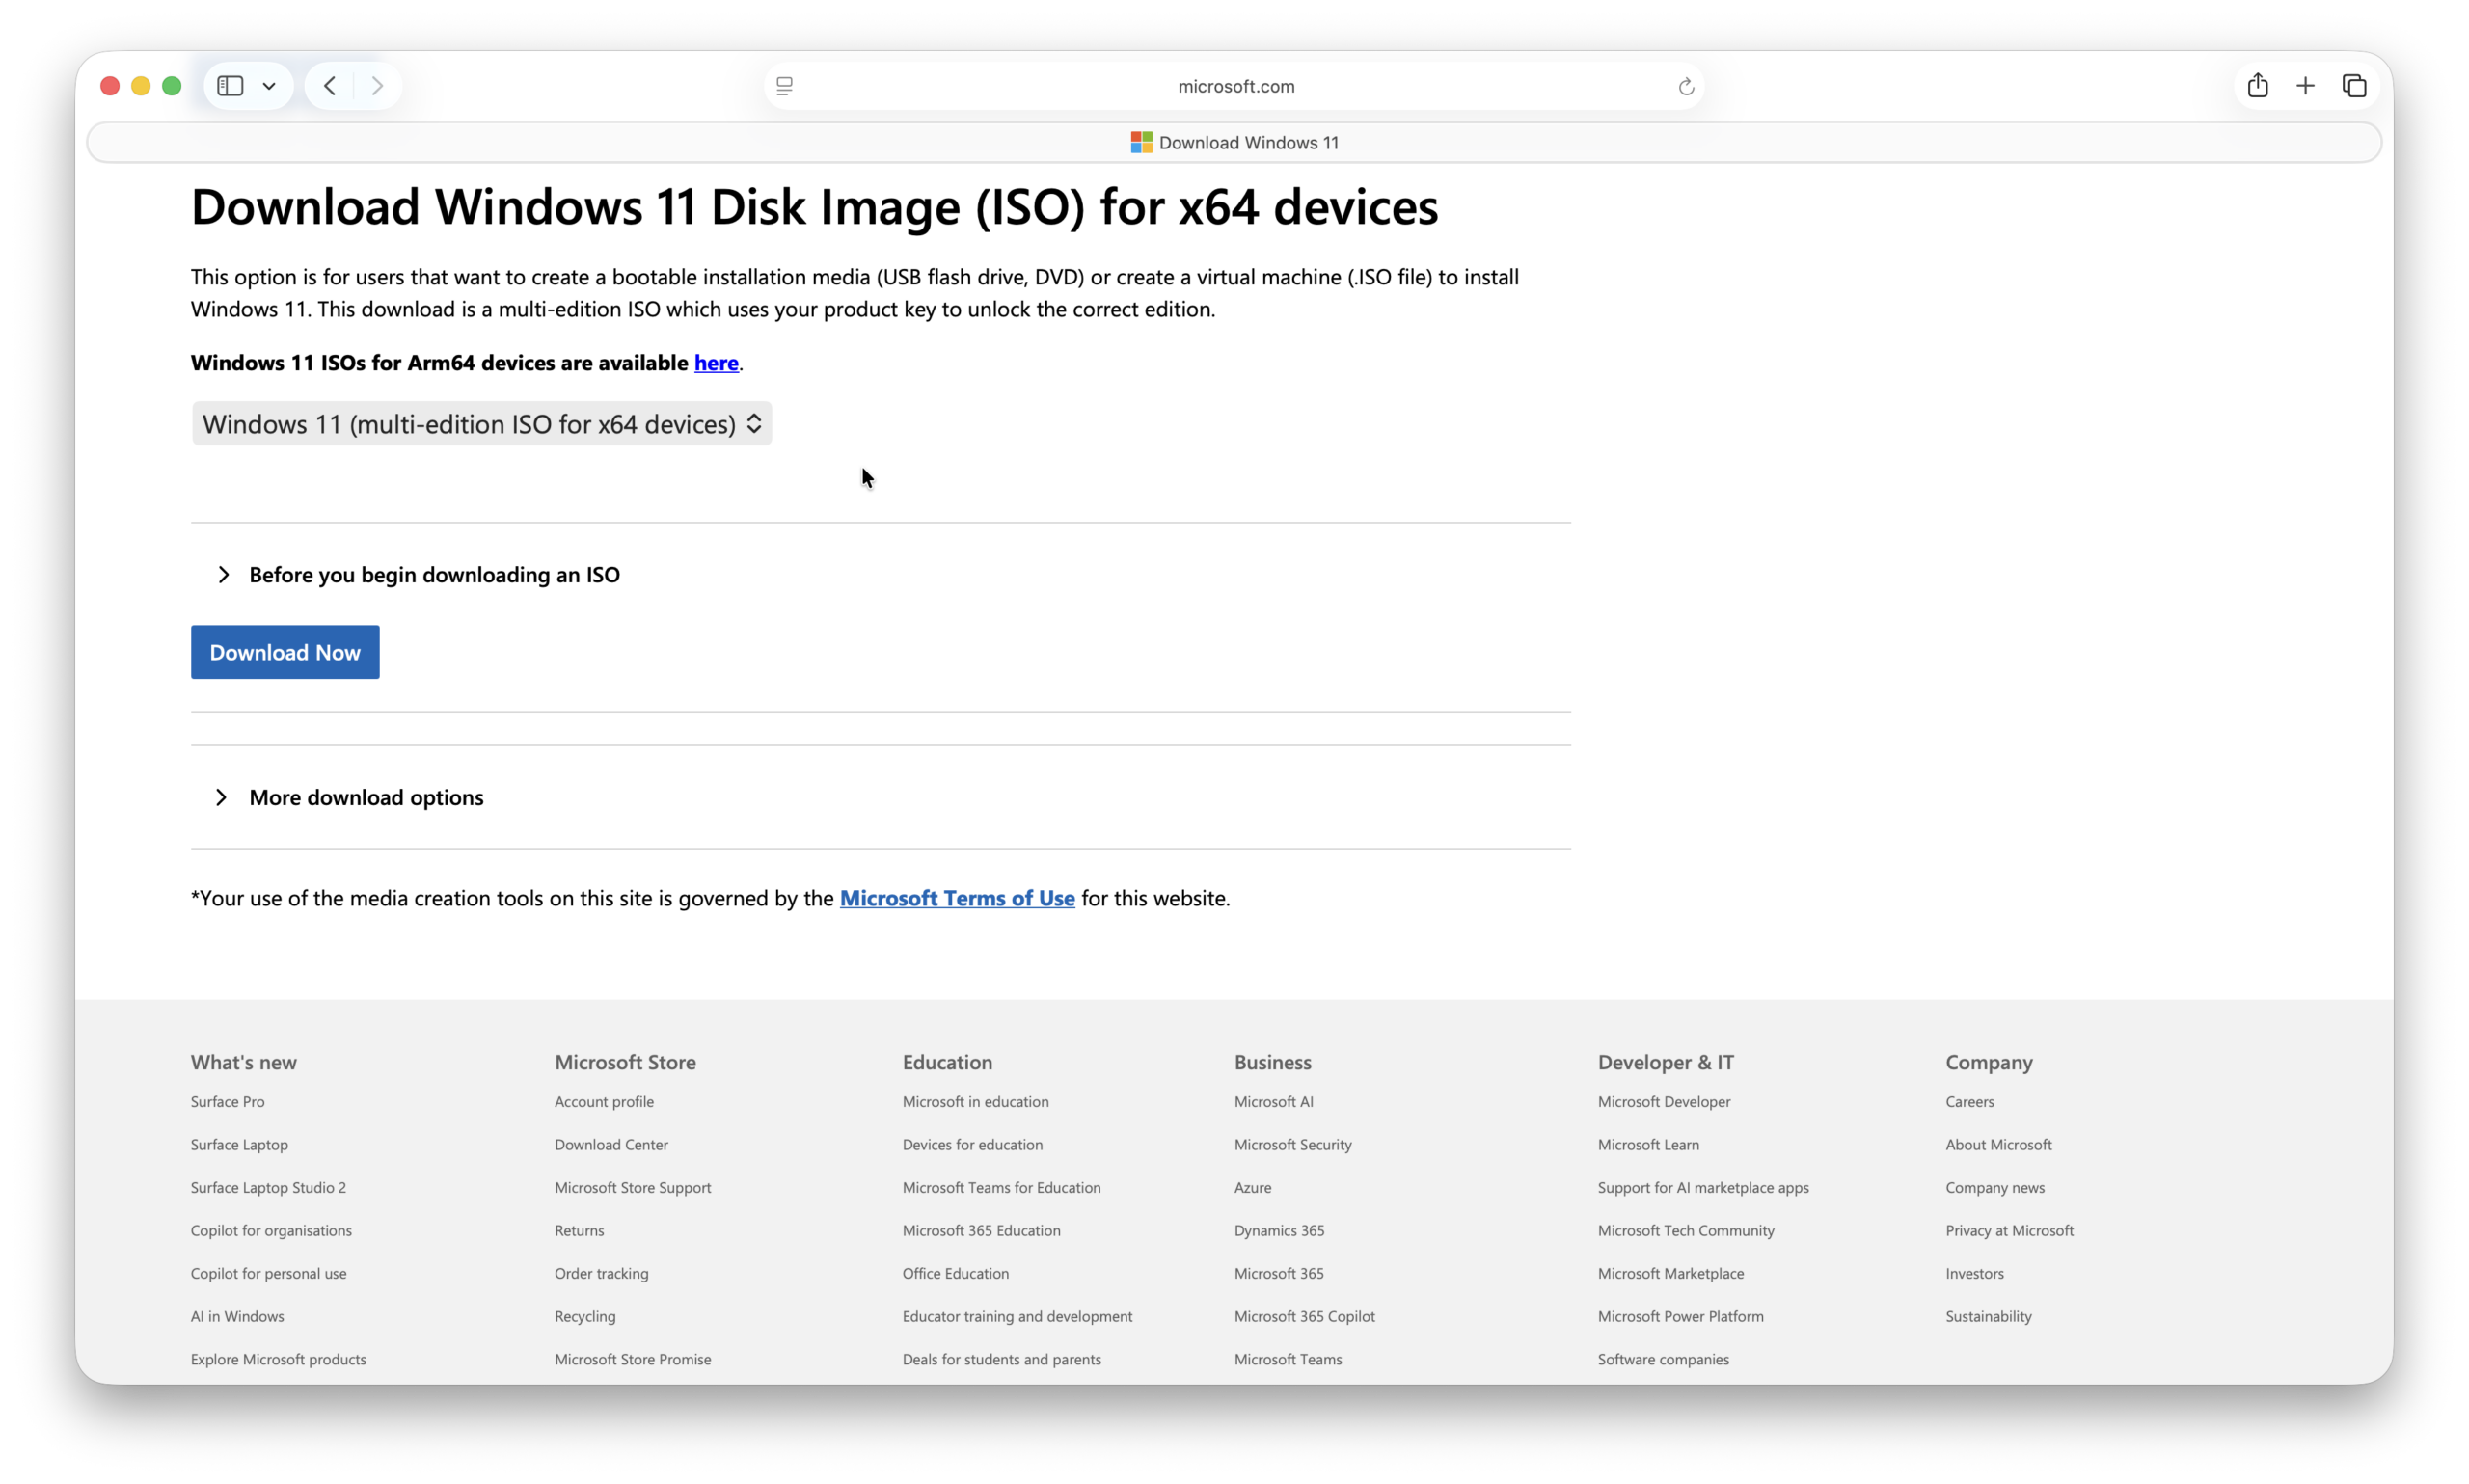
- Download a Windows 11 ISO from Microsoft. You need to scroll down to “Download Windows 11 Disk Image (ISO) for x64 devices” and select “Windows 11(multi-edition for x64 devices).
- Download and Install Rufus within Windows on your Mac.
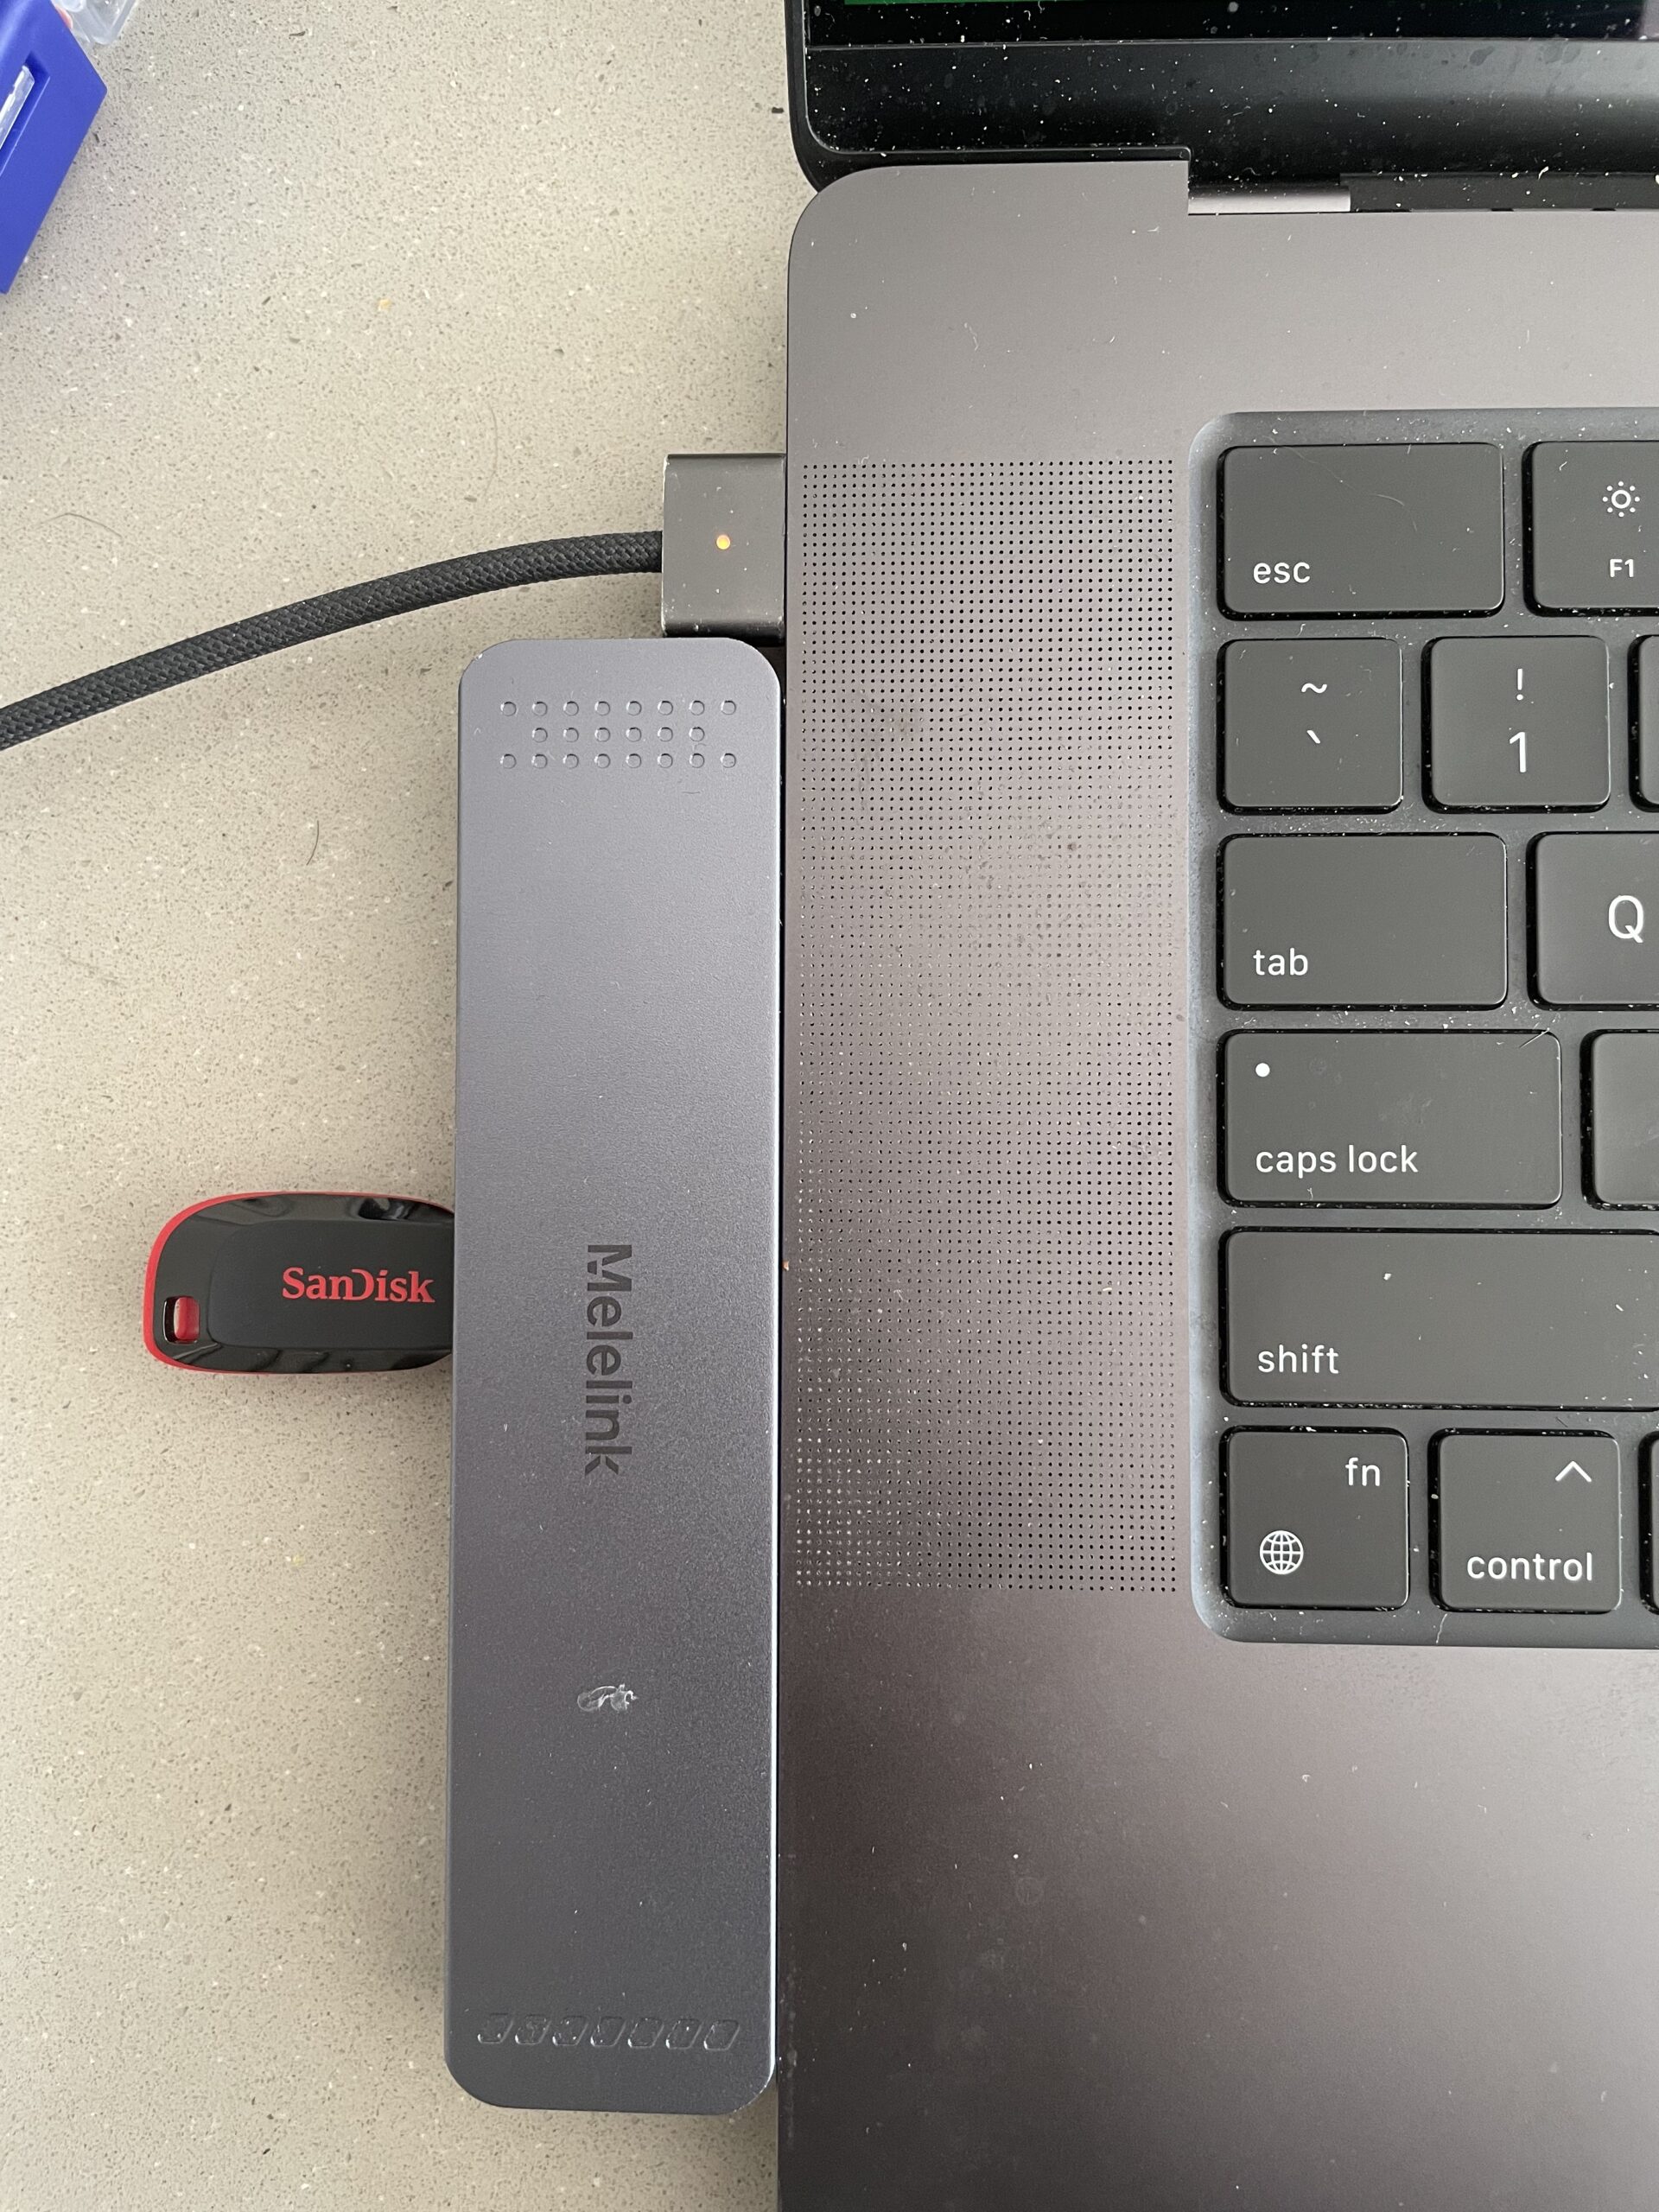
- Connect your USB drive to your Mac. I used a SanDisk 64GB Cruzer Blade USB 2.0 pen drive (you only need around 8GB to create a Windows installer so you could use a smaller one) connected via a USB hub on my Mac. The reason for the hub is because new Apple Silicon Macs only have newer USB-C/Thunderbolt ports on them. The reason I didn’t use a USB-C or Thunderbolt external drive to create the boot drive is because I suspected the USB-C port on the newly built PC was dead or not working yet. Whenever I connected a drive to it, there was no power or sound suggesting that it was not recognized. Also, simpler USB flash drives often work more reliably as boot media because some BIOS systems struggle with external SSDs, high-speed USB devices or certain USB controllers during the boot process.
- Parallels will detect that a new device has been connected and will ask whether you want your Mac or Windows to use it. Make sure that you select “Windows” and Rufus will recognize it too. If it doesn’t appear first time, shut down Rufus and restart it. You can also try unplugging and reconnecting the pen drive.
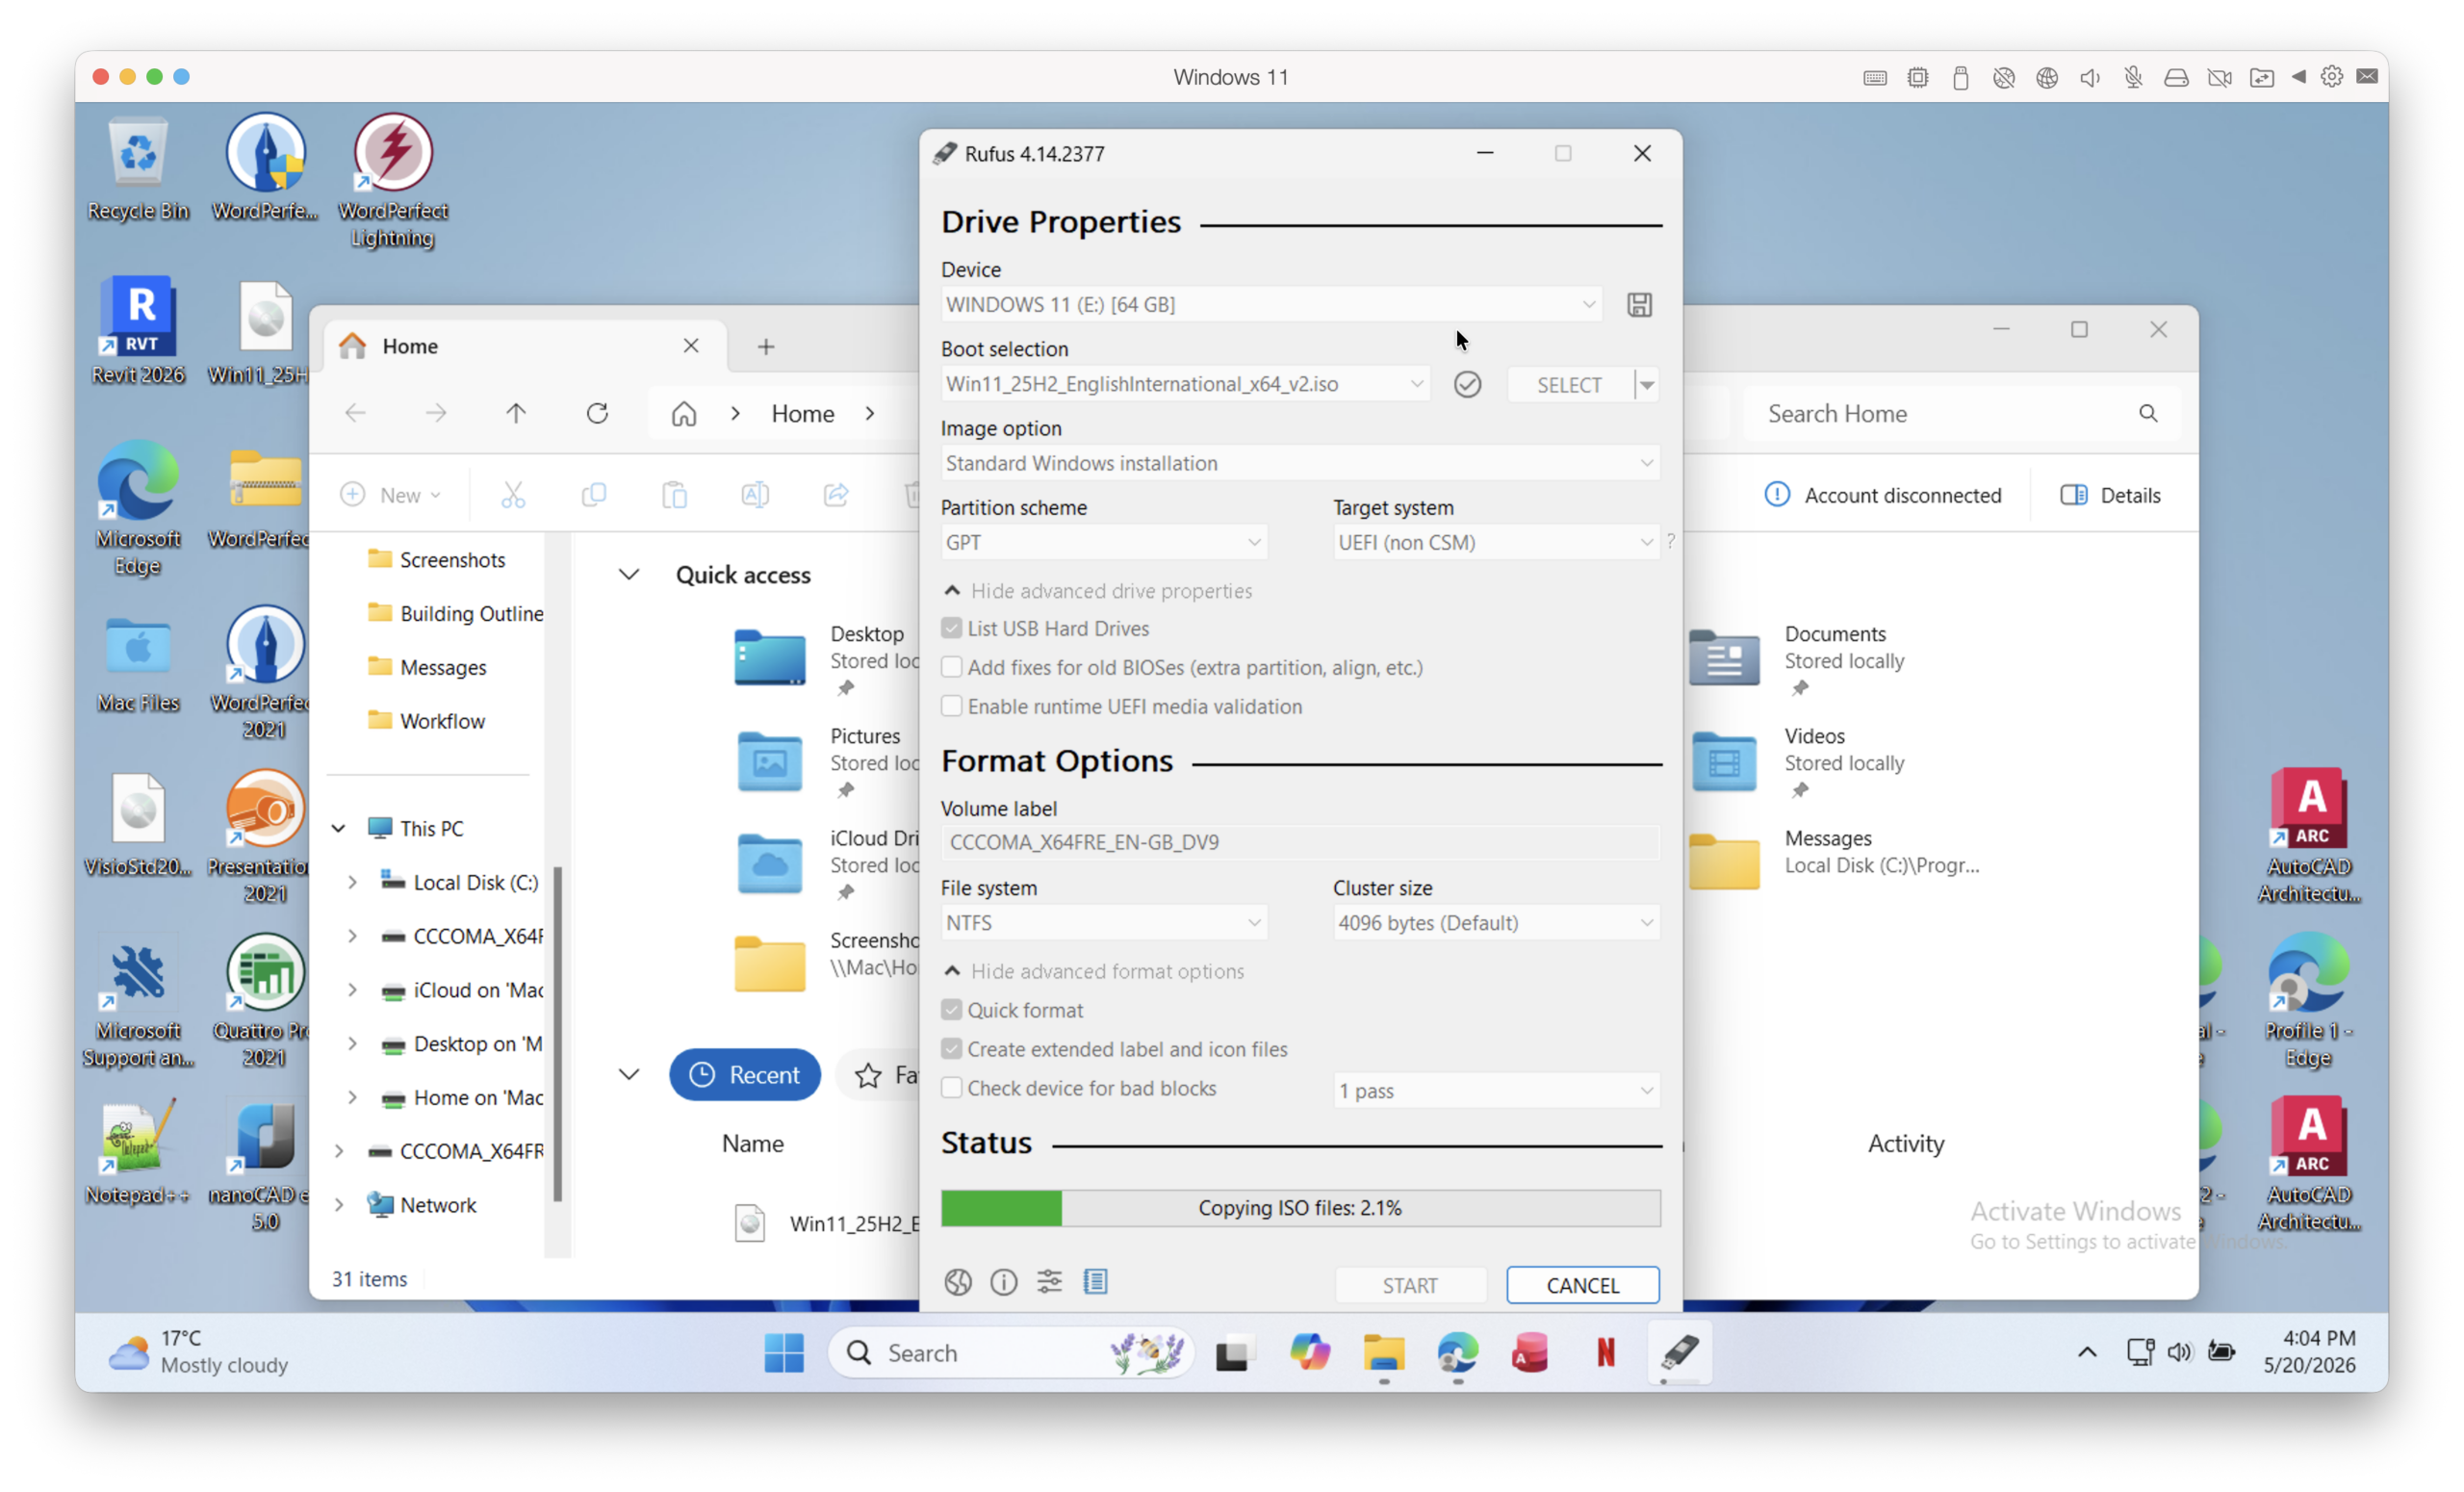
Before clicking Start to create the bootable Windows installer, you can configure the following settings:
- Boot selection: Windows 11 ISO
- Image option: Standard Windows installation
- Partition scheme: GPT
- Target system: UEFI (non-CSM)
- File system: NTFS
- Cluster size: Default
Rufus also prompted me with several optional Windows 11 customizations including:
- Removing Microsoft account requirements
- Disabling data collection prompts
- Skipping some setup questions
These aren’t essential for booting, but they can make the Windows installation experience much smoother.
- Click “Start” and the green progress bar will begin. It took around 10 minutes to create the boot disk. You can now close Rufus and eject the USB pen drive.
If you have any problems doing any of this, check out my video below where you can see the whole process in action:
- Once the Rufus has completed creating the boot disk, remove it from your Mac and insert the pen drive into one of the USB ports on the back of your PC which should be turned off.

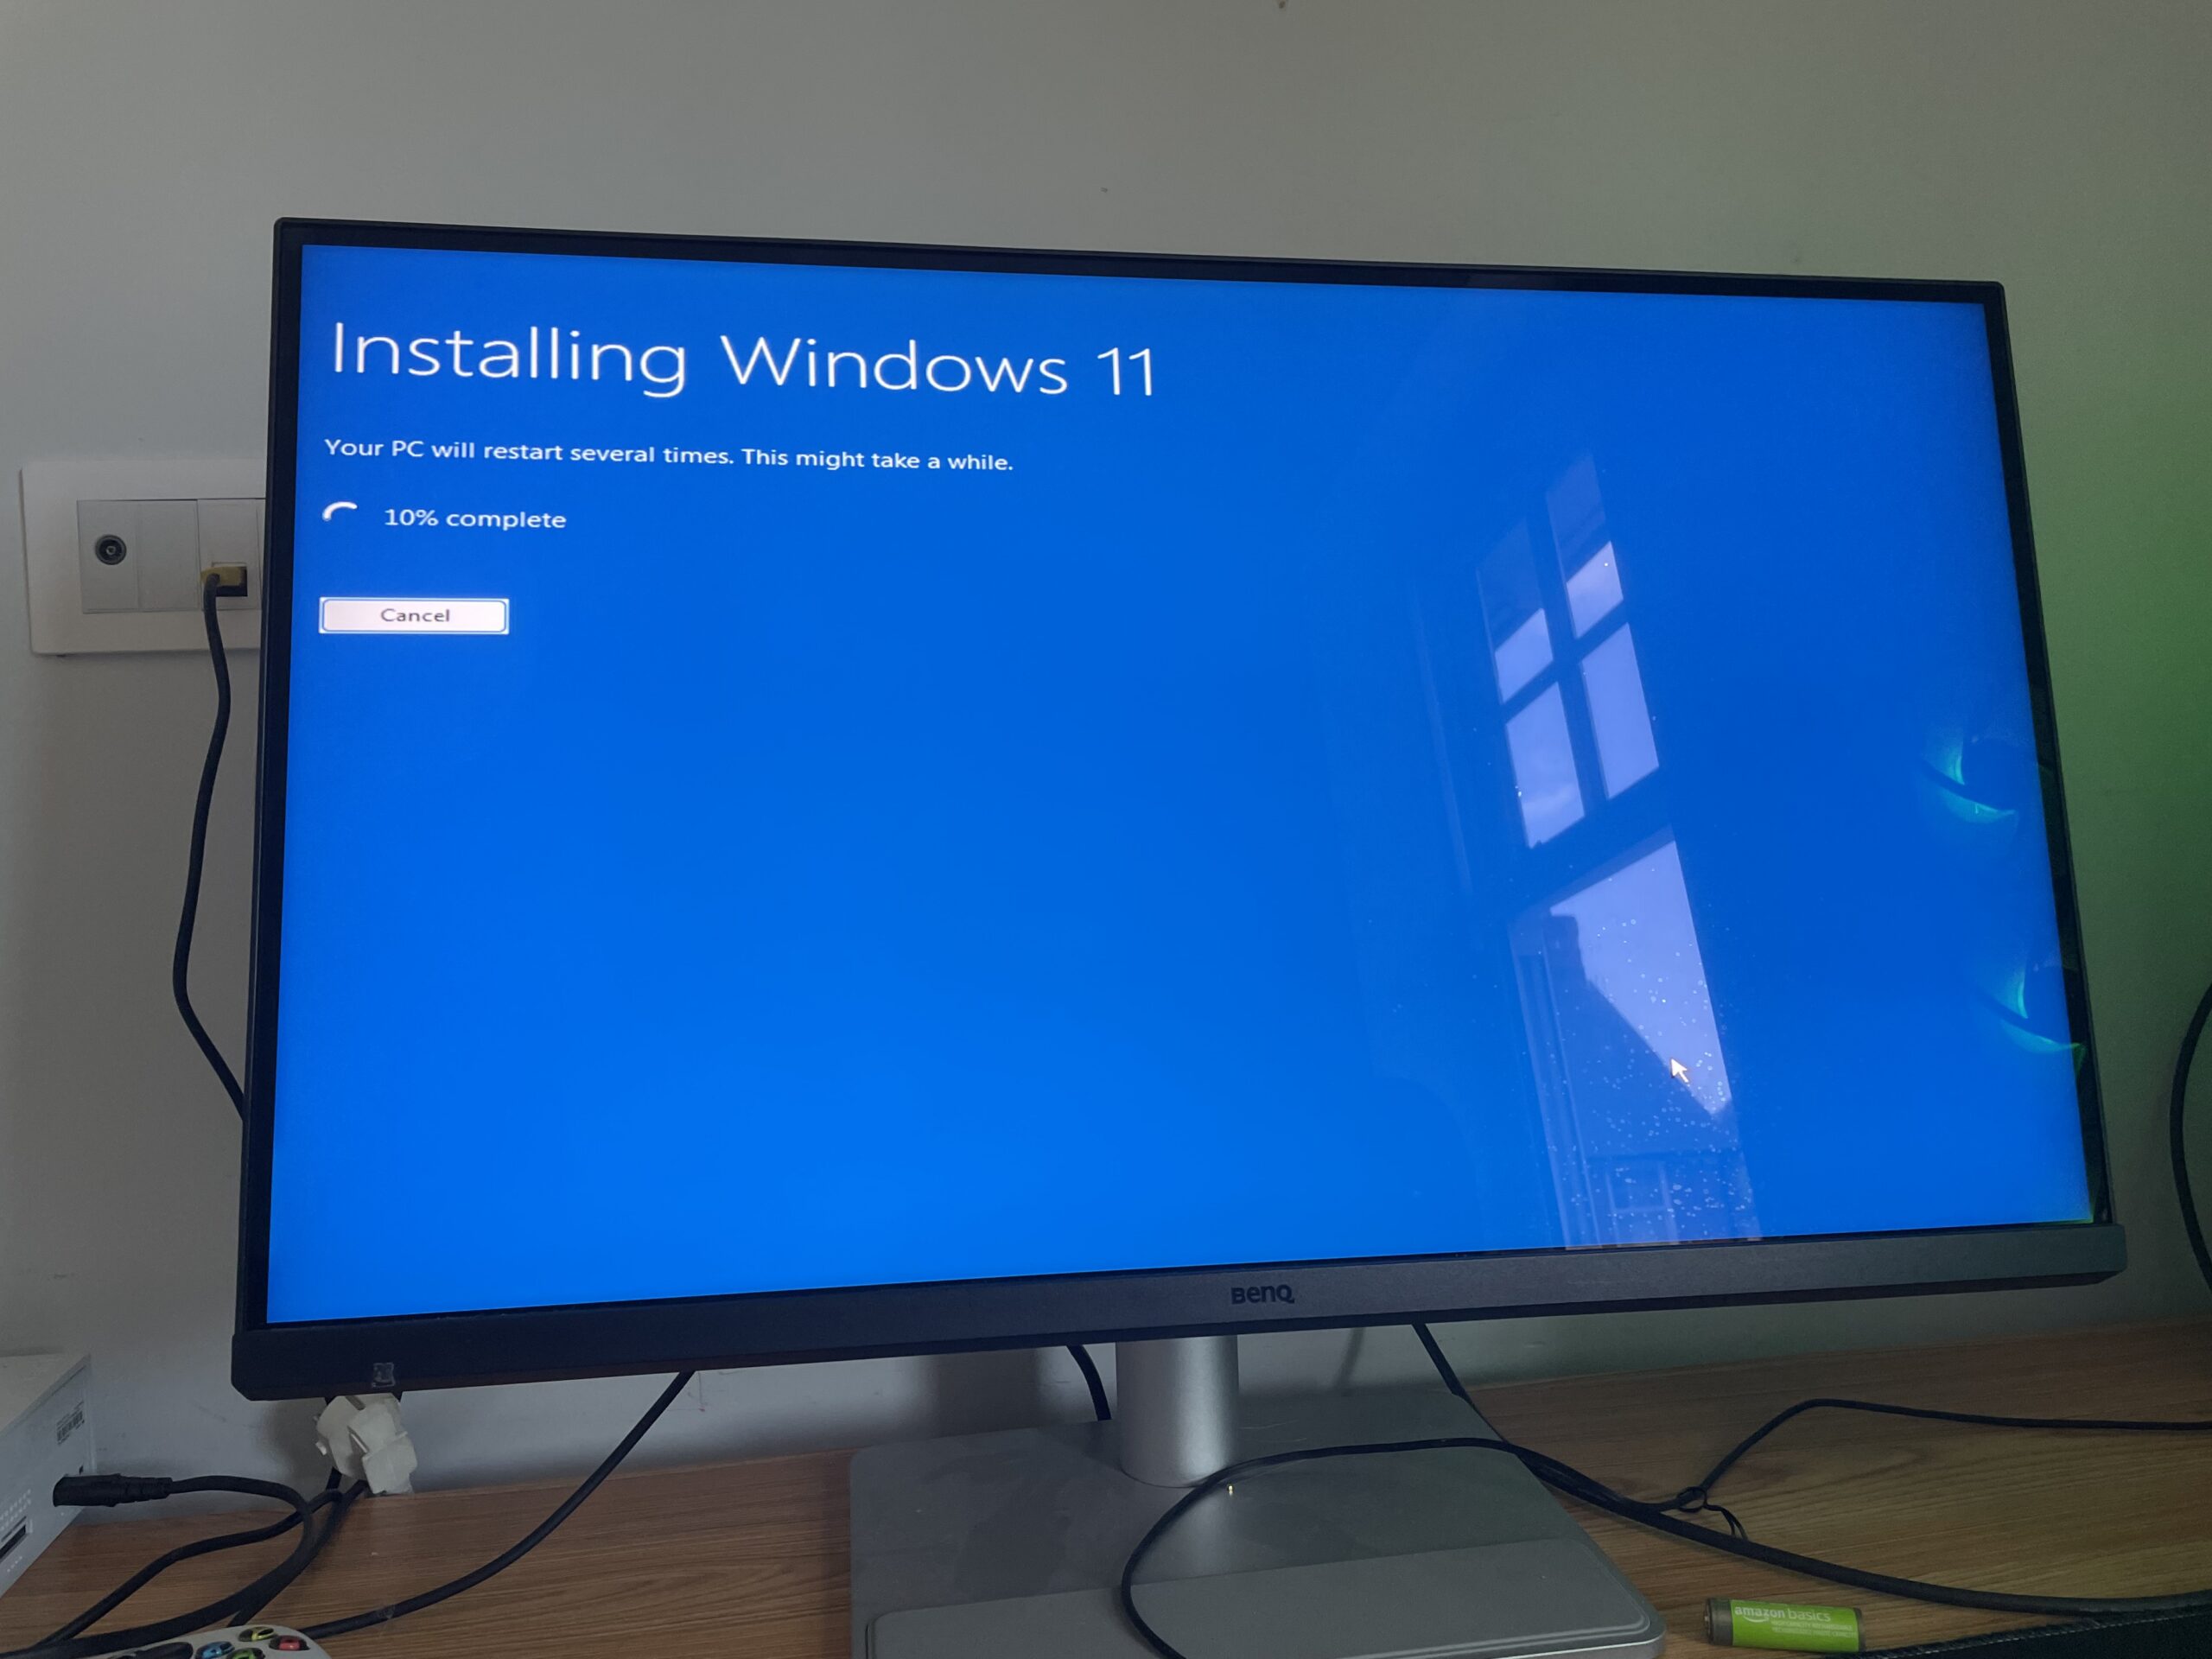
- Switch on the PC and Hey Presto – the Bios should recognize it as a boot drive!
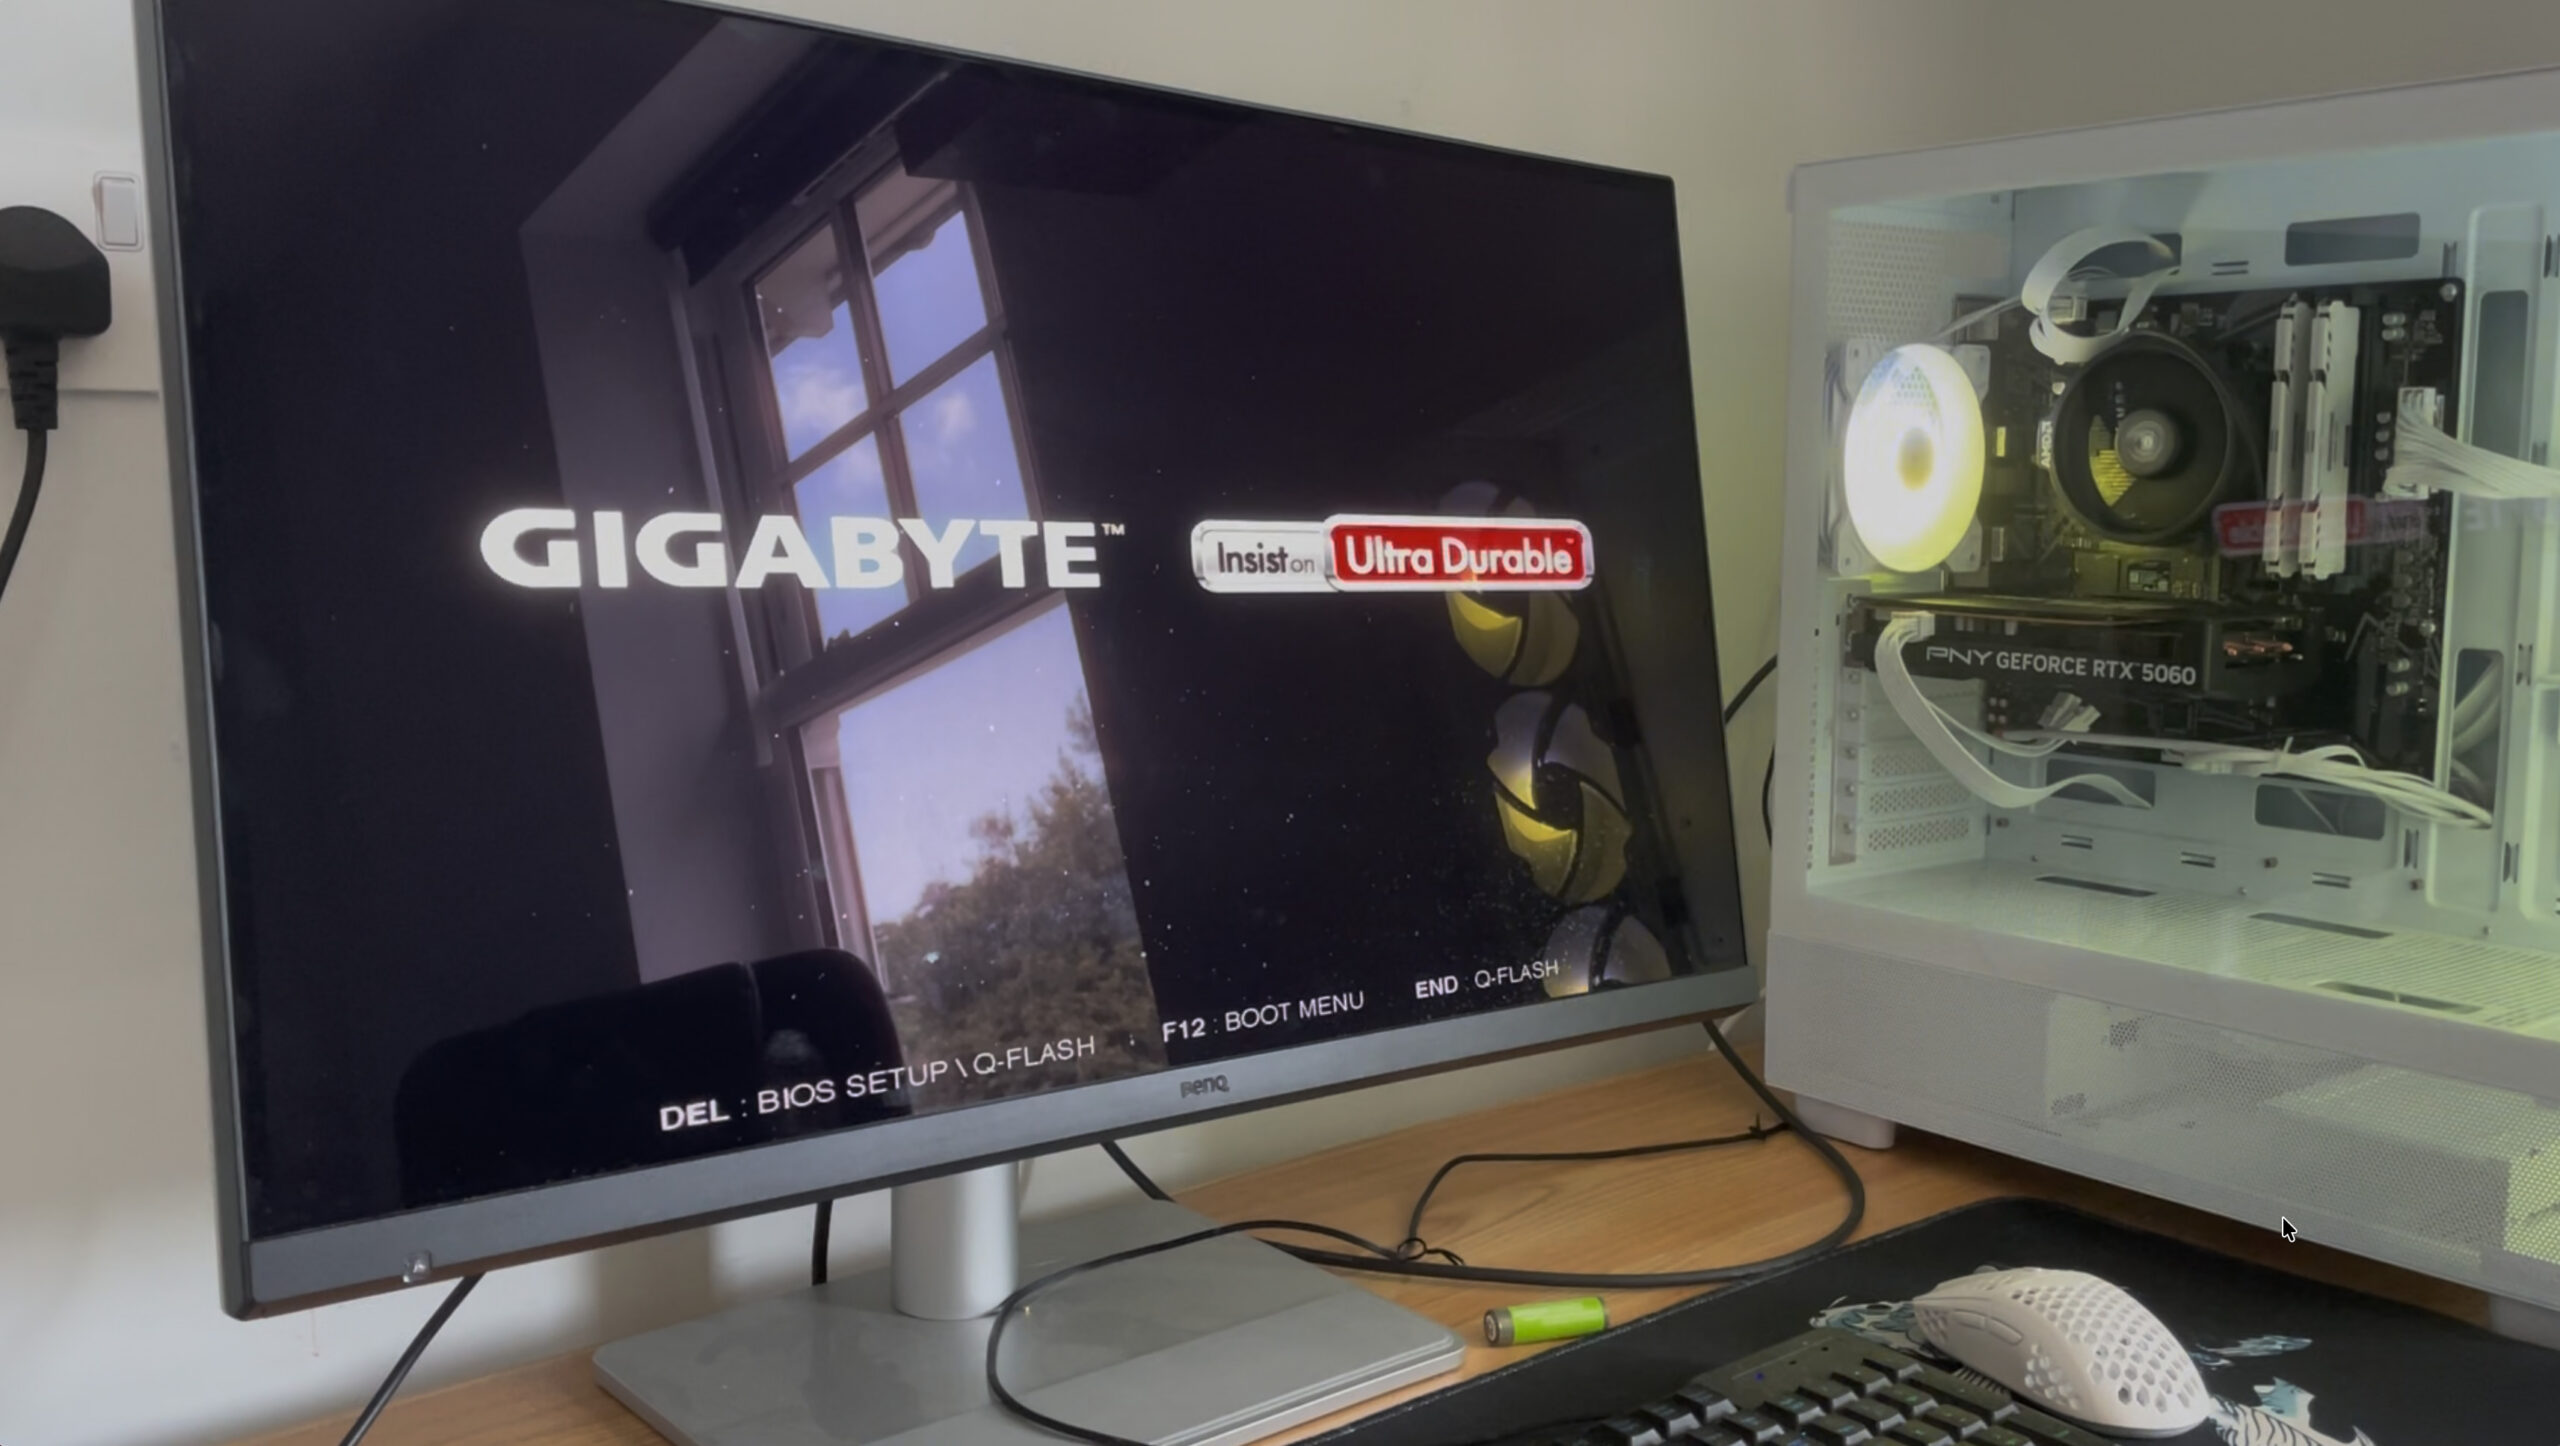
On some motherboards, you may have to press F12 or the delete key to access the Boot Menu and select a USB port as a boot drive but mine just recognized it automatically and started installing Windows.
The Setup I Used
- An M3 MacBook Pro
- A newly built PC
- A Windows 11 ISO from Microsoft
- A 64GB USB 2.0 pen drive
- An USB-C/Thunderbolt external drive