

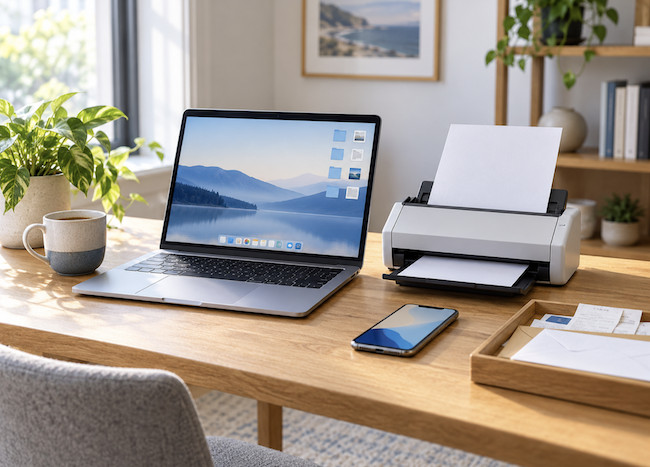
Paper piles have a way of becoming invisible until you need one specific document urgently.
The good news is that creating a paperless home office with a Mac does not mean scanning every sheet you own in a weekend or buying expensive software straight away. What you need is a simple, repeatable system for getting paper into your Mac, making it searchable, filing it consistently and backing it up properly.
Once that system is in place, bills, receipts, insurance letters, contracts, school forms and work paperwork are much easier to find. You also stop reprinting documents just to sign, scan or email them again.
In this guide, we will show you how to build a paperless filing system around a Mac, iPhone and, if you have a lot of paperwork, a document scanner. If you already know you need an app and want to compare the options, see our guide to the best paperless document management software for Mac.
The Paperless Home Office System in One Sentence
A good paperless setup follows the same path every time:
Capture → make it searchable → name and file → back up → keep or securely dispose of the original.
Most paperless systems fail because one of those stages is missing. For example, it is easy to scan a receipt to your iPhone, but much less useful if it is called “Scan 12.pdf“, buried in Downloads and has no backup.
The aim is not to become completely paper-free overnight. It is to make digital copies your everyday working version of documents while keeping the few originals that you genuinely need.
What You Need To Go Paperless on a Mac
You can start with equipment you already own. A useful basic setup consists of:
- A Mac for organising, searching and backing up documents.
- An iPhone or iPad for occasional scans.
- One main place to store documents, such as a Finder folder structure, a document-management app or a cloud drive you already trust.
- An external SSD drive, thunderbolt drive and/or a reputable cloud backup for copies of your archive.
If you receive a lot of multi-page post, invoices or receipts, add a sheet-fed document scanner. A scanner is not essential for getting started, but it makes a huge difference once you are working through more than a few pages each week.
Avoid buying several apps before you have decided how documents will move through your system. The system you setup matters more than the individual tools.
Step 1: Create a Single Paper Inbox
Before scanning anything, choose one physical place where new paperwork goes. A letter tray, a desktop inbox or one labelled folder is enough.
Every new bill, receipt, medical letter, school form or work document should go there first rather than being left on the kitchen table, in a bag or beside the printer. Then set one short, regular processing session each week. Ten or fifteen minutes is usually enough once the backlog has gone.
Your paper inbox gives you a simple rule:
- Does this need action now?
- Does it need to be scanned?
- Does the original need to be kept?
- If not, can it be securely shredded or recycled?
Do not scan every piece of junk mail. Only capture documents that you may need to find, prove, refer to or reuse later.
Step 2: Choose How You Will Capture Documents
There are two sensible ways to capture paper for most Mac users.
Use Your iPhone for Occasional Documents
For a receipt, signed form or a few pages of post, your iPhone is usually all you need. The built-in scanning tools in Files and Notes can create a PDF without installing another app.
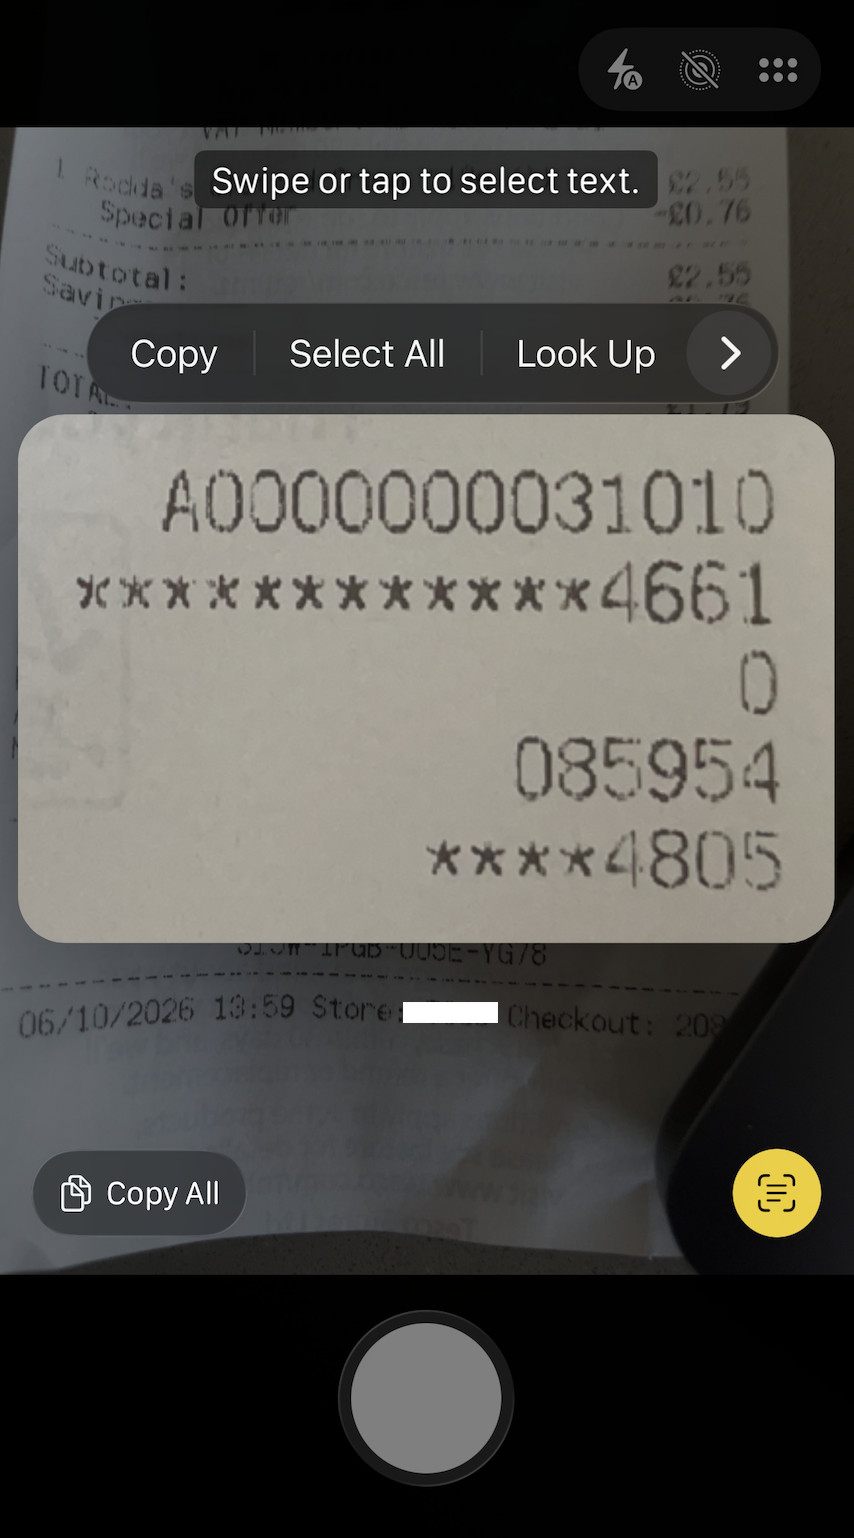
For the cleanest way to do it, scan directly into a folder in Files that syncs with your Mac. That means the PDF is already in the right place when you sit down at your Mac to name, review or file it.
You can also scan from your Mac using Continuity Camera. In Finder and several built-in Mac apps, Control-click where you want the file, choose Insert from iPhone or iPad, then choose Scan Documents. The finished scan appears on your Mac as a PDF.
This approach is ideal when you:
- Scan only a handful of documents each month.
- Need a quick way to save receipts while away from your desk.
- Want to start without buying any hardware.
It is less suitable for a large filing cabinet, batches of double-sided pages or a pile of old paperwork. That is where a document scanner earns its keep.
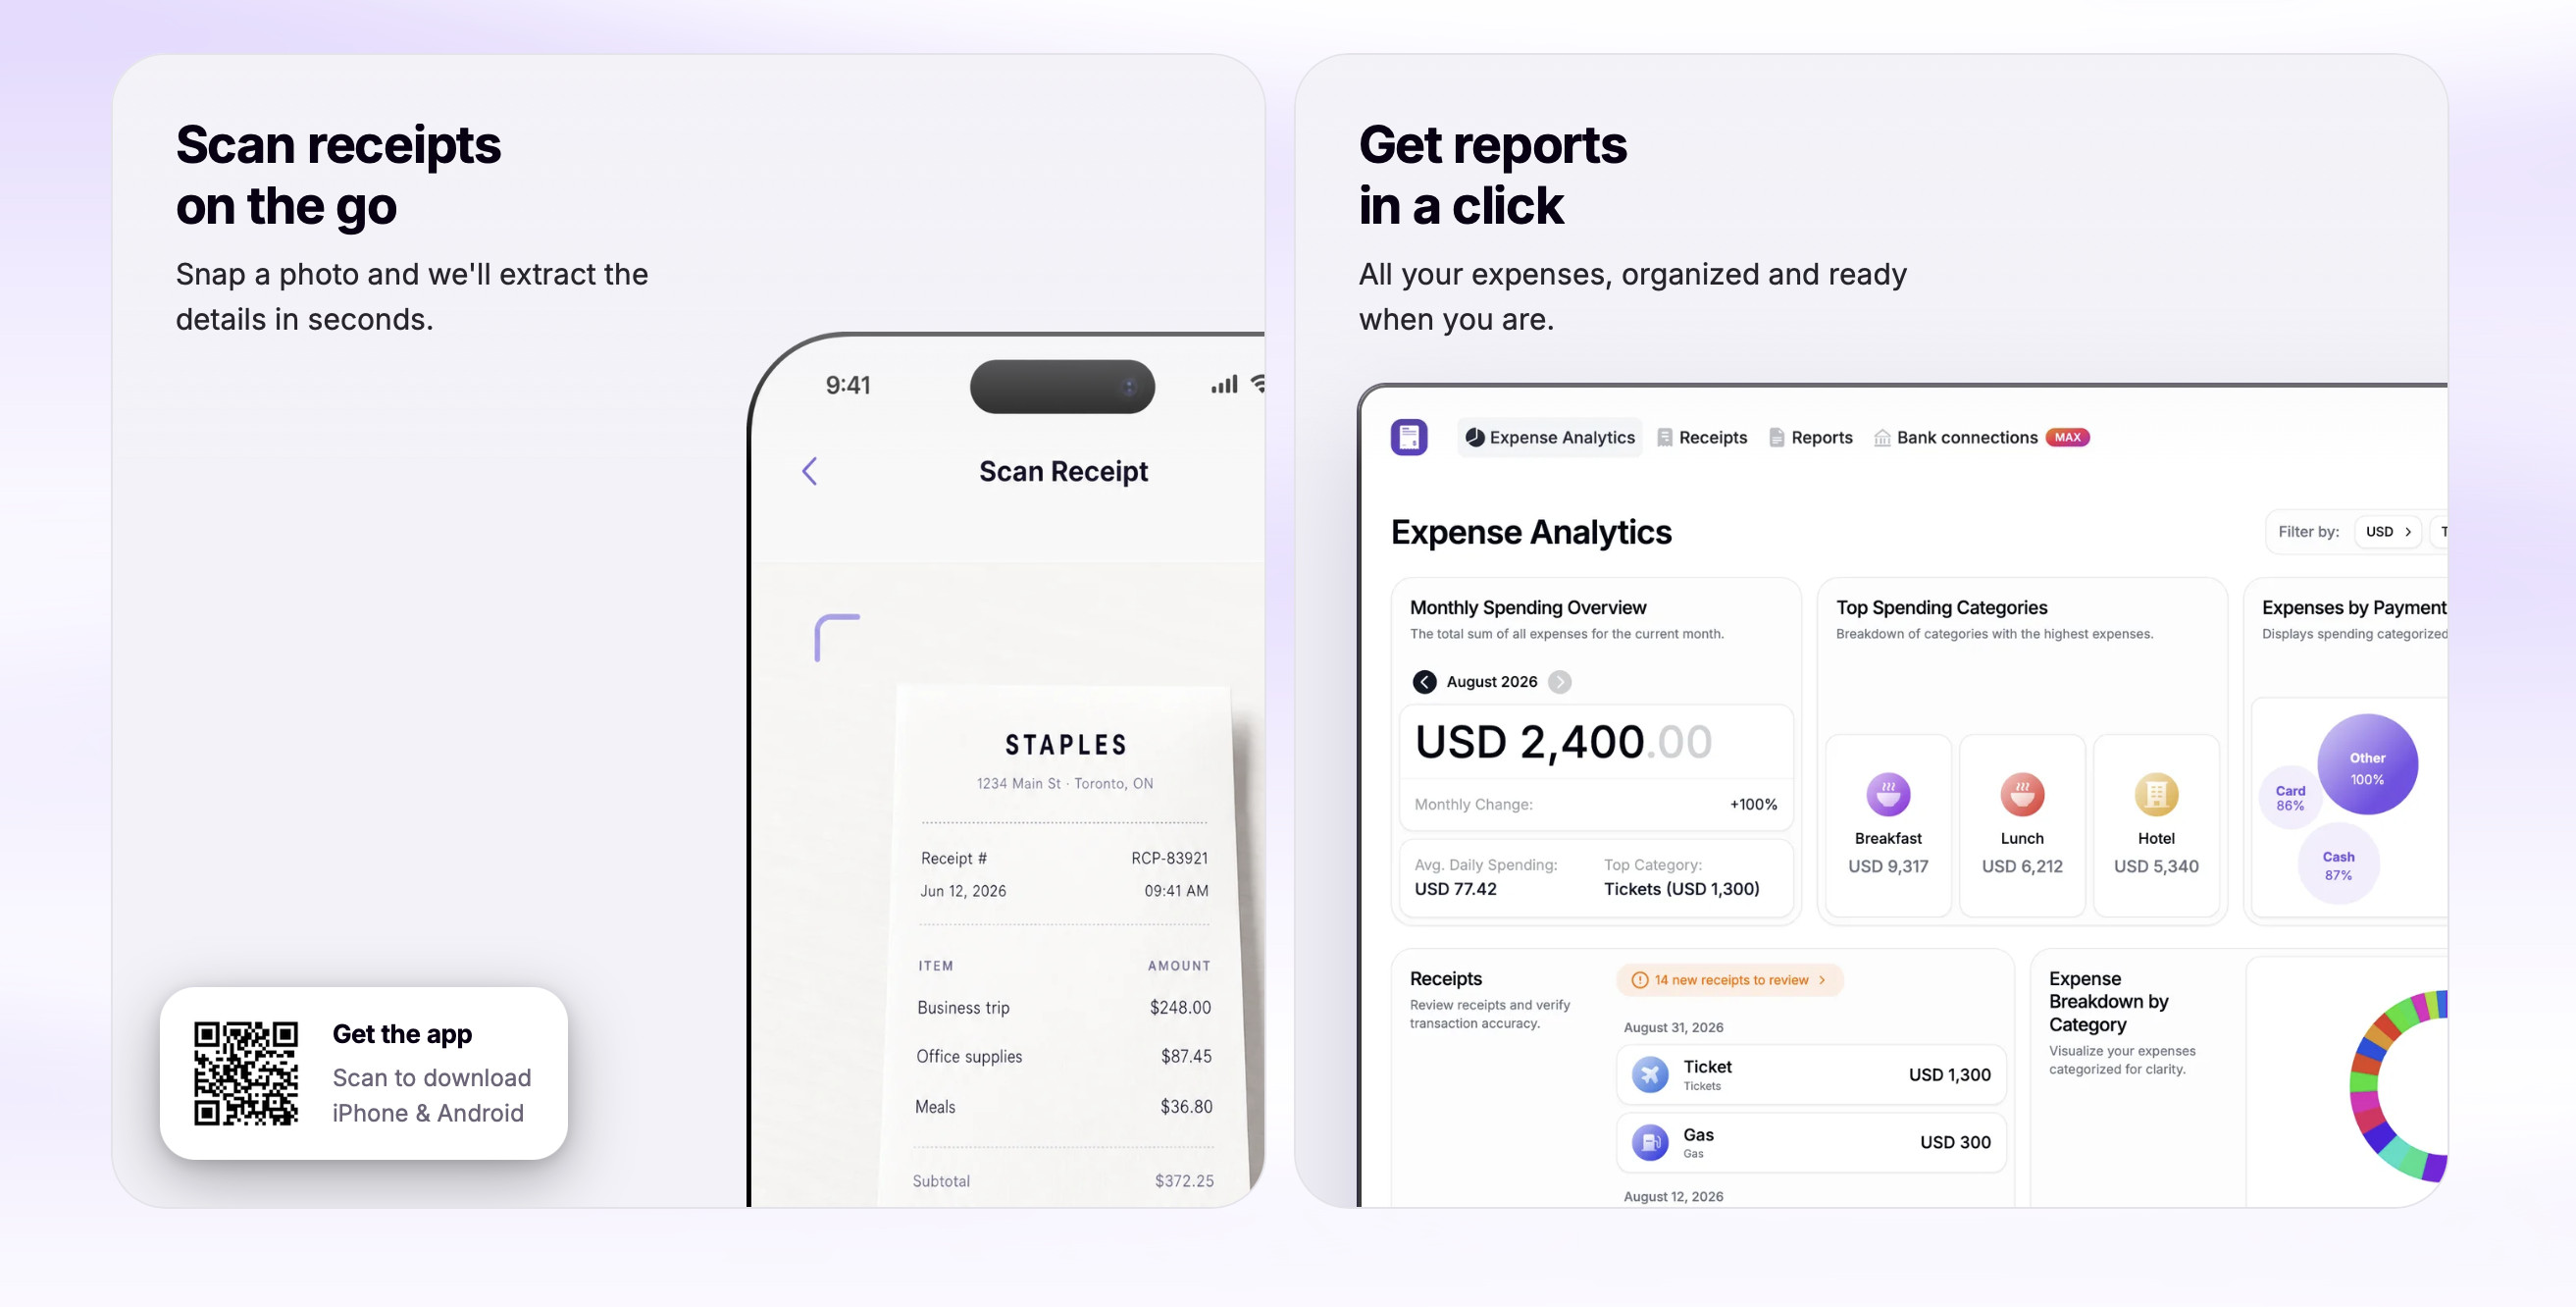
You can also use a receipt scanning app like Smart Receipts which is designed more with tax filing, accounting software and analytics in mind.
Use a Document Scanner for Regular or Bulk Scanning
If your goal is to clear years of paperwork or you receive regular invoices, statements and receipts, choose a sheet-fed scanner with an automatic document feeder. It can scan a stack of pages, usually on both sides, far more quickly and consistently than a phone or flatbed scanner.
The ScanSnap iX2500 is the sort of scanner that makes sense for a busy home office because it is designed for regular document batches and Mac use. You do not need that exact model, though. Our guide to the best document scanners for Mac explains the alternatives for lighter use, smaller desks and tighter budgets.
Whichever scanner you use, create at least two scan profiles:
- Archive PDF: For letters, statements, contracts and anything you may need later.
- Receipts: For smaller financial documents that can be sent to a dedicated receipts or tax folder.
Set the scanner to save to one temporary folder, such as Paper Inbox or To File, rather than trying to make it guess the final destination perfectly. You can then check every scan before it becomes part of your archive.
Step 3: Save Documents as Searchable PDFs
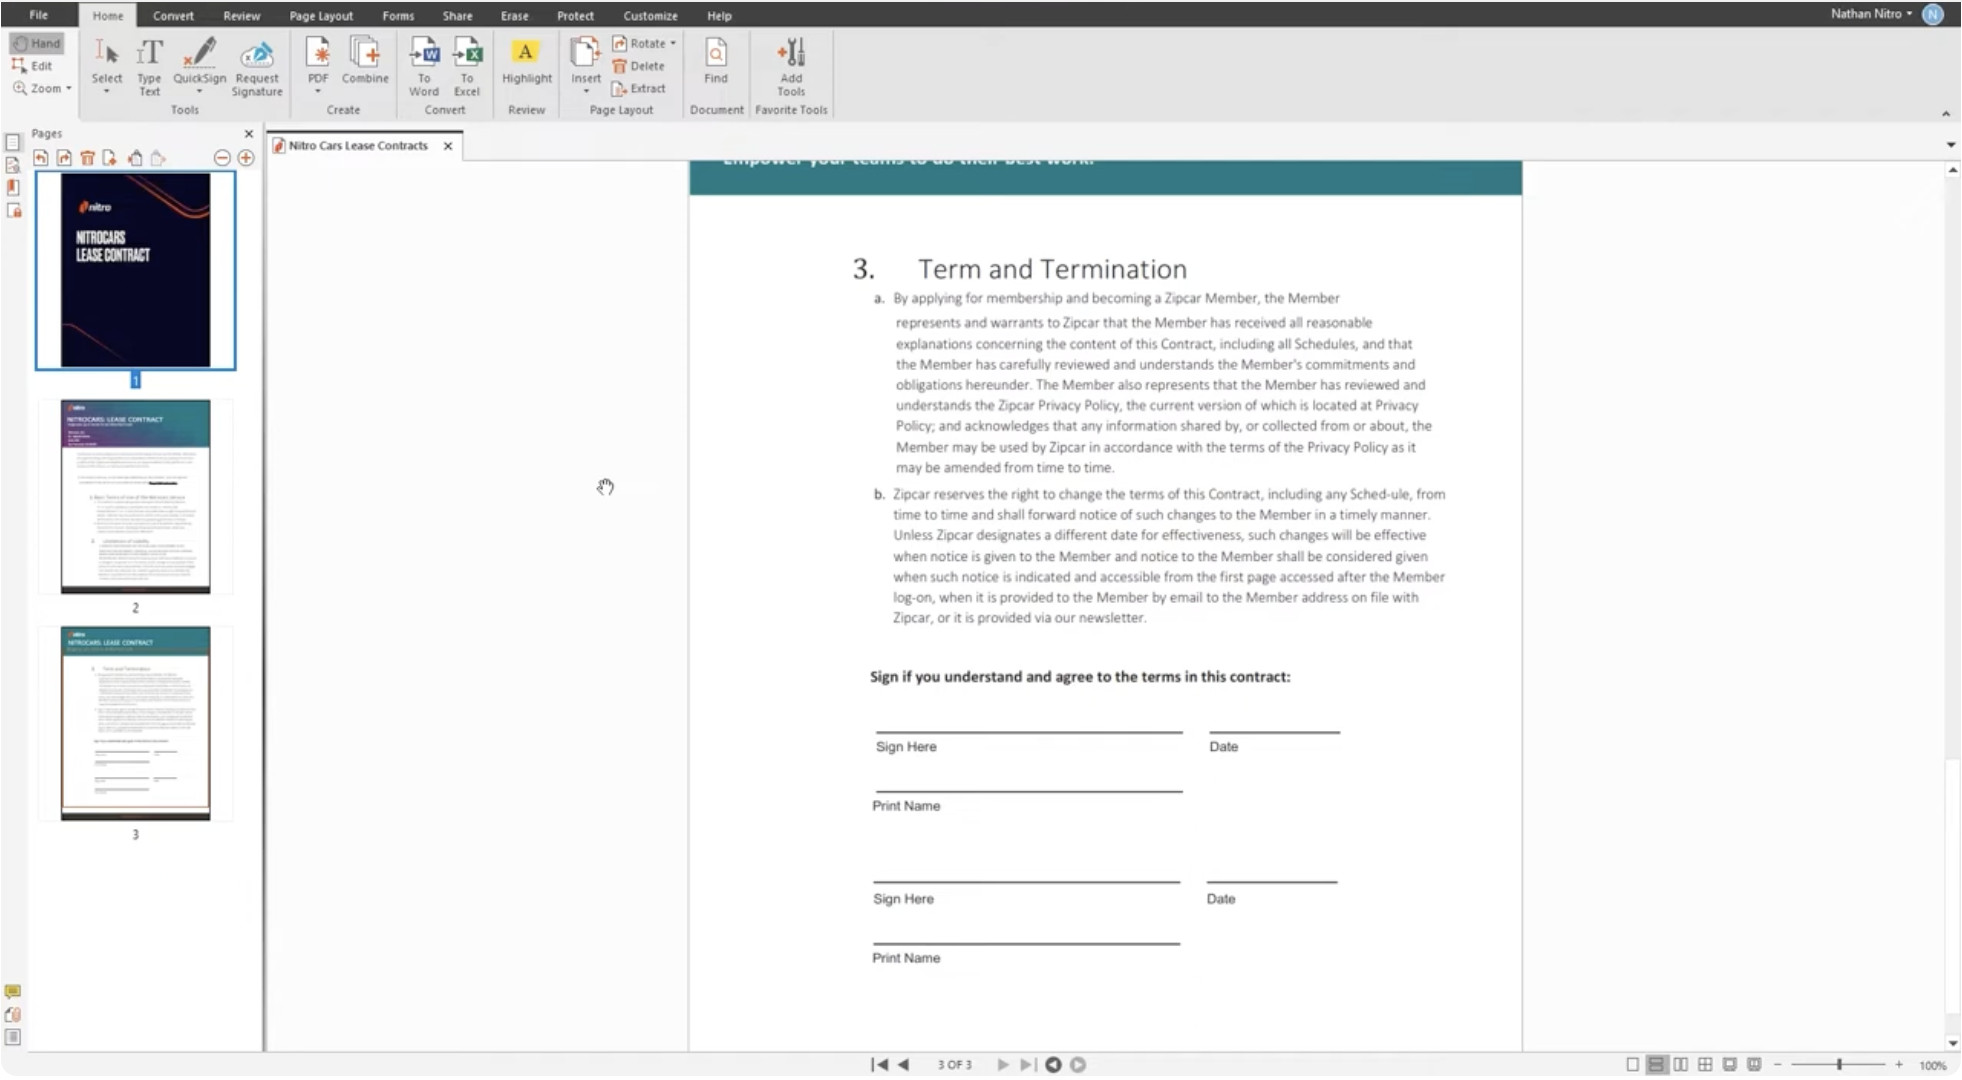
PDF is the best default format for most paperwork because it is easy to open on a Mac, retains the appearance of the original document and works well for sharing, signing and archiving.
However, a scanned PDF is only a picture of a page until it has been processed with OCR (optical character recognition). OCR recognises the printed words so that you can search for a company name, an invoice number, a date or a phrase inside the document later.
For occasional scans, the text recognition built into Apple’s software may be enough. For a large archive, invoices with tables or documents you need to search regularly, use a proper OCR or document-management tool.
The important point is to distinguish between the jobs:
- A PDF editor is useful when you need to annotate, combine, redact, sign or edit PDFs. See our guide to the best PDF editors for Mac.
- OCR software is best when you need to turn scans into accurate, searchable or editable text. See the best OCR software for Mac.
- Document-management software is for storing, organising, finding and keeping an archive of documents over time.
You do not need every type of software. Start with the job you actually have. For most home-office users, searchable PDFs plus a reliable filing system are enough.
Check Important Scans Before Filing Them
OCR is impressive, but it is not a substitute for checking a document. Before filing anything important, make sure:
- All pages are present and in the correct order.
- The edges are not cropped.
- The document is readable at normal zoom.
- Names, dates, account numbers and totals are clear.
- The PDF opens correctly after it has synced or been copied.
This takes seconds and prevents a nasty surprise when you need the document months later.
Step 4: Use a Naming System You Can Stick To
The best naming convention is one you will still use when you are busy. Keep it short, predictable and searchable.
A good format is:
YYYY-MM-DD – Organisation – Document type – Description.pdf
For example:
2026-10-13 – HSBC – Mortgage statement.pdf2026-10-13 – British Gas – Electricity bill.pdf2026-10-13 – Apple – MacBook receipt.pdf2026-10-13 – Client name – Signed agreement.pdf
Starting with the date keeps files in chronological order in Finder. Including the organisation and document type means you can identify a file without opening it.
Do not overthink the exact punctuation. Dashes, underscores and spaces all work. Consistency matters much more.
Step 5: Build a Simple Folder Structure
Your folder structure should be broad enough to remember and shallow enough to browse. Avoid creating dozens of nested folders that only make sense in the moment.
Here is a practical starting structure inside a main Paperless Home Office folder:
00 To File01 Home & Utilities02 Banking & Insurance03 Tax & Financial Records04 Health & Personal05 Family & Education06 Work & Business07 Receipts & Warranties99 Archive
Inside each folder, add years only where they genuinely help. For example, Tax & Financial Records/2026 makes sense, while creating a separate year folder for every utility provider may be unnecessary.
If you prefer using a document-management app, use similar top-level groups or tags. The software may offer clever automation, but a simple human-readable structure is still useful if you ever move to another app.
Use Tags Sparingly
Tags work best as an extra way to find documents, not as a second folder hierarchy.
Useful tags might include:
Action neededTaxWarrantyRenewalMedicalConfidential
For example, a car-insurance policy could live in Banking & Insurance but also carry a Renewal tag. When the renewal date approaches, you can find every document that needs attention without remembering where you filed it.
Step 6: Pick One of These Three Paperless Setups
There is no single best setup for every household. Choose the one that matches the amount of paper you receive and how much control you want.
| Setup | Best for | What you use |
|---|---|---|
| Simple, low-cost | A few documents and receipts each month | iPhone scanning, Files or iCloud Drive, Finder folders, Preview |
| Mac archive | Regular paperwork, long-term records and strong search | A sheet-fed scanner, a Mac and a document-management app such as DEVONthink Pro |
| Self-hosted archive | Technical users who want to run and maintain their own system | Scanner or watch folder, Paperless-ngx, a server/NAS or suitably configured Mac |
1. The Simple iPhone-First Setup
This is the best place to start if your paperwork is manageable and you do not want another subscription or a complicated system.
- Create the folder structure above in iCloud Drive, another cloud drive or a local folder that is backed up.
- Scan documents with Files or Notes on your iPhone.
- Save each PDF to
00 To File. - Once a week, open the folder on your Mac, check the scan, rename it and move it to its final home.
- Back up your Mac and make sure the storage location is included.
This system is deliberately boring but that is its strength: you are far more likely to keep using it.
2. The Mac-First Document Archive
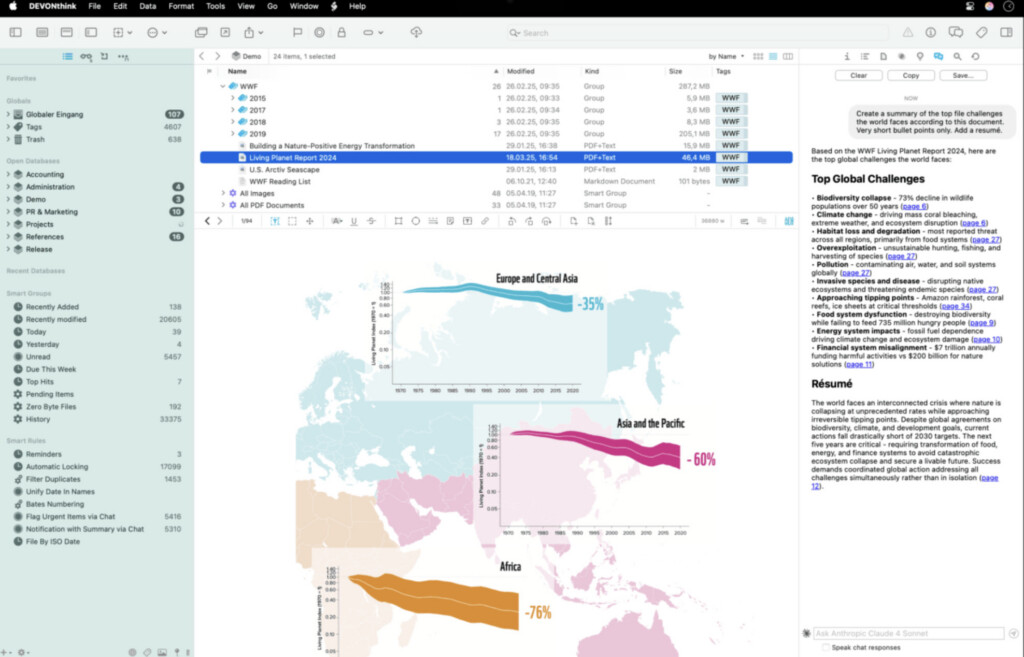
If you have many years of old records, run a business from home or want to search every document properly, a scanner plus a document-management app is a better fit.
For example, a ScanSnap scanner can capture batches of paper while an app such as DEVONthink Pro can organise and search a growing archive. DEVONthink Pro is particularly useful for people who want a Mac-centric library rather than a collection of loose folders, but it has more of a learning curve than Finder.
Keep things simple though even with better tools:
- Scan to an inbox.
- Check and OCR the documents.
- Apply a title, group and a small number of tags.
- Review anything marked
Action needed. - Back up the document library separately from the original paper.
For a fuller comparison of this type of software, including simpler receipt-focused options and PDF-first tools, read our best paperless document management software for Mac guide.
3. The Self-Hosted Setup
Paperless-ngx is a powerful option for experienced users who want to host their own document archive. It can OCR documents, add searchable text and help organise a large collection without depending on a conventional cloud document-management subscription.
It is not the best first choice if you only want to scan bills from time to time. You need to be comfortable setting up, updating and backing up the system yourself. But if privacy, control and automation are priorities, it can be an excellent long-term project.
Step 7: Back Up Your Paperless Archive Properly
Digital paperwork is only safer than paper if you can recover it when something goes wrong.
At a minimum, keep:
- Your working copy on your Mac or primary document-management system.
- A local backup, such as an encrypted Time Machine drive.
- A separate off-site copy, usually through a trusted cloud-sync or backup service.
Do not rely on a single external drive sitting beside your Mac. It can fail, be lost or be damaged in the same incident as the computer.
Also test the system occasionally. Open a few older PDFs from your backup or restore a test file. A backup that has never been checked is only an assumption.
For sensitive paperwork, use a strong Mac login password, enable FileVault, protect cloud accounts with two-factor authentication and be careful about giving broad access to shared folders.
Step 8: Decide Which Originals To Keep
Scanning a document does not always mean the paper original is safe to destroy.
Keep important originals until you are certain that a digital copy is acceptable for your circumstances. This can include passports, birth or marriage certificates, wills, property deeds, signed legal documents, documents with embossed or raised seals, and anything an issuer or local authority specifically requires in original form.
For ordinary bills, statements, receipts and correspondence, you may decide to shred the paper once you have checked the scan and confirmed that it is backed up. Rules vary by country, document type and purpose, so check any tax, legal, insurance or regulatory requirements that apply to you before disposing of originals.
A sensible middle ground is to keep a small Originals to Keep folder or fire-safe box. The aim is not zero paper; it is keeping only paper that has a real reason to exist.
Step 9: Make the System Easy To Maintain
A paperless office should reduce admin, not create another chore. These habits make a much bigger difference than adding more software:
- Process the paper inbox on the same day each week.
- Scan new receipts as soon as practical instead of collecting them in a wallet or drawer.
- Name documents when you first file them rather than planning to do it later.
- Use one main archive, not separate ad-hoc folders in Downloads, email attachments and desktop clutter.
- Keep a short list of documents that need action, renewal or follow-up.
- Review your
To Filefolder before it becomes a backlog.
Once the current paperwork is under control, tackle old boxes in short sessions. Work one category at a time—such as bank statements, warranties or tax records—rather than scanning randomly. It is far less overwhelming, and you can stop as soon as the archive is useful.
Common Paperless Home Office Mistakes
Scanning Everything Without a Filing Plan
Thousands of unnamed PDFs are not a paperless system. They are just a digital version of a messy filing cabinet. Decide on your folder structure and naming pattern first.
Treating a Phone Photo as an Archive
A quick photo can be useful, but it is not always readable, searchable or easy to find later. Use the document-scanning mode on your iPhone whenever possible so that pages are cropped, combined and saved as a PDF.
Using Several Storage Services at Once
Choose one main place for your archive. Mixing iCloud Drive, Dropbox, Google Drive, email attachments and local folders makes it hard to know which version is current and whether it is backed up.
Shredding Too Soon
Always check the scan and make sure it has reached your backed-up archive before destroying paper. For anything important, wait until you have had time to confirm that the PDF is complete and readable.
Buying Software Before You Have a Workflow
An expensive app will not solve inconsistent filing. Start with a small system you can maintain, then upgrade the tools only when your paper volume or search needs justify it.
FAQ
Do I need a document scanner to create a paperless home office?
No. An iPhone and your Mac are enough for occasional scans, receipts and small batches of paperwork. A sheet-fed document scanner becomes worthwhile when you regularly scan multi-page documents or want to clear a large backlog efficiently.
What is the best file format for scanned documents on a Mac?
PDF is the best default for most documents because it is widely supported, easy to share and preserves the original page layout. Where possible, use searchable PDFs so you can find words and numbers inside the document later.
Can I make a paperless home office using only an iPhone?
You can make a very good start with an iPhone. Files and Notes can scan documents, while cloud storage can make them available on your Mac. However, a Mac is much more comfortable for bulk filing, searching, backing up and managing a larger archive.
Do I need OCR for a paperless office?
OCR is not essential for every document, but it is one of the most useful features once your archive grows. It turns scanned pages into searchable documents, making it far quicker to locate invoices, names, dates and reference numbers.
Is it safe to shred documents after scanning them?
Often, but not always. Keep original documents where the issuer, law, insurer or other relevant body requires them, and make sure every scan is complete, readable and backed up before you shred anything.
Final Thoughts
The best paperless home office is not the one with the most automation or the most expensive scanner. It is the one you can keep using every week.
Start with one inbox, one storage location and one simple naming rule. Use your iPhone for occasional paperwork, add a document scanner if the volume demands it and make sure every important file has a backup.
If you are now ready to choose the software that will manage your archive, compare the leading Mac options in our guide to the best paperless document management software for Mac.