
If you want to send or receive faxes from your Mac, we’ve taken a look at all the best ways to fax from a Mac in 2025 including on the latest versions of macOS and M-series Macs.
Due to recent changes made by Apple to macOS, it’s become more difficult to send and receive faxes from Macs and MacBooks – but it is still possible as we’ll explain.
Contents
Where Is The Fax Utility on a Mac?
It’s important to be aware that Apple has removed support for connecting modems from macOS Sierra onwards to send and receive faxes so there is no fax utility on Macs anymore.
The last version of macOS to support a fax utility was El Capitan but from macOS Sierra onwards, support for legacy fax modems in all-in-one printers or external USB modems has been dropped.
This makes faxing with any kind of modem from a Mac increasingly difficult and complex.
Here then are the options available to fax from a Mac in 2025.
You May Also Like:
1. Fax From a Mac With Fax Software (Easiest)
By far the easiest way to send a fax from a Mac nowadays is by using an online fax service.
In fact, in the latest versions of macOS including Tahoe, it’s the only way.
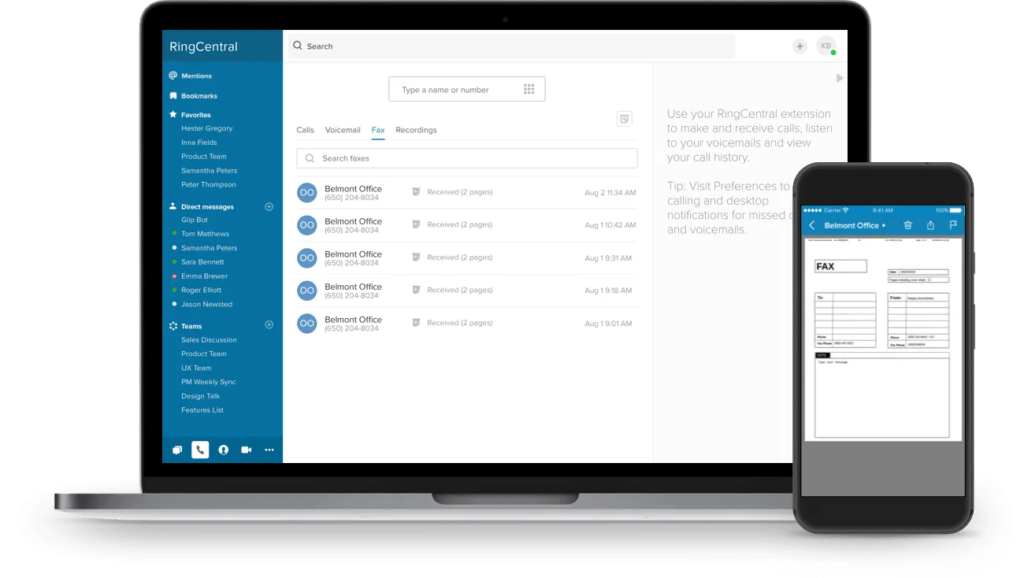
We’ve reviewed a lot of them over the years, but best fax service for Mac is RingCentral Fax which also provides a Mac desktop app.
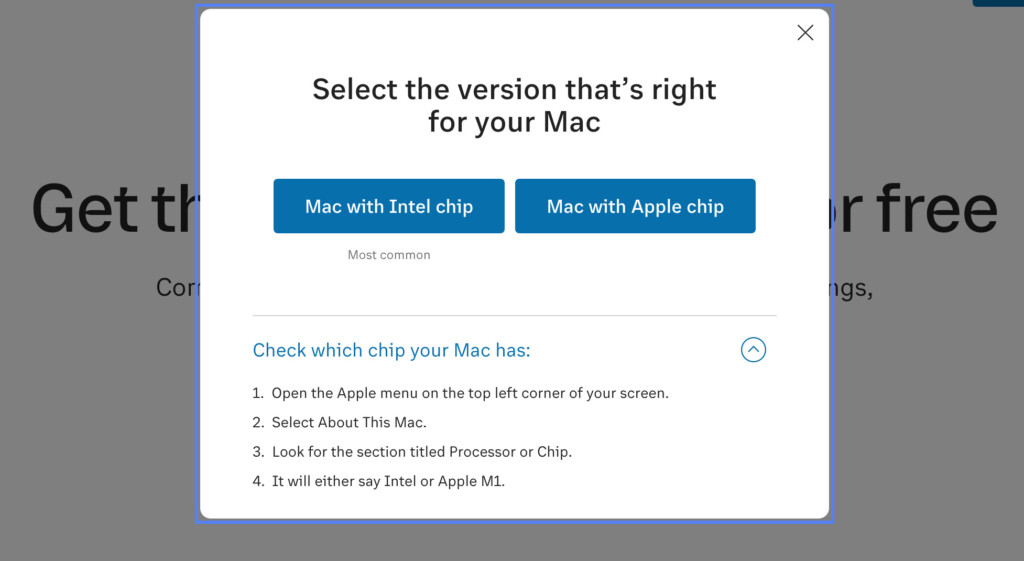
In fact, it’s the only fax service to provide a fax app that works natively on BOTH Intel Macs and the latest Apple Silicon Macs with M-series chips.
Unlike using an all-in-one printer to fax, RingCentral Fax also does not require a phone line.
It even allows you to send and receives faxes from your email including faxing PDFs from a Mac which is about as convenient as it gets.
This includes support for medical facilities using EMR software that need to follow strict HIPAA regulations regarding the protection of customer data when faxing.
There are also some internet fax services that allow you to send faxes for free although they are not suitable for professional or serious use as they don’t allow you to receive faxes, may insert ads or watermarks and are often unreliable.
You can try RingCentral Fax for free to test it for yourself.
You can also read our in-depth look at the best fax software for Mac to see other internet fax services that are available such as iFax and eVoice Fax.
2. Fax From a Mac With a Multifunction Printer
If you’ve got a all-in-one printer and are using a version of macOS 11 (Big Sur) or earlier, you can send and receive faxes from your Mac as long as you have a phone landline to connect it to.
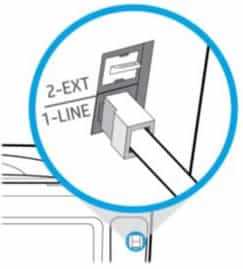
Multifunction printers have a phone line jack at the back which you will need to plug into your phone line at home or in the office.
If you’ve done all this, here’s how to send and receive faxes from a Mac using a multi-function printer.
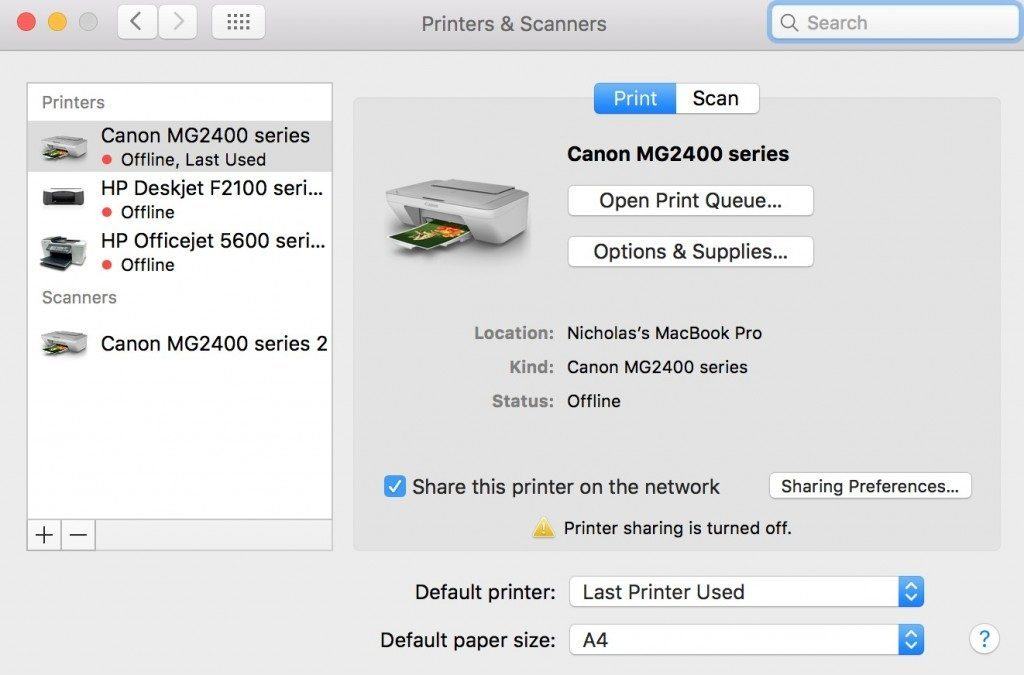
- Connect the printer to your computer and your Mac will automatically download and install the drivers. To check that the Printer-Fax has installed correctly, you should be able to see it by going to the Apple logo in the top left of your screen and selecting System Preferences > Printers & Scanners. If you can’t see it, click on the “+” symbol at the bottom of the Printer list and add-it from the pop-up list of devices that appears.
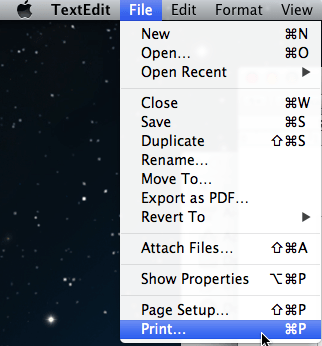
- Select Print from the File Menu of the application you want to fax from e.g. Word, TextEdit etc
- In the drop down menu next to Printer, select Fax. You’ll see some Fax preferences which will vary in format depending on the multi-function printer you are using. Simply enter the recipient name and fax number of the fax machine you want to send the document to including any prefixes. The fax software may even be integrated with your Contacts already stored on your Mac in which case you can select the person you want to send it to, ensuring that the fax number is correct.
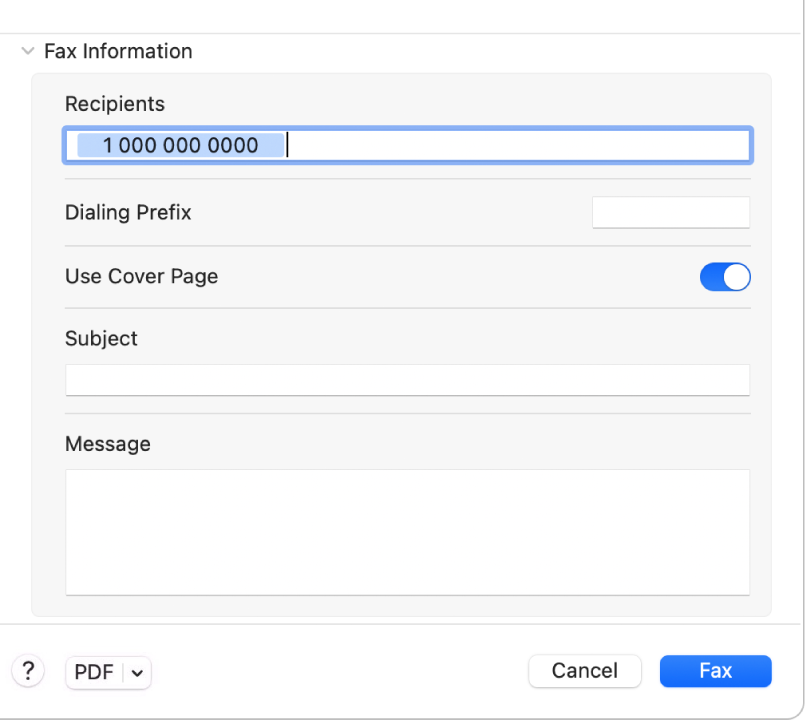
- You can also usually add a cover page. Click the slider for Use Cover Page if you want to add a cover letter to your fax and fill in the details.
- Finally, write the Subject and the content of the fax itself in the Message section. Alternatively, you can also fax a PDF from a Mac for free using an all-in-one printer by clicking on the PDF button in the bottom left corner.
- Some multi-function printers will also allow you to Preview a fax by clicking on a Preview button at the bottom although not all offer this.
- You may also be able to configure exactly how it sends the fax if it has Preferences. For instance you may be able to choose between dialing with touch or pulse tones or pulse tones, toggle on or off the sound of the modem dialing and whether you want to hear a dial tone before dialing.We recommend leaving these all on as it’s easier to tell if your modem is sending a fax if you can hear what’s going on.
- Finally, click Fax at the bottom to send the fax from your Mac. You should hear the fax dial-up signal as it sends your document unless you’ve turned-off the dial sounds. At the top of every page, the fax will imprint the time, number of pages and your fax number for the recipient to reply. If you sent a cover page with it, you can also add a subject heading for the fax.
Receiving faxes on your Mac is also very simple once your all-in-one printer has been setup.
As long as your all-in-one printer-fax is connected to your phone line and your Mac is not in sleep mode, it will receive faxes.
To make sure your Mac is configured correctly to receive faxes on a multi-function printer:
- Go to the Apple logo in the top left corner of your desktop and select System Preferences and then Printers & Scanners. Select your fax device and you’ll see some details about your machine. Make sure that your fax number is correctly entered in the Fax Number field so that you can receive faxes.
- You can also get notifications of incoming faxes by checking the box “Show fax status in menu bar”. If you click on Receive Options, you can also configure whether you want your Mac to answer faxes before the answer machine cuts in, set the number of rings you want before answering faxes and choose whether you want faxes to be saved to a folder or printed automatically. Alternatively, you can answer faxes manually by choosing “Answer Now” from the fax status menu.
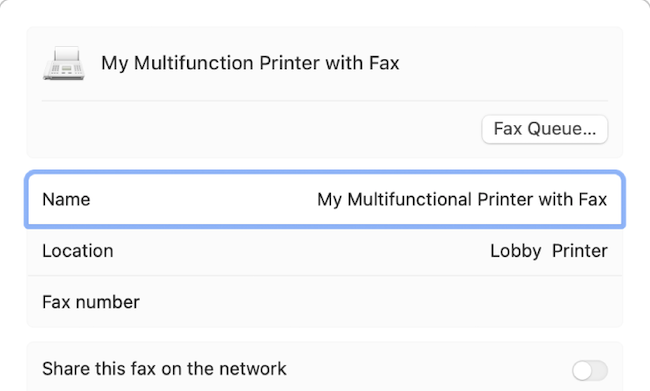
- If you’re on a network or in an office, you can also share your multi function printer-fax machine with others and setup a fax queue. In macOS Ventura, you can do this by going to System Preferences > Printers & Scanners and selecting the all-in-one printer-fax machine that you want to use.
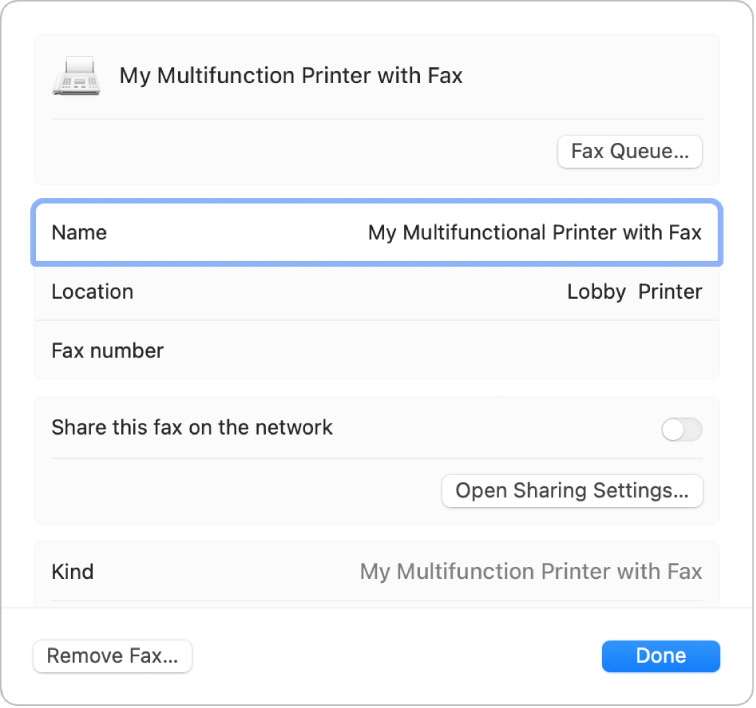
- Type a name for the fax queue in the Name field and type the fax number of the all-in-one printer in the Fax number field. You can then share the multifunction printer-fax machine by simply clicking Share this fax on the network. If this doesn’t work, you may need to click on Open Sharing Settings… and turn on Printer sharing.
When you’re finished, don’t forget to click Done to save the changes.
3. Fax From a Mac With an External Modem
If you don’t have a multi-function printer but you do have a phone line, you can also connect an external modem instead to your Mac and use the El Capitan fax utility.
However, this only works on Intel Macs running macOS El Capitan or earlier because Apple has removed the fax utility from later versions of macOS.
Your only option therefore to fax from a Mac with an external modem is to go through the laborious process of installing El Capitan on an Intel Mac using Boot Camp and use a USB fax modem.
The advantage of using a modem is that there’s no need for an internet connection like with an online fax service as it will plug into your analog landline phone line.
Note that this is the only way to connect a modem to your Mac – you can’t fax from a Mac using an iPhone as a tethered modem.
To fax from macOS El Capitan or earlier on an Intel Mac using the fax utility you can find full instructions here how to fax from a Mac with a USB modem here.
You’ll also need to bear the following in mind before you consider using a modem to fax from a Mac:
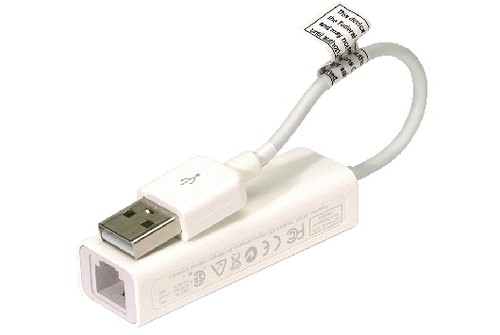
- Unless your Mac was built in 2005 or earlier (in which case it already has an internal modem), you’ll need an external USB modem. All external modems simply connect to a USB port and enable you to plug your analog telephone line into the other end. There is an external Apple modem but it only works with OS X 10.6 Snow Leopard and below and it also only works with iMac G5, Mac mini or Power Mac G5 making it quite a outdated for most users.
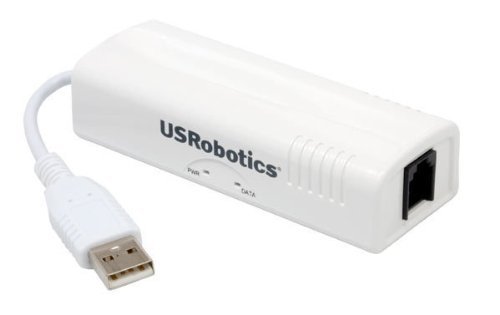
The best external modem for Mac is the USRobotics USR5637 56K modem which is the only one we can confirm definitely works with El Capitan.
- To connect a USB modem to your Mac, go to Apple menu > System Preferences, and then click Printers & Scanners. You will see the modem appear under the list of devices. If you don’t see it, click the “+” symbol and select your USB modem from the pop-up dialog and click Add. Your Mac will then automatically install the drivers and software needed to use the modem.
- You then simply use the modem’s software or interface to send faxes. If you have problems, you should be able to download any drivers and software you need from the modem manufacturer website.
Conclusion
We hope we’ve helped you send and receive a fax from your Mac successfully.
The reality is that nowadays with the lack of support for modems in the latest versions of macOS, you’re much better using a faxing application on your Mac than messing around with multi-function fax printers or fax modems.
Online fax software services are ideal if you’re going to send faxes regularly and give you the convenience of sending faxes from your email account.
If you have any problems, suggestions or questions faxing from your Mac using this tutorial, let us know in the comments below or get in touch direct.